clivegto
-
Posts
8,296 -
Joined
-
Last visited
Content Type
Profiles
Forums
Events
Everything posted by clivegto
-
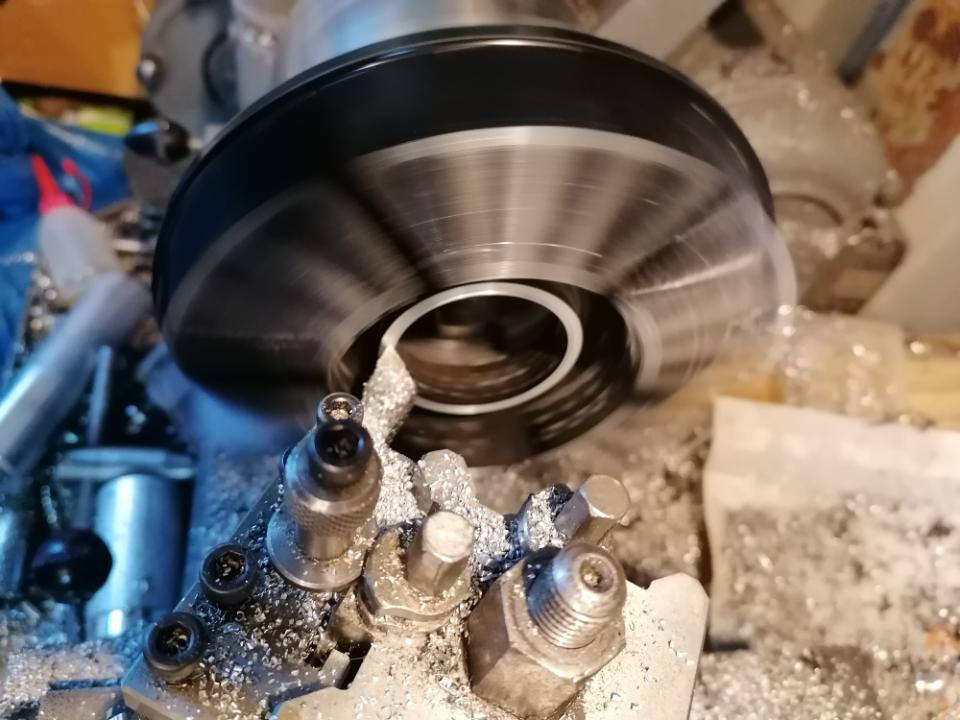
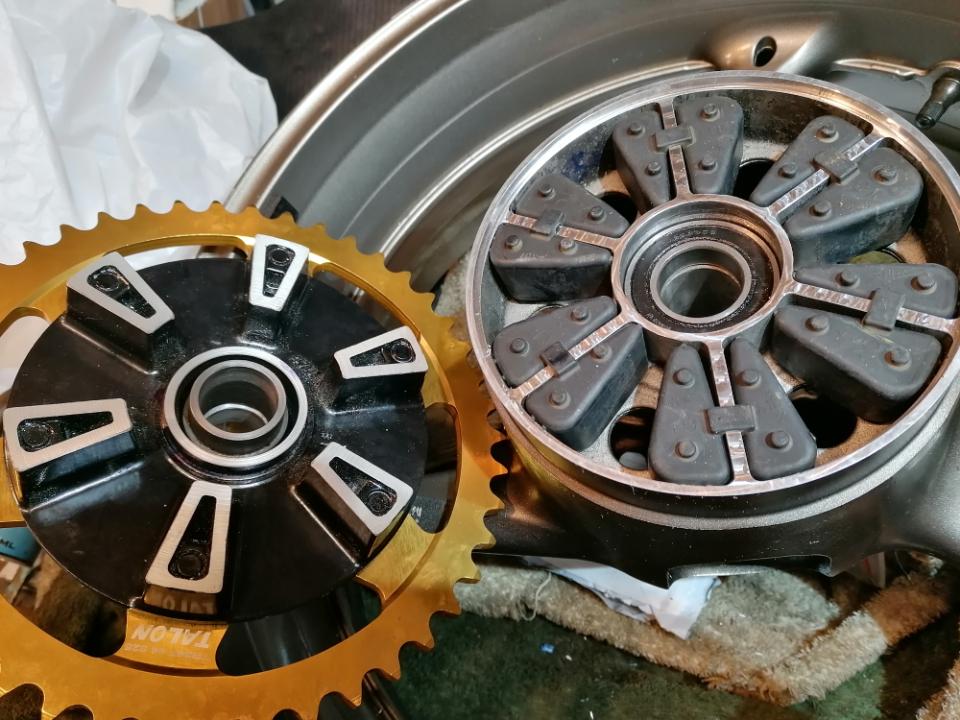
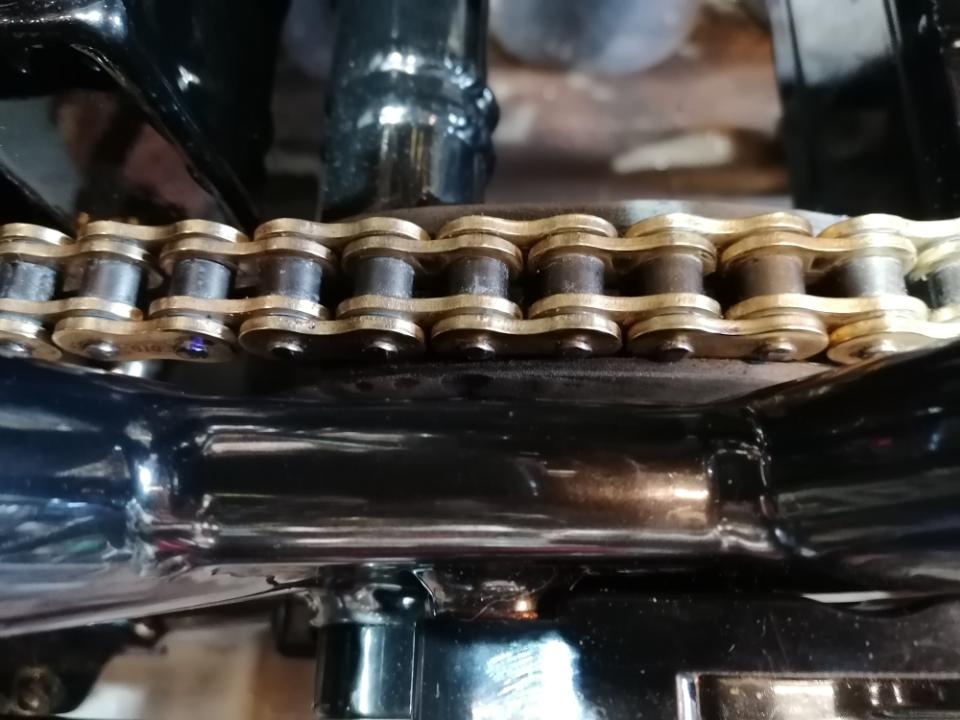
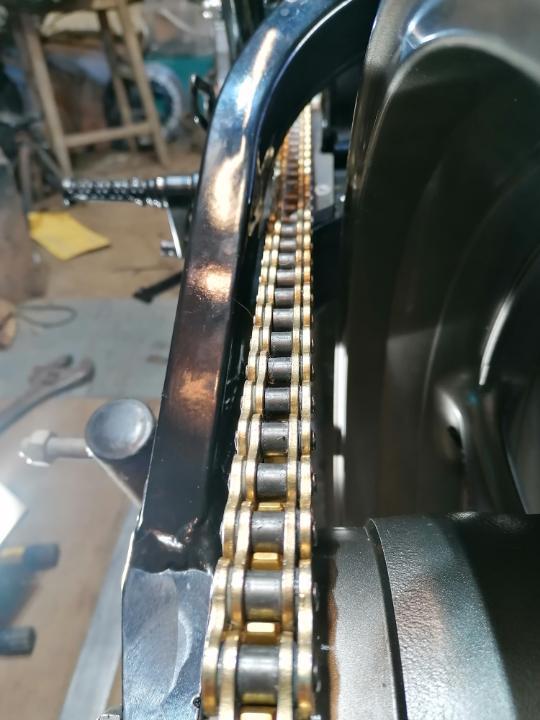
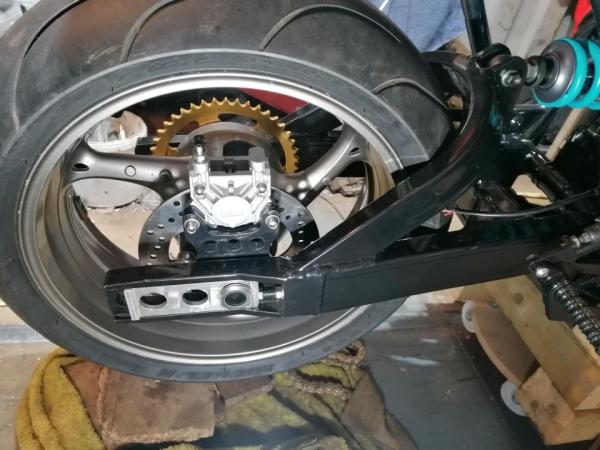
After fitting the bigger back sprocket and the chain slider I descoverd the chain would probably tickle the inside of the top swinging arm brace for the shock. I had 6mm chain to tyre clearance so decided to move the the sprocket carrier into the wheel 4.5mm which would give me 1.5mm chain to tyre clearance with the 6 inch wheel with a 190 tyre fitted. Removed 4.5mm of sprocket carrier lugs, iner centre bit, carrier spacor and cut the cush rubbers down as well. Manged to do all this myself but I needed to do the same to the K9 wheel as well. Took the wheel to my pal gsxrsam to work his magic in his mill, Sam also removed 4.5mm from all the surfaces except the bearing one. Also removed some material from the top chain run (3mm) where the chain touches. I made a new wheel spacor for the sprocket carrier as well.


-
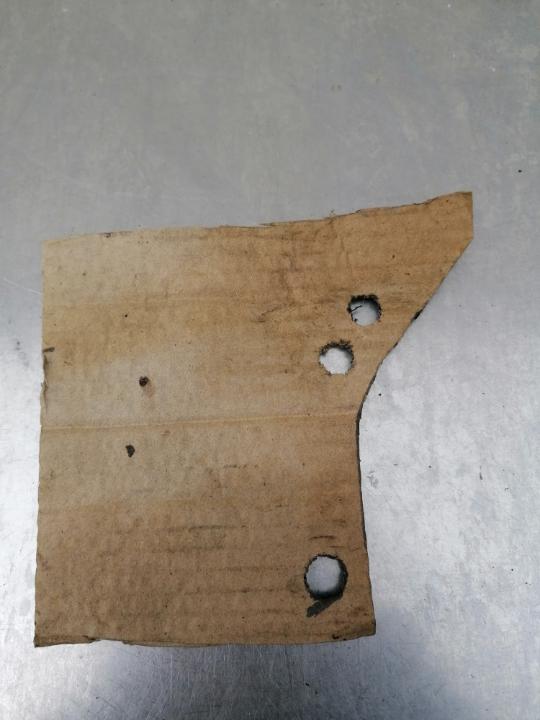
Just make some plates up to fit whatever you like.

-
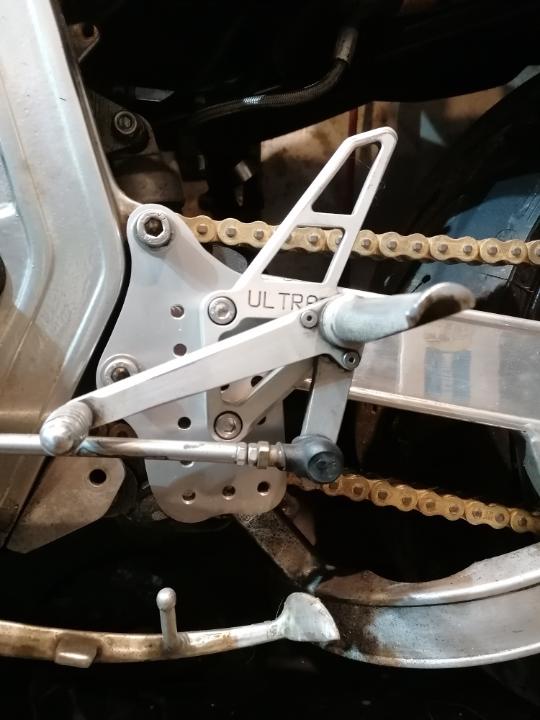
I have a set of those on one of my Slabby's, there good quality.
-
This shows the difference between each side.

-
1100 slabby. Mounting points on the frame are different on each side. You need to make adaptor plates to fit anything else.
-
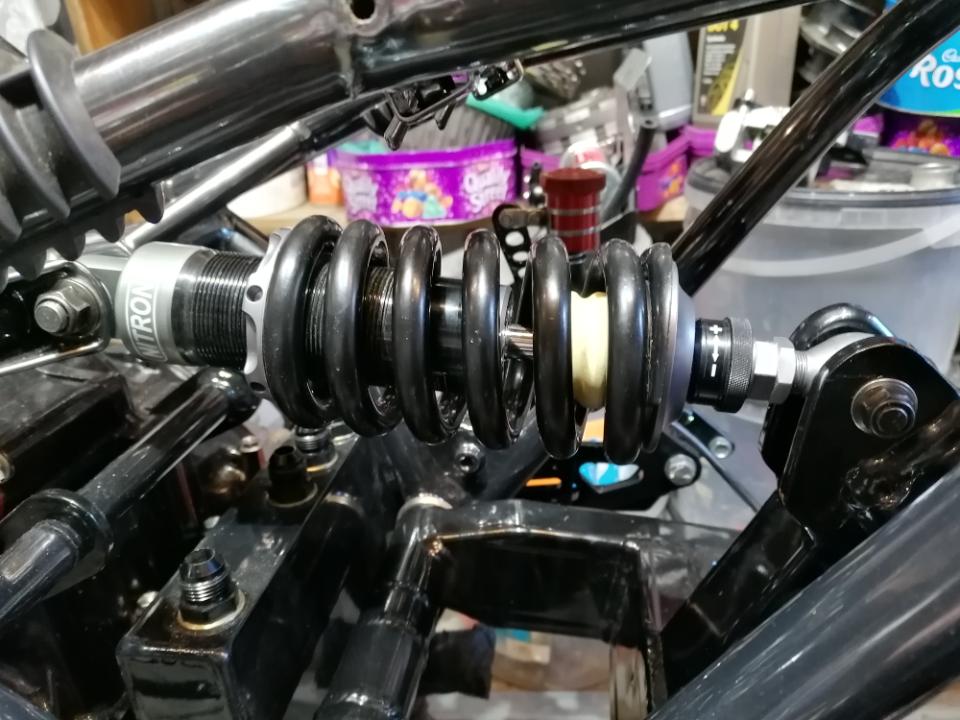
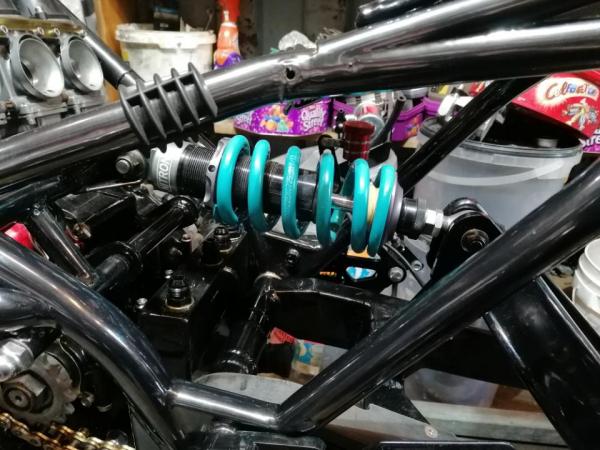
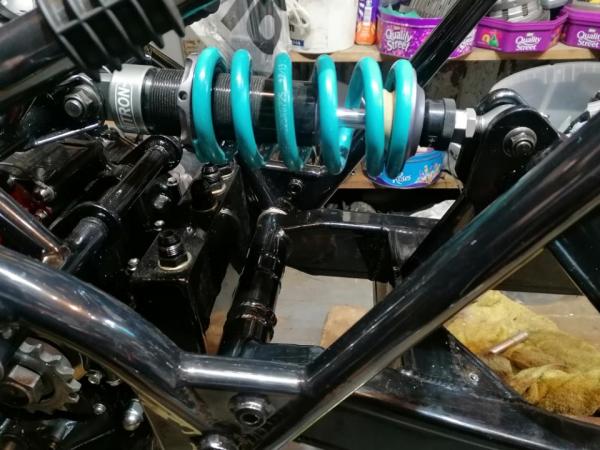
Bought another Nitron shock for another project for reasonable money which just happened to have 2 spare springs with it and 2 of them are black. Took the 975lb spring of the new shock and fitted it to the Magnums spring replacing the 775lb spring. Nitron do 2 colours for there springs, nitron blue and metallic titanium black. My 2 new black springs look like they have been done gloss black. Both shocks are TR R1 but difrent lengths for different bikes. Looks better in black to me.


-
I have swapped them, jest heat the block up in the oven, the liners will just about fall out.
-
There are a few right ups on the net on how to do, think it was the one on ASF I followed.
-
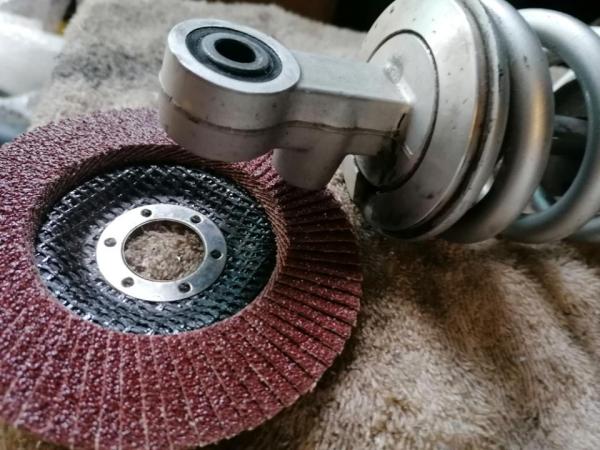
Carefully, flap disk in grinder. Remove centre eye grind down to size. Scribe round either side of bottom shock eye and grind down with flap wheel very carefully.
-
I ground the shock down.
-
@Katanahas an electronic one that goes up and down the gears.
-
LOL
-
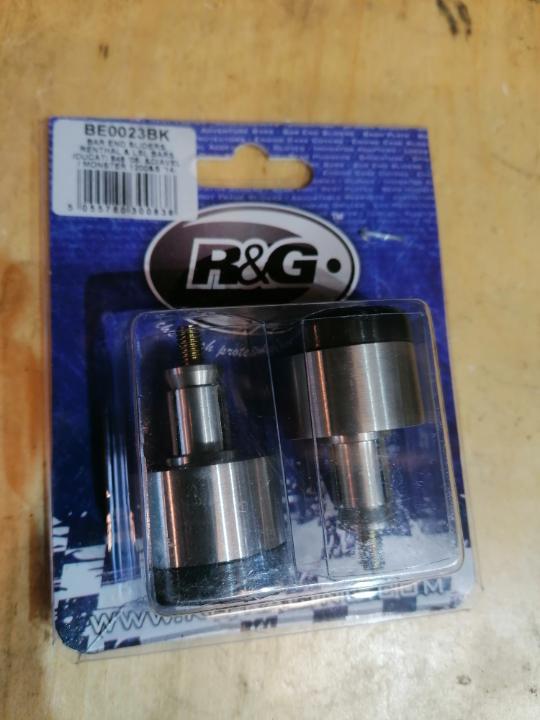
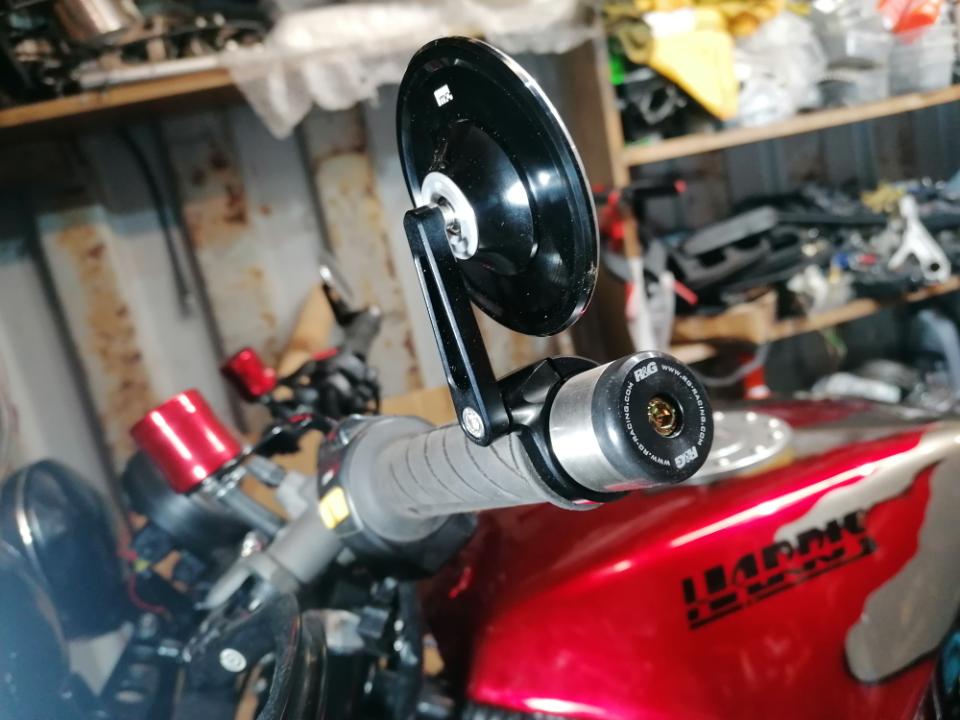
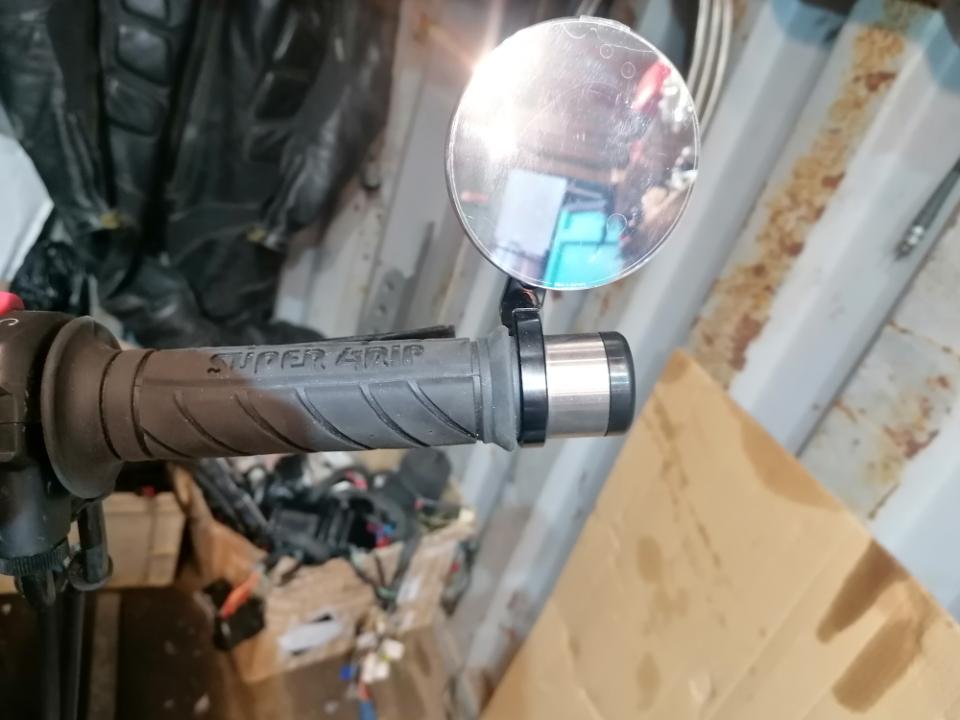
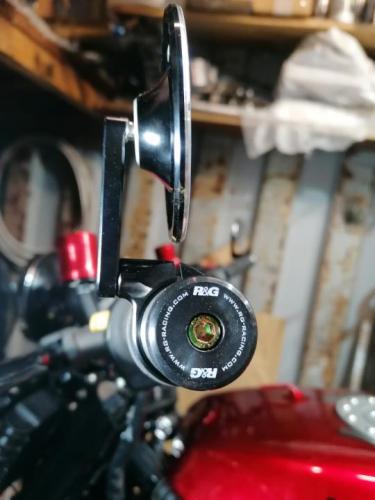
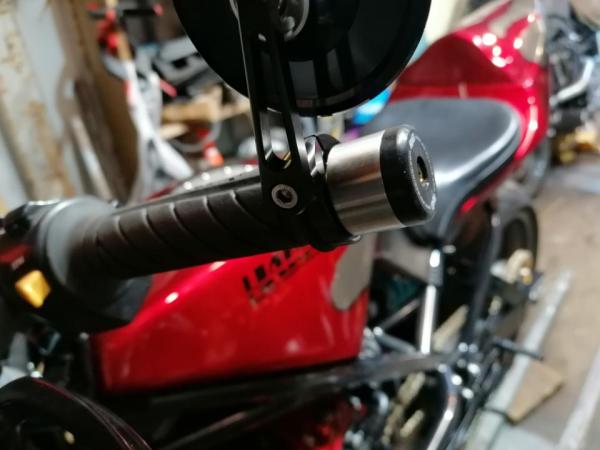
Saw some R&G bar end weights which I liked the look of so I bought them. Saves making some and look cool I think.


-
It was at one point
-
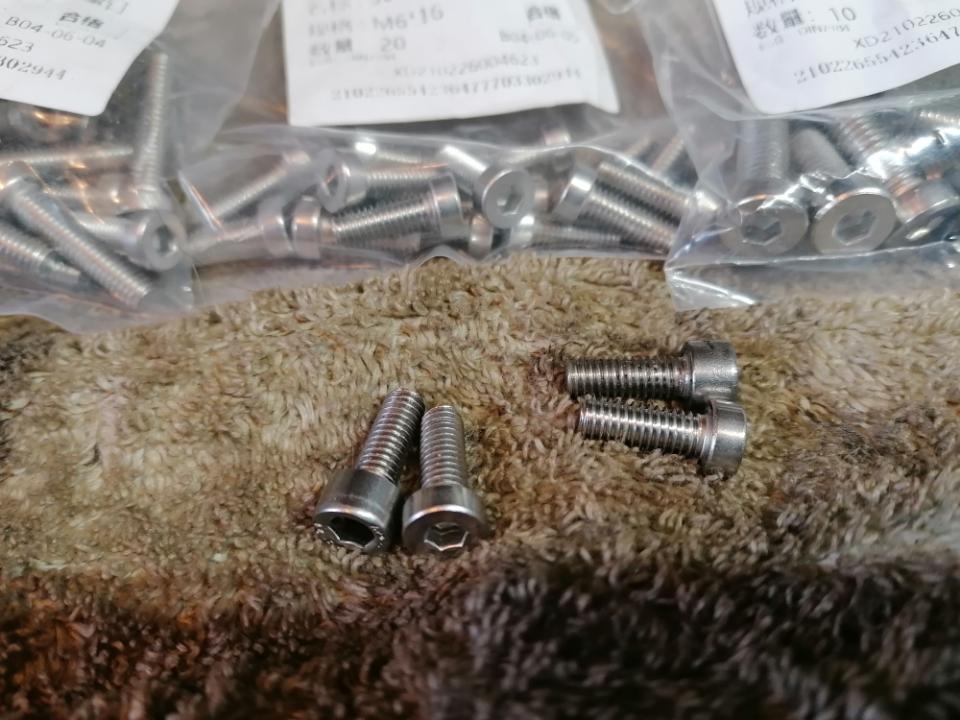
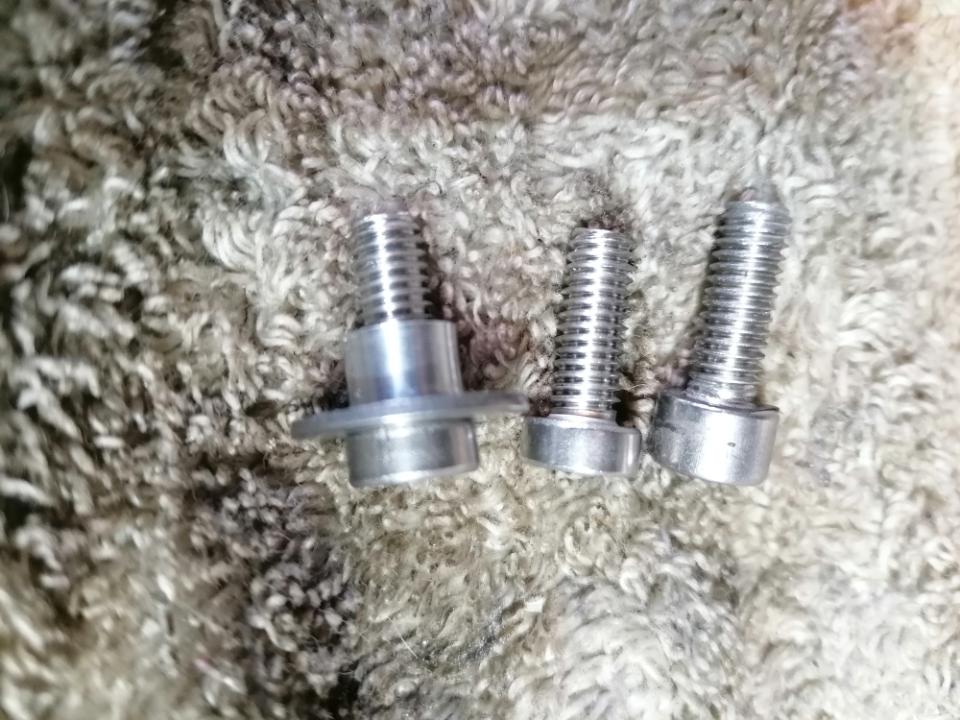
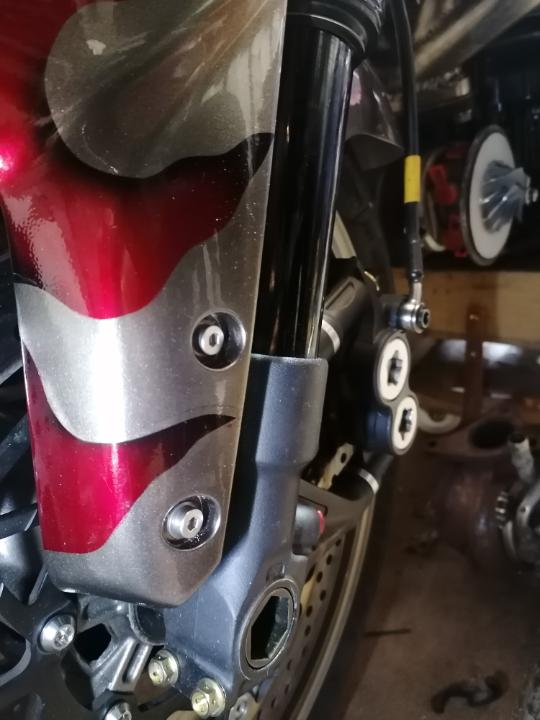
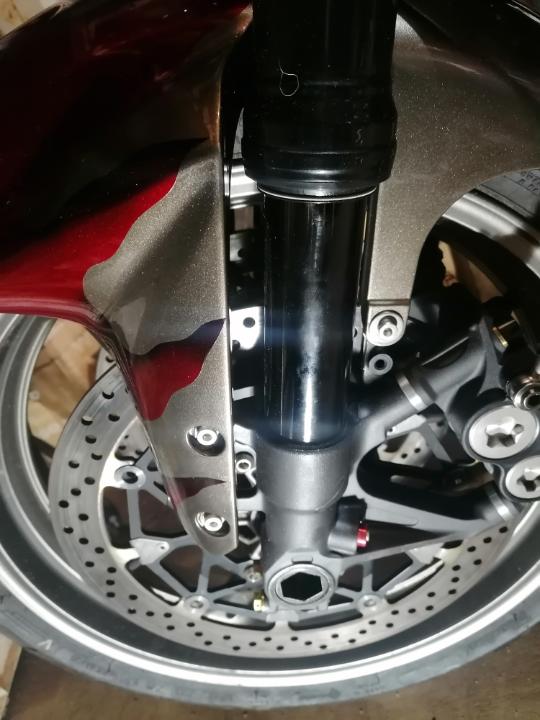
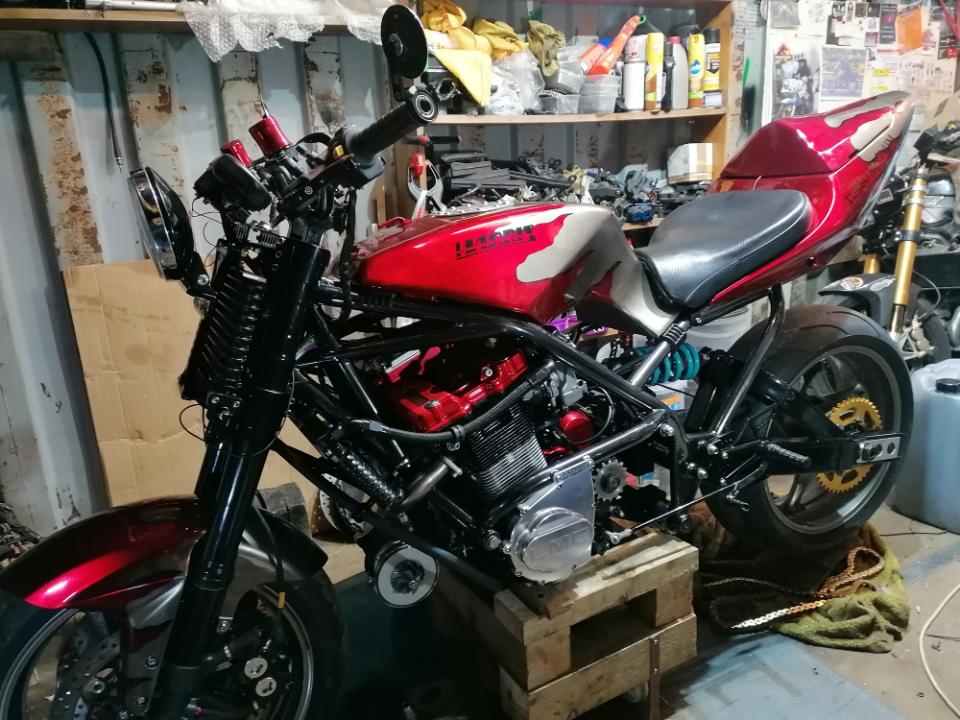
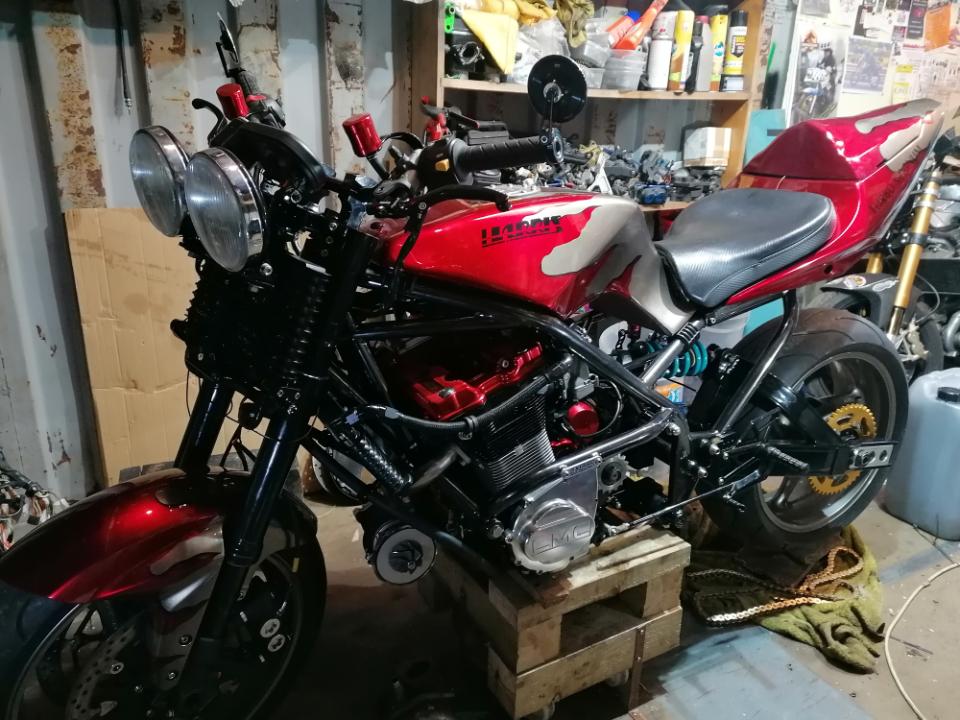
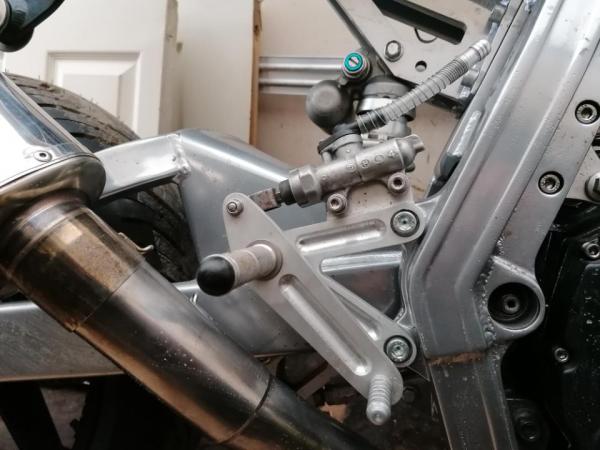
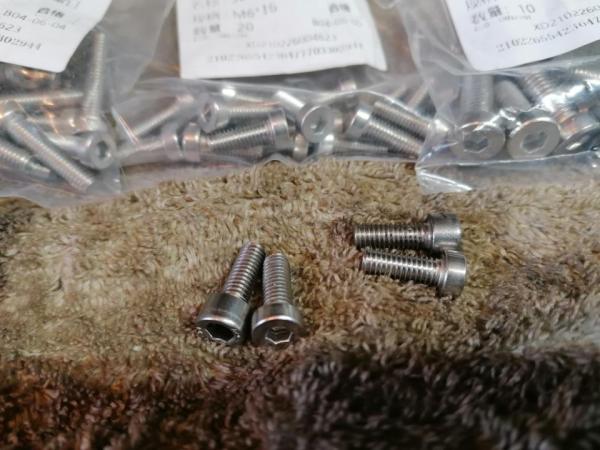
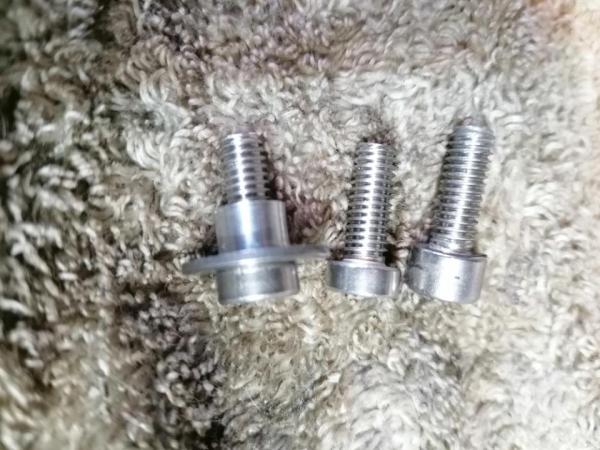
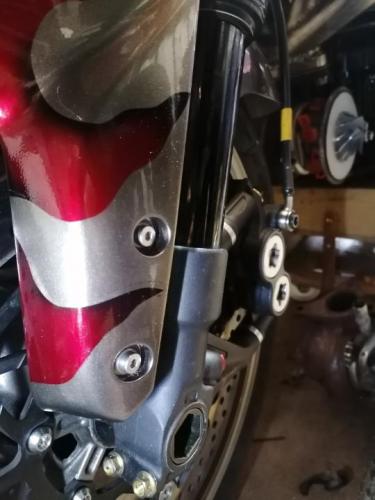
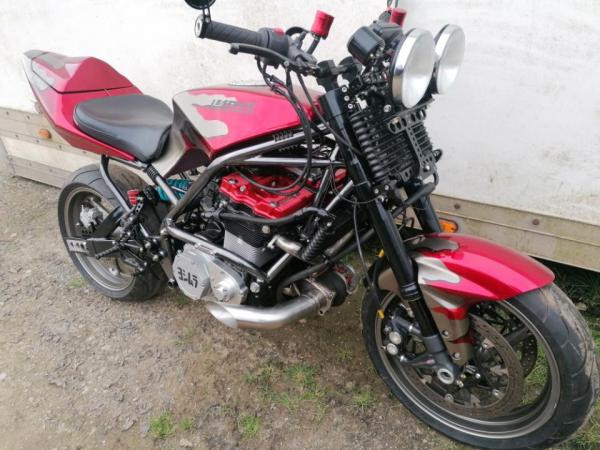
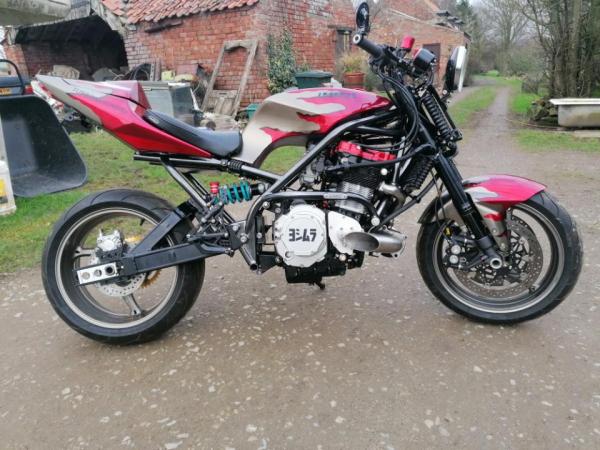
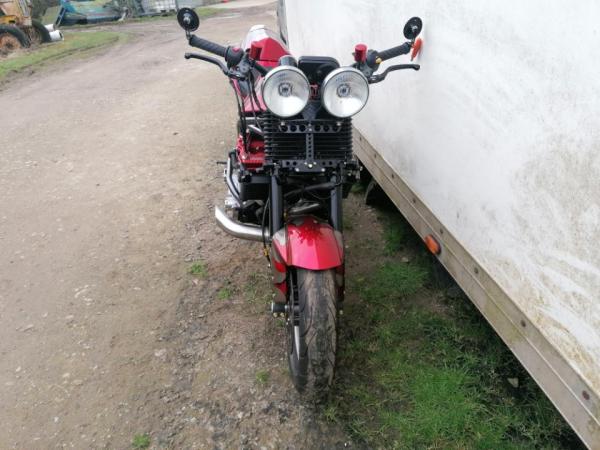
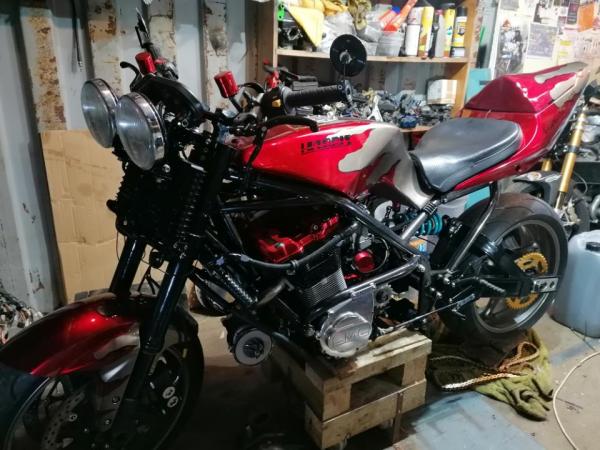
Got some short head allen cap bolts from China land for the front mudguard. Got the bike of its engine stand to let the engine sag that couple of extra mm then tightened the engine mounts up. Pushed it outside for obligatory pictures


-
There are no ap racing calipers in this thread
-
This is OSS you might find there's more than one.
-
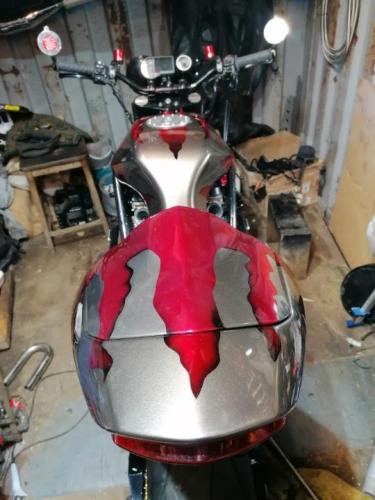
I was just thinking that, candy red maybe. Will leave it for now until road test as it might need to be changed anyway.
-
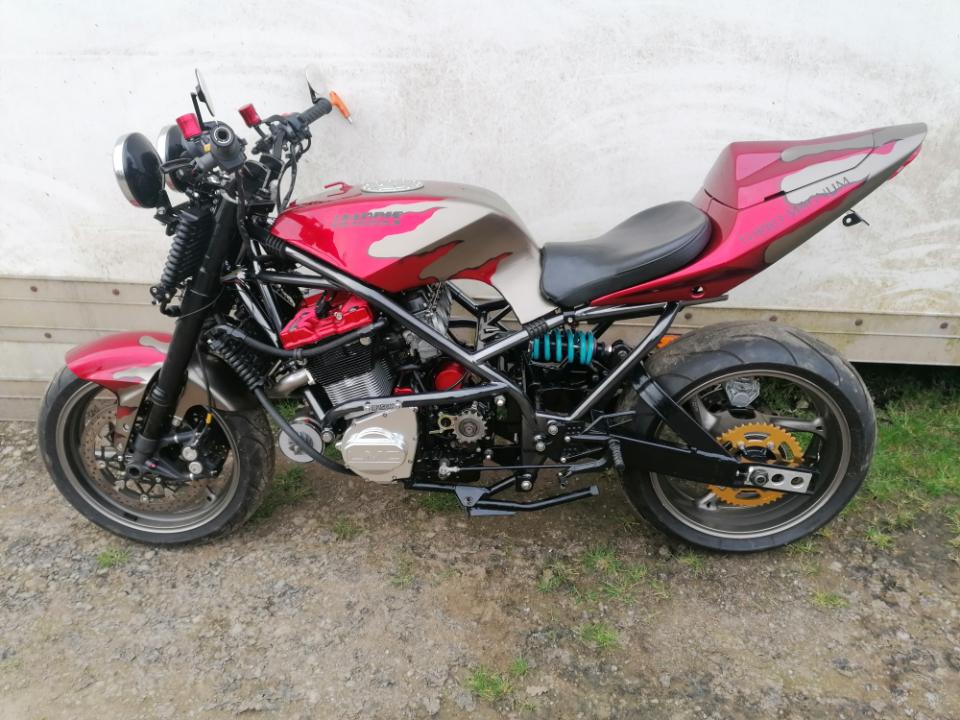
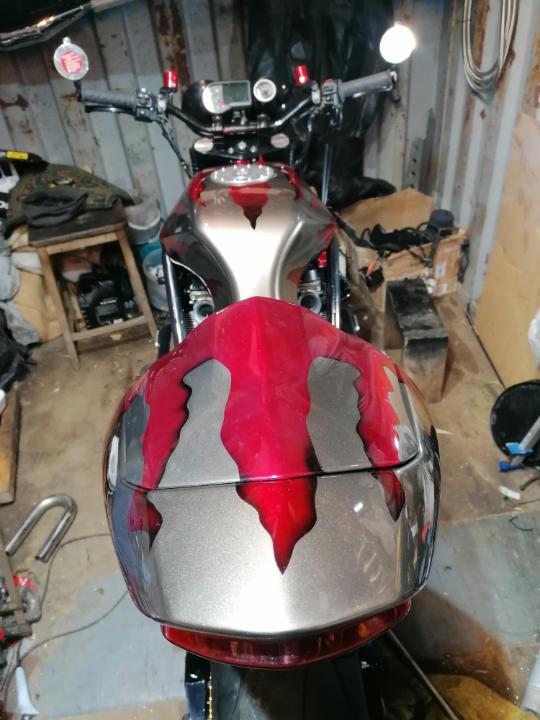
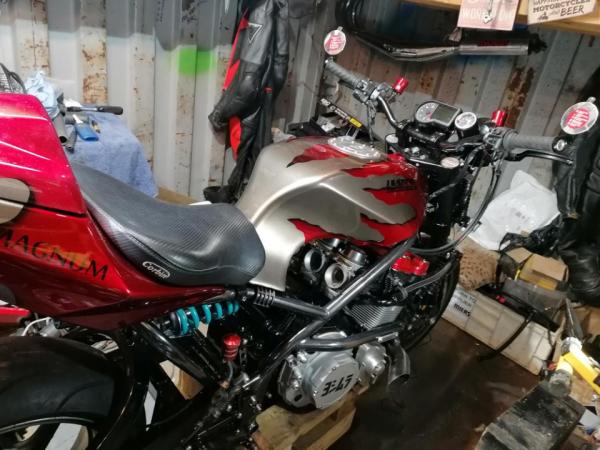
Nitron shock back in, back caliper on and a bodywork mock up this afternoon.


-
I have swapped them when needed even opened some up with fine grinding past and a shoe lace.
-
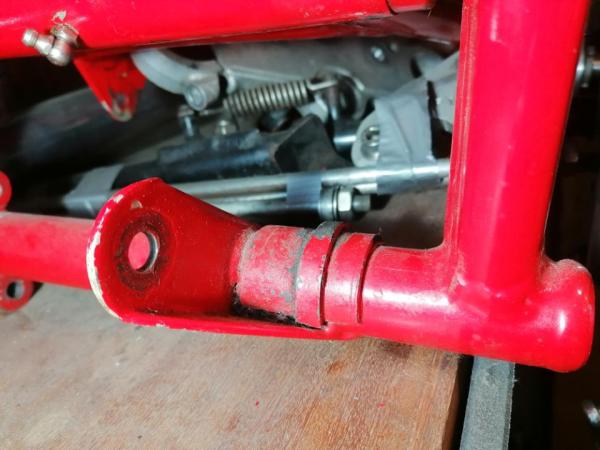
It's to access a hidden crank case bolt but can serve as oil return as well.
-
Perhaps it's glued on as well as painted over as it appears to be very secure on the red frame.
-
@Dezzahave heard some people use a jubilee clip to secure it then when it's worn down a bit slaken it of to move it round a bit.
-
Like the one on my other Harris frame. New one will soon wear a groove if it makes much contact.