.gif.e933260ae92122aa3d358d32e9e8f6a6.gif)
Jaydee
-
Posts
1,177 -
Joined
-
Last visited
Content Type
Profiles
Forums
Events
Everything posted by Jaydee
-
Have a few 1127's and 1157's stashed away and couple of gas flowed heads sitting on the shelf so 36 o-rings gets used up over a short time. And at that price.... Got mine too last week. They arrived surprisingly quickly. And didn't get caught for tax, which was nice.
-
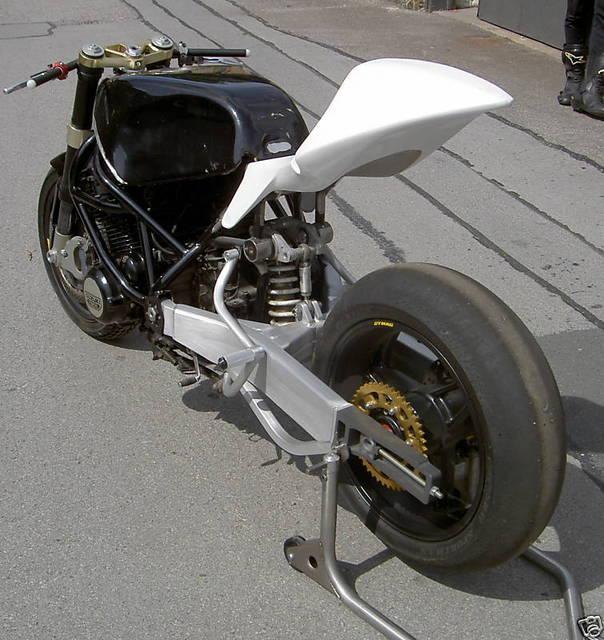
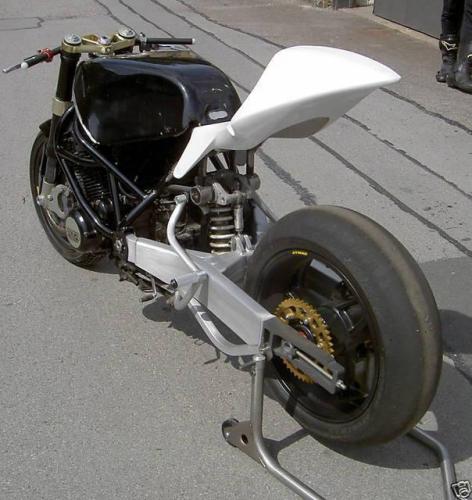
Nice find. Here's another example of that frame. They do have a lot of potential.
-
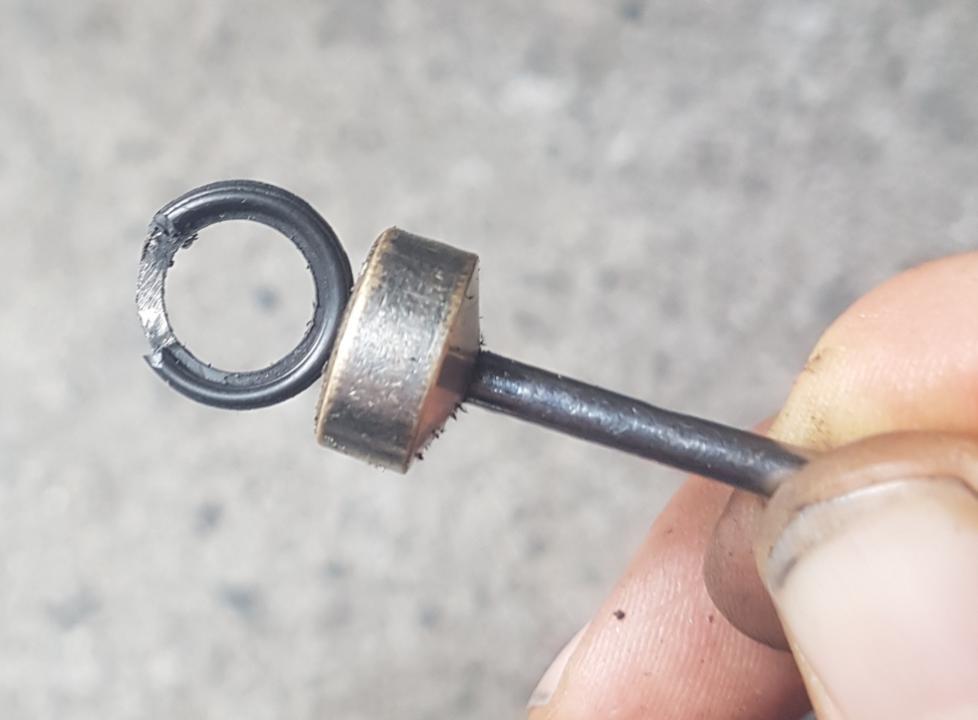
Why would a manual describe the composition of a part? Yes, 100% there is a metal washer in the head gasket o-rings. The pic shows a 15mm o-ring with the rubber partially removed and hanging from a magnet. The slabby o-ring have a bigger metal washer.

-
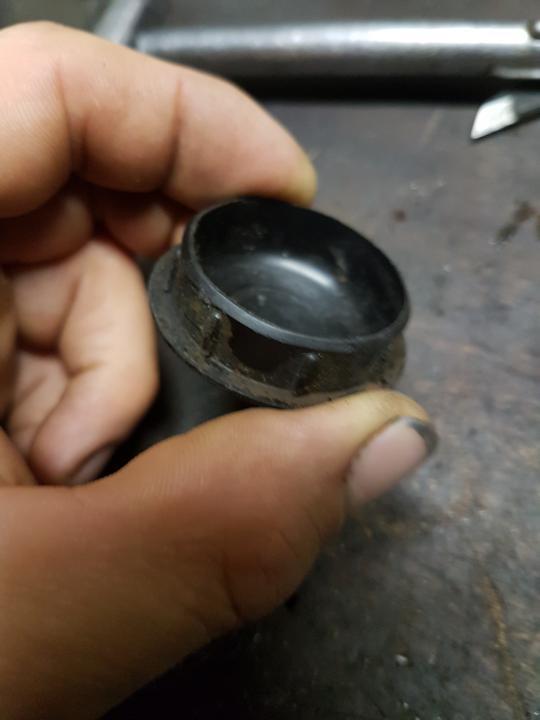
If you are talking about head gasket o-rings, they have a metal washer impregnated in the rubber. Not as simple as normal rubber o-rings. As for the oil drain tubes o-rings? Why chance it if you have to tear everything back down again when it all goes wrong? Spend the few quid extra and buy genuine Suzuki.
-
Hang in there Dezza and keep an eye on Robinsons website. They've reduced prices in the past for for the oil drain pipes and the o-rings and valve stem seals so you might get lucky in the future. Looking at my invoice, I was charged £2.42 an o-ring instead of £2.90. I'm guessing that Robinsons didn't charge me the vat as they expect me to pay it at customs. Fingers crossed it'll slip past the fuckers.
-
Just ordered a load of 15mm head gasket o-rings from Robinsons Foundry for 1127/1157 engines. Normally they are priced at £8.89 each but are on offer for £2.90 each at the moment!!! There seems to be a further discount ,(maybe vat reduction as sold to outside U.K, Rep.of Ireland?) as I bought 36 which should have amounted to £104 but I paid £87.12 (plus £10 post) Worth bulk buying at that price. Unfortunately the 17mm slabby o-rings are still at ful price of £8.89.
-
Main needle probably getting in the way and the closing slide pushes it back towards the filter. Who knows?
-
Go with what DJ state. All their kits are different configurations of parts. Not all carbs are the same.
-
Nope. Air correctors fit in to the air holes on the carb slides (on the face where the needle jet pokes out). You have to drill and tap the tiny holes then screw in the air correctors in to the slides.
-
That little washer is used a shim. If you place under the e-clip you get a mid-point (half setting) between the notches on the needle jet, i.e. twice as many needle height options. By leaving it on top of the e-clip, it does nothing as notch position stays the same height but is a handy way for retaining the shim if needed for further tweaking.
-
It's 38mm including the fins, 36.6mm without fins.

-
-
Yes. Could be a Yoshi Cyclone system.
-
Still overthinking......
-
Front rooms got to go when you extend the garage. Hate to be the one to break the news to the Welsh princess.
-
Sounds more like a fueling issue rather than electrics to me.
-
Even the drag race boys use o.e.m. fibre plates. Don't penny pinch as Suzuki ones are far superior and last longer.
-
No need to go near as it's screwed to the frame, the bolt slides through it.
-
Try using a mallet instead of a hammer. Less chance of damaging threads. It will move once you break the dry bond. Spray some penetrating oil on the bolt end to help beforehand. Then clamp a vice-grips on the bolt head and wiggle it out the rest of the way.
-
And check the HT lead for cracks.
-
Nope all interchangeable. The 750 versions tend to be shorter than their 1127 counterparts.
-
Is this with the exhaust camshaft sitting it place without being bolted down? I always find that the arrow points a tiny bit downwards past the rocker surface until you start tightening down the cam caps. Then the angle of the cam wheel changes angle as camshaft gets tightened down. Before install of cams, I pull the cam chain over to the mating surface and mark the pin above it with a tyre marker. Then I know the arrow has to point below this pin.
-
Now you sad it. Loads of rags covering everything, two ends of the cam chain tied in place to stop them slipping back. The little plates are a ball ache. I found the best way to get the link and plates on was to use two small allen keys and keep feeding them in and out as you get the 3 inside plates stitched in place, then as you feed out the allen keys out, start feeding in the pins on the split link and pop on the outside plate. Not a job to be at the morning after the night before.
-
I'd start with the easy stuff first. Bandit engines can be quiet tappet'y if one of the exhaust collars work loose. And they can run with the timing out by TWO teeth. Well the one I opened did! (stretched cam chain.) The last two bandit hi-vo cam chains I changed were split link (engine still in bike) Just daisy chain on to the old chain. Hardest part is fitting the in between links before you deform the split link. Easy to check the the pins are mushroomed over. Each pin is 2.4mm diameter, flared ends were 2.7mm when finished. Never had any issues with open ended cam chains.
-
Doesn't matter which way you put the terminals on a coil. Works either way around as long as you have right pair of terminals for that coil.
.thumb.gif.c71fd8dcce0a6f066ab2ce62a706b62a.gif)