


ElBlandito
-
Posts
114 -
Joined
-
Last visited
Content Type
Profiles
Forums
Events
Posts posted by ElBlandito
-
-
Good information to know, I'll give them a shout. Thank you
-
6 minutes ago, MeanBean49 said:
Whos ripping anything off? Talking about a standard ignition map, as supplied by ignitech to go onto another igmition map.
Not that an ignition map/curve is a top secret thing anyway. Suzuki and every other manufacturer seem happy to make them common knowlege
@MeanBean49I had asked about the stock B12/GSXR maps not being available in the latest .exe download drop down from ignitech and assumed you may have to purchase a unit to have that option available in the software. @Gixer1460was saying that's kind of wrong to ask for the info, so I wiped the post. Mistake on my part.
-
It sounds like @fatblokeonbandit has done it, might be worth shooting him a PM or exploring the ZX10 sprocket nut route.
-
Fair point Ian, post removed.

-
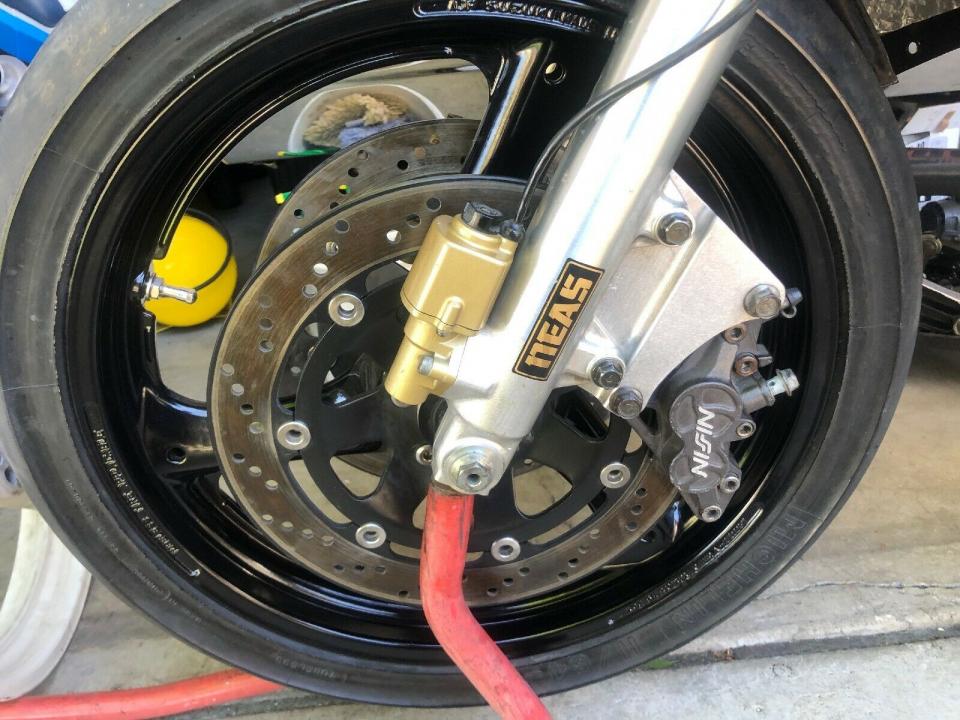
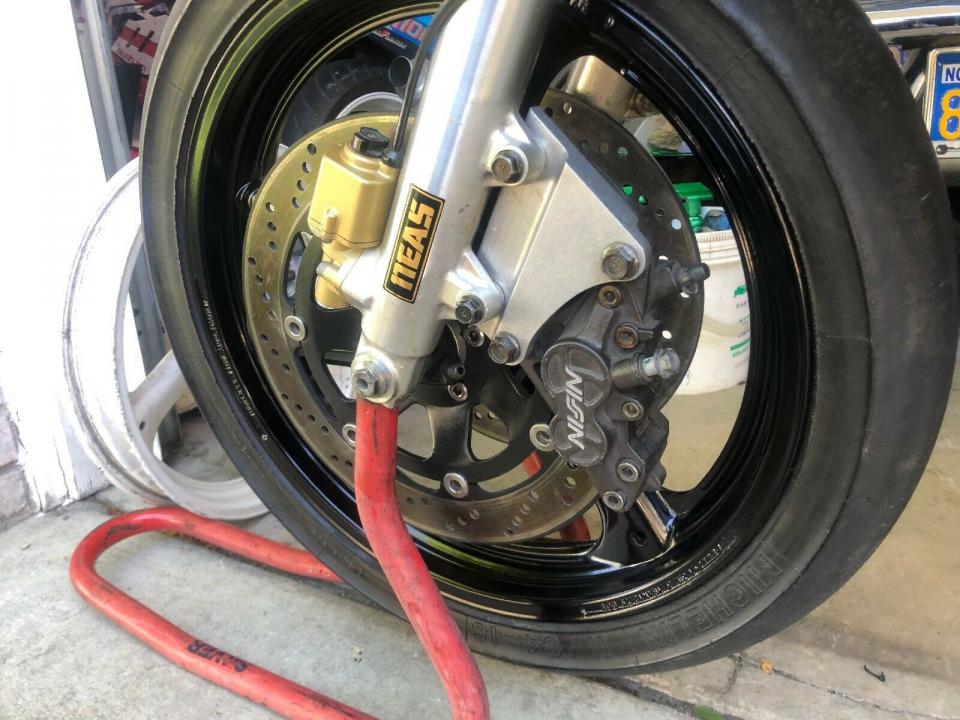
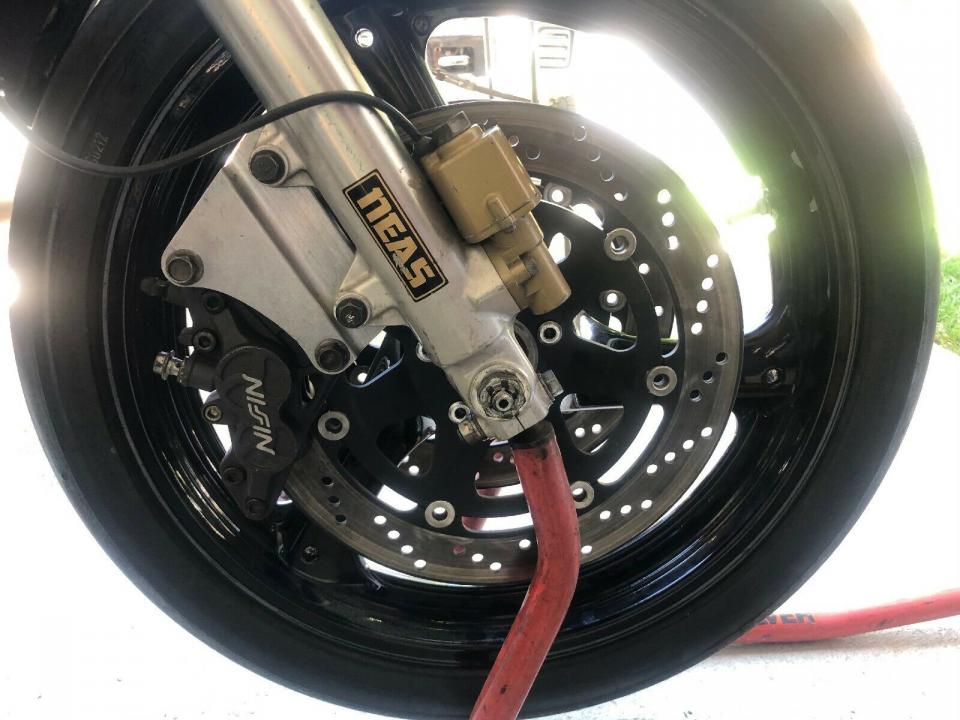
This is how mine is currently setup NA, with the single port only going to the MAP. The bare brass nipple was capped later on prior to running
-
About halfway down page 3 is a good example of a shared vacuum tube for your reference.
Also, relating to your question in turbo bike, these are the tap locations I plan to run.
Plenty of folks on this site have laid out the work, I take the easy route and bookmark anything of interest for reference later on.
Good luck Dave and get it going!
-
 2
2
-
-
The part number I bought used off bay of E was 37720-24A01. Seller said it came from a 1985 GS1150ESF (US). I have yet to install it, but it looks to be the same diameter as the stock neutral-only switch and looks identical to Clive's above.
-
1
-
-
This may be of some use for your reference
-
I just sold a set of these on "that" site two weeks ago. I wish I would have known you needed them, as I would have tried to grab dimensions. Here are the pictures the buyer sent me once installed if they help?


-
1
-
-
I believe Luke tried this with a few different pumps on his turbo bandit, but towards the end it looks like he stuck with an external walbro. He may be a good resource for the challenges, but I'm not entirely certain he still owns the bike (as it was listed for sale some months back). Have a read through as its a great reference for Turbo/EFI.
https://oldskoolsuzuki.info/forums/topic/3123-turbo-bandit/
-
Unbelievable, I can only imagine grabbing a fistfull. Those are some fast moving coffee cans

-
Out of curiosity, what is the largest displacement big block folks have heard of on an OC engine? Stumbled across some parts on "that" site, looks like an 88mm bore with 67mm stroked crank for a total of 1630?? Talk about a stump puller...
-
As above, glad it stayed in the OSS crew. Great buy!
-
Nope, coca cola 600 Nascar race
-
I'm on East coast in MD. Believe @rdubanditis NC. I will be in Charlotte around the end of May. Would be cool to meet up. There's a guy with a draw through 1100 in Lancaster PA
-
Be careful if you use superglue, wait a few days before putting the bezels back on. I assembled mine right away and it fogged the housings bad!
-
2
-
-
41 minutes ago, Arttu said:
No problems. Just keep in mind it was only an educated guess, not proven fact
")
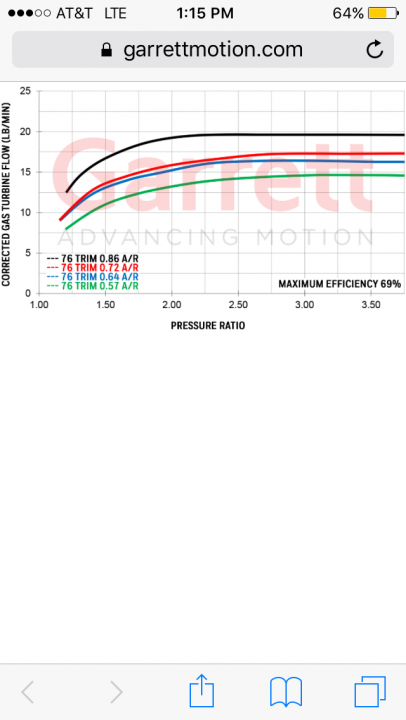
Time will tell. I believe with the difference between .57 and .64 it is pretty low risk regardless. As with all OSS info, its subject to change until built and tested.
-
Cheers @Arttu, I figured it was worth the question before I spend 1K+. Thanks!
-
1157 B12 engine, will be bored to 1216 with Gen 1 busa pistons/rods/2mm spacer. Stock head, 01-03 gsxr 600 TBs. I imagine the most I would ever want to run would be 18psig. @nitro said he ran a gt2860r gen 1 with a .64 hotside on the street and it seemed to be an ideal setup for him. Piggybacking on that recommendation, I was curious to see if anyone had any empirical results on whether the .57 was running into peak power prior to finishing the rev range.
-
Any thoughts on .64 vs .57 turbine ar on a gtx2860r? There's a .57 v band for sale locally... may swing by and check it out. Be interested if anyone has experience on that setup, as I don't want to run out of steam up top!

-
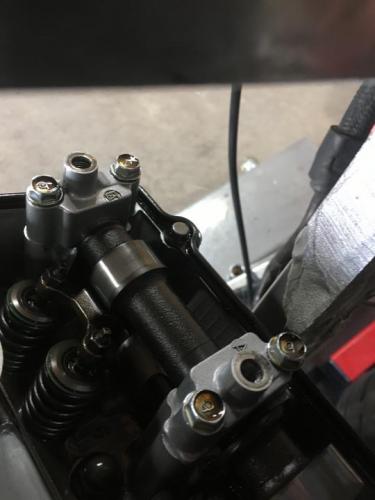
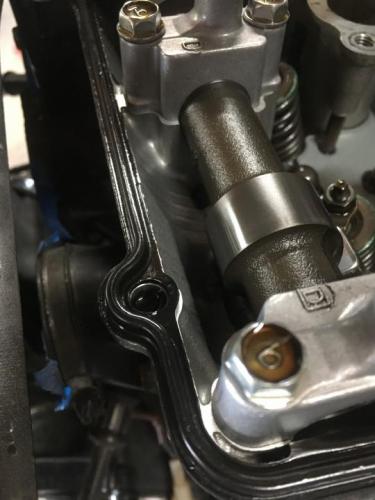
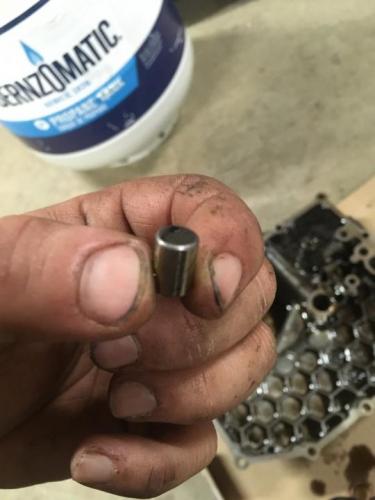
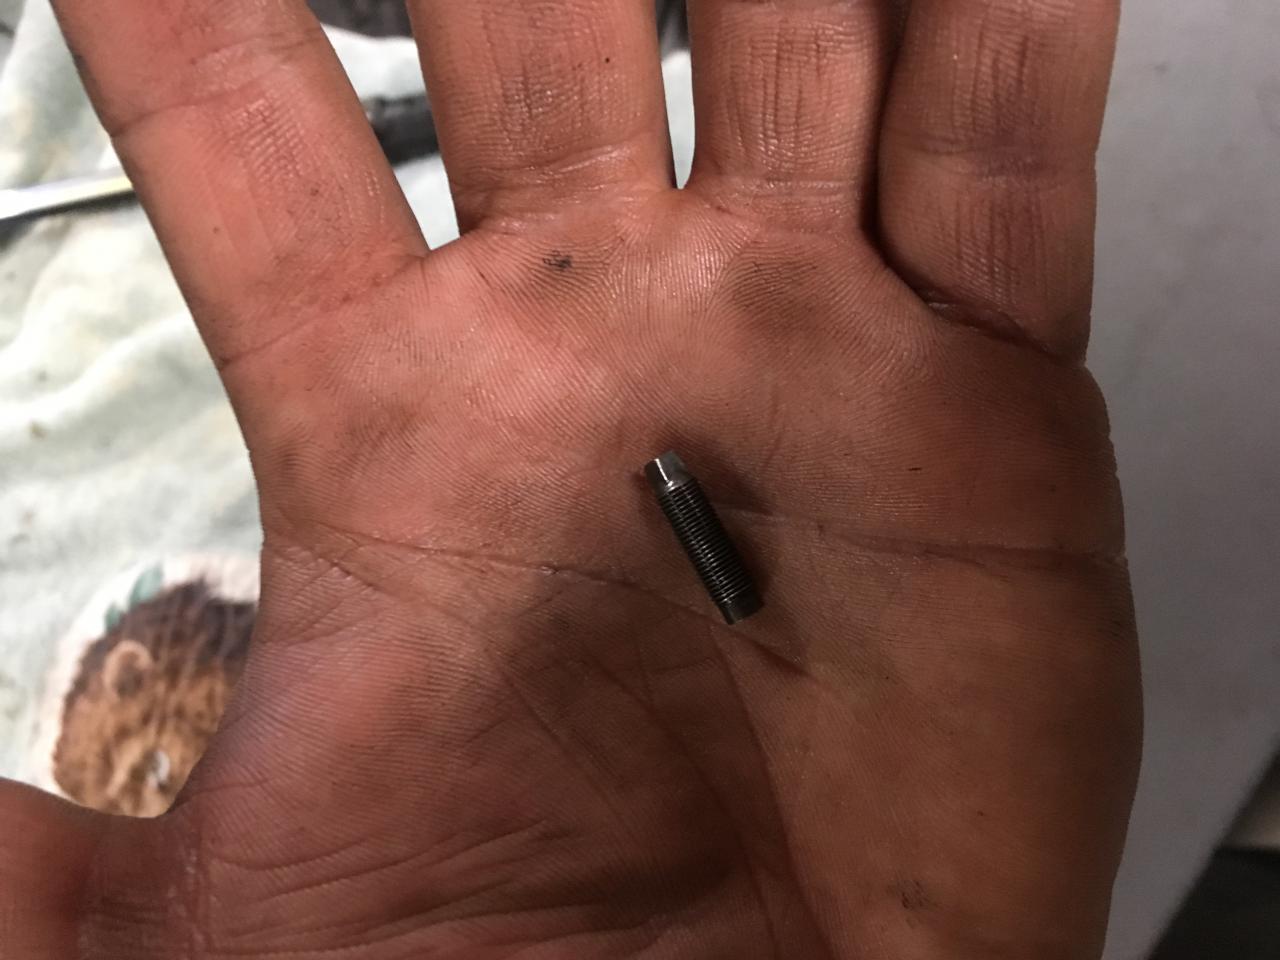
It was a cylinder head dowel. Cheers guys!
-
2
-
-
Pin is a cylinder all the way round with small chamfer at each end. Measures 8mm dia by 11.9mm long. Figured you guys who have had a few of these apart might be able to put a location to it.
-
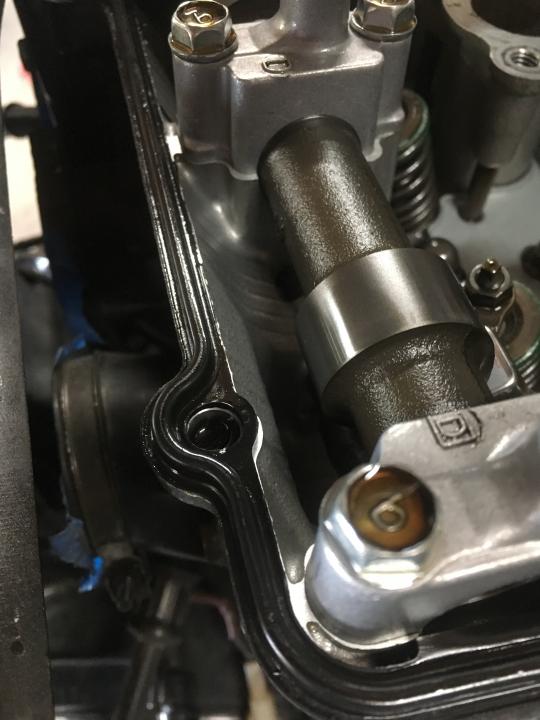
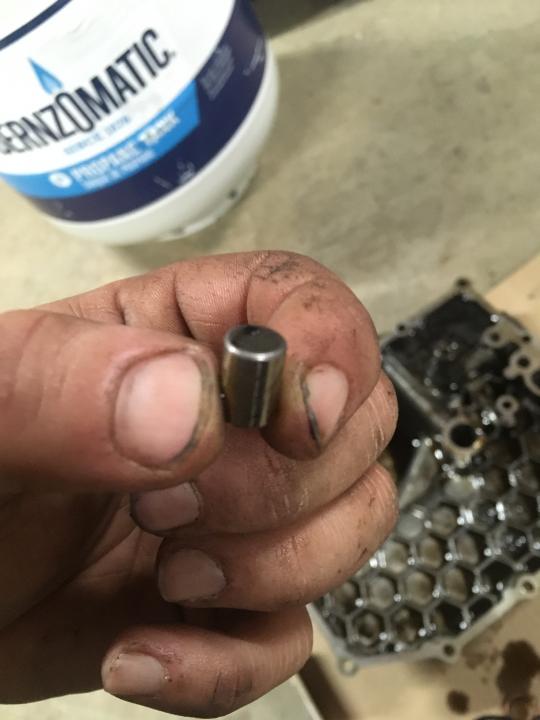
Pulled a B12 sump today and this dowell dropped out with it. Any idea where it lives? Couldn't find in on the oil pan microfiche. Thanks! Also found this bugger in the oil pickup screen. Pulled the valve cover and all adjusters are present. Who knows where it's from!

-
Very excited to see this one together! Happened to stumble across this video while searching Youtube. Please promise us one thing, you will not do this to the bike once you are finished! (RIP TO THE HEADPHONE USERS)


COP Ignition Timing Check
in Oil Cooled
Posted
For those of you who switch to coil on plugs (COP) for either reliability with a stock CDI or conversion to EFI, here's a quick overview of how to make a lead wire for checking the timing. Cut your old coil wire flush (past the retainer bite marks), then insert a parallel pair of safety wire alongside them into the insulation. Add a standard bullet connector and crimp/heat shrink. Connect this between your #1 COP and the spark plug then clamp on your inductive timing light and you're good to go. Provides a nice repeatable pulse.