All Activity
- Today
-
Sweet, thanks.
- Yesterday
-
Used a slide hammer with the 'lip' attachment that threads on the end to do mine. Came out with a couple of pulls...
-
I think that's how the slabby ones come apart. Slingshot ones are cone shaped and the plastic part can only come out after that brass piece is out of the way. No way to get behind there to knock it out without destroying it. Letting it sit in the freezer for a day, tomorrow I'll try again. Thinking maybe after letting it sit in the freezer, a blind bearing puller might work.
-
Considering how expensive my divorce turned out to be, this motorcycle will probably have to change its owner:(
-
From memory, if you remove the guts out from the other side you should be able to get access to tap it out
-
Does anyone happen to know where to source gsx 1400 fuel line couplings pref in UK without buying the whole line assembly? After the 90 degree one. Ordered a pair from ze Germanz but they are too small on id... Thanks.
-
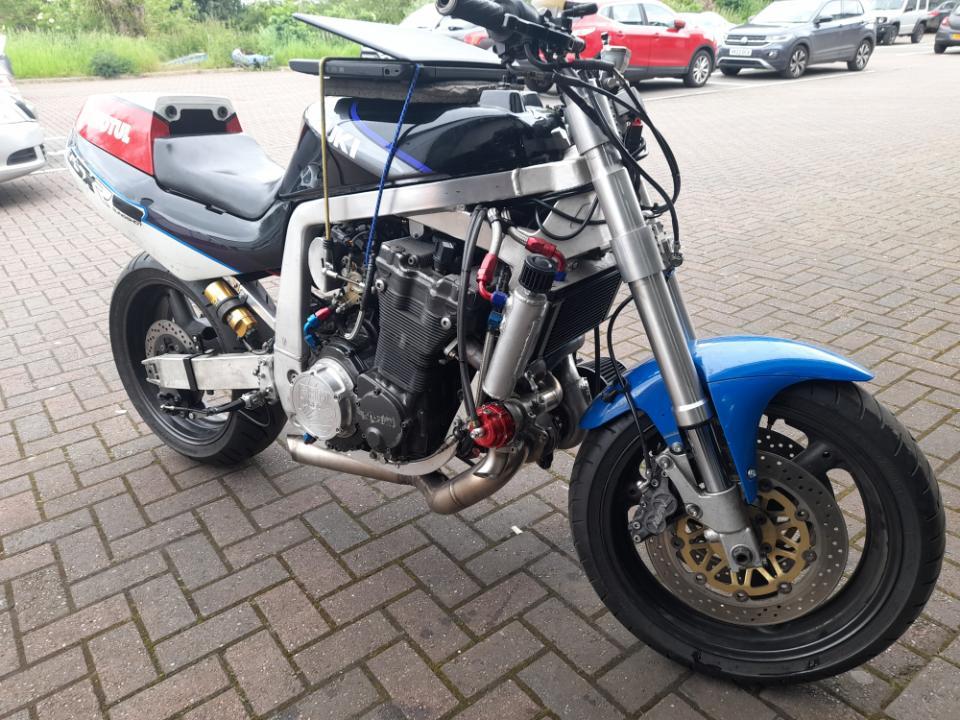
The sun was shining today and the first ride out using the Megasquirt Autotune feature proved to be interesting. I locked out the idle fuel settings so autotune can't adjust them. Whilst they are not 100% perfect, they work ok. Felt very strange riding along with a laptop on the tank but it seems a better idea than putting it in a bag or rucksack. I decided to use the same roads for this initial testing to help with consistency. Lesson 1......make sure you have enough fuel in the tank or the bike will start cutting out. The bike is not legal yet so stopping on the side of the road was not good. Managed to limp back to the workshop. The data I got was rubbish and I did not save it to the ecu. Put more fuel in the tank. The second journey was better and you could feel that the autotune was doing its thing so saved this fuel map to the ecu. The third journey seemed very similar to the last. There is a fuel table smoothing facility but I forget to use it. This removes the peaks and troughs in the fuel map. Maybe that could have helped ? I don't know so will just have to remember next time. Overall, I am happy and looking forward to more testing. I hit boost momentarily but lets get the fuel map sorted lower in the rev range first. And still nothing has broken or fallen off. Thanks to all of you who have given help and advice to get me this far.
-
There's really not much space to get anything behind it. The plastic part that controls normal/reserve is right up against the back side, and I don't think you can replace them. I'm gonna keep trying heat and cold to see if I can get it loose enough to pull out. Understanding why I never rebuilt these things in the past.
-
Expanding metal wall anchor turned into slide puller?
-
I'm gonna try tossing in the freezer today. There has to be some trick to getting that piece out. The OEM ones were different, but I feel like I've swapped them in the past between slinshots and slabbies.
-
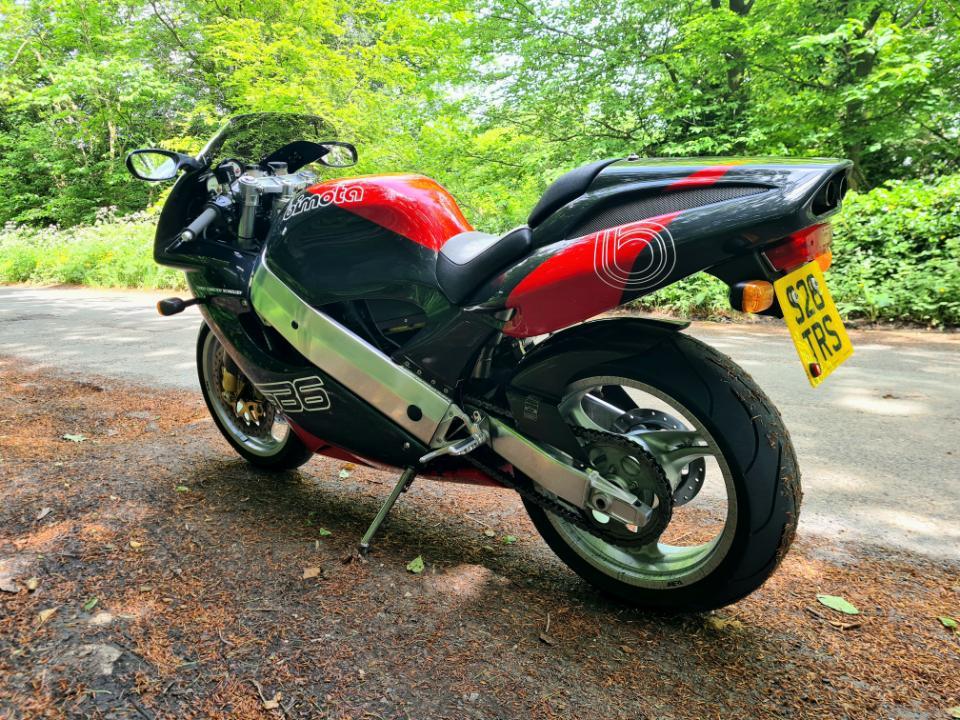
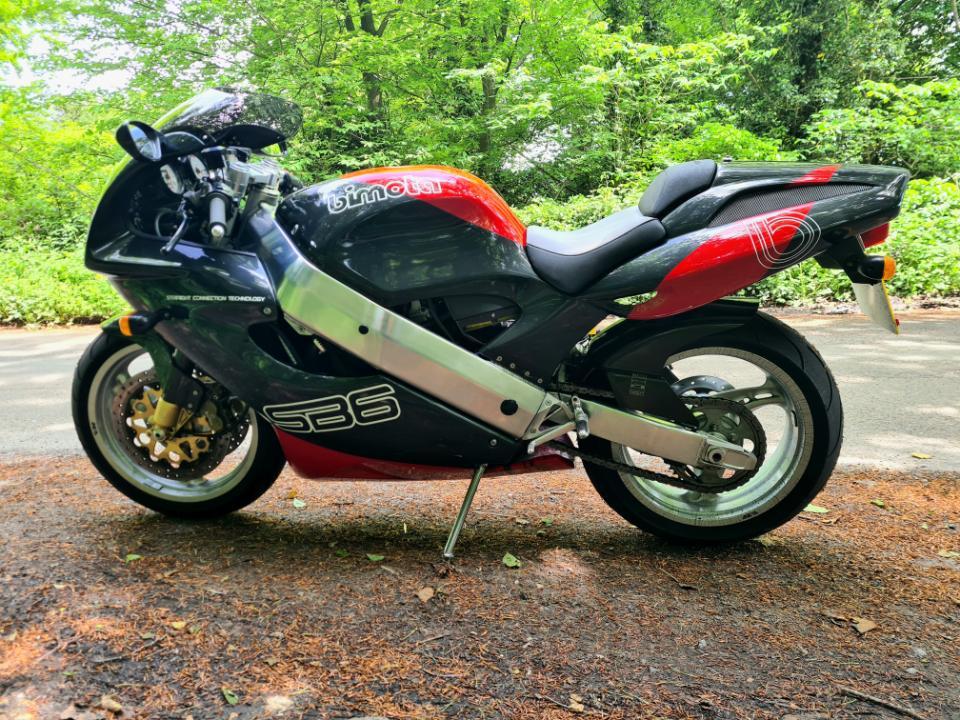
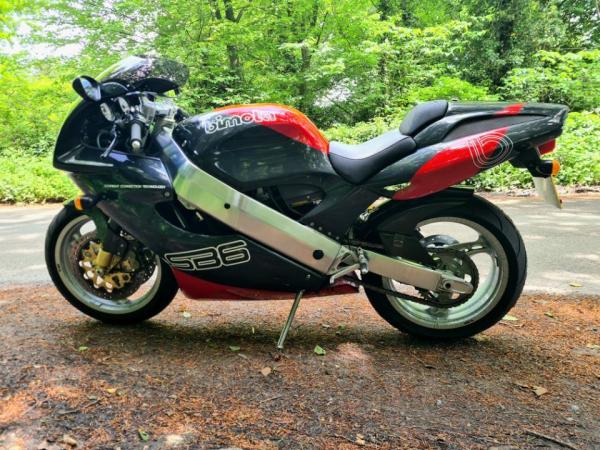
 Finally I've got the Bimota on the road and I've put a few hundred miles on it so I'd thought I'd share my initial thoughts- Engine/performance - the throttle response right through the rev range is very crisp and the exhaust has a wonderful raspy howl to it - very nice. In terms of performance I like the instant torque right the way from 4k and it's makes easy work of top gear roll-ons and overtakes. It's definitely not a match for ‘modern’ superbikes in outright acceleration but in all honesty who can actually use that performance on the road anyway? Overall I'd say that I'm happy with the performance and probably won't do any work to increase bhp.. Handling/suspension - I spent a fair bit of time trying to replicate the damping characteristics of my Aprilia rsv and whilst my setting process was not super scientific - just seat of the pants - overall the front and rear feel matched if a little on the firm side- but hell it's a Bimota so it's meant to be firm right? I raised the rear ride height to the max in order to put more weight over the front and once the bike is moving at a reasonable lick the handling feels very nice and neutral and very stable at any speed. I could probably spend hours fine tuning the damping but I think I'll give it a miss and spend more time riding it! General impressions - well everything works as it should and the bike feels taught and sharp and I think it looks fantastic! I'm super happy with it!
-
Im thinking it has to be somewhat similar to a slabby...mine has a super slow leak
-
Maybe you should ask yourself, if it was as easy as you say, why would countries have those sites? You noticed the sites don't show a VIN number? It looks easy, but it isn't. If it looks dodgy, they WILL go as far as necessarry, no matter if they need to go to the bare metal of a complete mudguard/fire wall? It happened!! They also check the VIN number. When I had my bike done, not to long before that the guy had a Harley for a road worthy test, the VIN number was the same as a VIN number registered in the States. That guy had some explaining to do.. I don't know why the VINnumber is such an issue to you, the main thing is the license plate, neither in The Netherlands or Australia it's not possible to get a liceense plate of your choise. No clue how that is in the UK, maybe that's why ou guys it's easy to duplicate? It's not as easy as you think!
-
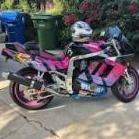
 Rncv changed their profile photo
 -
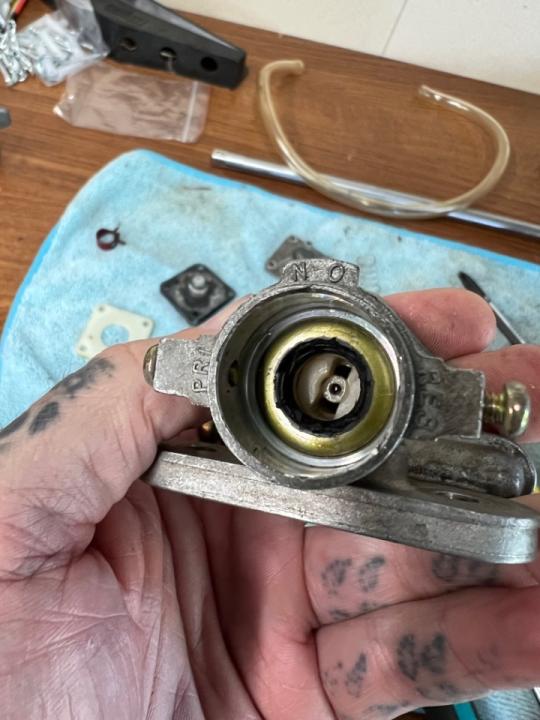
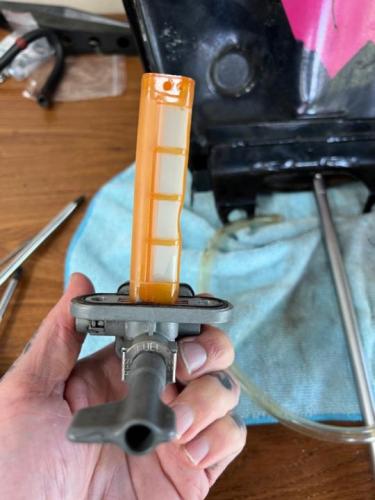
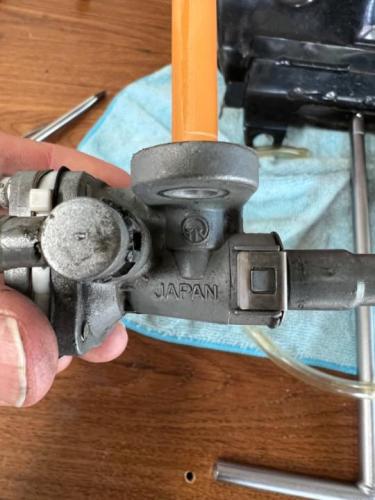
Ok, I searched and saw that people have done it, but no one said how they got this brass piece out of the stock petcock body. Already tried letting it sit in boiling water to see if the body would expand more than the seal, but I can’t get that thing to budge.

- Last week
-
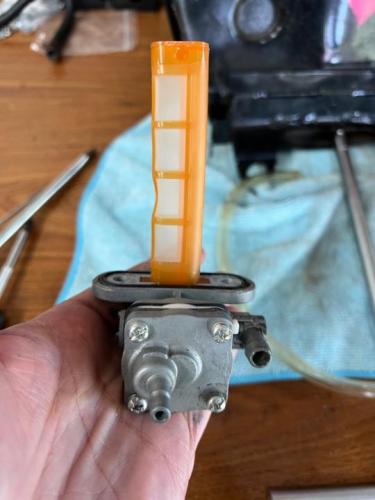
Never had a problem with this petcock in regards to flowing enough fuel for the stock carbs, but it is next to impossible to change from “on” to “res” while riding. The lever is just too short to be useable with gloves on, and it’s a different fit to stock ones.
-
So I've been working on the bike this afternoon. Went to swap out the single outlet aftermarket petcock that was installed when I bought it for an old spare stock one I had. And of course the stock one just pisses out fuel everywhere. Tried pulling it apart and cleaning it up, but I think it's just been sitting for far too long. Gonna try one of those K&L rebuild kits for right now. Always heard mixed results with them, but I don't feel like installing a pingel or paying for an OEM petcock.
-
Bigchrisley joined the community
-
Thanks for letting me know, it's much appreciated.
-
They're easy enough to pop out of the back of the gauge and take to an auto parts or home improvement store. T5 sounds right, and you can get fancy LED ones now too.
-
Added spacers below the cam chain idler. It cleared the cover and added enough slack. Has been good to go and zero issues. Thanks
-
Bike is back together and shifting great. Thanks!
-
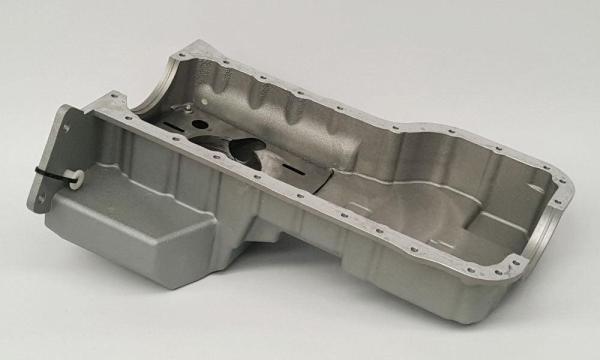
As you can't dry sump the engine Would your engine placement allow a "big wing" sump ala mk1/2 escort rally cars, if the stock oil pan is suitable for modification , it would help prevent oil surge through corners and increase the oil capacity and thus cooling just an idea for you ....
-
Thanks for the very good explanations. Interesting point on the vent high up from the catch can, i don't remember that being mentioned before. I think you're right, i may as well just go straight away for the mechanical pump, it's not like they're unavailable for these somewhat less go-to for tuboing engines.
-
nice! No leaking or smoking and running is a good start! (assuming there is actually oil in the engine ) Did the same with the laptop, only ducttape because straps allowed too much movement at speed
-
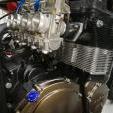
First shakedown ride today. Nothing fell off or rattled loose and it didn't puke any oil. Strapped the laptop to the tank and will do some tuning on the road tomorrow. English weather permitting.


.thumb.jpg.b88483ea8d5ed881efcaeecb8e56ebd4.jpg)