baldrick
-
Posts
1,267 -
Joined
-
Last visited
Content Type
Profiles
Forums
Events
Everything posted by baldrick
-
If you have a limitless budget? Its over 240 quid. Undoubtedly good quality kit, but Sata stuff takes the p*ss on price
-
Yes I do as it happens. I did a load of research before buying mine and plumped for a Devilbiss FLG 5. I would definitely recommend a devilbiss FLG5, with a 1.4 tip set up. Get yourself a ANI in line pressure guage/ adjuster. This will tell you the exact pressure at your gun, because the air loses pressure between the compressor regulator and the gun, and they are about 15 quid IThe devilbisss is about 95 quid, but will last you for years.. Or if its just small parts, you could do much worse than a ANI R150 minigun, they are around 75 quid. I would go the extra for the devilbiss, its built to last I had a cheapo gun to start with but they are not great to be honest. the seals on them go,and the atomisation pattern isn't even in the same league as the devilbiss, because they are made cheaply in china. The devilbiss makes life easier, and a 1.4 tip will do your base colours and clearcoat. If you want to, Just buy a cheapo with a 1.8 tip for primer/ filler, you can always sand it down. I still use my cheapo gun, but only for primer/ filler, and flake (flake kills them).Don't even think about doing it without the proper mask either, the stuff is deadly, carcinogens the lot, nasty shit I know its a fair bit to outlay at once, but its cheaper than a professional job, and you will have it for years to come. Good luck.
-
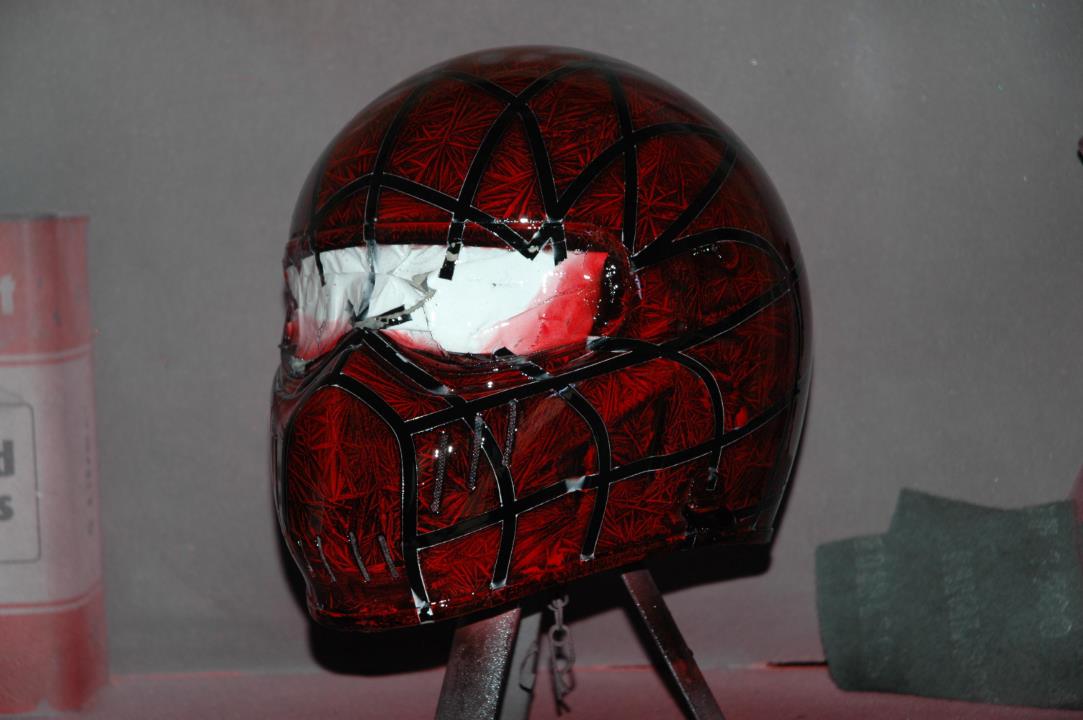
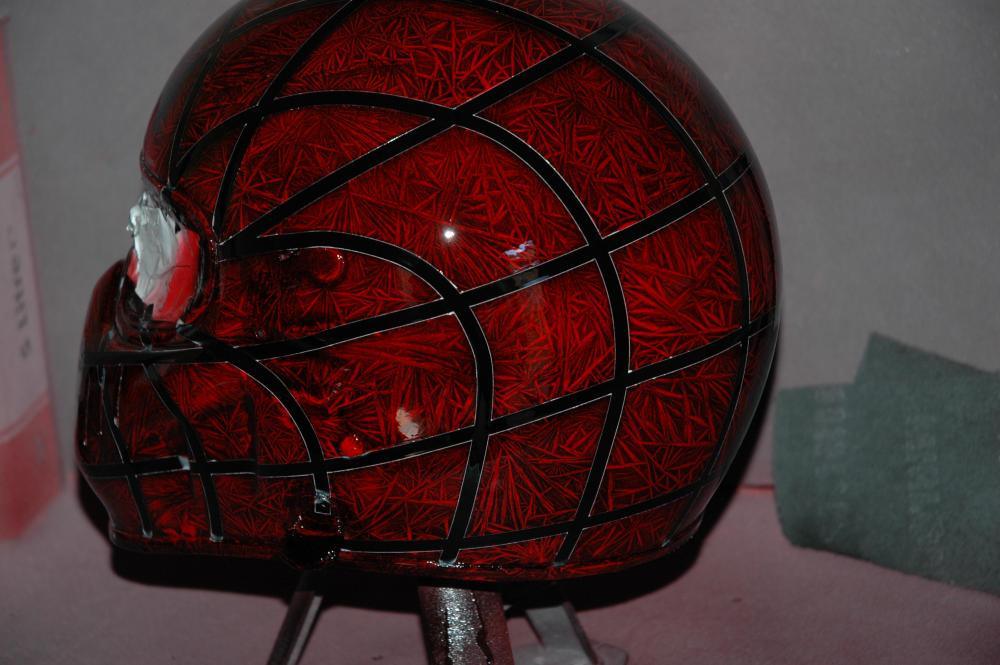
ive been busy again. I didn't do it to match my efe paint, I did it because my 6 year old son loves Spider-Man. what more reason do you need?

-
if you cut it back it should get rid of the peel, but you might need to coat it again with clear, If your wet and dry picks up any of the base colour, you will have to re-lacquer. Good luck, the upol stuff is not bad, for cans, some of them even have an adjustable fan on them
-
I use the 1500 first because I use a very high solids clearcoat, which is pretty thick, and has great ,UV resistance. and depth/shine if its clearcoat from a can, use the 2000 wet. As for polish, I'm using the farecla stuff, because it was a freebie from my nephew, who worked in a proper body shop for years. the 3m stuff is also great, but none of it is cheap !. sit down when you price it up. this I use with a yellow pad on a polisher. there is some stuff you can use by hand (farecla G3), but machine is much better and quicker. then after its all been machine polished, a decent resin polish by hand to finish I used to wonder why paint jobs were so expensive, but once you start buying stuff, you soon find out why lol.
-
Thanks for the kind comment. All of the paint factors I spoke to had that infamous 13L code down as a car colour,, and its not even a silver, so its either the wrong code or its Suzuki motorcycle specific. or all the paint factors ive spoken to are wrong. I have a nice metallic silver basecoat, which I usually use for basecoat before candy, and will use that, might add some silver pearlescent powder, to the clear, but not decided yet. (mostly because its expensive stuff to buy, and you only need a miniscule amount
-
Ahh f*ck, now ye tell me lol. I cut it back with 1500 grit wet and dry, then 2000 grit wet and dry, both done wet. I use 3m sandpaper, because it lasts about 3 times as long as the cheap shite., done by hand, no orbital sander used for this stage Its just to flatten out the minor imperfections in the clear, before polishing it. It also removes and small bits of dust or crap that may have landed in the clear during drying
-
No mate, I got them made up by a bloke on Eblag, outlaw graphix they are called, very helpful guy and next day delivery, to the North of Scotland!! They were cheap too, only a few quid, which is always a bonus Scrub that recommendation, I went back for some gsxr decals and he f*cked me about for over a week, ikept emailing him, and when I asked if he would mind answering my emails he went off on one- twat! I'm going elsewhere
- 28 replies
-
- 1
-

-
- metalflake
- groovy baby
- (and 1 more)
-
Thanks man, I appreciate it. To be honest its much much easier if you have decent kit. I used to try and spray with cans, and ok, some people can get a half decent result out of them, but its much much easier with proper preparation (most important of all, if your prep is crap, the end result will be crap), a compressor, a decent spray gun. (at the right settings), and proper materials, from masking tape to paint, thinners, primers etc . I'm no expert . I just f*ck about in my 8 by 6 shed, but I'm pretty pleased with it, if I say so myself. I'm doing a katana after I finish the harris bits, but it should be easier, since it will just be standard silver, and its already primered. I havnt seen anything that looks better than the standard silver on a katana, to be honest.
-
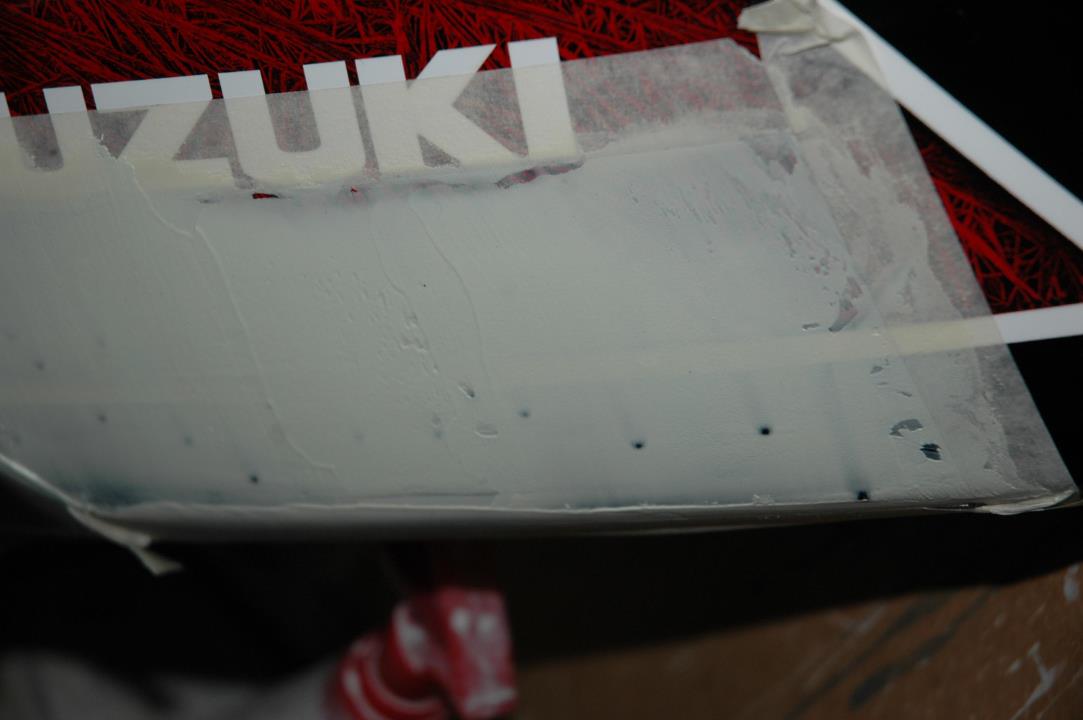
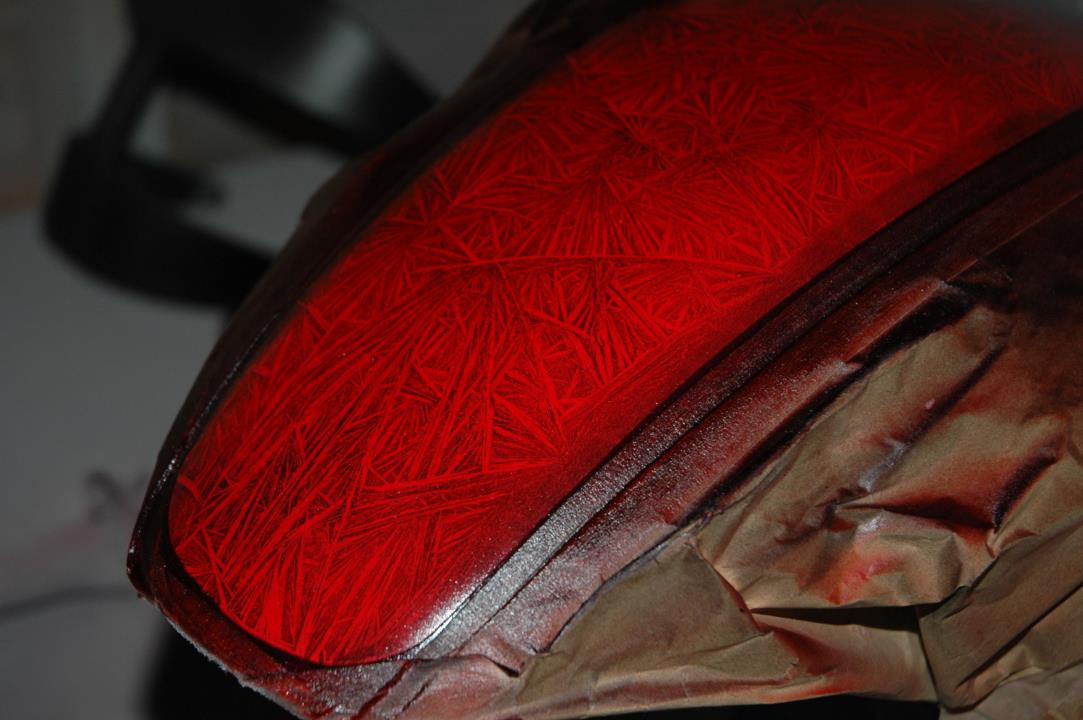
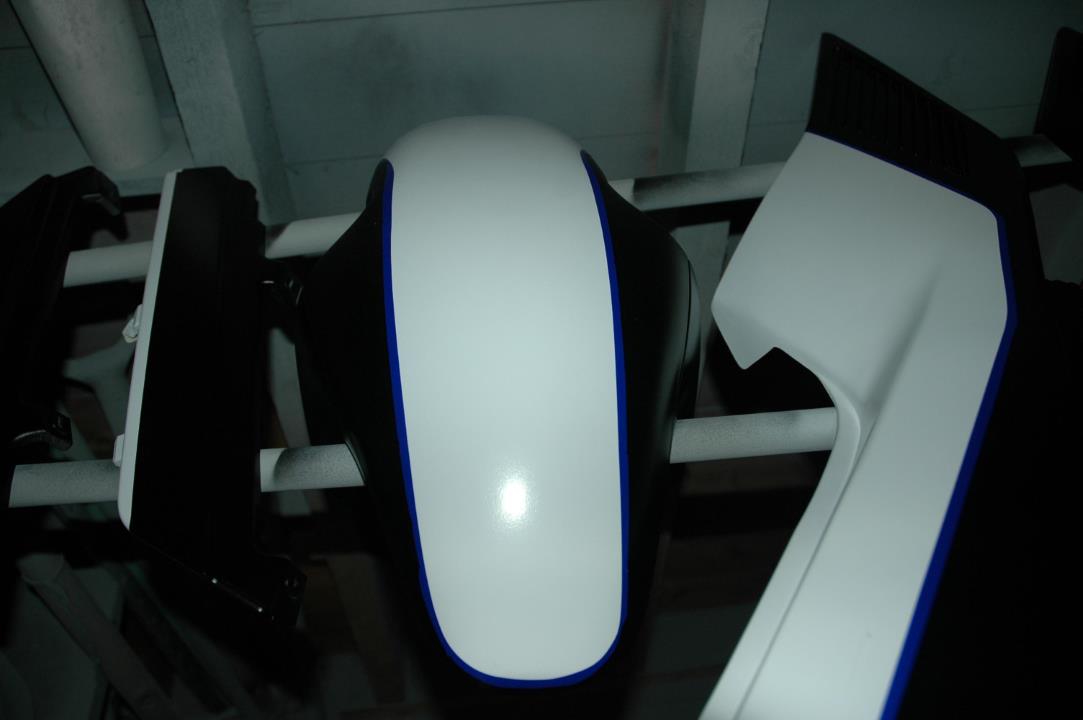
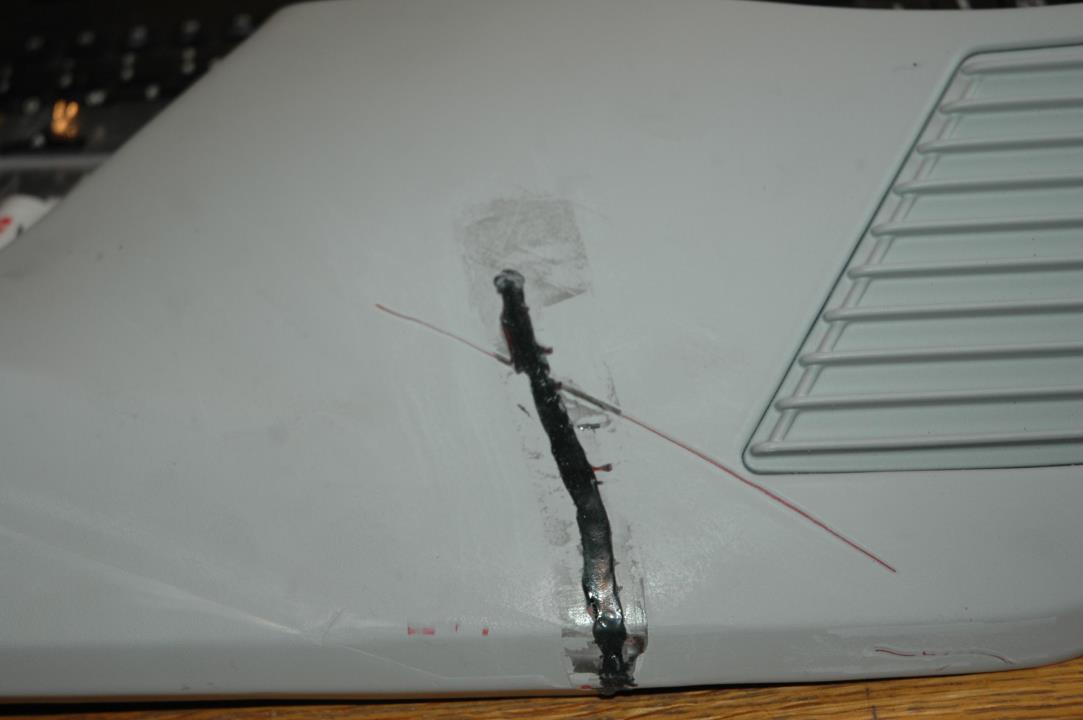
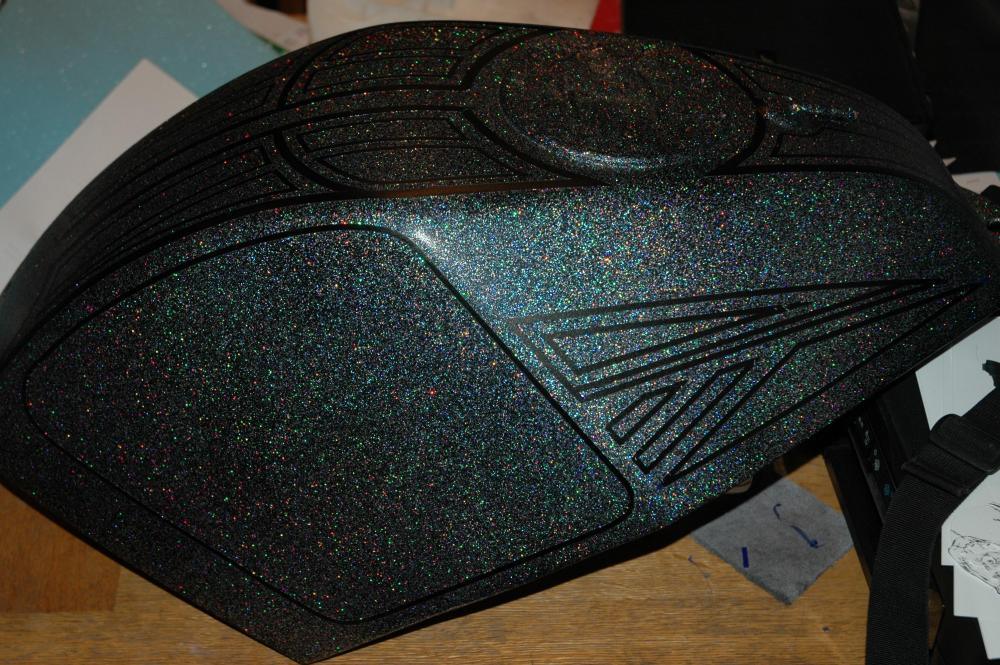
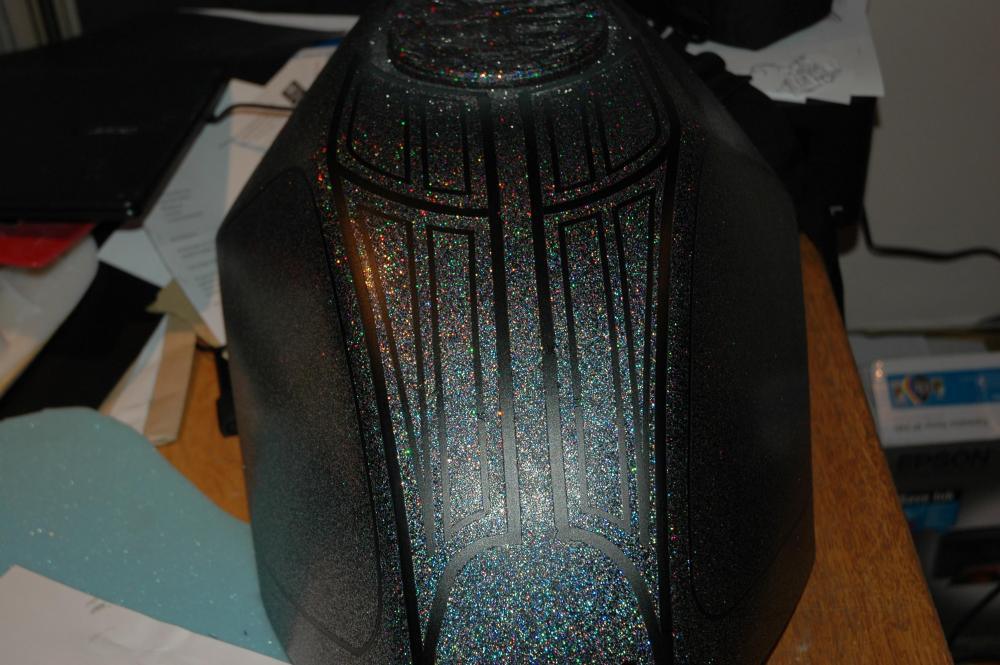
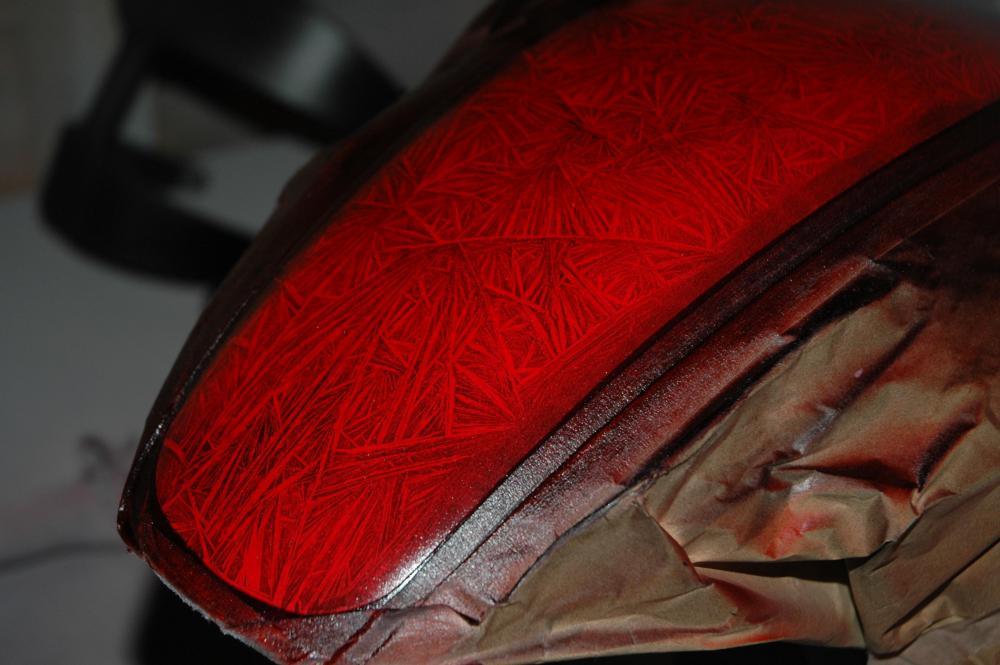
well I have clearcoated these parts now, but since my shed doesn't exactly have state of the art extraction system, there were a few small specs of dust in it. No problem I thought, I will flow coat it.So I wet and dry sanded them at 1500 grit, then mixed my clear for flow coating (this is just an extra coat or 2 of clear, to give the shine a real depth to it) I applied the Suzuki stickers and fired on, as you do,. It was all looking good after the first coat, so I left it 10 mins to tack off, then returned to find a bloody great run under the decal. (despite giving it a light grey scothbrite before application) I couldn't do anything about it so tried to blow it off the panel with yet more clear, nope didn't work. So here is a little trick if you ever find yourself with the runs. First get some Imodium, oh no that's different runs. If you coat the area with a fine filler, it can be sanded down, without the risk of going through the rest of the clearcoat, and the filler acts as a guide. I masked off the area, because the rest of it is perfect. Start on 240, then 400 then 600, finish with 1200 or even better 1500, then polish when its cured. Heres the mudguard, just needs to cure then it will be polished etc.

-
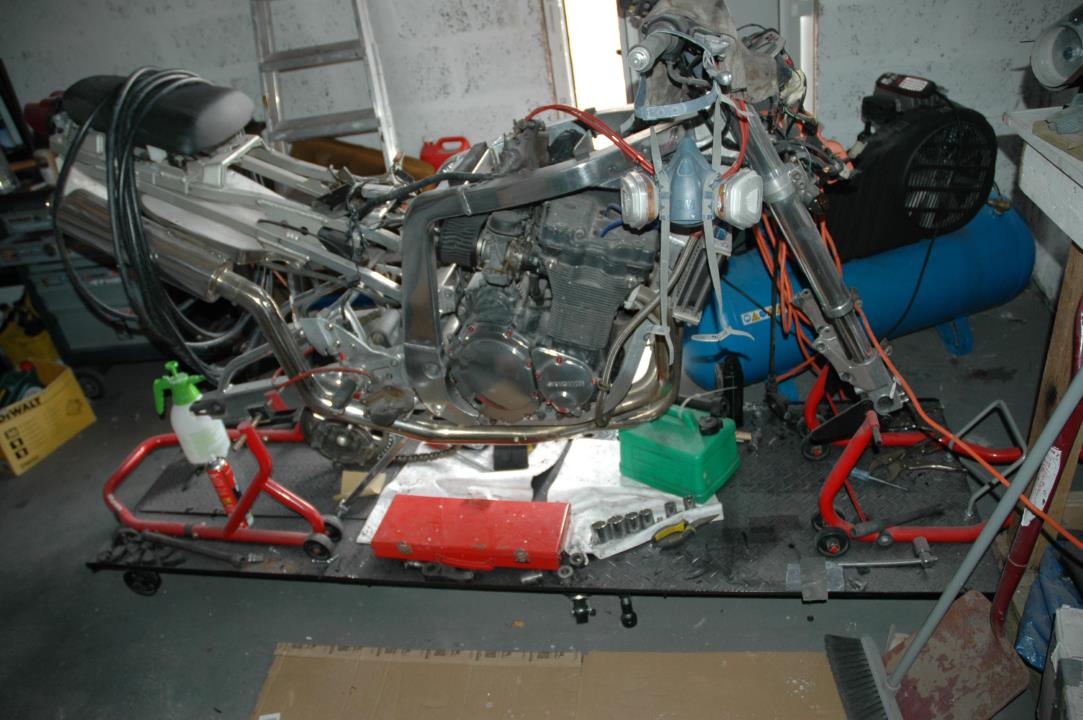
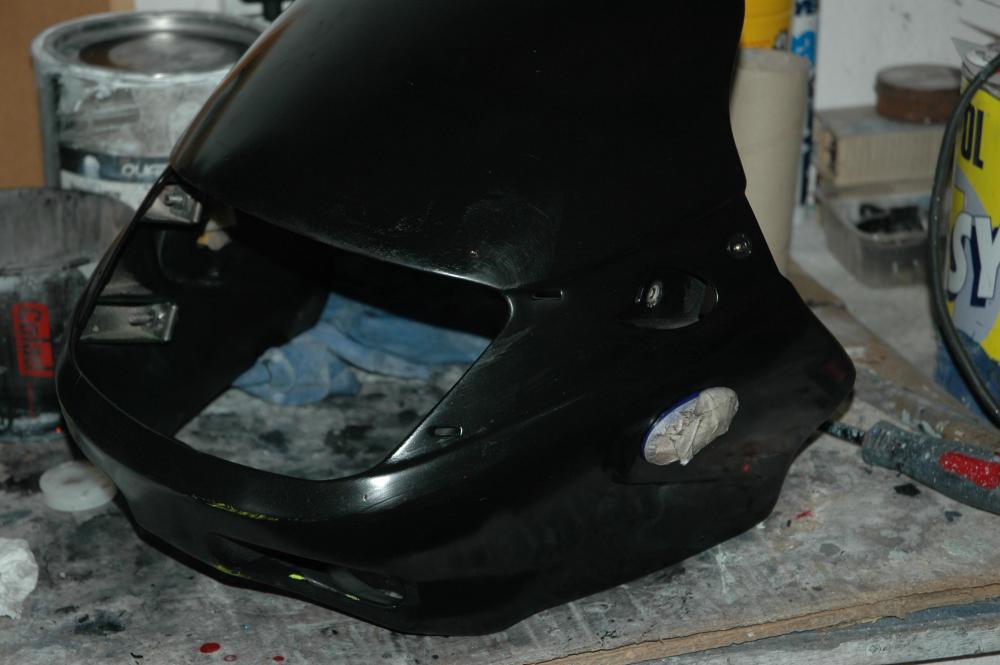
ok having another go at another mudguard today, and decided to keep the nose fairing for now, so stripped it and its also prepped for painting. Would have been much easier doing the lot at once, Was pretty shocked to see the state of the rest of the bike to be honest, its manky, with surface rust on the new frame tubes, and years of grime on yokes etc etc, Decals arrived and are on the tank which is now clear coated, waiting for a couple of weeks to cure, then cut back and polish. it needs to get finished, and I'm aiming for next years TT, (or the year after, or maybe the year after that lol)
- 28 replies
-
- 2
-
-
- metalflake
- groovy baby
- (and 1 more)
-
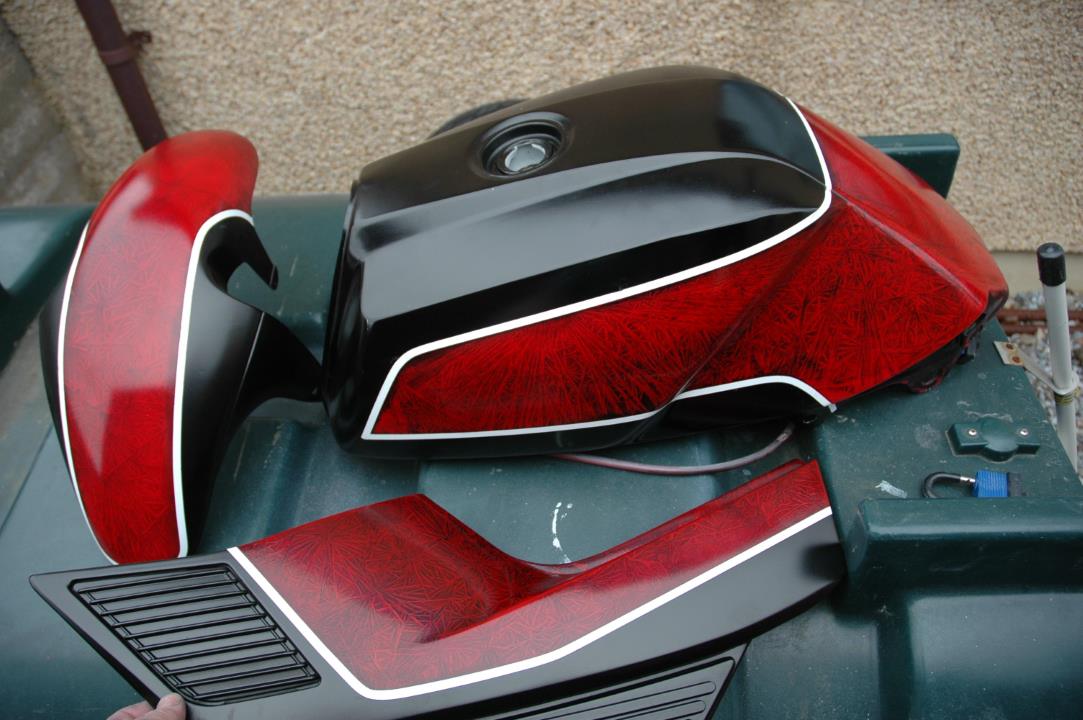
thanks for the kind comments. I painted the front mudguard yesterday and it gone and reacted badly to the binder coat,oh great ! bloody cheap fibreglass shite. it looked ok with primer and the base black, but went all wrinkled on me with the flake, (after I had spent 2 hours masking it up, obviously) so I'm now on the lookout for a slingshot mudguard, preferably cheap, cos I'm skint.. the tank and seat have had 3 coats of clear, needed to fill out the small craters caused by the flake, and the harris decals arrived, so a quick wet and dry of 1500, apply decals, and aply a flowcoat or two of clear to seal it all in and make it slick., before cutting it back and polishing it. the bike has a kle 500 nose fairing thingy on it, but I think I will change it out to a single light, and replace the renthals for standard bars, but don't worry it wont have a brown seat cos it wont be some gay hipster caf racer haha. So, anyone got a standard slingy mudguard to sell?
- 28 replies
-
- 3
-
-
- metalflake
- groovy baby
- (and 1 more)
-
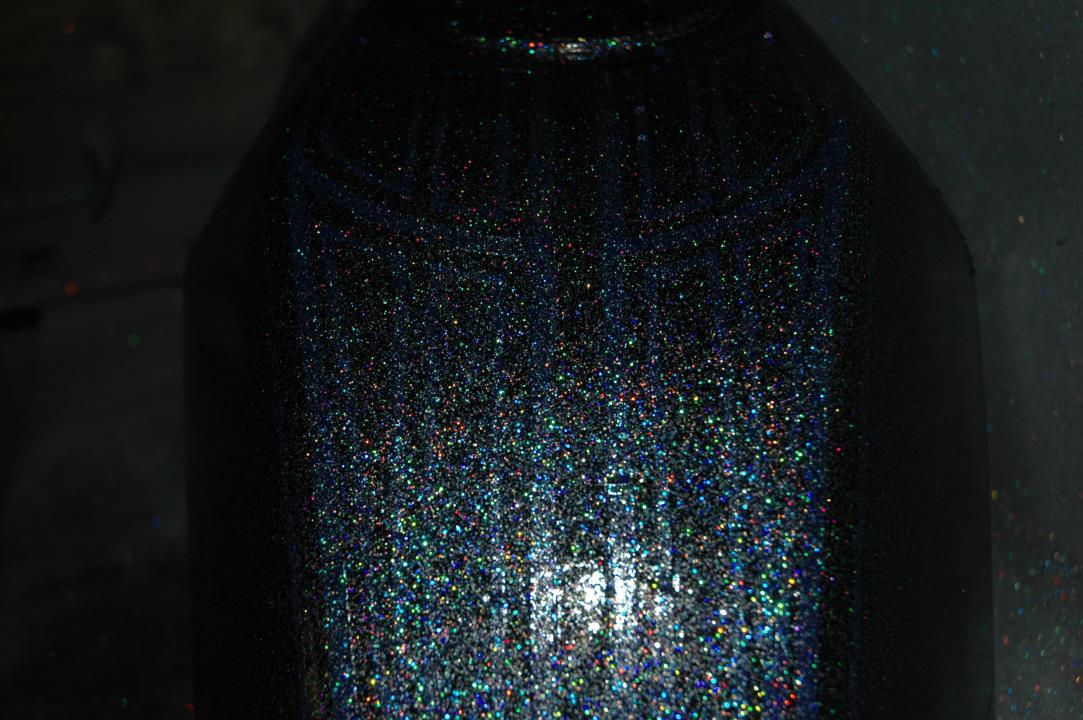
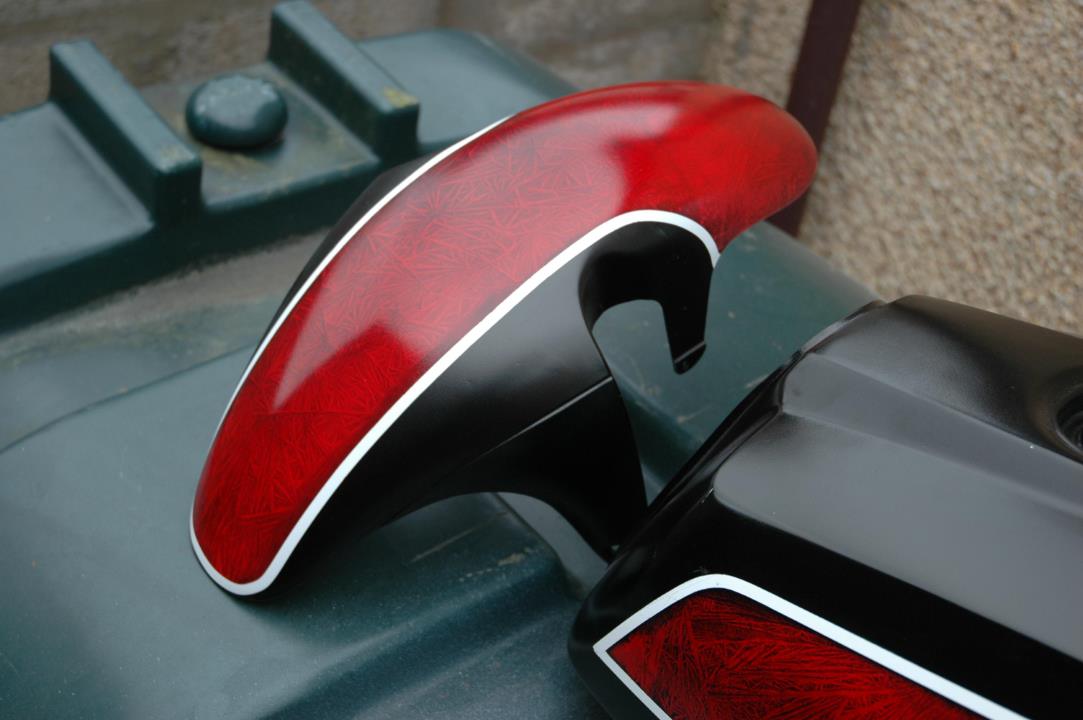
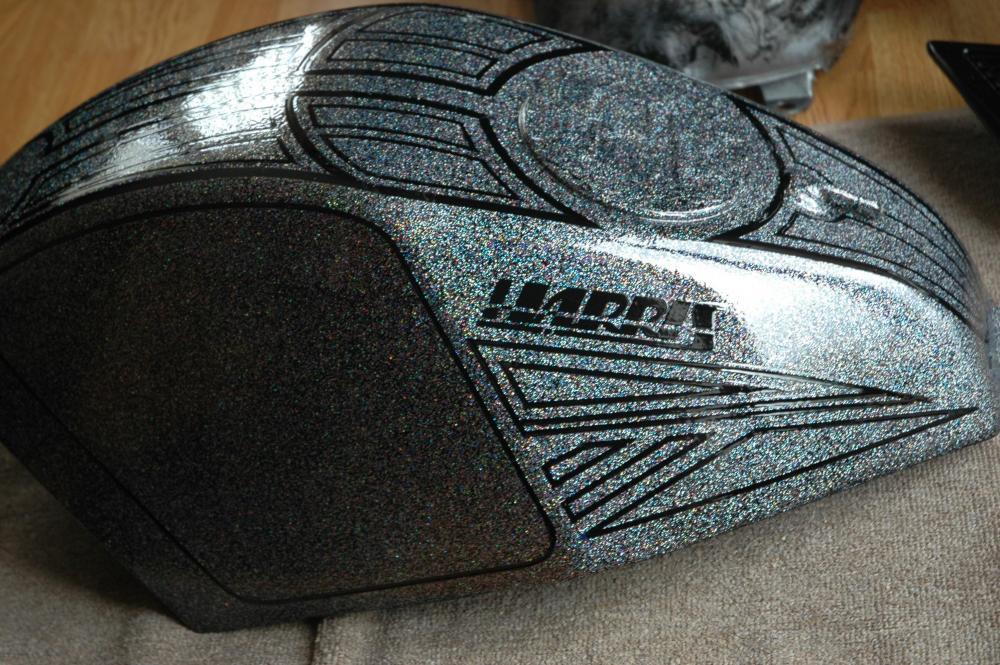
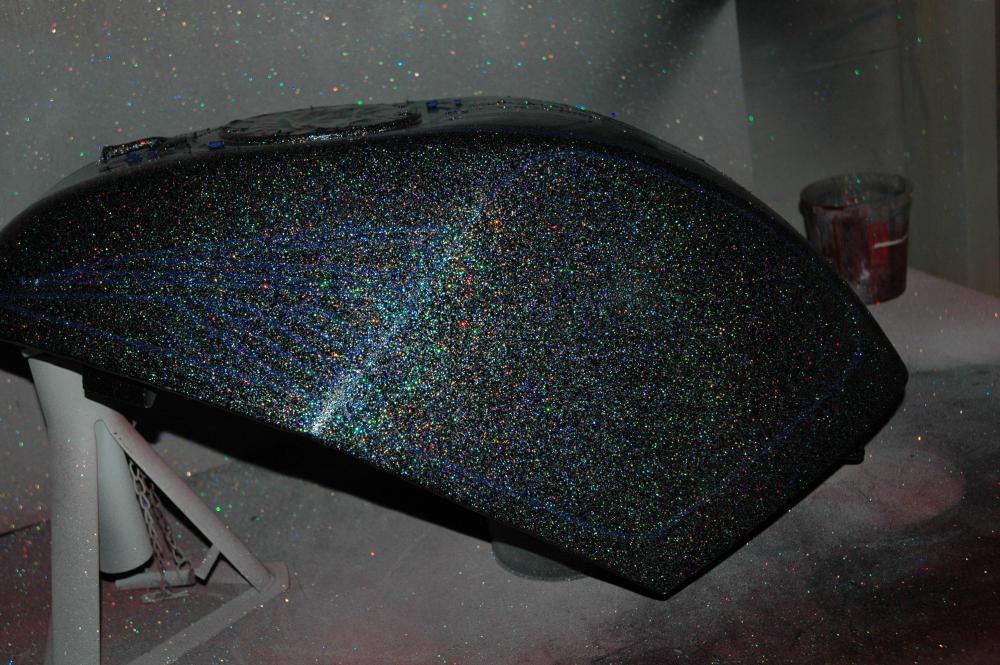
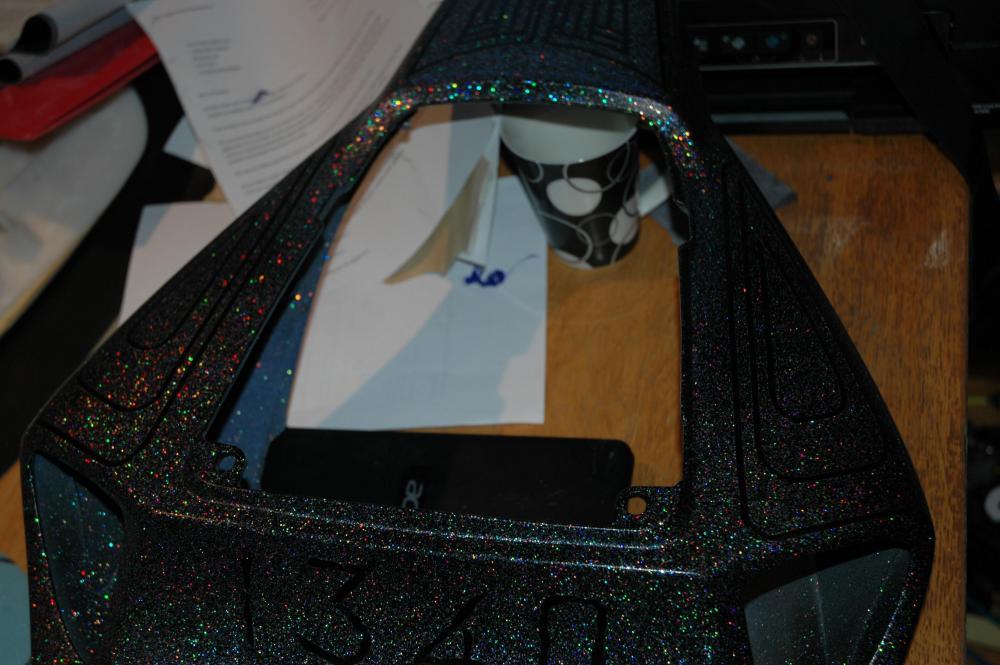
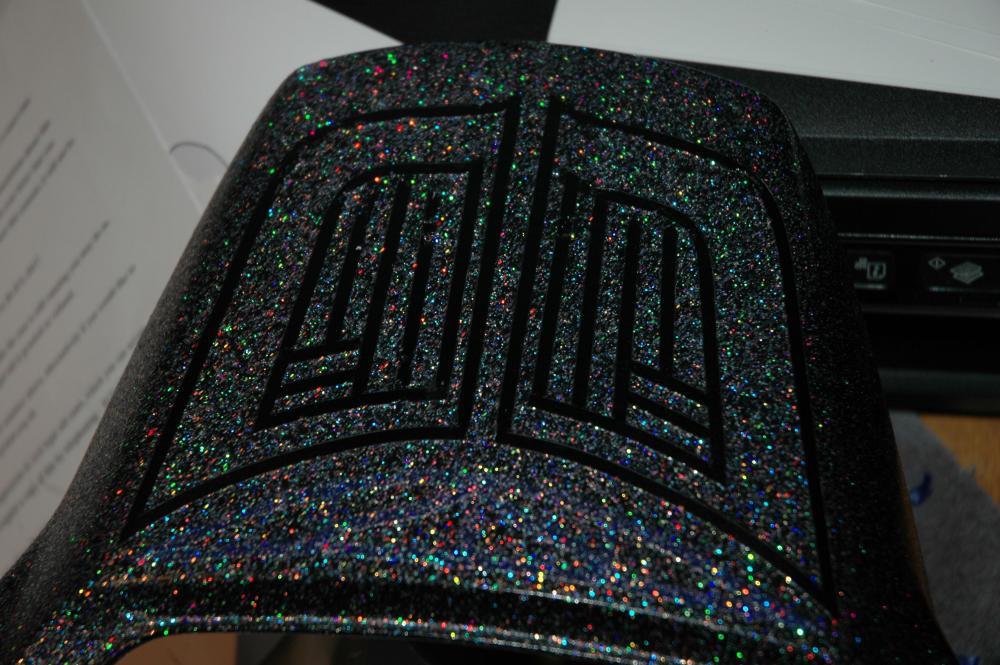
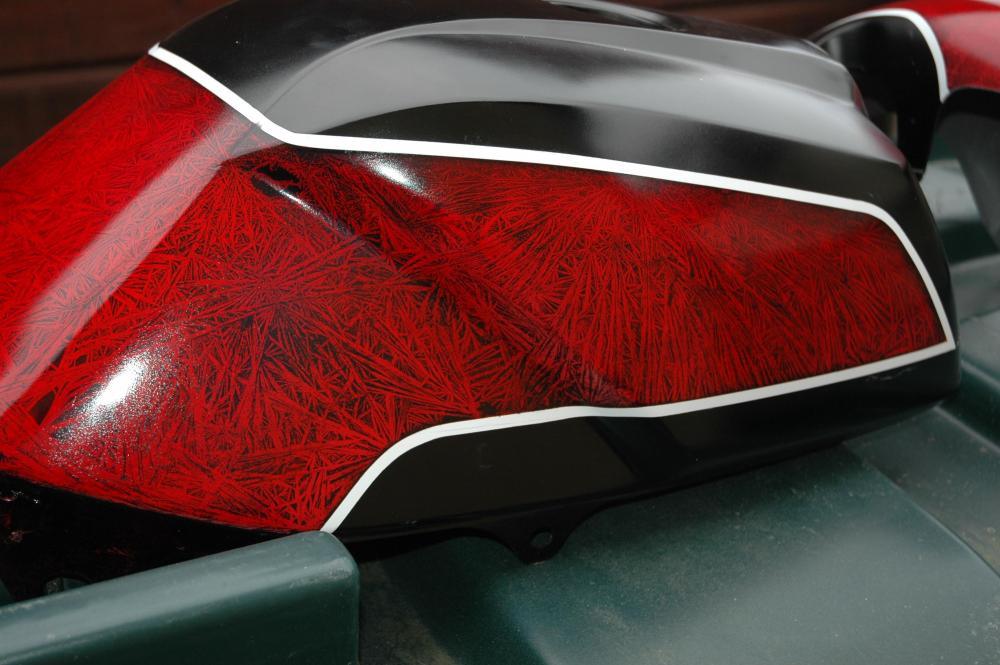
Hello , I have just finished painting my Harris. Well I would have if I hadn't forgotten to do the mudguard.. Decided to go retro, with some groovy 70's metalflake baby- .......ooh yeah. if you think its gaudy, extreme and way over the top, then I will consider it to be - mission accomplished. Now I just neet to finish the rest of it. The photos don't really do it justice its mental and I love it Let me know what you think.

- 28 replies
-
- 6
-
-
- metalflake
- groovy baby
- (and 1 more)
-
Like an excited kid on Christmas morning, I couldn't wait to unwrap my goodies. Just got to clearcoat it, undecided about a Suzuki graphic or not?


-
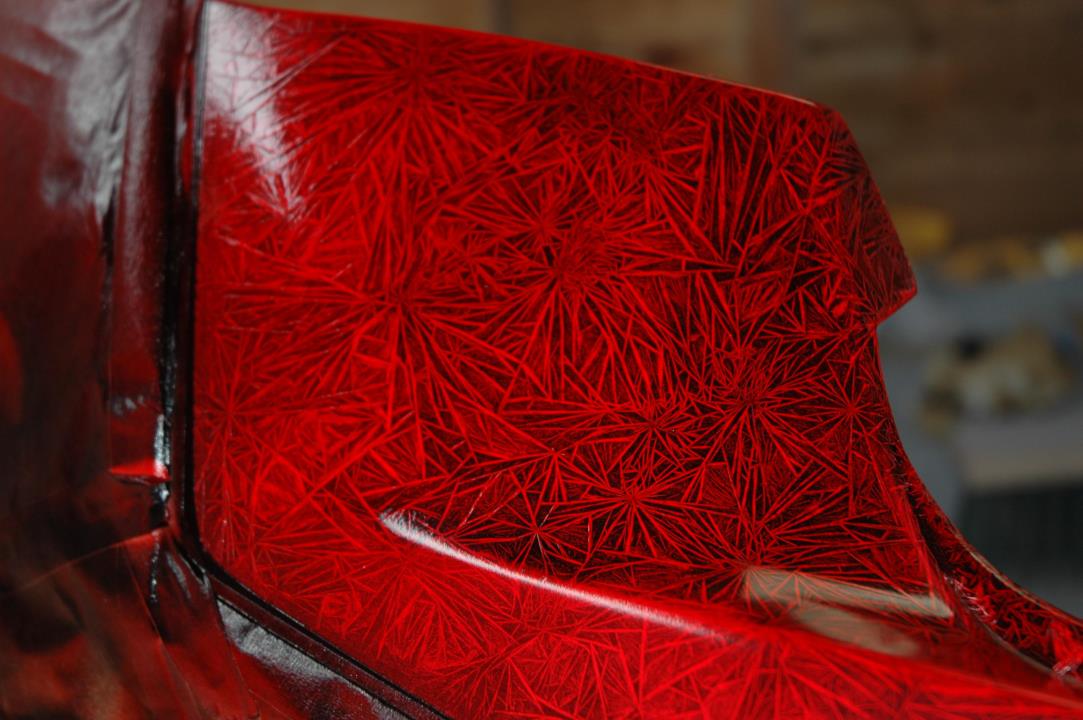
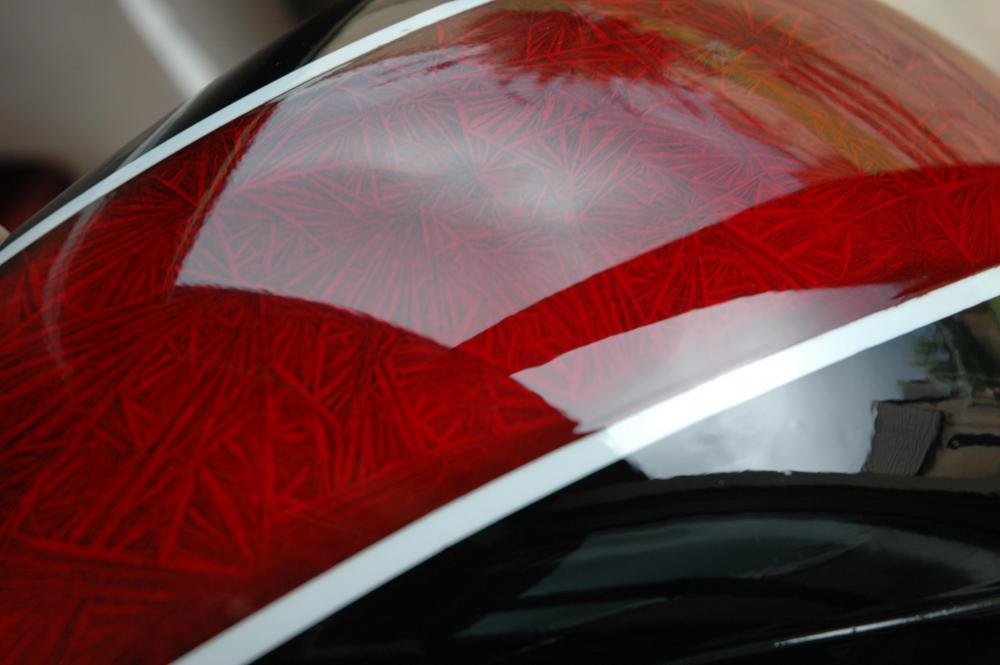
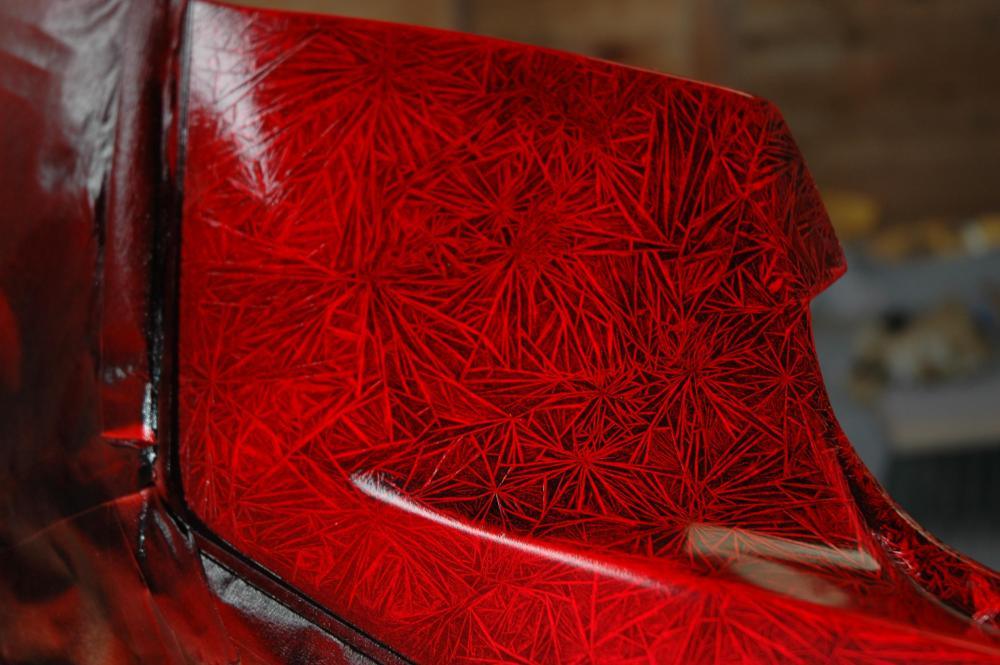
I love candy , ...........doo be dooo bee if you are a child of the 80's and liked punk, this will make sense to you. Todays progress. Stay tuned for the big reveal, its still wet

-
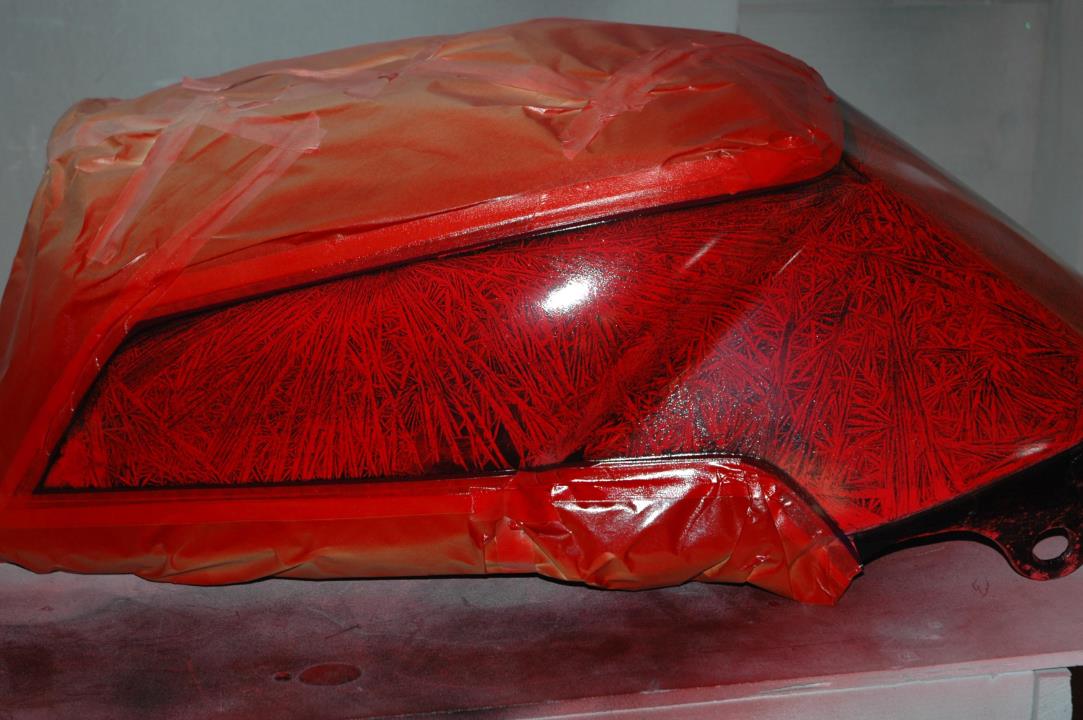
well, progress has been slow, due to my compressor going tits up, but we are back on track now. side panels have black and white on em, just need to do the magic crystal effect on the white, spray it black and clear coat the lot. 2nd pic shows the wurth replast before filler. great stuff


-
Here is mine in its most common pose. this is/ was the orange one which appeared in the very first OSS calander, way back in 1937, or at least it seems that long ago. I never liked it orange its now white and silver with marbelised bits. Just need to sort the wiring locations out (that's why its been on the bench so long - I fucking hate wiring

-
650 quid - really? no chance
-
you have come to the right place welcome aboard
-
I thought that too clive, but it was ok when run through a remote fuel pump (off a zx6r if I remember right) .and a standard 1127 gsxr slingshot engine. this was just using the one tap too, buti don't want to risk it with the big engine, so I will use 2 taps, into a fuel pump, then into the carbs. I had to use a fuel pump because the tap outlet was lower than the carb
-
the forks off the 1100 WP/ WR are longer, as the clip ons were mounted above the top yoke. these are the ones I would go for ive a set on my gsxr katana, and they are longer than the K series forks (750) on my other kat
-
Cheers Busa Ash. Im off to spend yet more money
-
thanks SiBag, ive messaged him.
-
that looks the same as mine, but ive only one tap. anyone know what they are off
-
hi, im mid resto on my magnum 2, and about to start paintwork, i was removing the fuel tap and couldnt help but notice how small the outlet is on my single outlet tap. it looks about 6mm, and previously ran thru a fuel pump, which will have to be used again. anyway the engine is now a gsxr 1340, and the single outlet tap wont cut the colemans, for fuel supply. Any suggestions, bearing in mind its a threaded boss into the tank? i notice there are 2 outlets on the base of the tank but one has a bolt blocking it. im thinking out loud and suppose it could also be used. Any idea what the original tap is off as well?