

yantosh
-
Posts
946 -
Joined
-
Last visited
Content Type
Profiles
Forums
Events
Everything posted by yantosh
-
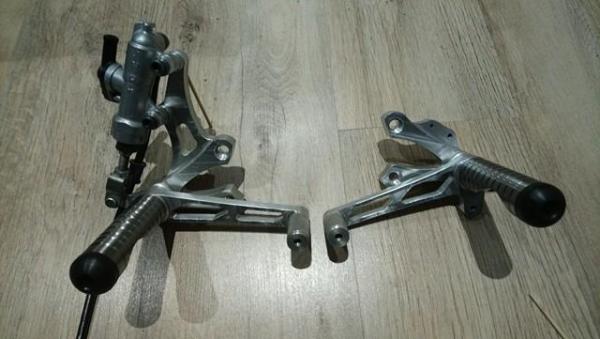
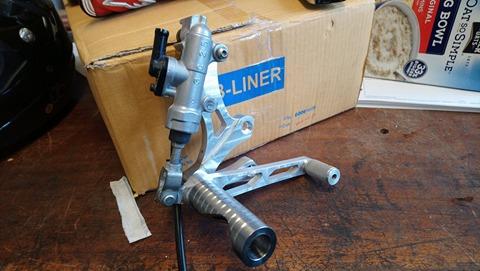
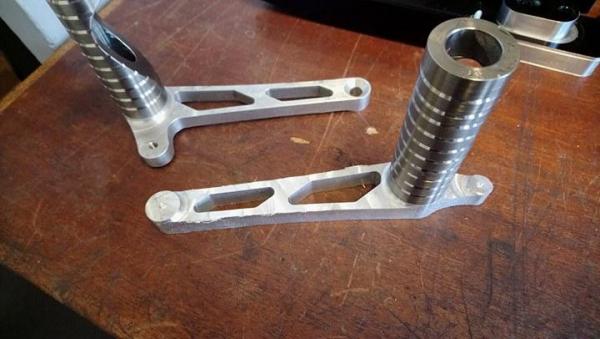
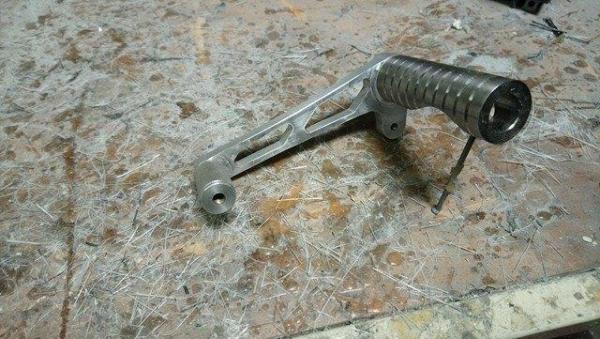
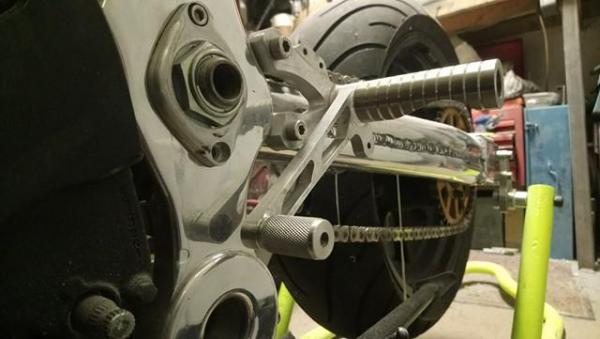
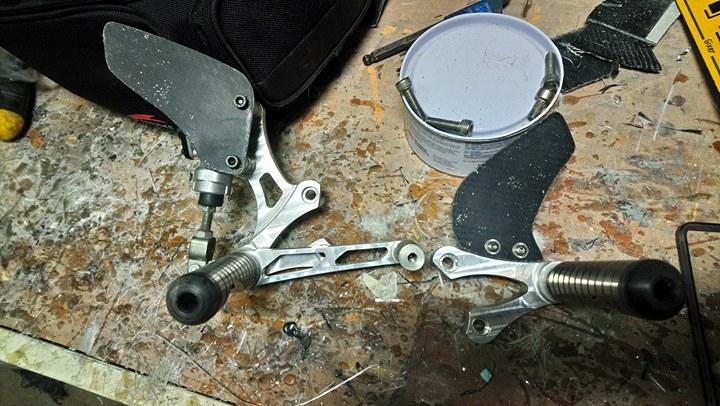
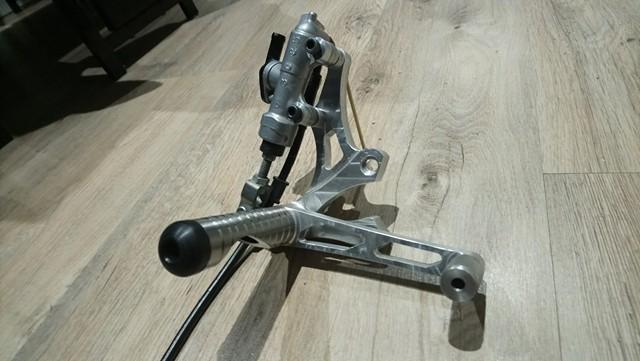
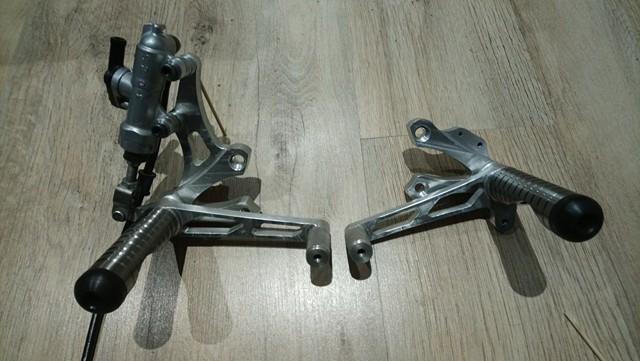
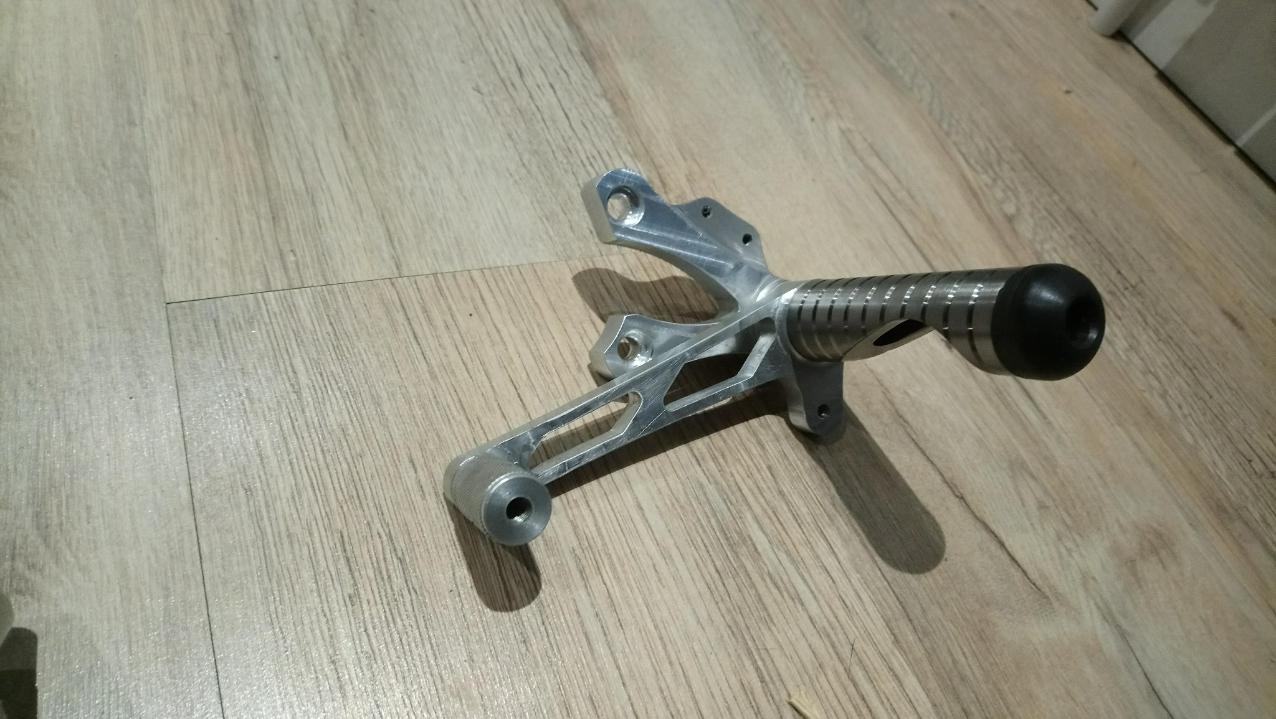
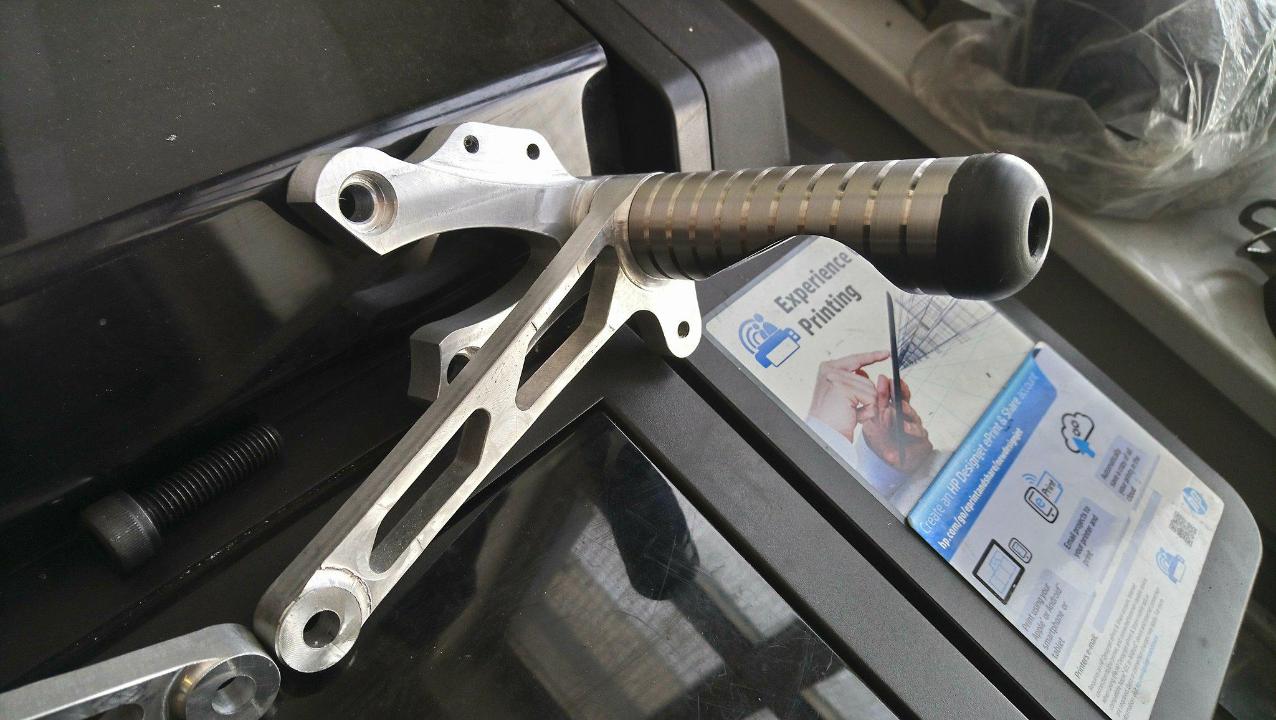
OK, rearsets the frame was never made to suit any standard rearsets, they were designed to fit the seahorses. The pegs are Ti, dunno what grade, a friend gave me some offcuts. One piece was difficult to drill , really difficult, the other bit...... fuckinell..... it was nearly abandoned on several occasions, even tried spark eroding through it , to no avail, managed it tho, but the idea of tapping it was abandoned. It turned no problem and milled ok with tipped cutters Nylon sliders were made for the ends with holes drilled through to suit the allen key I wanted kevlar heel plates , so I made some flat kevlar on my stainless bin lid , cut them to shape, drilled the holes and clear coated them


-
rearsets sneaked in above, best go find pics wait....wait.... arm wasn't done couple of tubes were missing

-
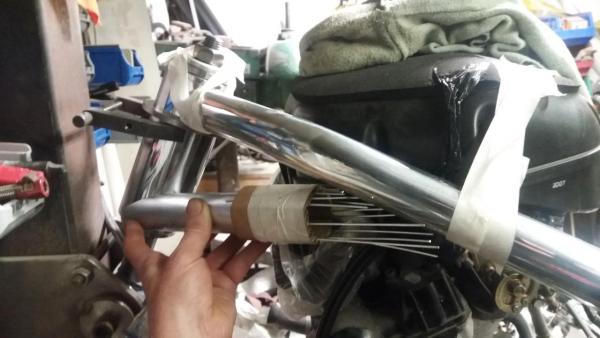
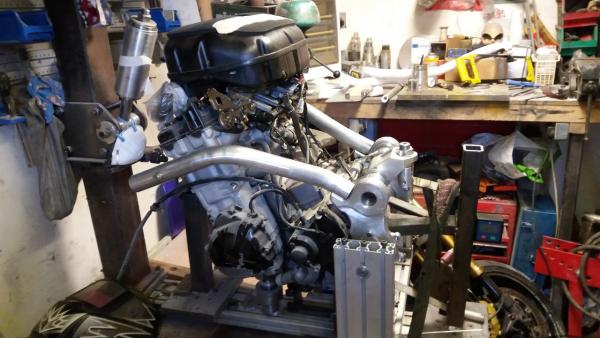
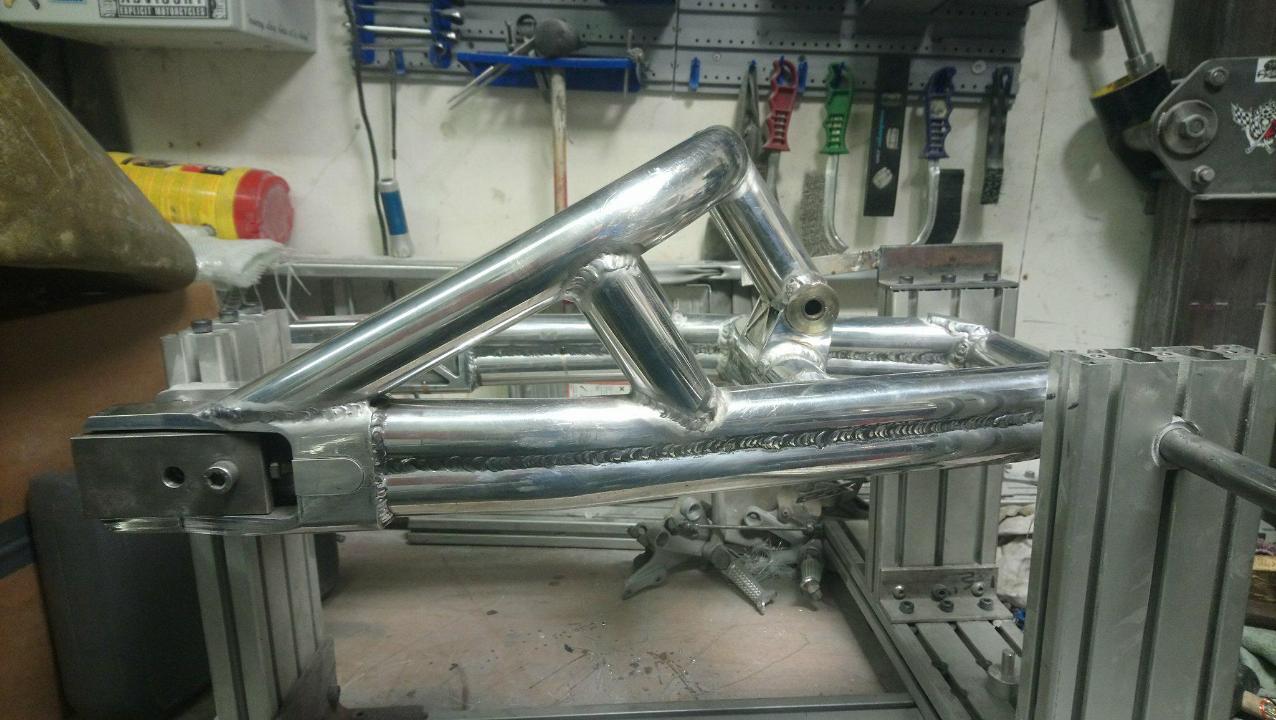
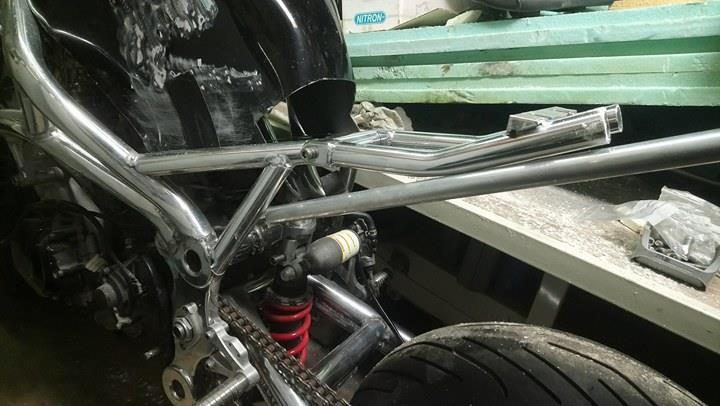
back outside for a looky look, you don't get much perspective inside a small , very full shed the brace was made up and fitted with the finest duct tape to be sure to avert any disasters, then back in the jig and properly glued I think the arm was pretty much done by now , but still a shit tonne of stuff to do


-
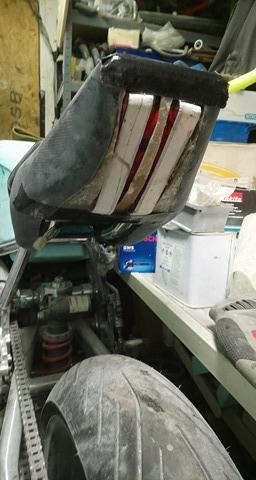
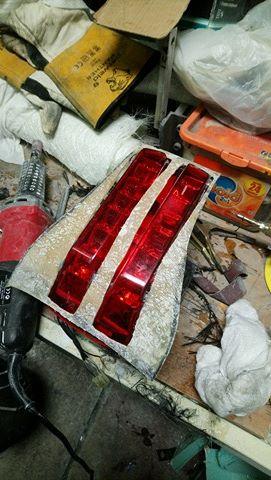
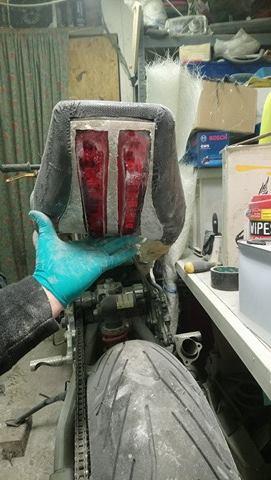
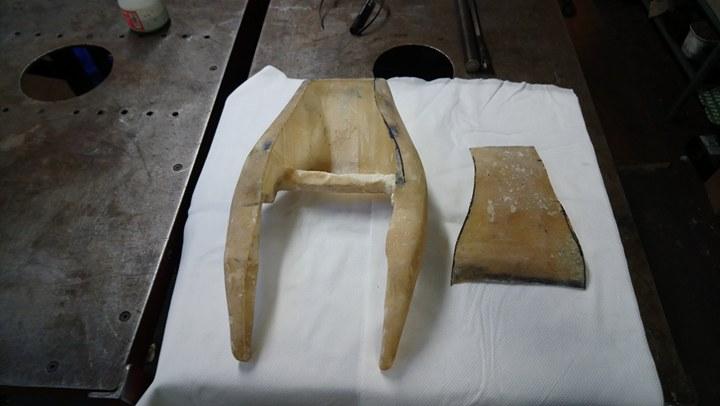
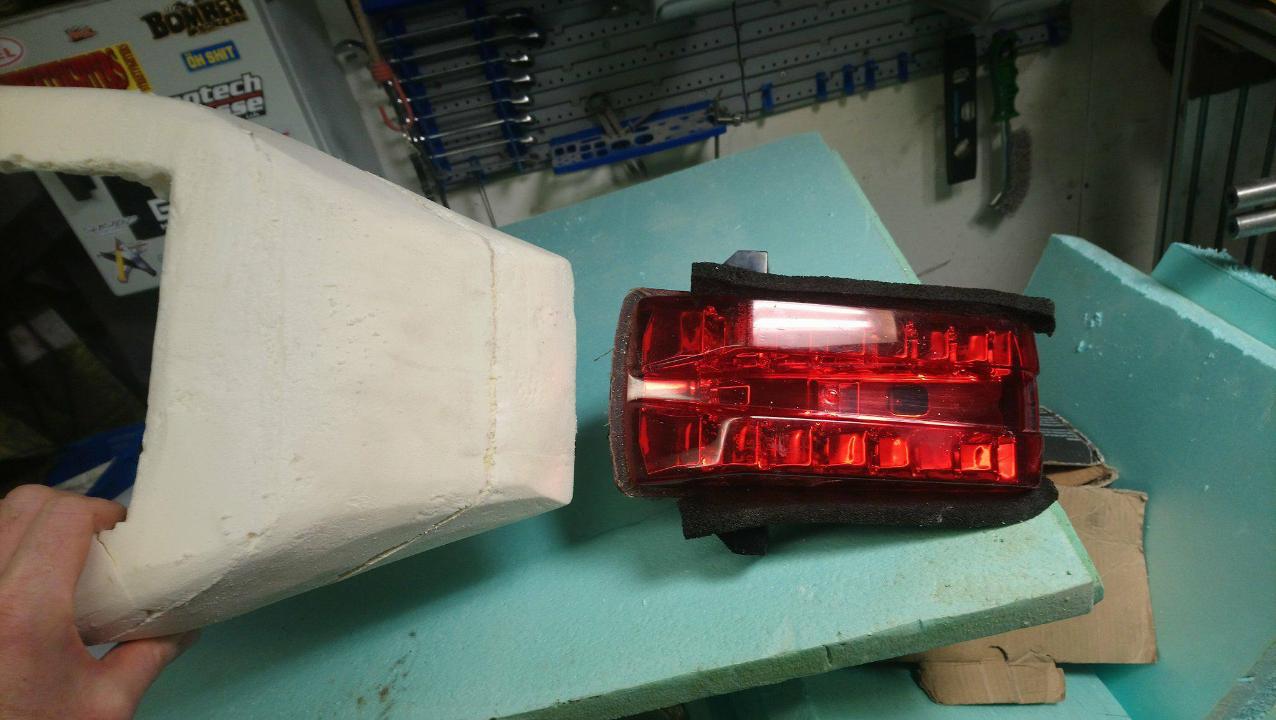
time to get all wibbly wobbly back in time tail unit I picked up an SV1000 tail light, it's straight, while i would have preferred curved, but it's close enough. the full buck was then skinned in glass, a section cut out to suit the light, then it was all stuck back together with fibreglass and kevlar . There was prob more stages, but that's the gist of it


-
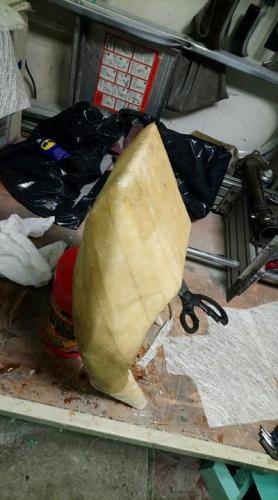
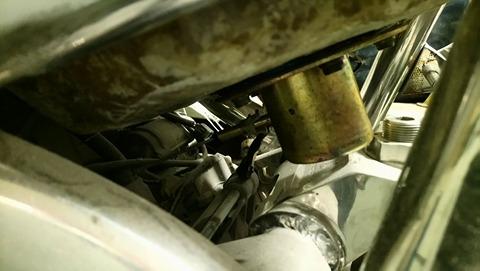
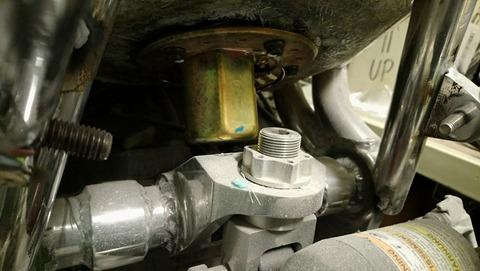
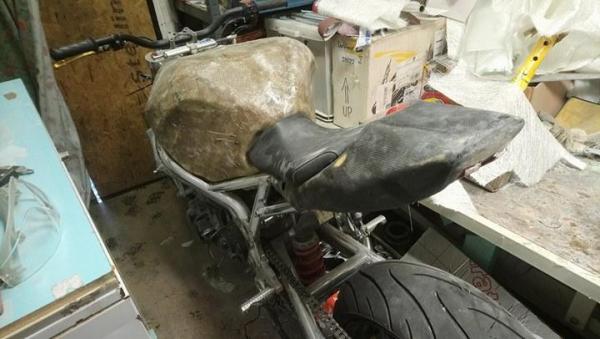
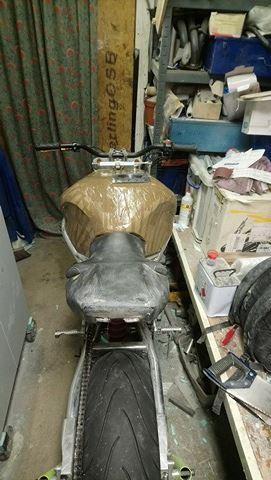
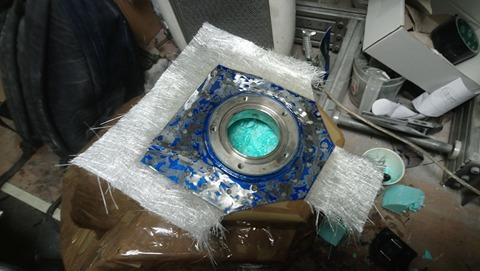
I then spent the rest of my life and every penny I've ever made throwing layers of of glass and kevlar onto the tank , the result being a tank that weighs as much as the engine then i thought I'd better try the fuel pump ..... ooohhhh.... that was close , if that pump had hit the shock mount all the toys would have been out the pram
-
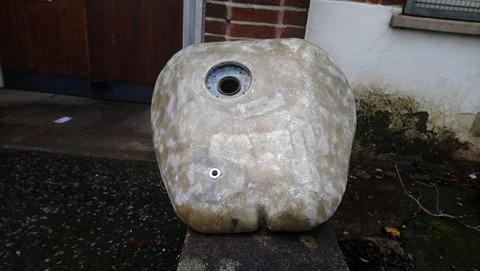
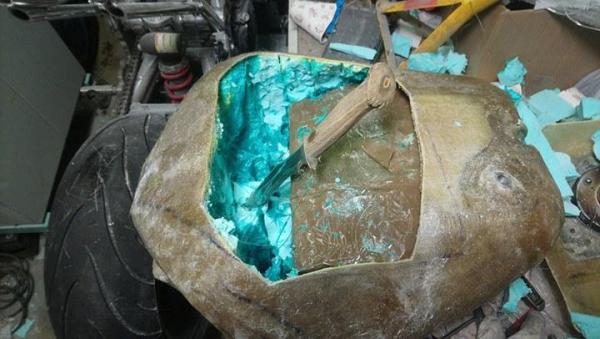
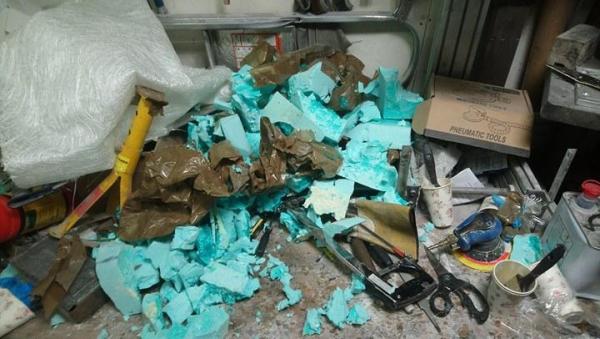
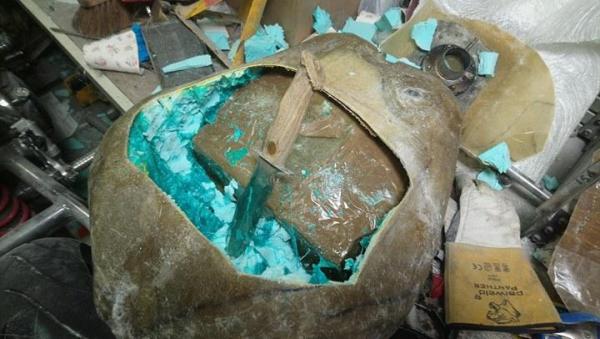
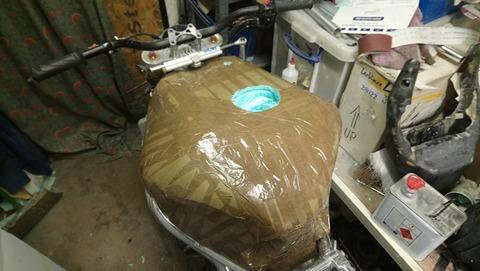
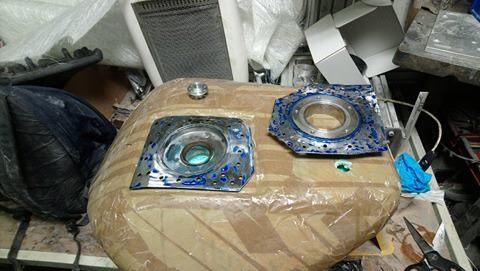
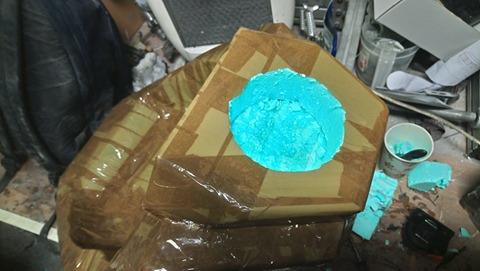
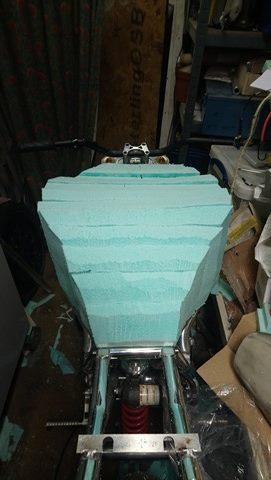
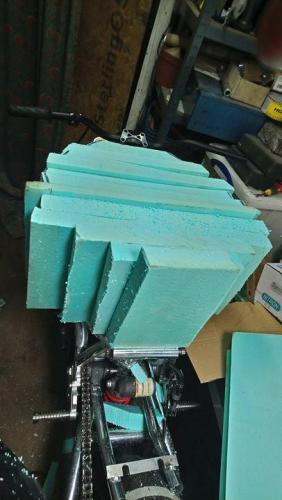
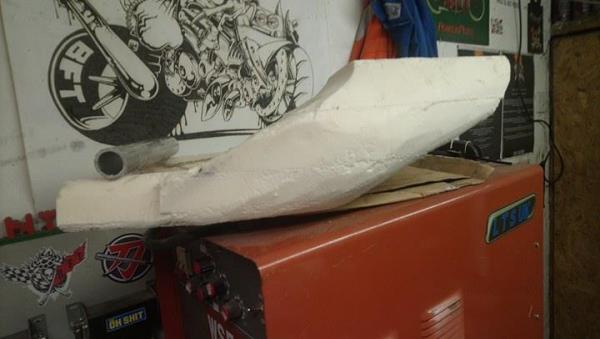
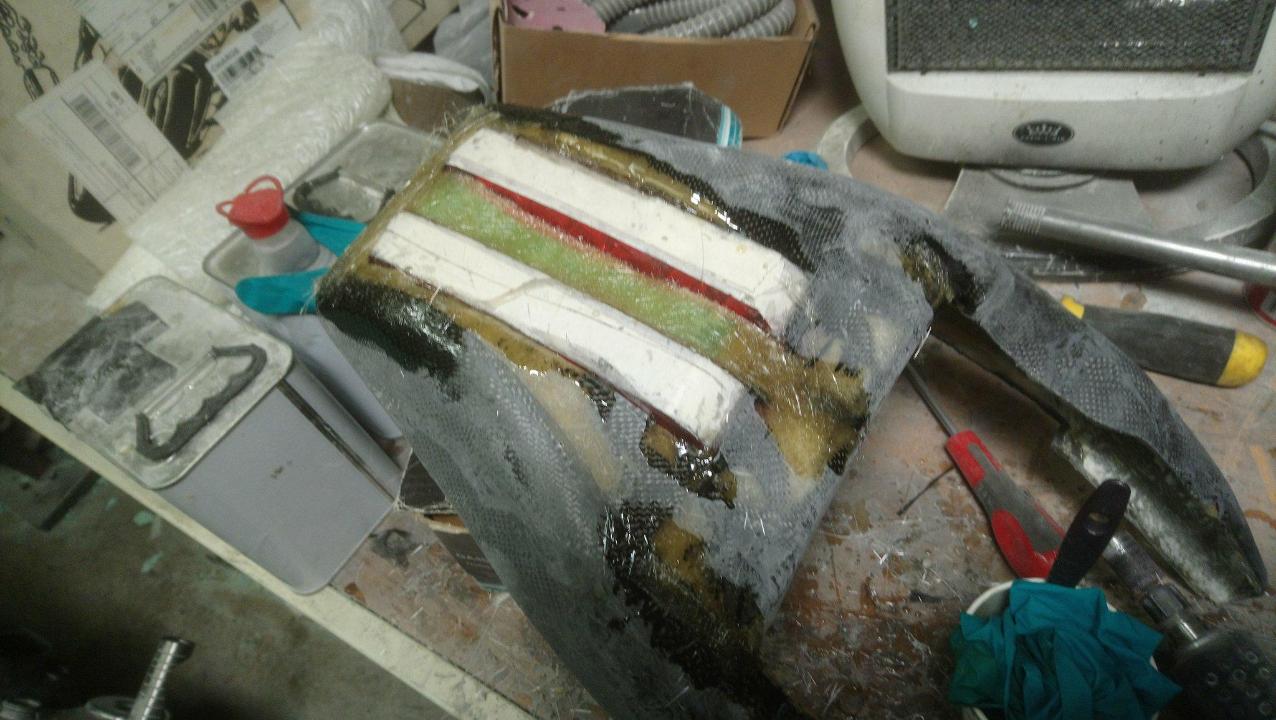
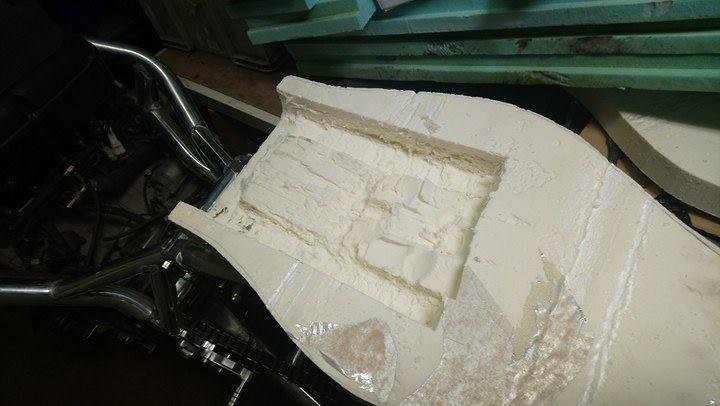
the tank was given it's first skin of glass, and the acetone idea was abandoned, instead the top was chopped out and the foam was dug out .... old skool

-
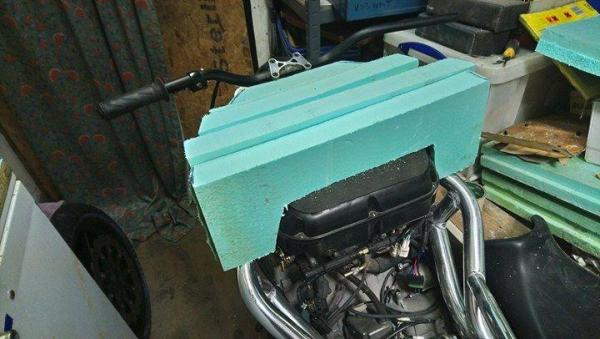
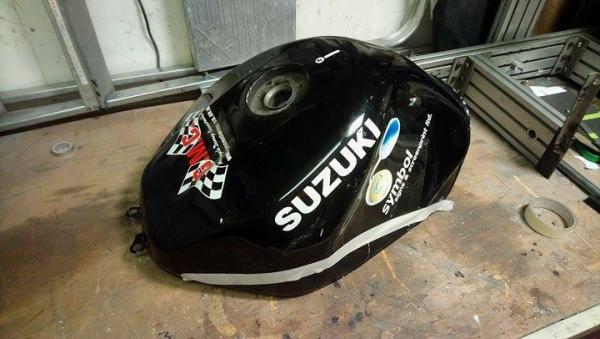
as much as i tried, I kept having cracks, gaps and crappy bits in the foam, so I skinned it with packing tape, resin don't stick to packing tape. I also have to get fuel in and out , so the sacrificial tank was relieved of its filler neck and pump mount and they were grafted into the buck ignore the tail, we'll get back to that
-
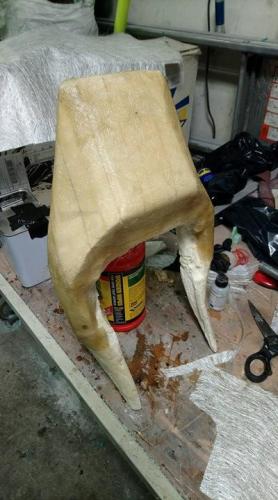
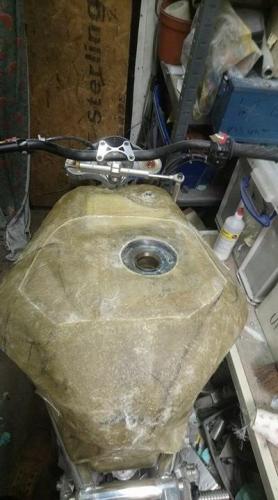
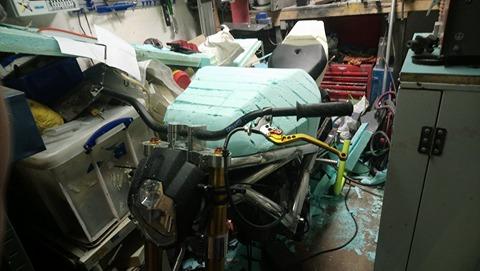
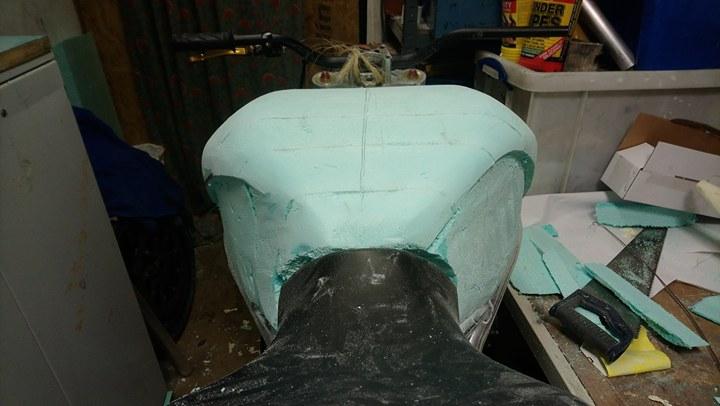
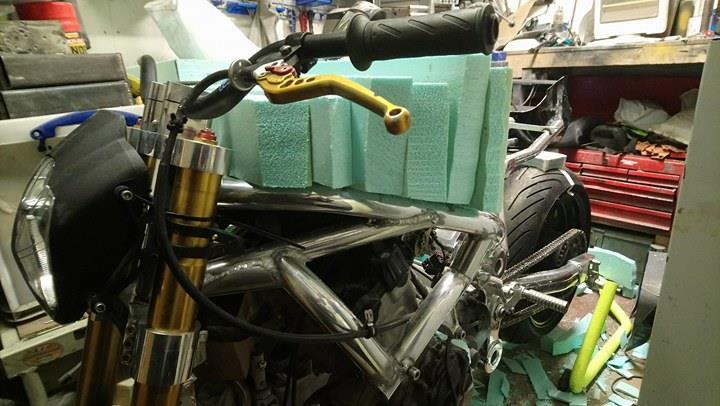
right, we got to tank ... this was an epic, of biblical proportions Initial thought was an ally tank, but doubts crept in, could i do it.... could i do it well ? Then it was fuel cell and cover (which is what i should have done) , but then I saw a you tube thing with a guy making a glass tank ... I can do that.... i discovered early on in the tail build that kingspan doesn't melt with acetone, ( that had been the suggested choice for melting out the buck) , but luckily enough I managed to purloin some blue foam stuff. as you can see from the pics I was still deluding myself into thinking the airbox would fit) . I then spent the next few weeks rubbing down, shaping, building up , repeat until I had the massifist tank you ever saw , and I was happy TBC


-
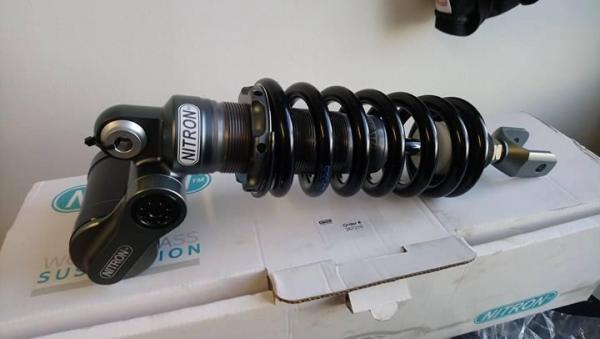
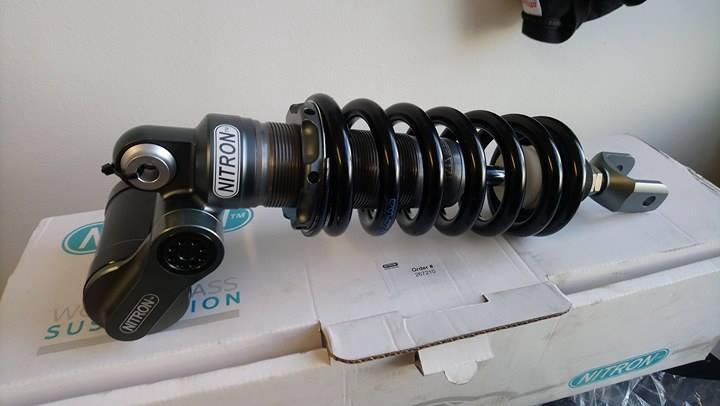
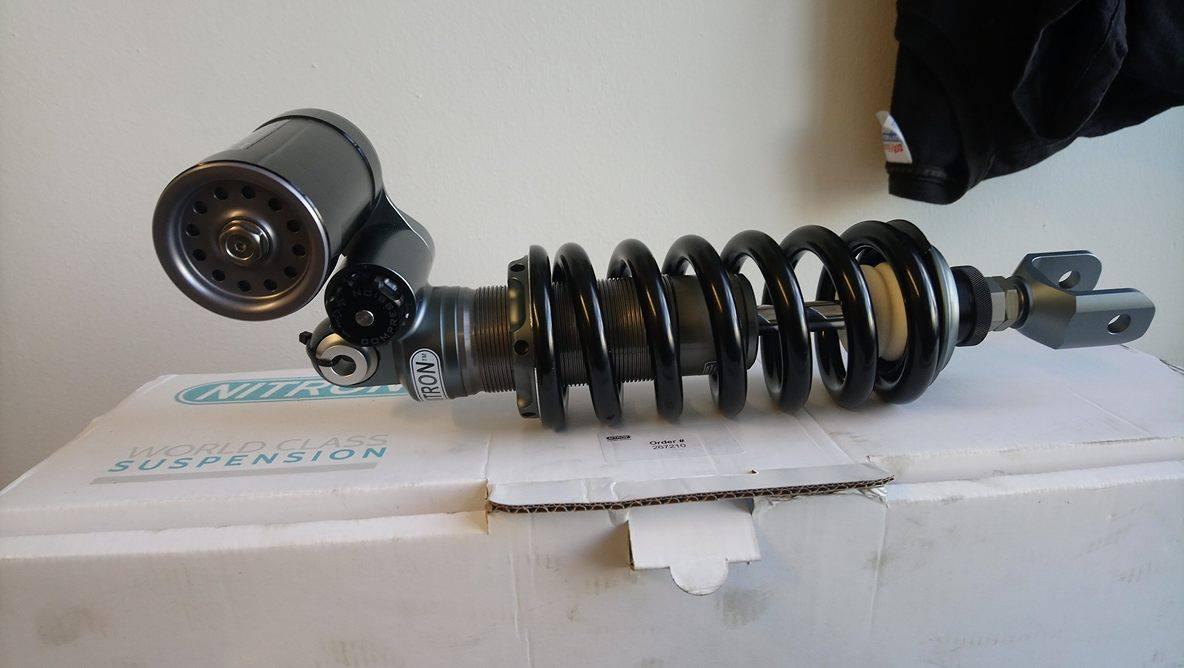
i'll give you a shout with the weight's i have / need , I have the black spring, but was going to fit a blue one
-
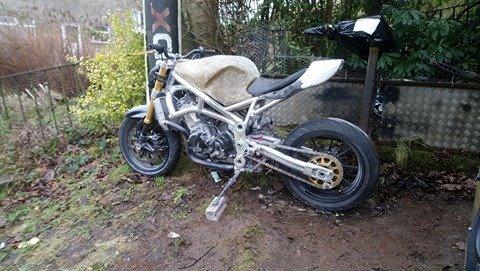
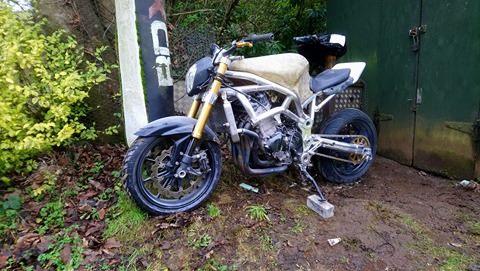
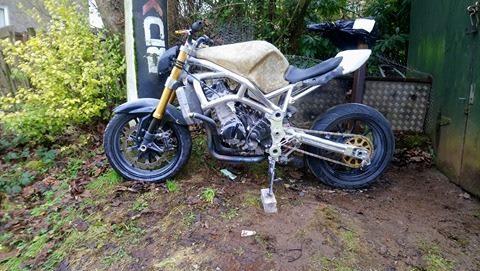
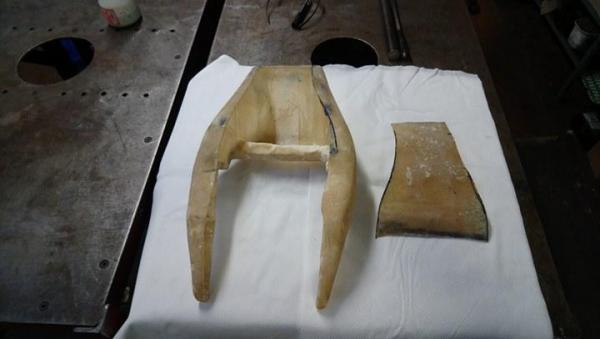
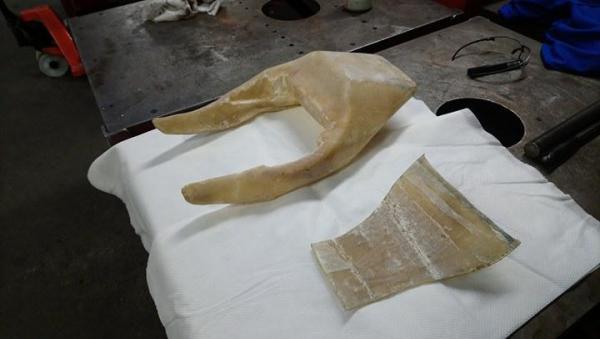
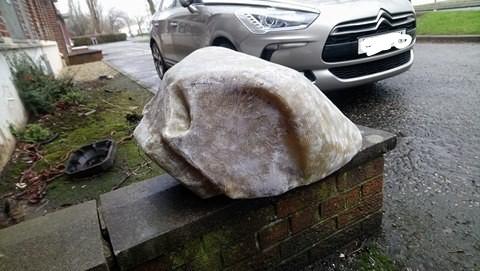
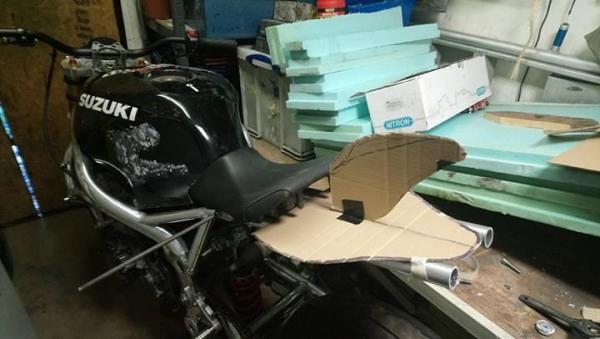
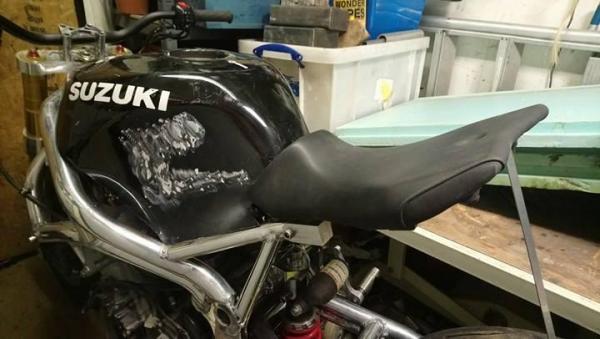
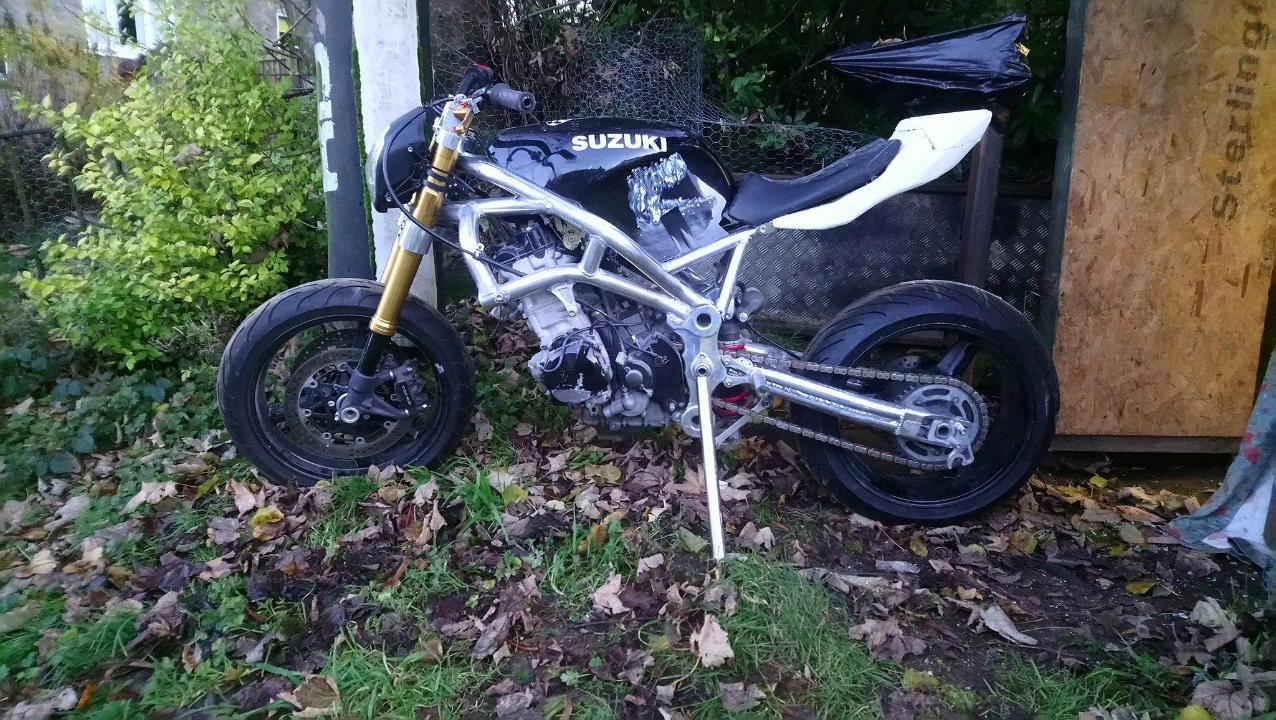
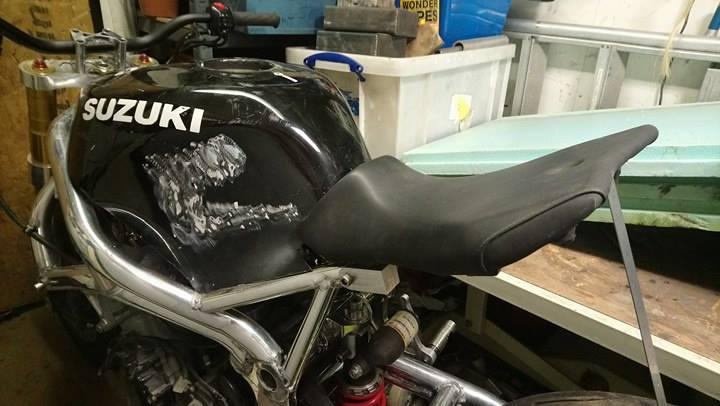
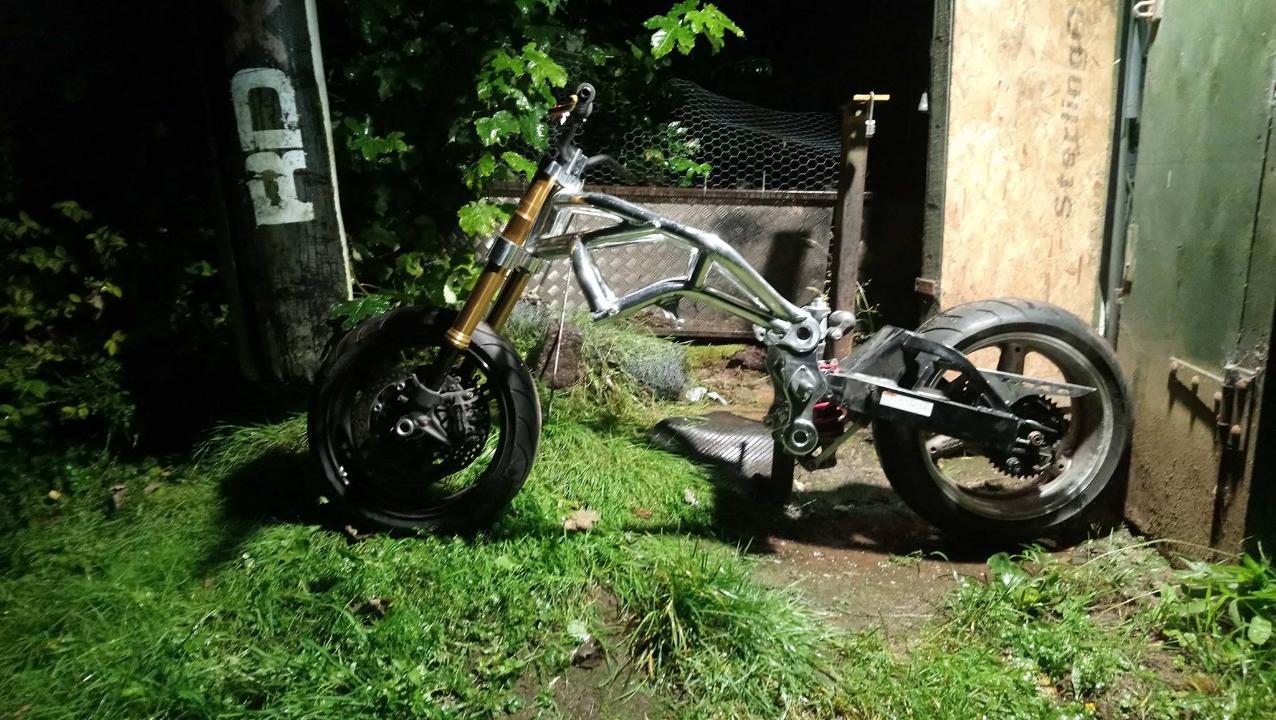
time to start thinking about bodywork with hindsight the tank proved to be a folly, I spent a fortune on kevlar, resin and fibreglass, it took fuckin ages, and ended up weighing a tonne. I did get a season out it before the pinhole leaks got too much.... but we'll get to that checking pics, it would appear i started on the tail first, the tail buck and subframe kind of developed in conjunction with each other . The buck was kingspan, glued and screwed into a block , the seat is from a Yamarharr R125 and it would appear by this point I've blagged Deeks mt headlight (cheers mate) think that'll need to do for the day, more tomorrow


-
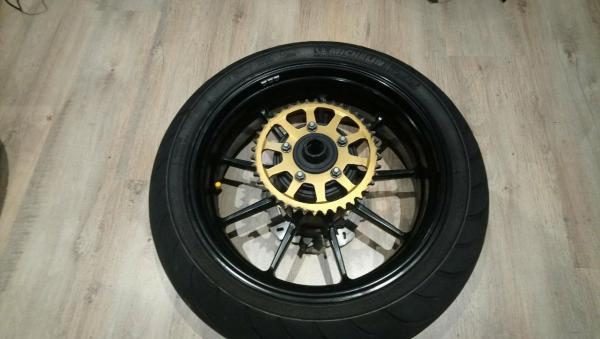
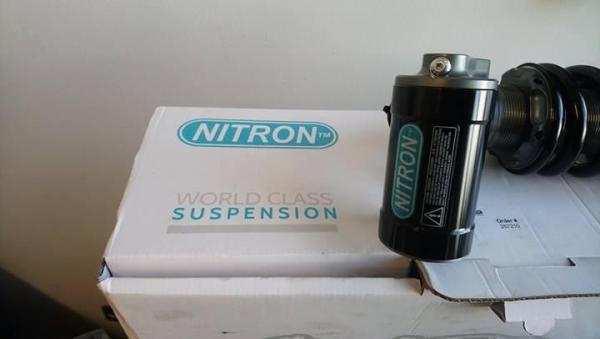
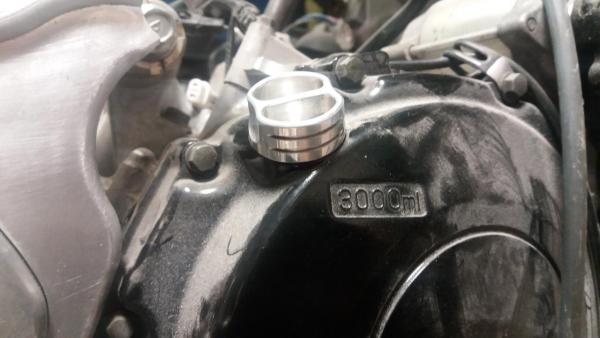
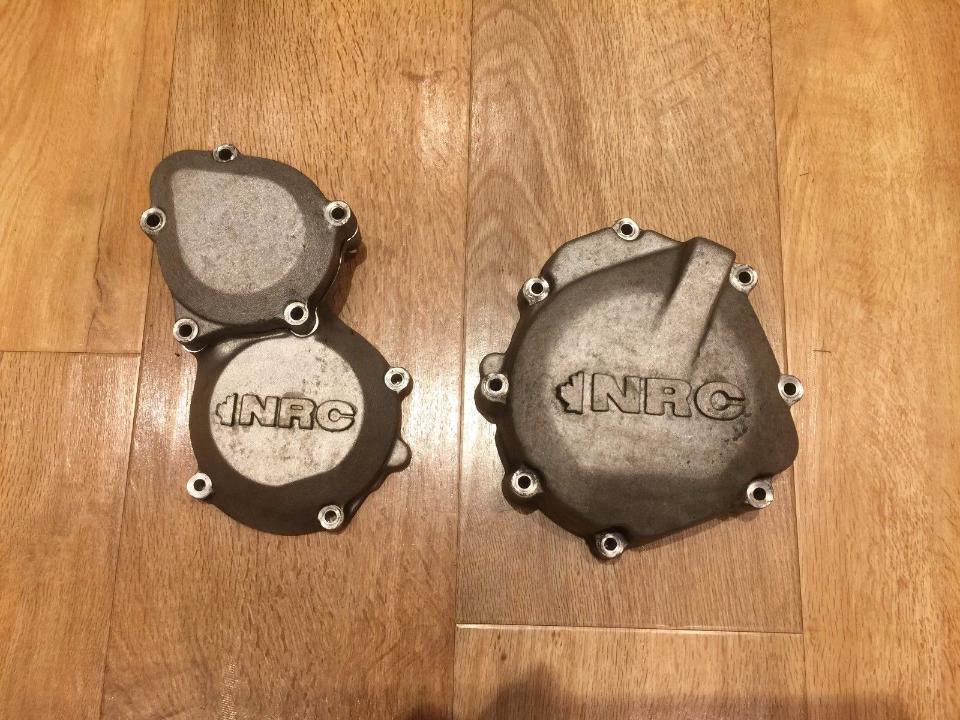
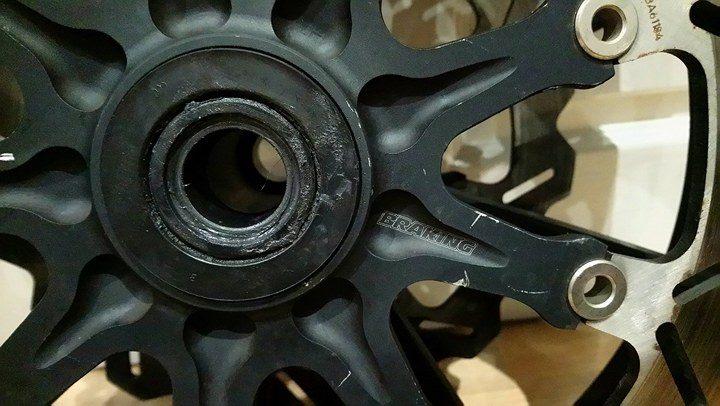
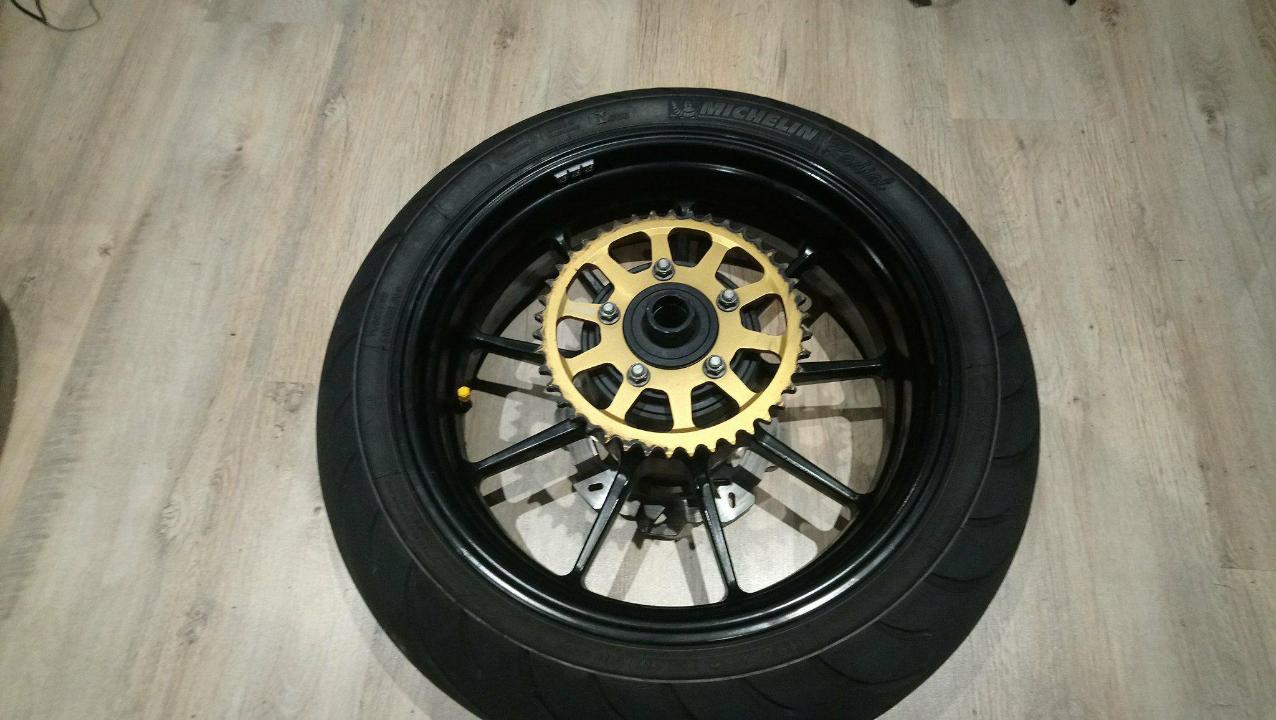
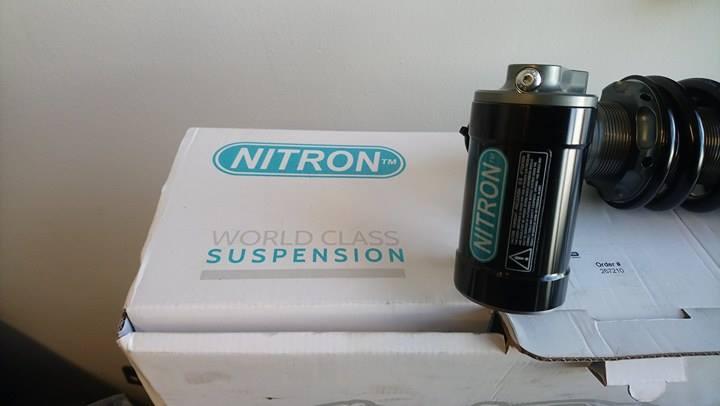
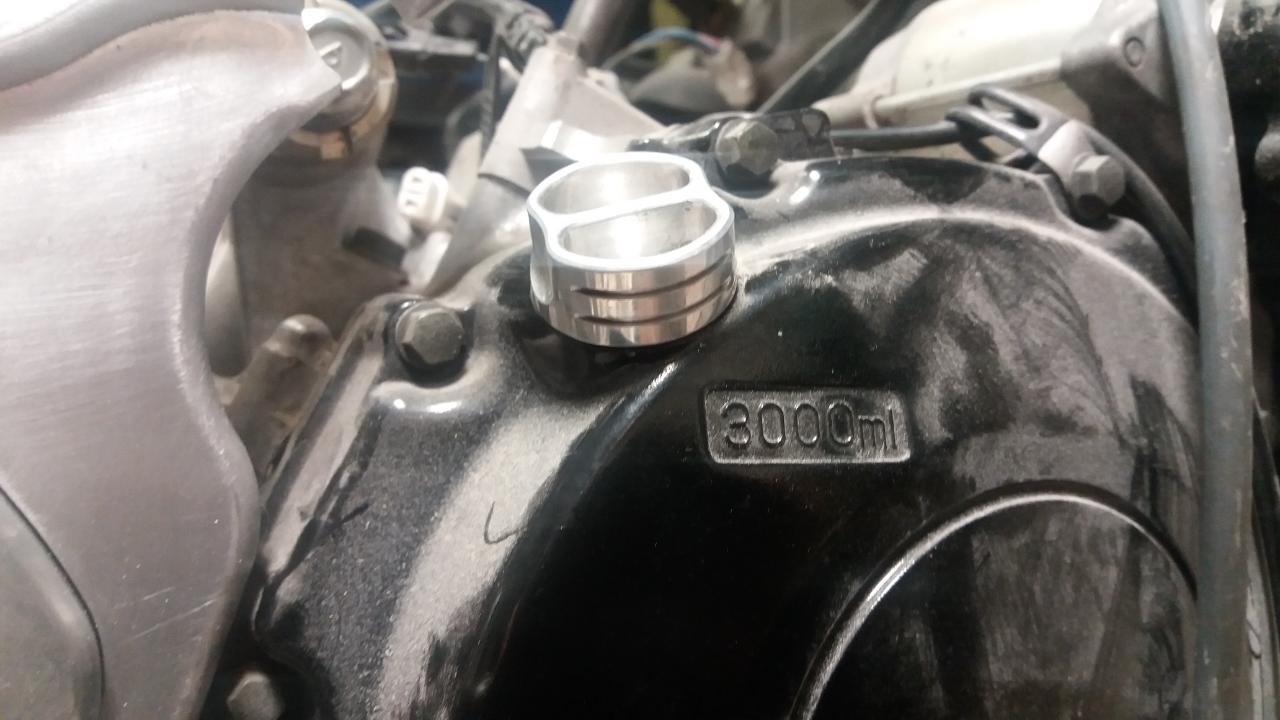
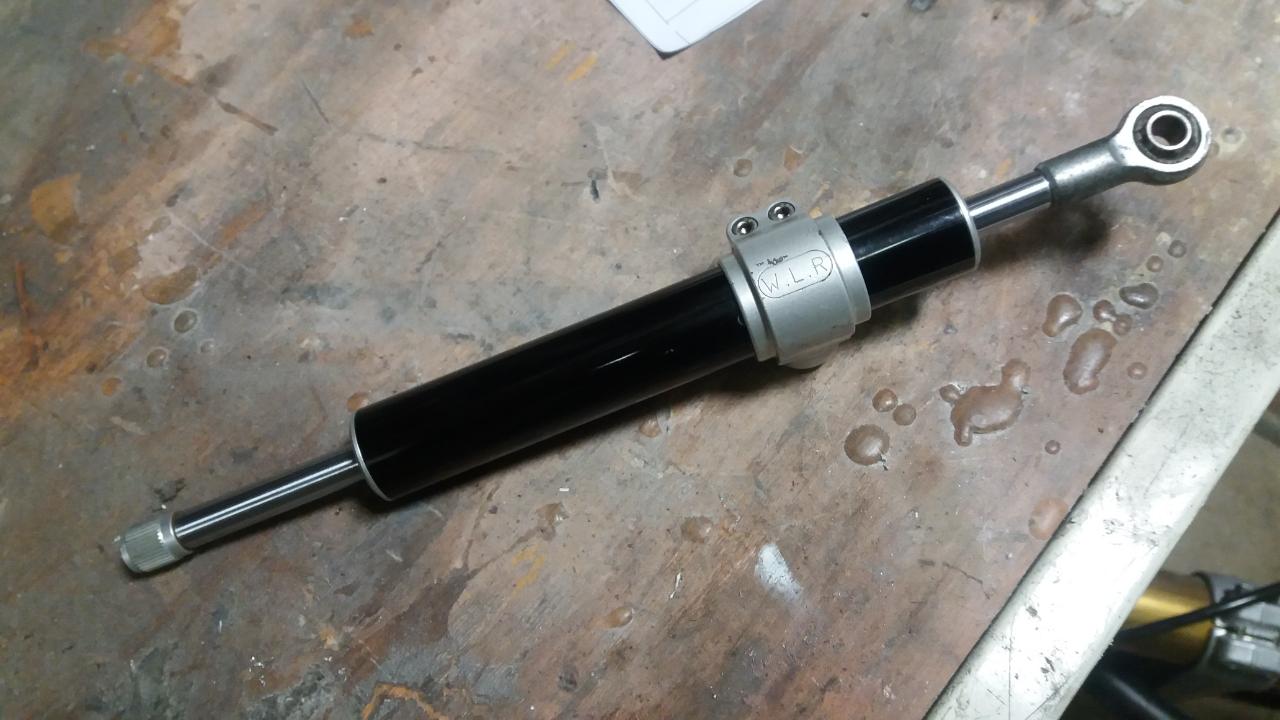
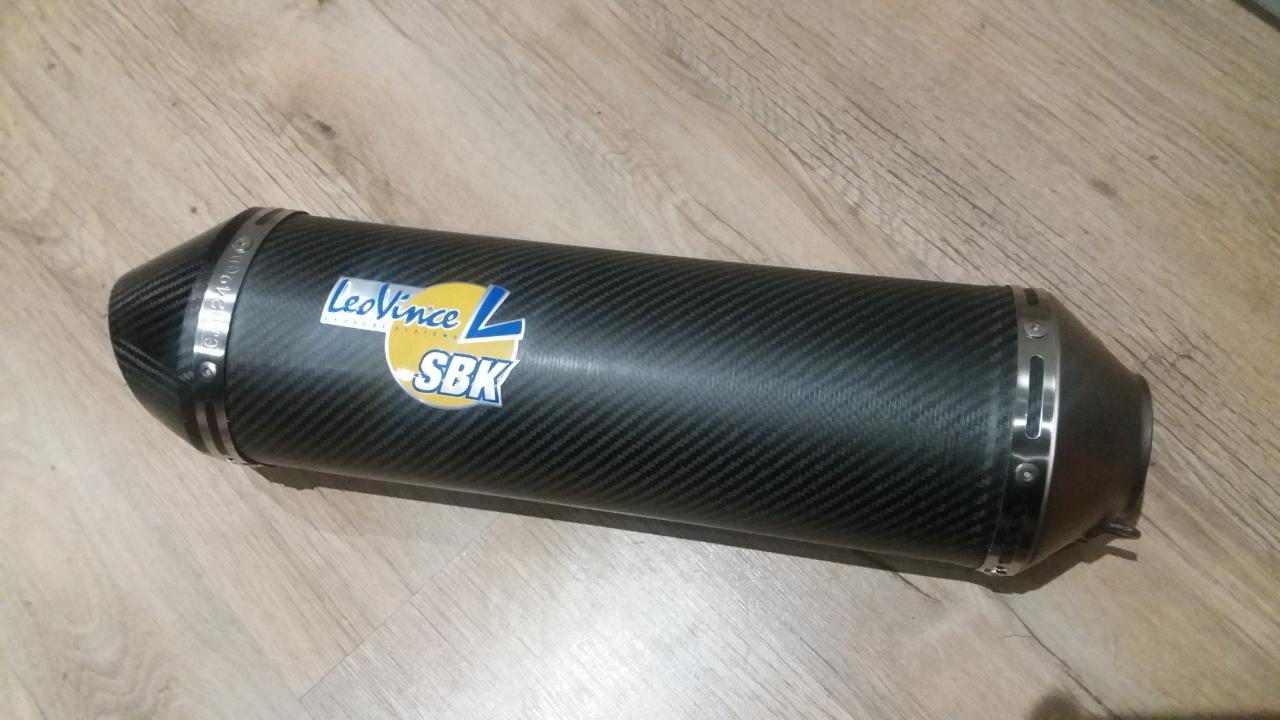
all this time I've been trying to gather up enough money for a Nitron , a nice shock is just a nice thing to have , then just after I pull the trigger on it I get offered a pair of Braking by OZ wheels from a K2 , of course i'm now skint, so cue a frantic selling of nice things I've make for other builds .... got the wheels, they're no lighter than stock, but sooo much cooler also found a set of NRC covers on the bay, K4 stuff rarely shows up, I just had to have them getting quite trick about here.... and as we'll find out, the NRC were a wise investment a little horse trading has me a Harris oil filler cap and sprint steering damper from Blair McCaul (the damper will be replaced with an Ohlins) and a Leo Vince can from my mate Seb in the USA( which will be superseded by a Harris can from Blair) the can and damper finally found a home on my TL Hyper the spring on the Nitron was found to be too heavy, and will soon be swapped out for a lighter item


-
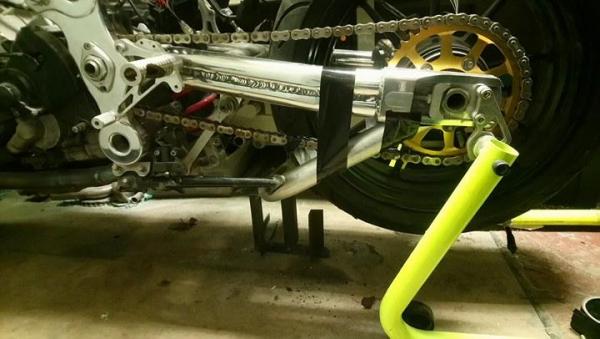
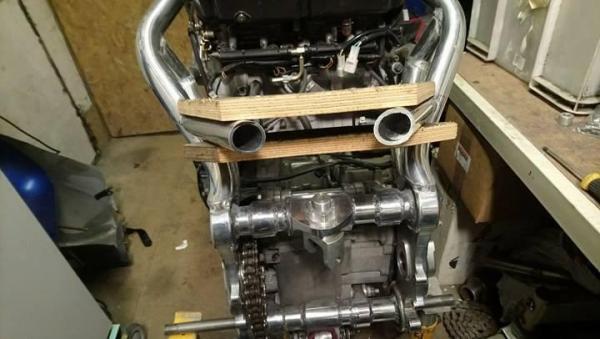
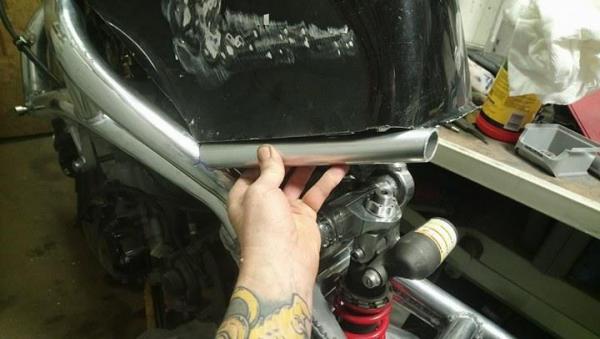
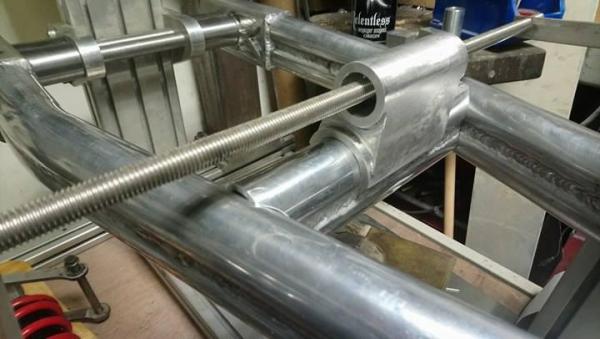
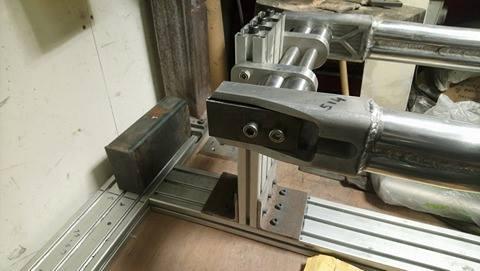
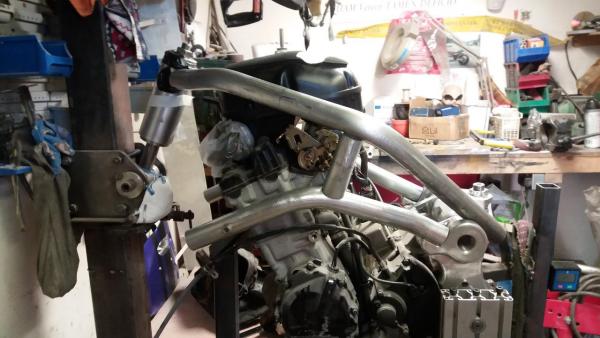
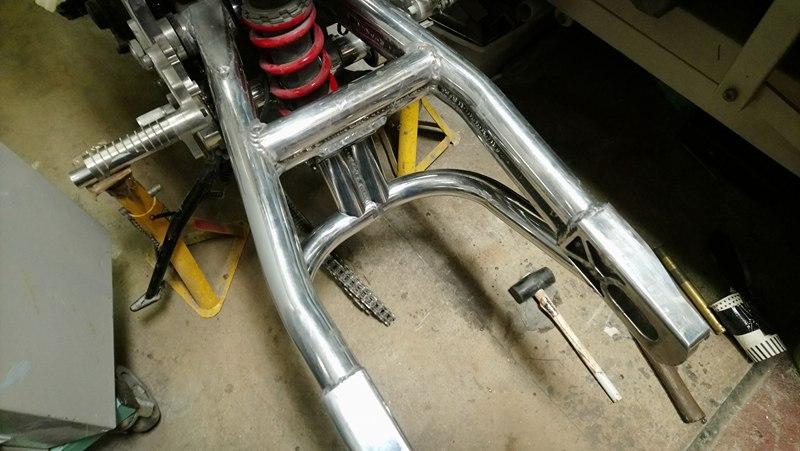
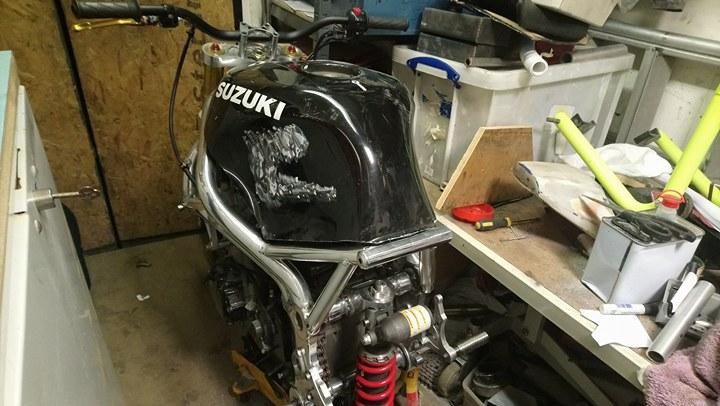
I will be adding a brace , but the last arm I made ended up with its brace a little closer to the chain than I would have liked, so it'll wait until it can be mocked up in situ time for more of a mock up, this time with the engine in to allow a chain to be added. I chopped up a sacrificial tank to help with the rear area of the frame , then tacking on one side and clamping the second between bits of wood to get it level , getting that all squared up was fun


-
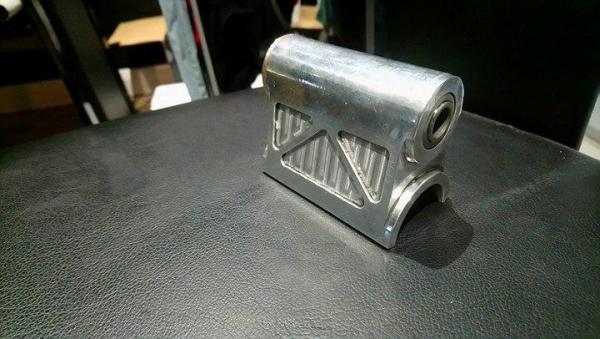
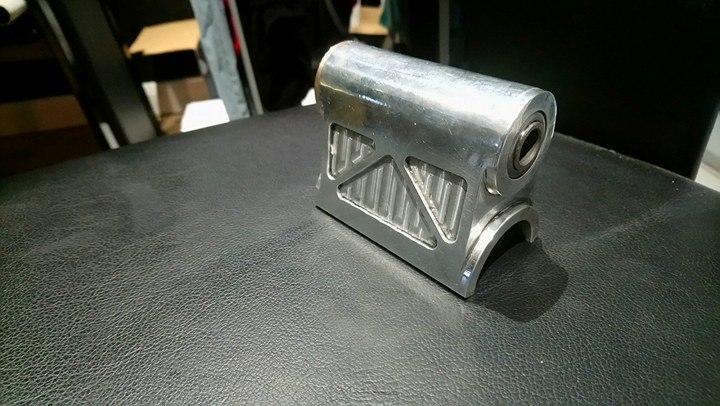
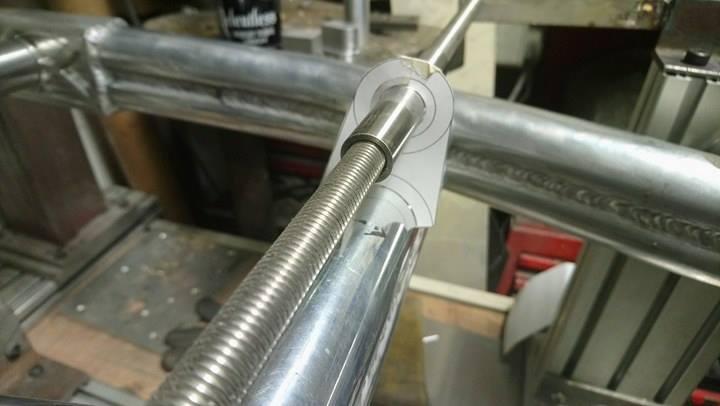
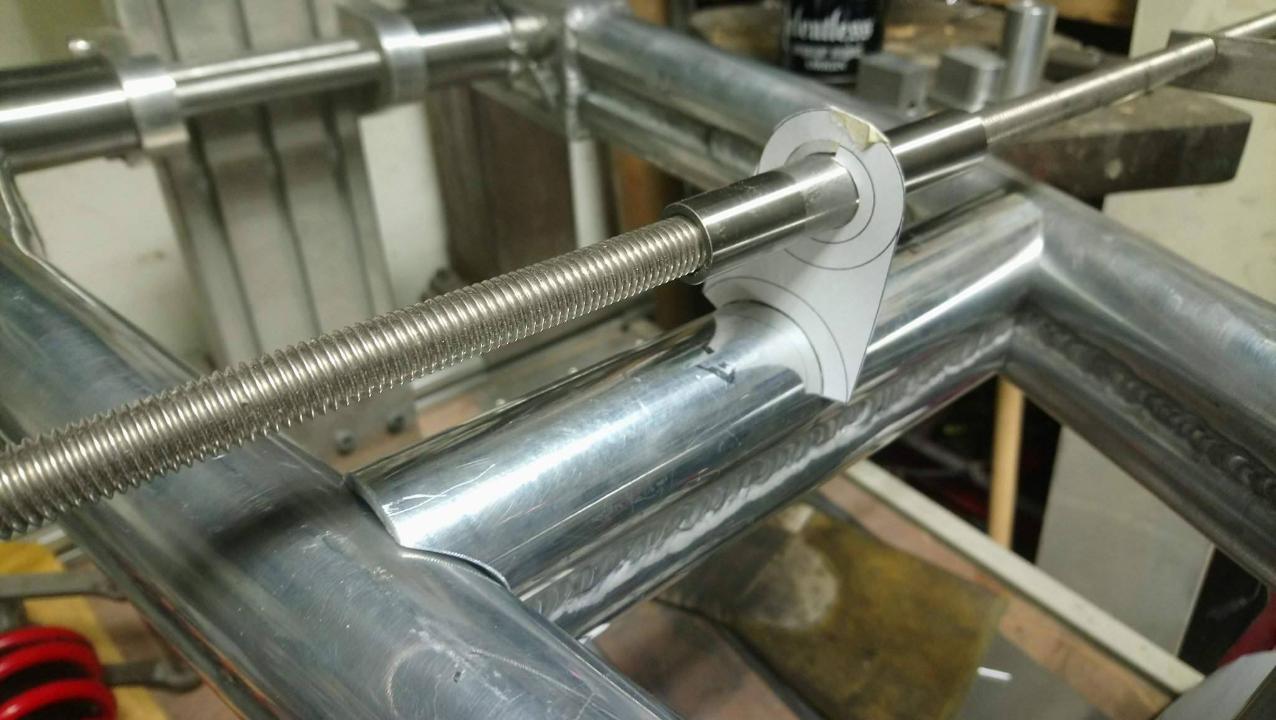
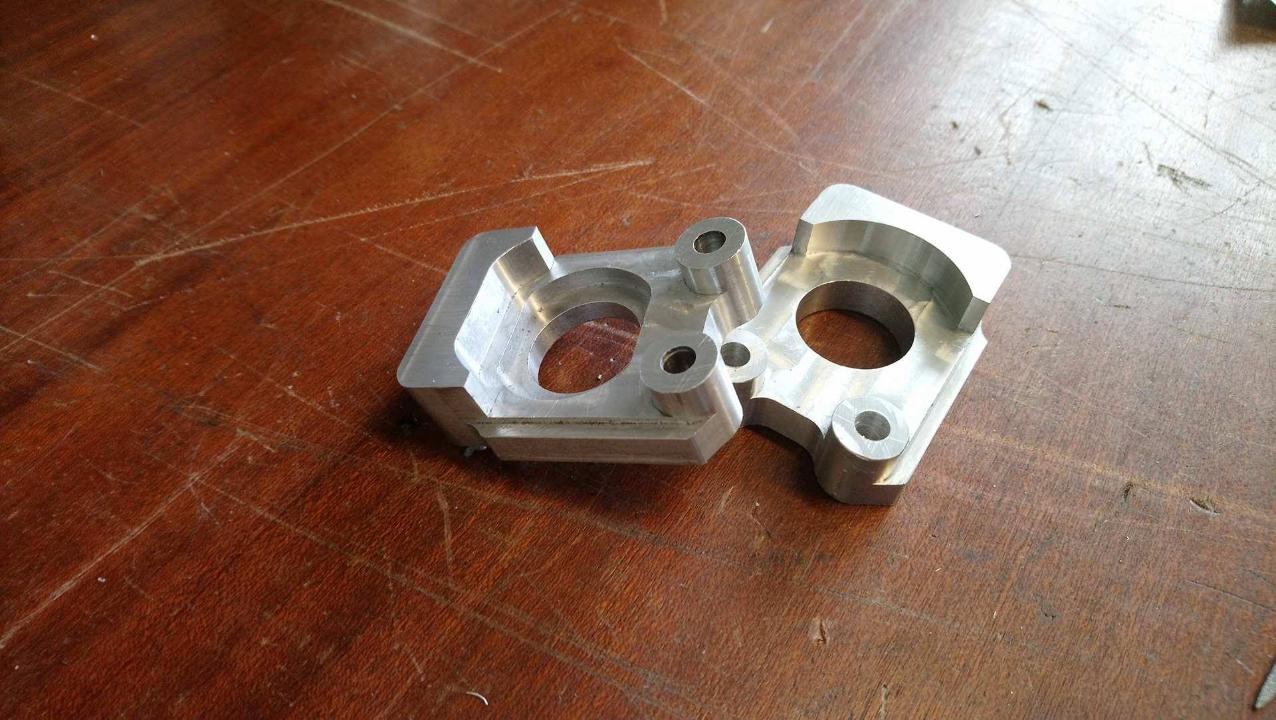
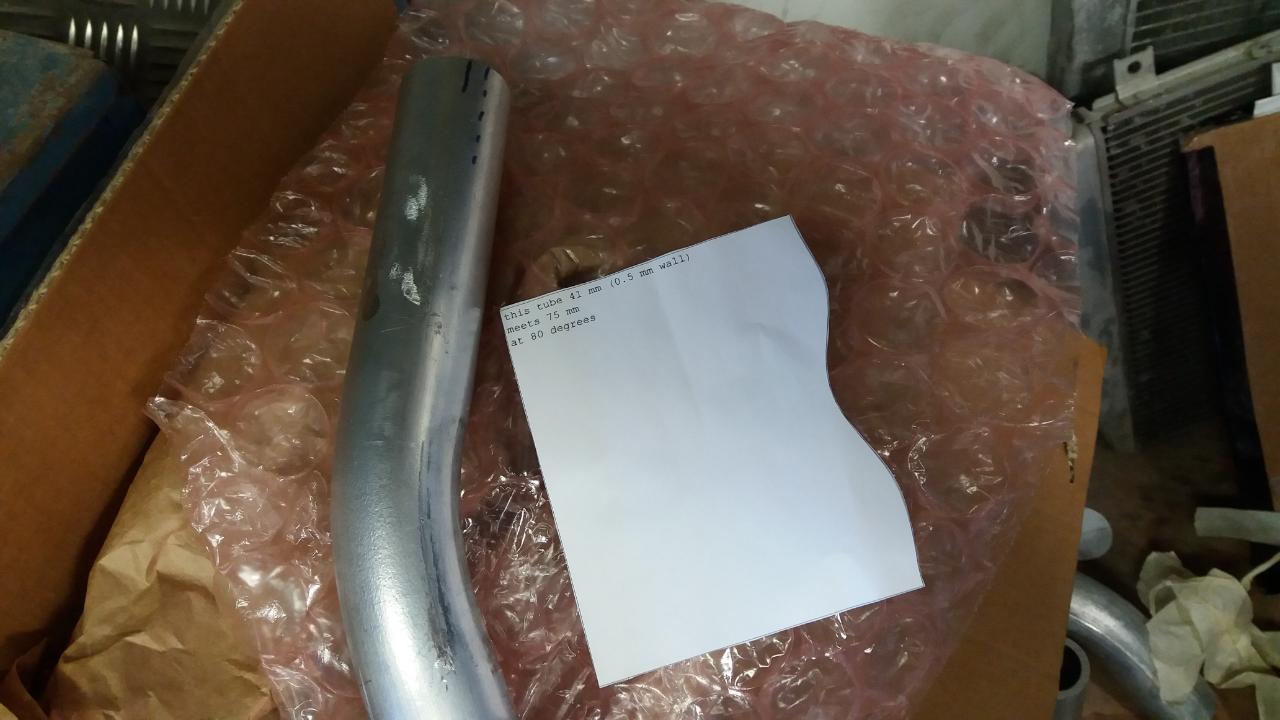
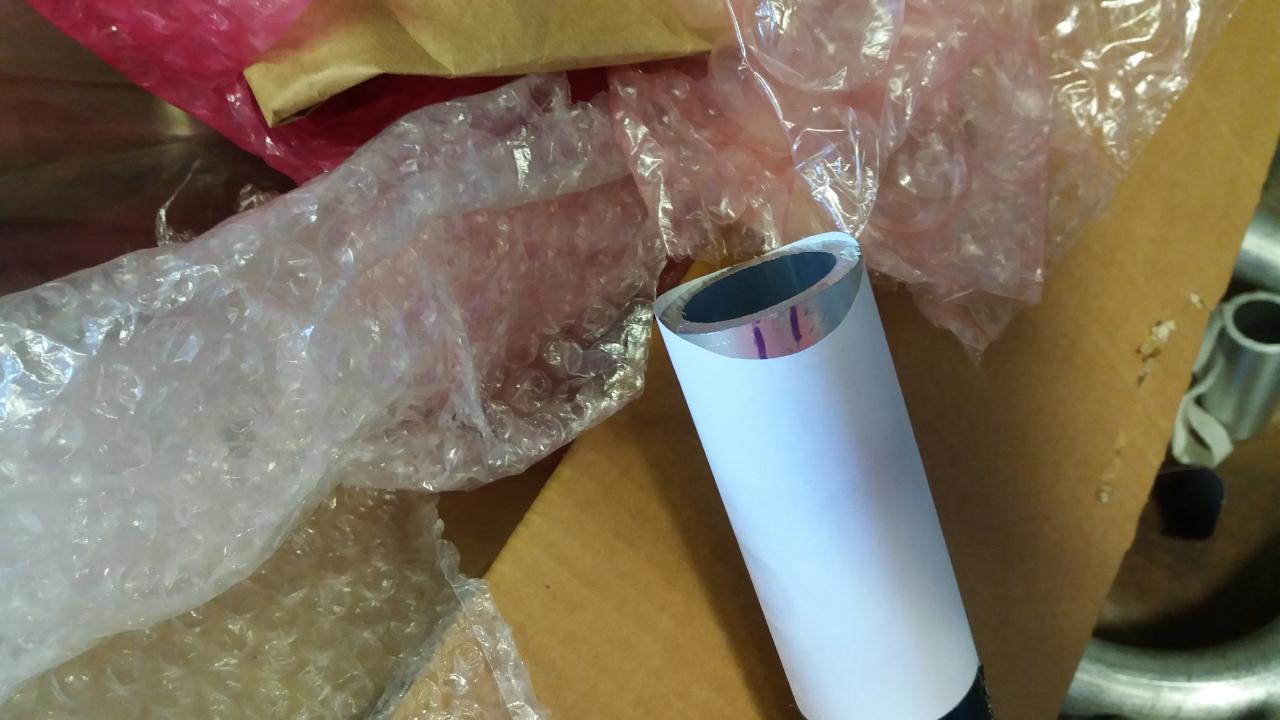
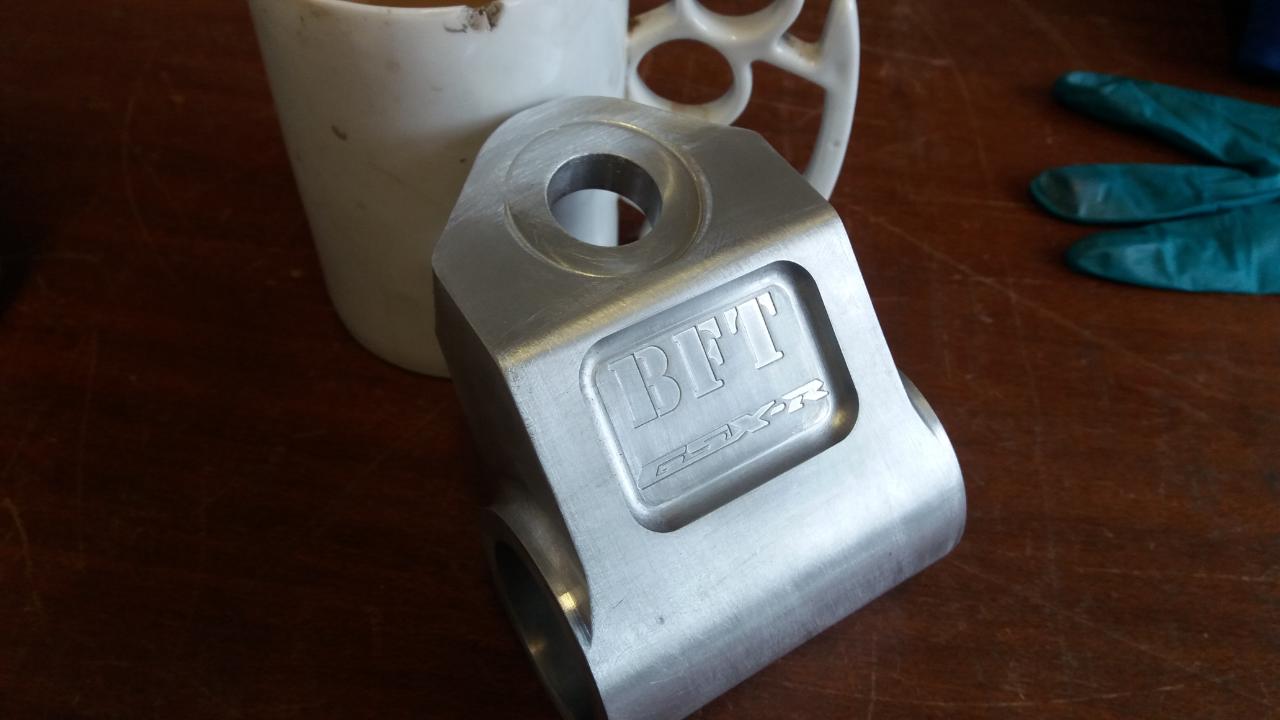
more of the same with the linkage mount paper template initial machining check it fits add detail machining weld it up I see a pattern forming


-
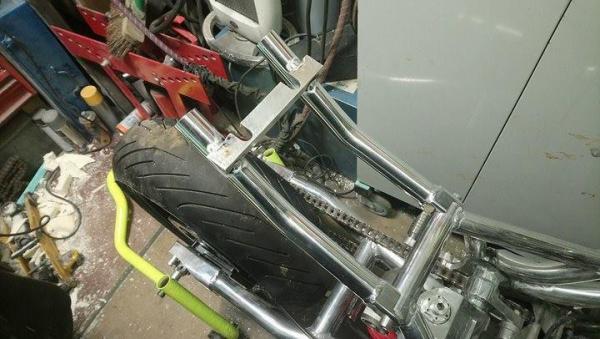
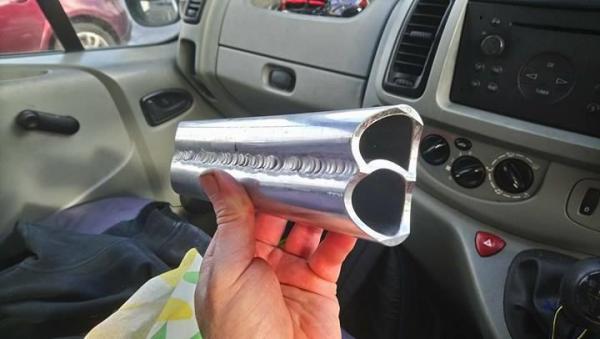
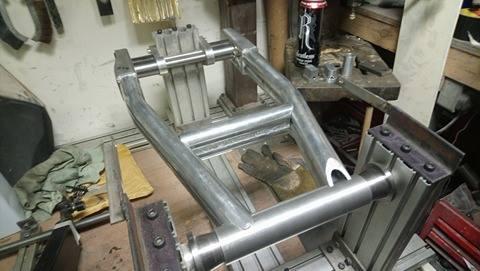
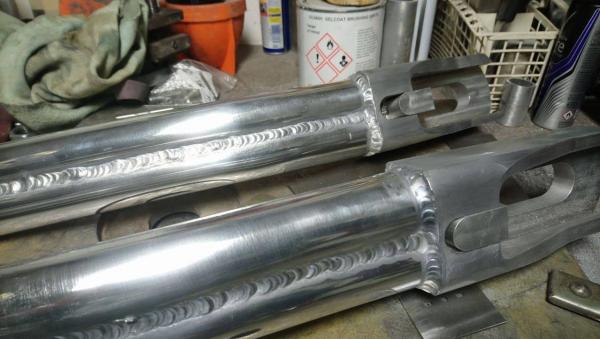
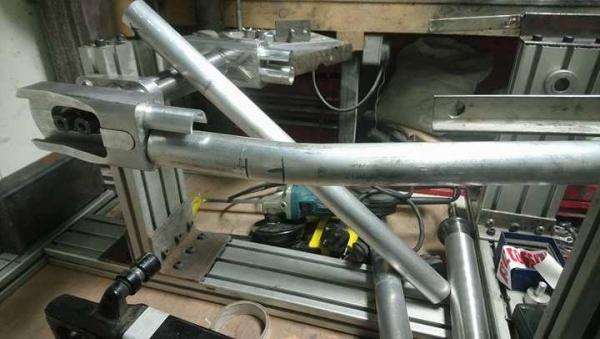
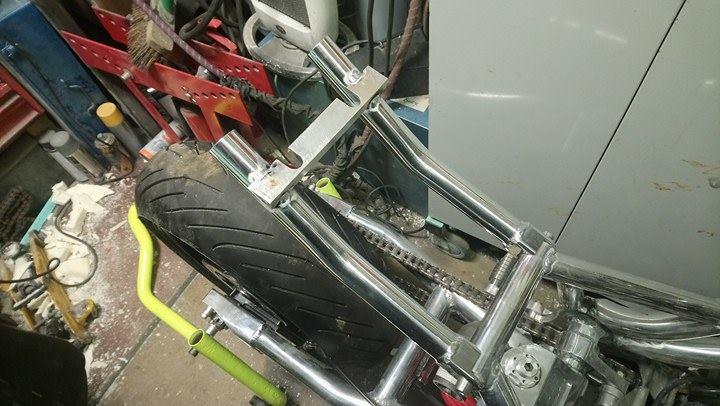
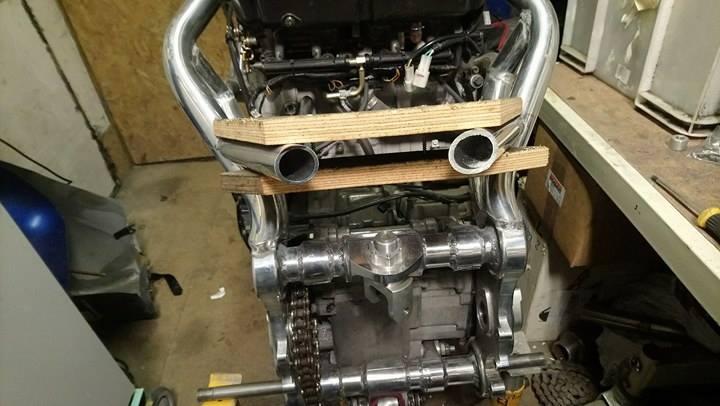
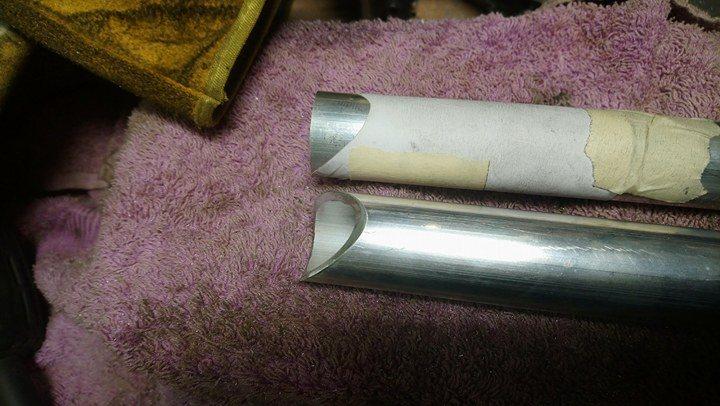
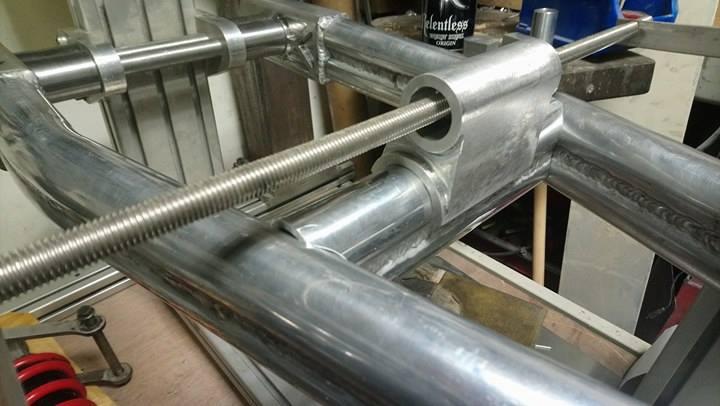
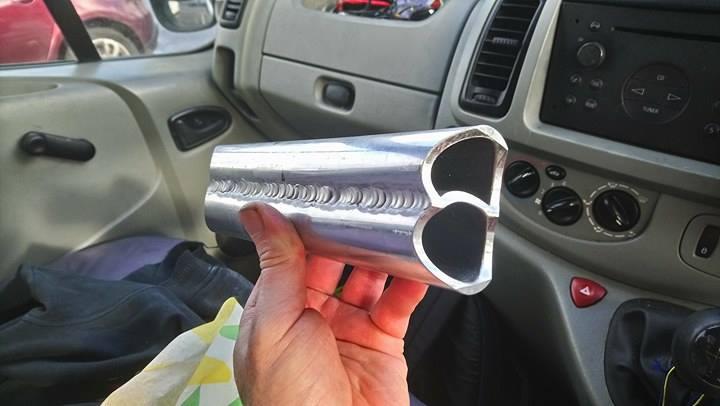
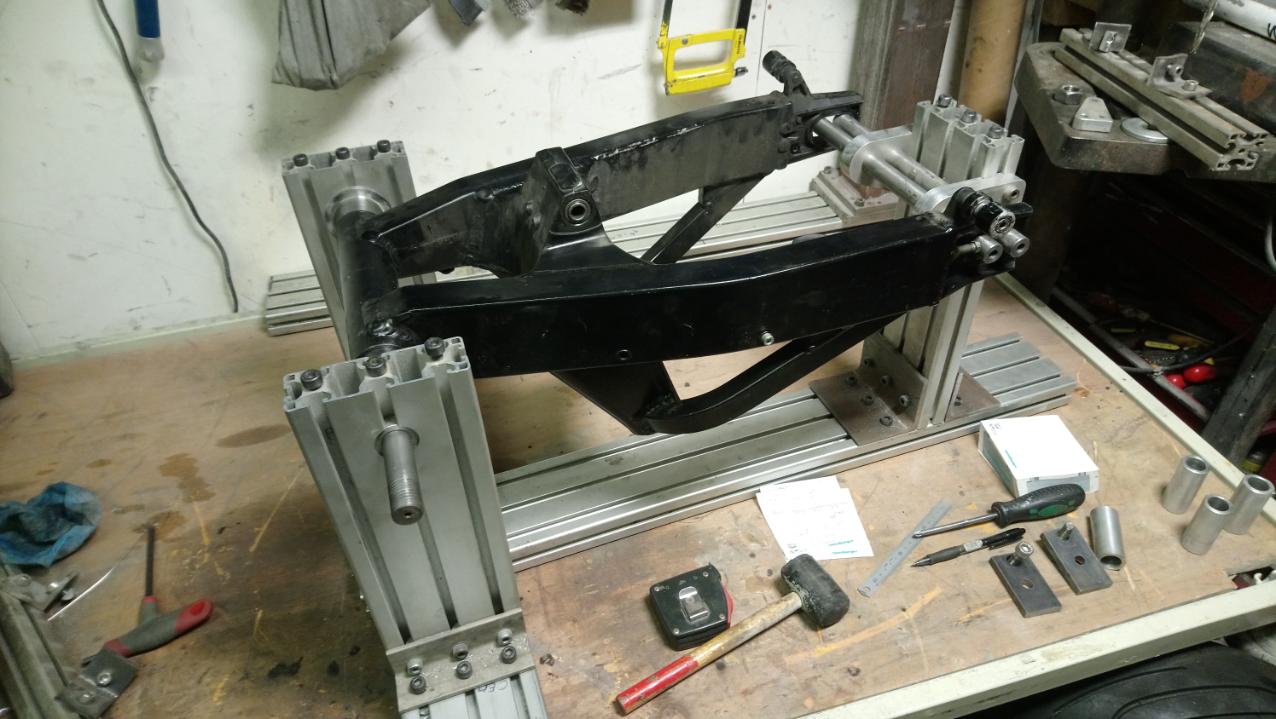
the stock arm was set up in the jig, mounts made up to align the shock mount, pivot tube machined up and some tube bent. you can see on the end of the cross piece where one of the tubes had to be skimmed, that was a bit more of a fucker to do than I expected, the little bit wanted to pop out of the vice once the tube was split and the long ones were interesting to clamp.... anyone who machines metal will have had those jobs where it's a sigh of relief when it finishes without disaster ... or is it just me ?


-
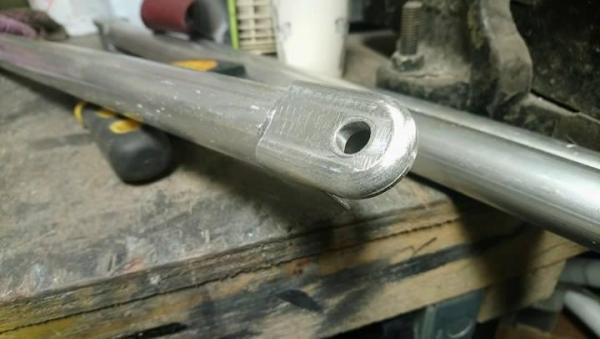
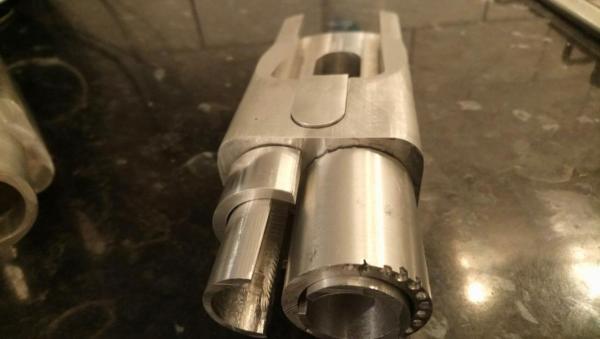
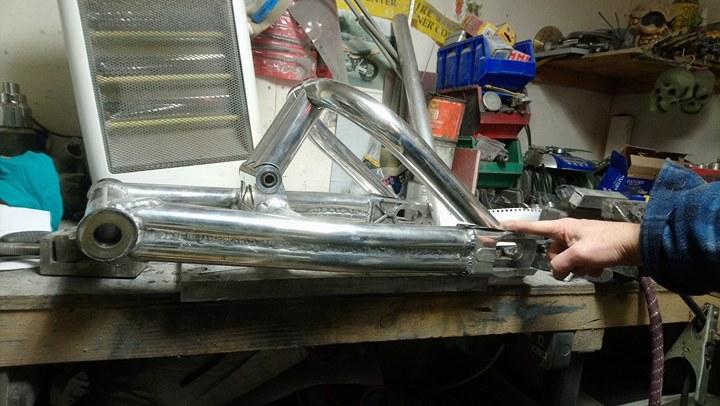
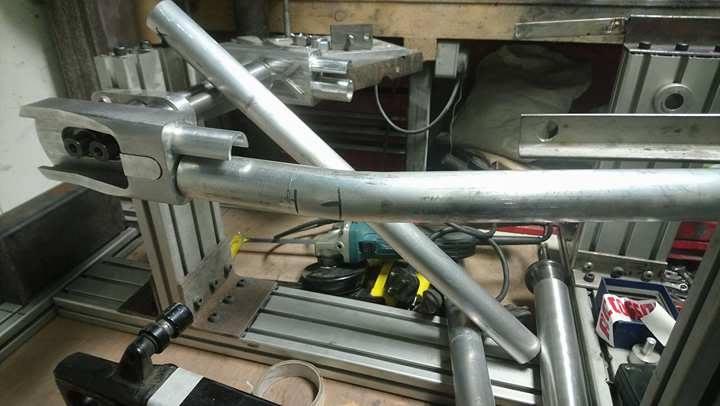
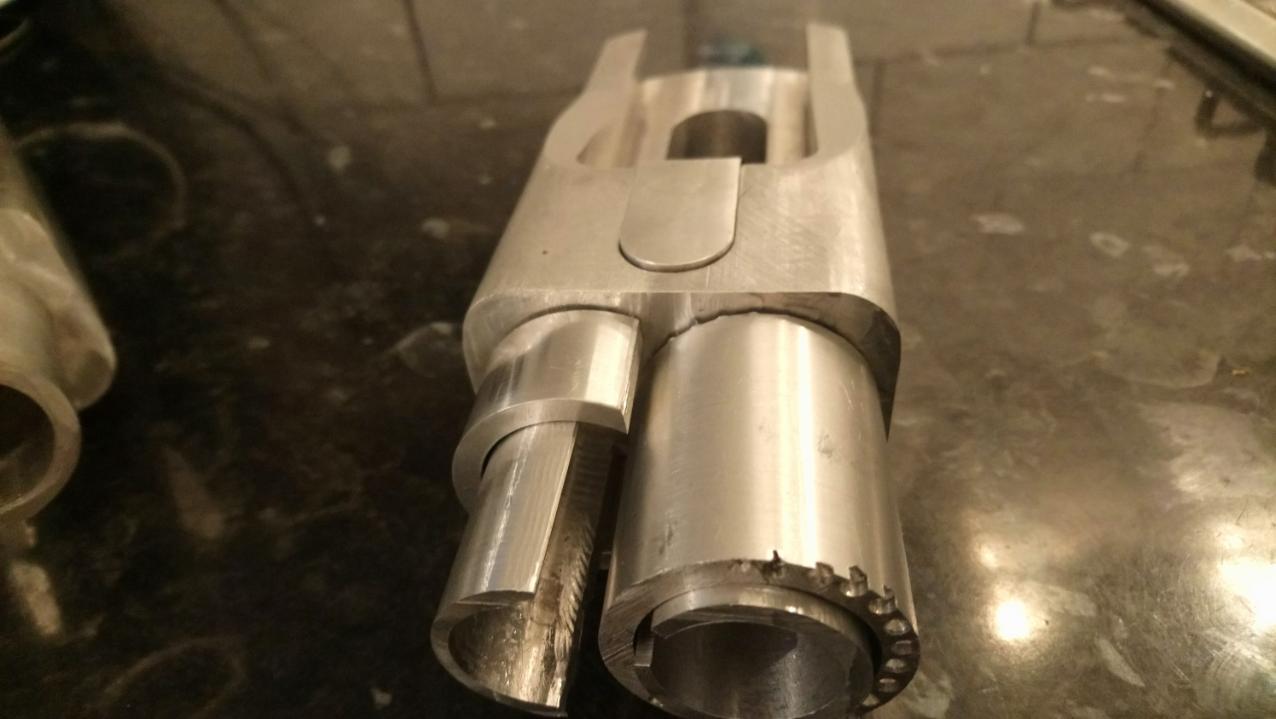
since we're talking about arms, suppose we better set about it adjuster blocks with tangs on them to keep them captive and mounts for the swingarm hangers the ends have inserts for the adjuster bolts, and were machined to slot inside the tubes, one of the tubes needed machining as a full 2 tubes was too thick

-
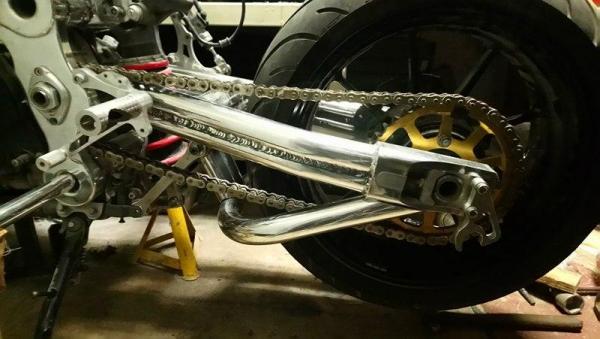
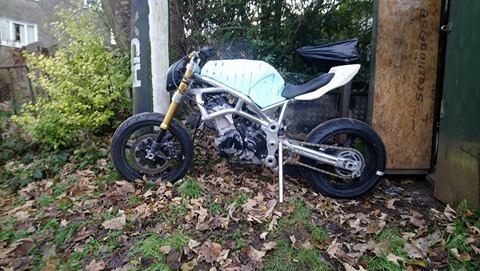
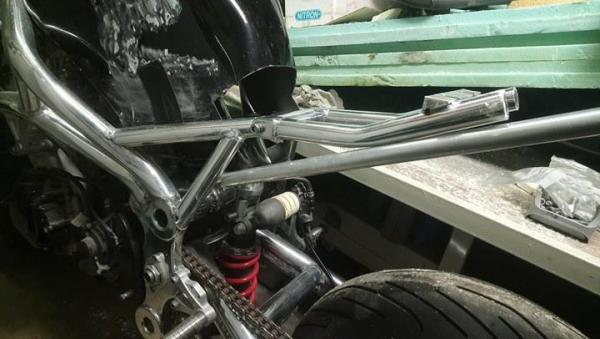
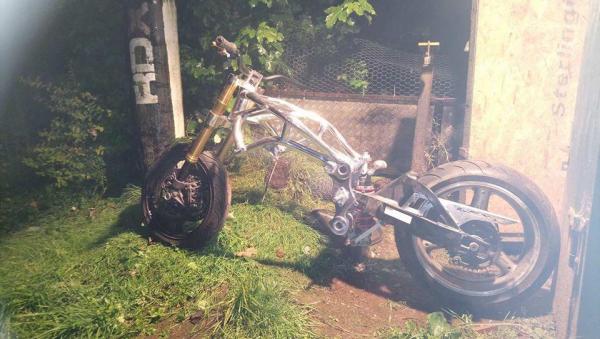
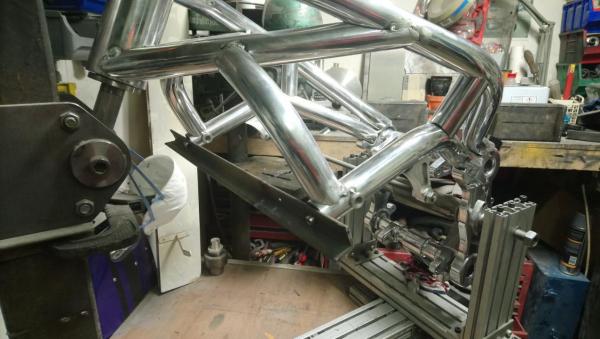
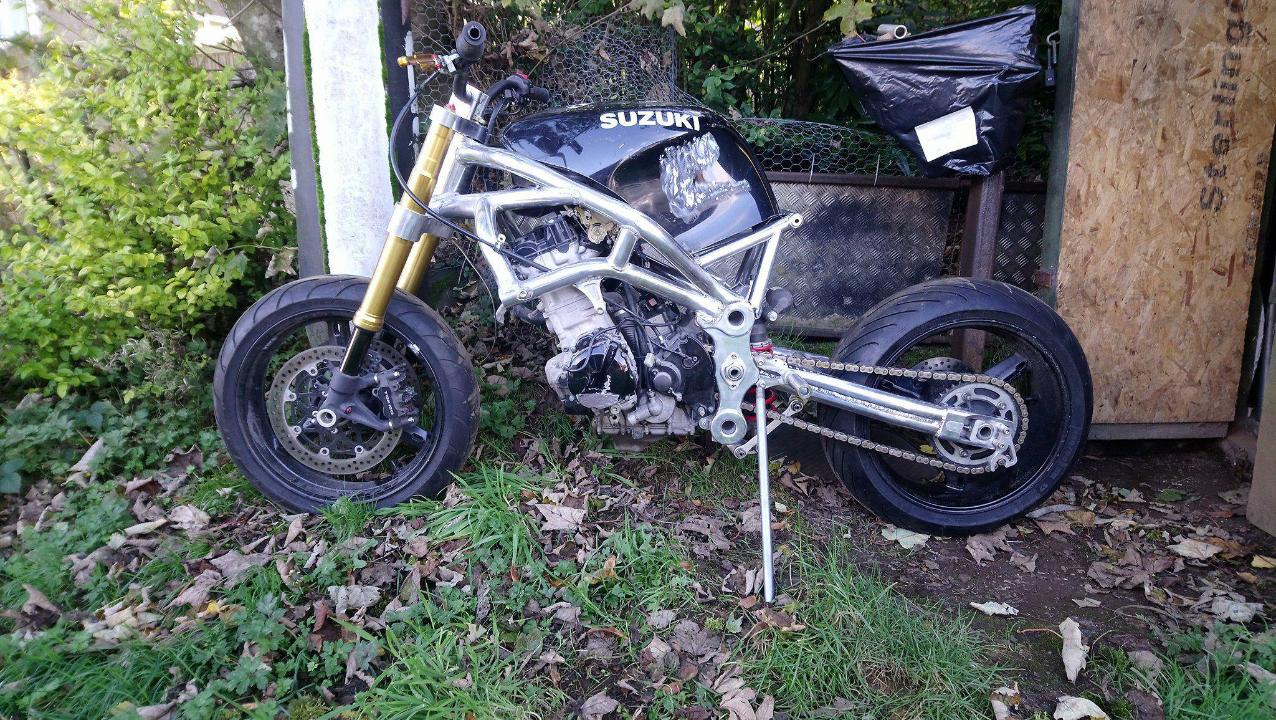
time to throw together whats been done thus far , see if i'm on the right track or making a dogs dinner the stock arm has to go, but I have to admit I did feel a bit pleased with myself at this stage


-
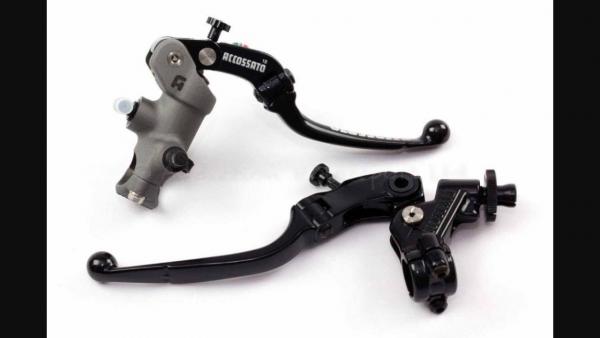
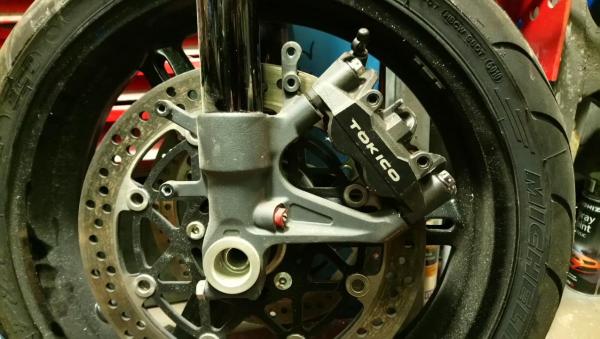
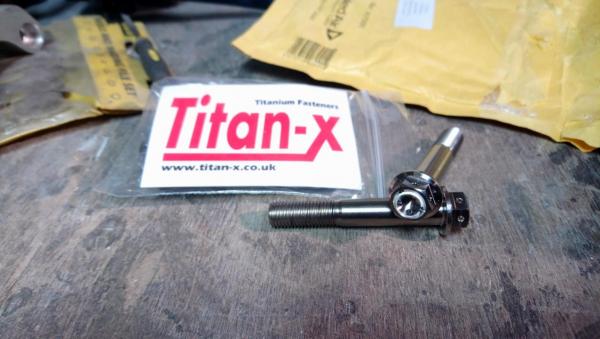
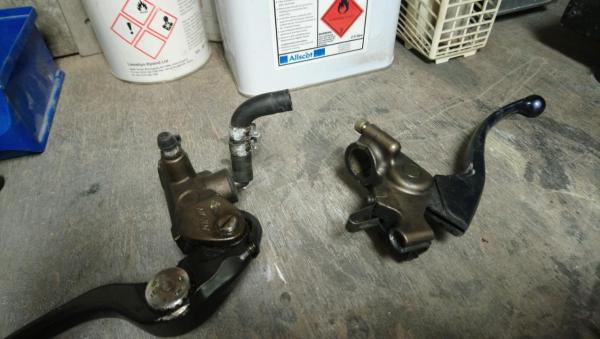
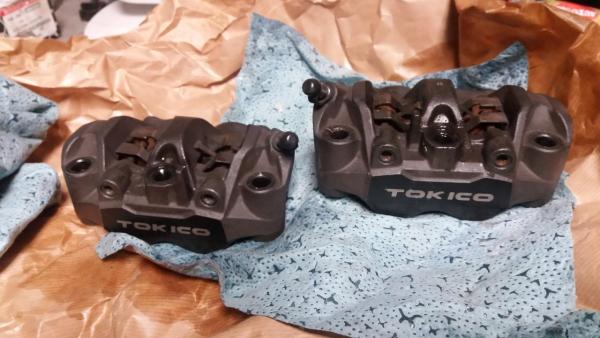
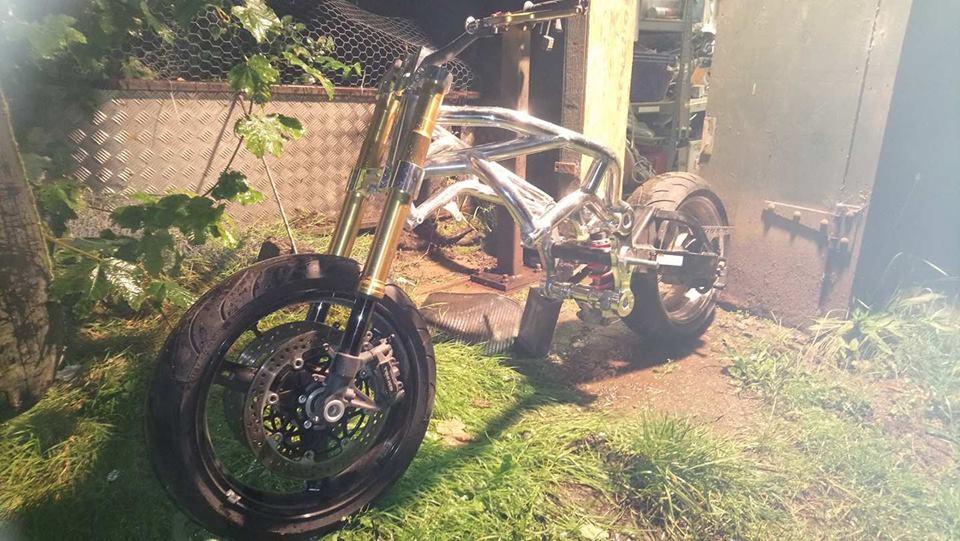
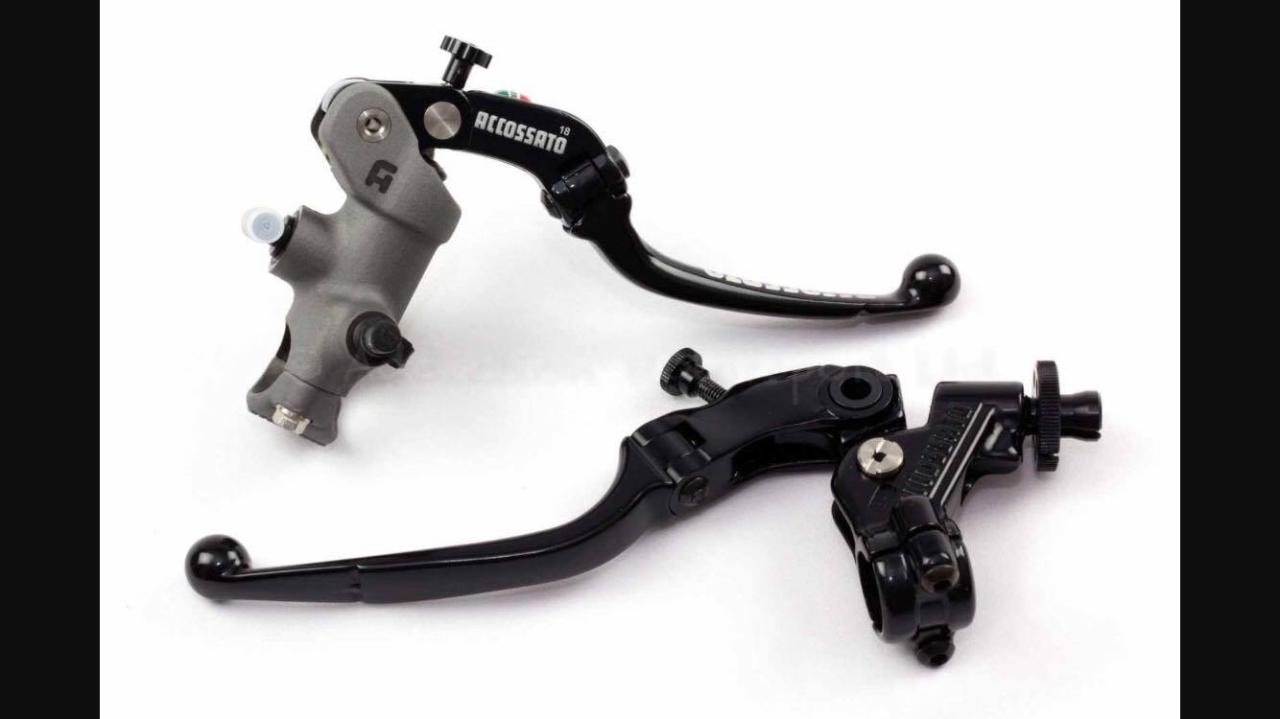
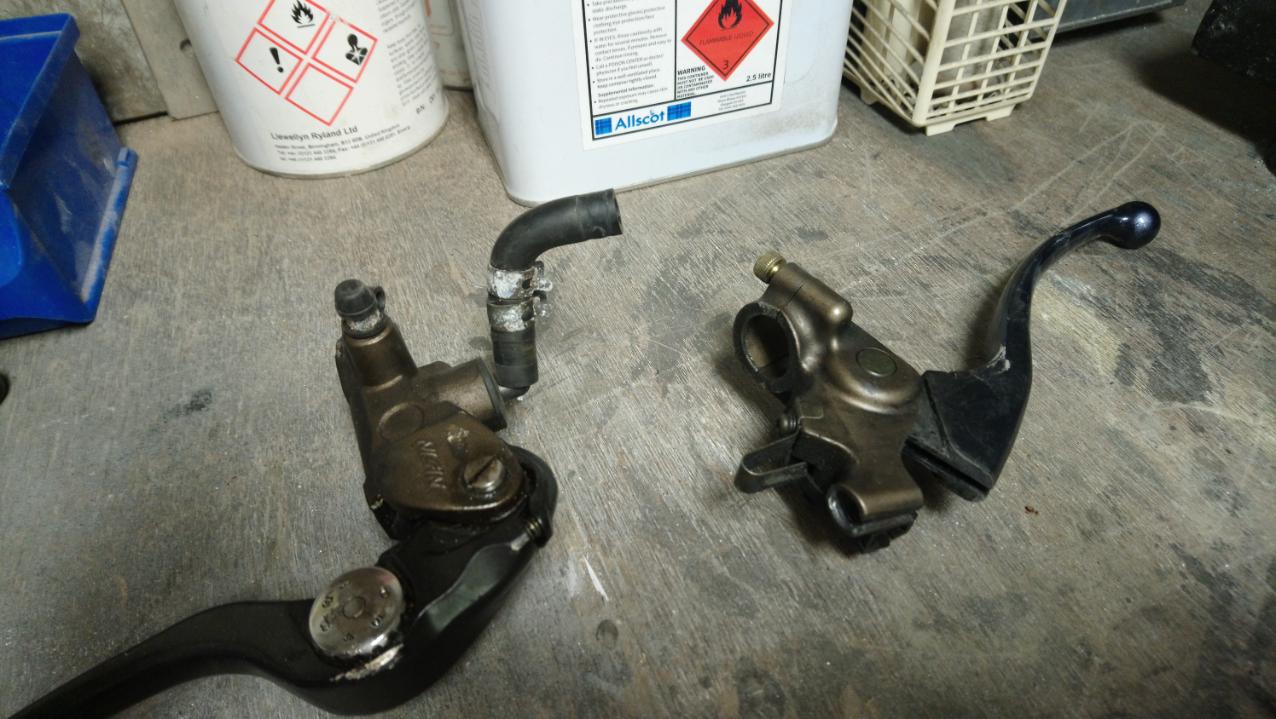
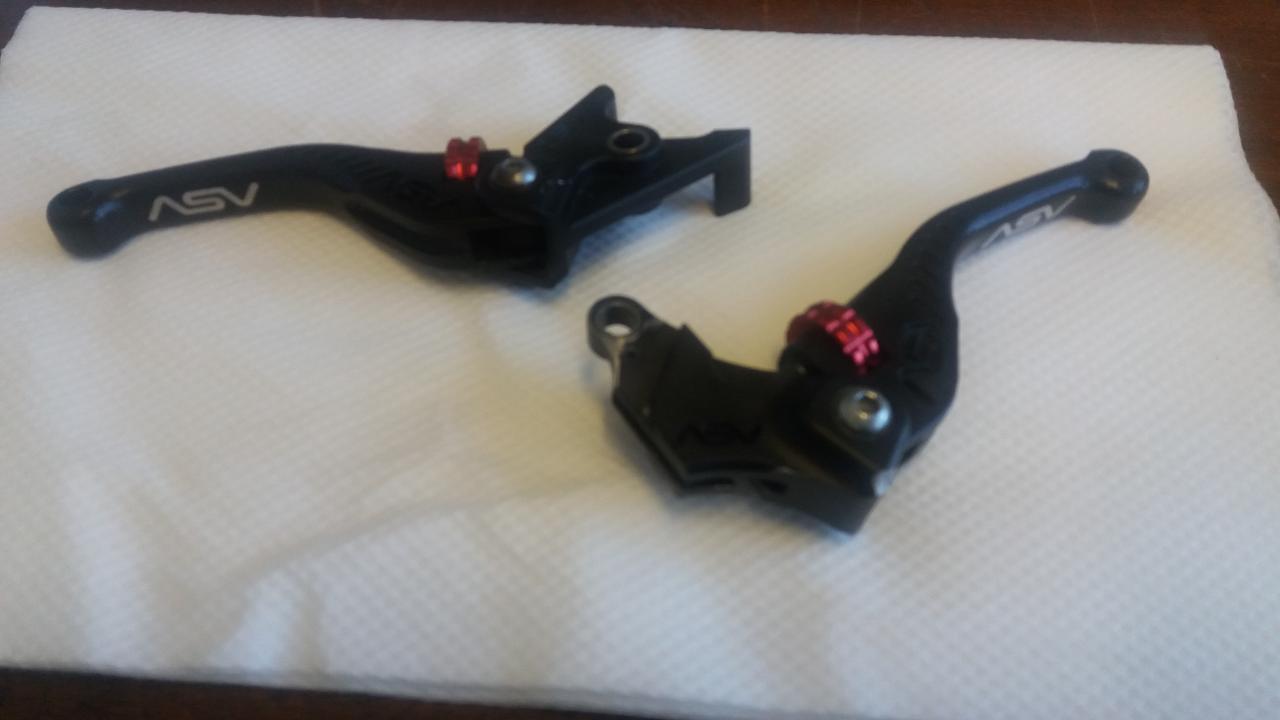
braking system, the stock calipers are fine, it had a Brembo master cylinder.... or did it...... I have a sneaky suspicion it was more Blembo , but why settle for fine ? I picked up a set of monoblock calipers from a Hondy, not the newest ones ( i'm not made of money) but new enough to be good and old enough to be affordable, these needed longer bolts, and Ti is cheaper than stock... be rude not to I had a set of master cylinder / clutch perch from a ZX10r, I've used them before, i like them, I even went as far as to buy a set of shorty levers ..... but then RB got in my head ( some of you know him) "I need some quality parts to go with my frame...... so I now have Accossato items, they are nice , there are further additions to the braking system to come... but that's for a later day

-
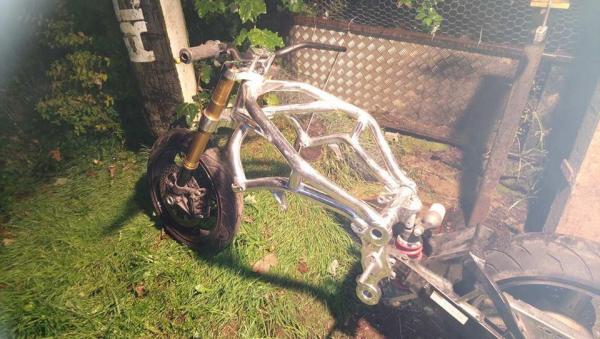
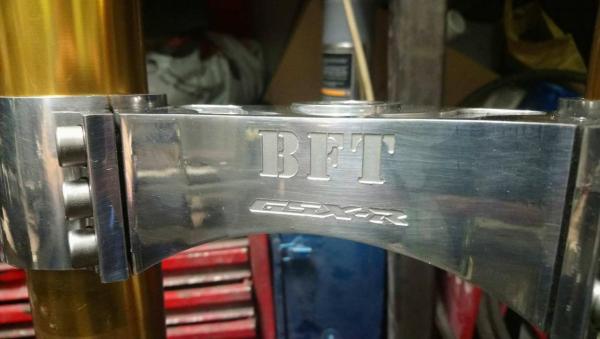
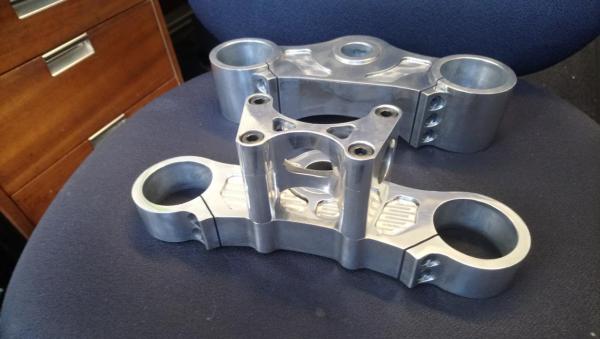
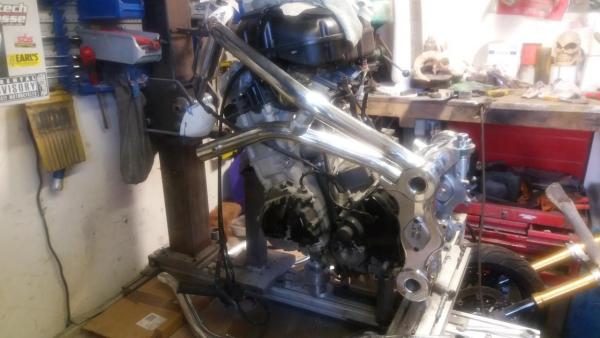
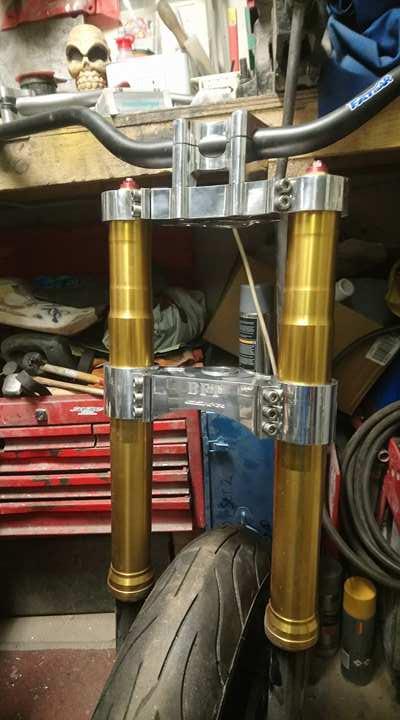
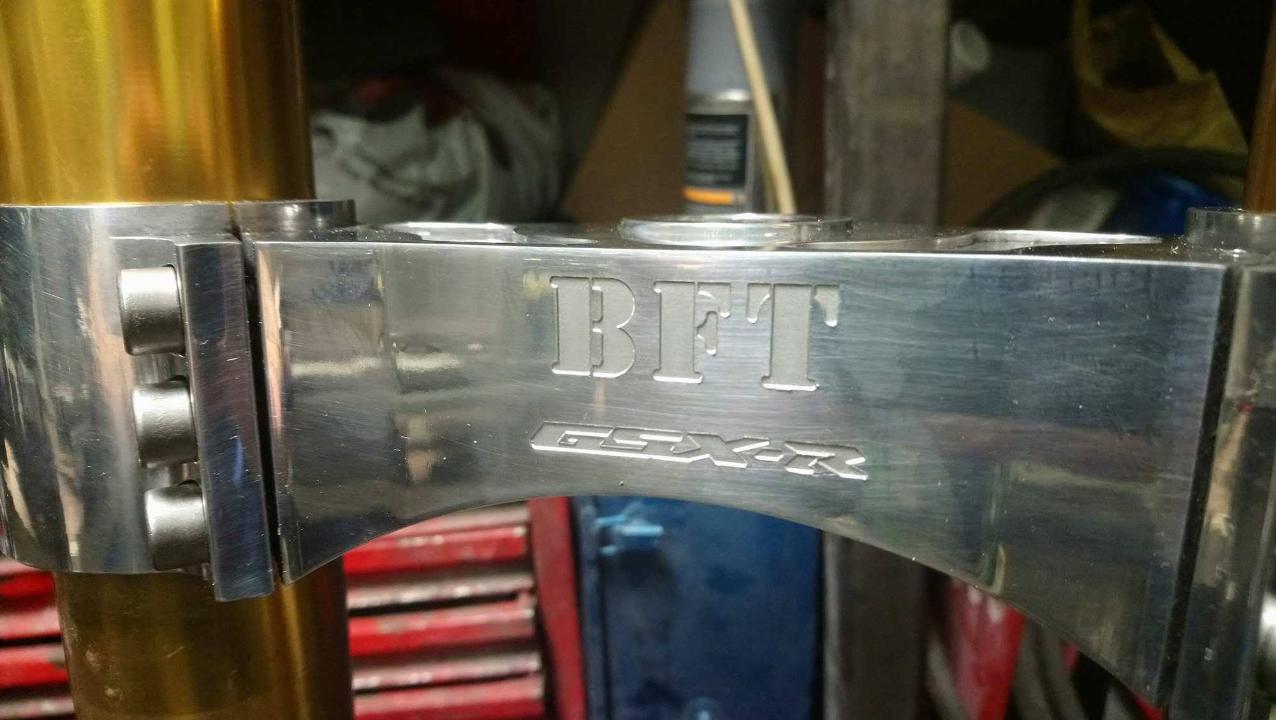
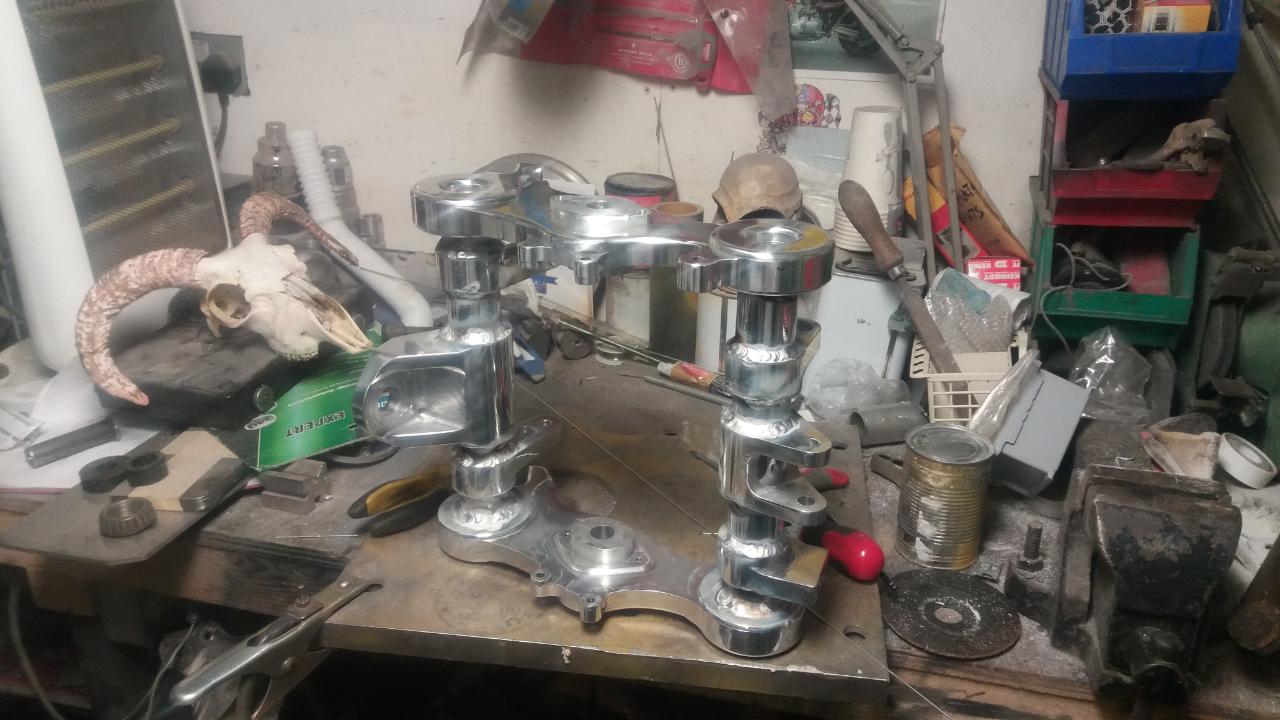
I say we have a frame, the above pics still need a shit ton of welding , you'll just need to take my word for it that it got welded with that done it was time for yokes ( not triples.... ) I wanted something that looked cool and interesting.... adjustable offset, that's cool... prob never be adjusted to be fair, but hey. I could dig out pics of half machined yokes, but lets be honest, we seen it all before , I did engrave the bottom one, just to add a bit of something , the riser block was kept nice and svelte, i'm not a fan of huge chunky risers


-
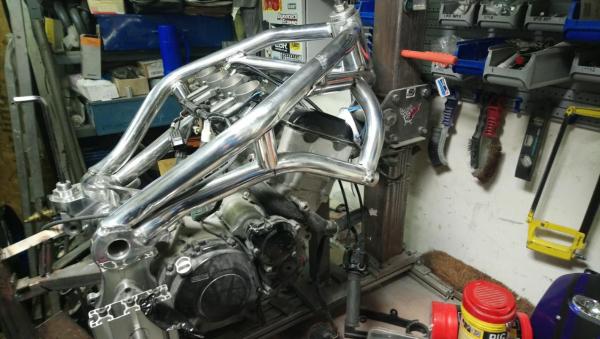
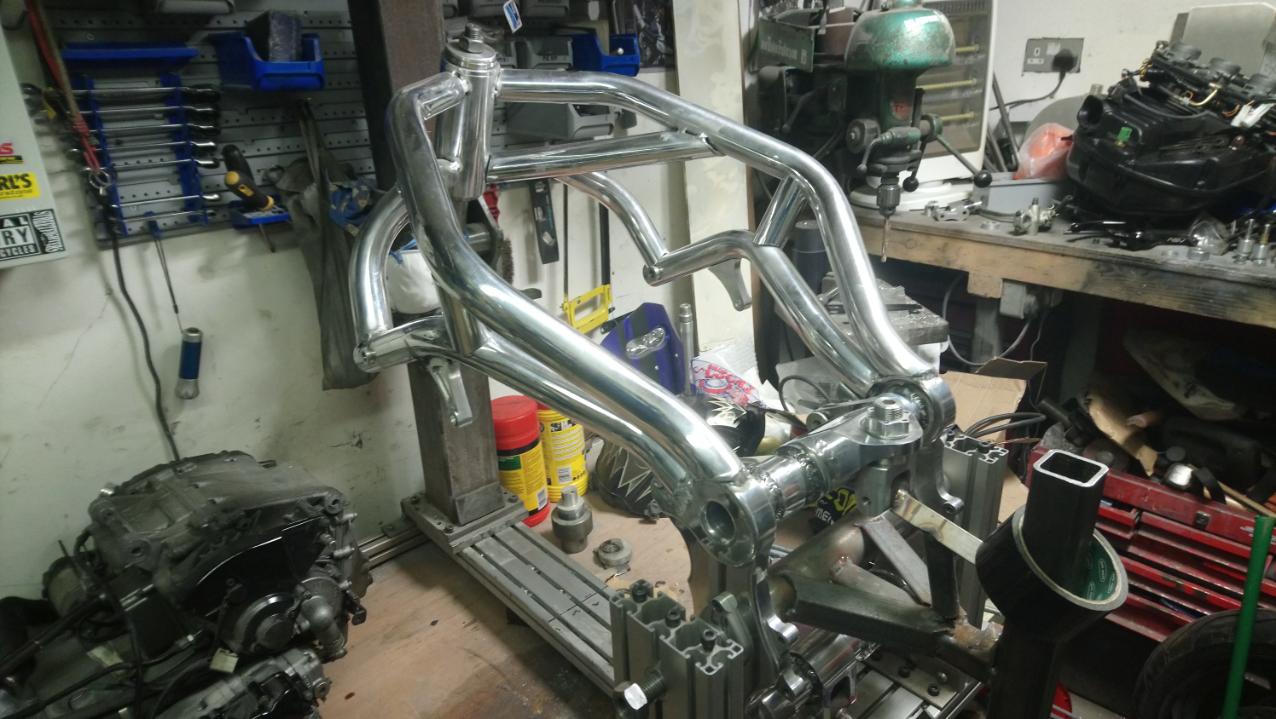
Engine oot.. the frame had a bundle of bracing to the jig added and it was finished welded, the bracing plates up at the headstock were mocked up in card and then replaced with loomynum We now have a frame

-
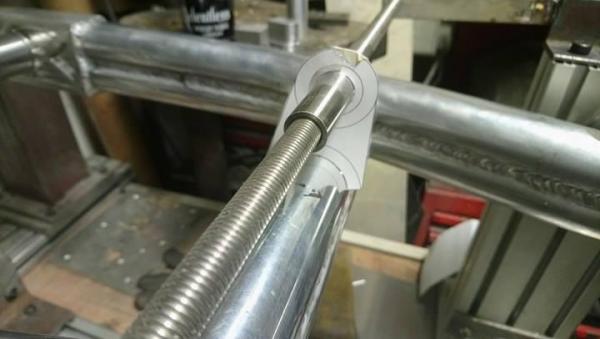
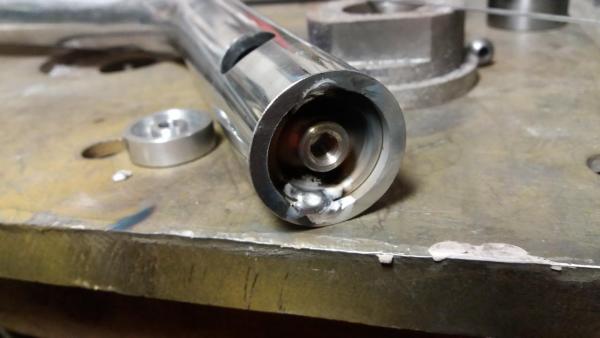
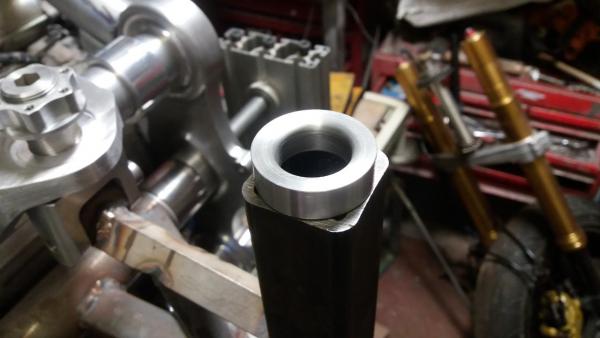
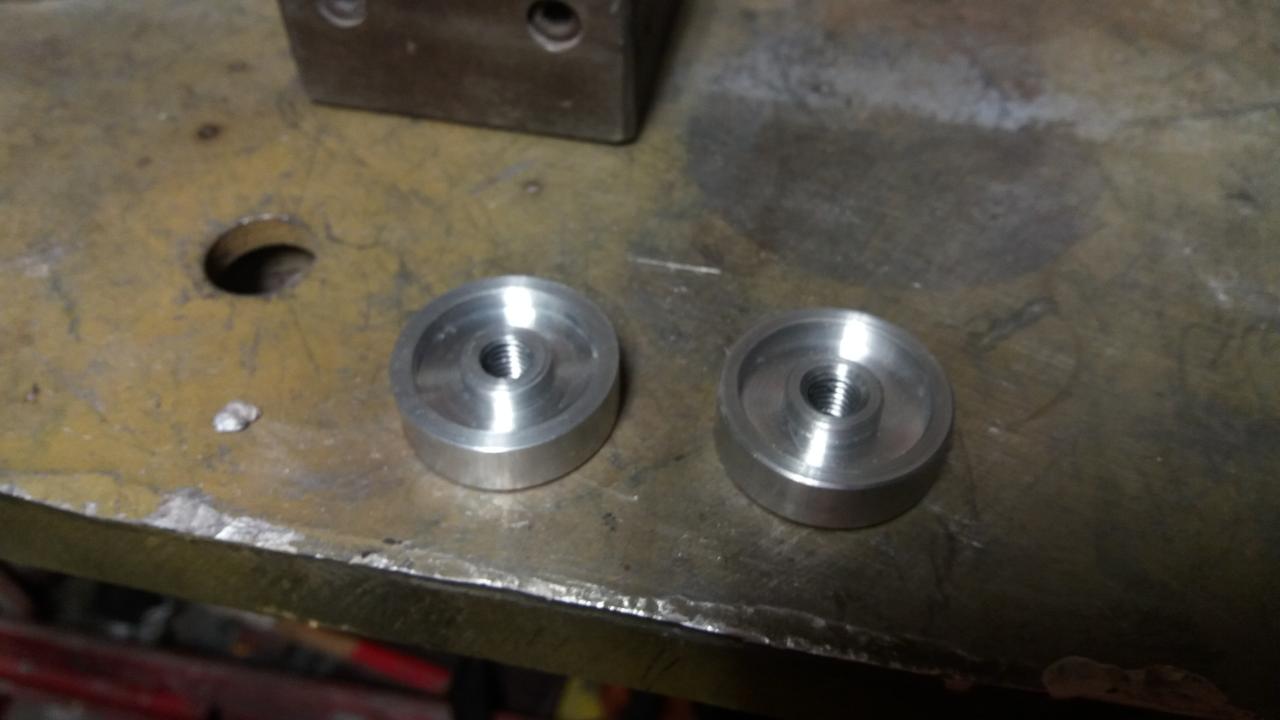
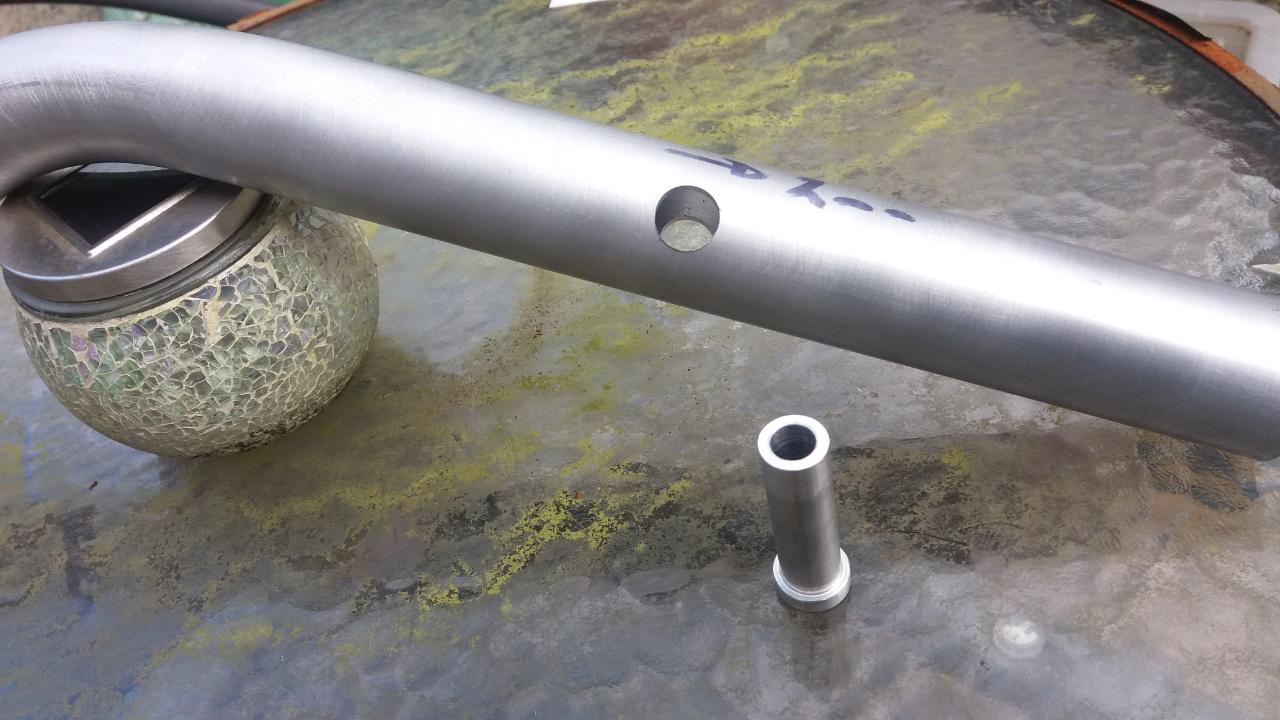
ohh, i see another mount in that picture , a right through the frame job , obviously from the pictures that was a good few steps ago, but l'm pretty sure I opened up the holes to fit bigger weld in bungs, judging by the pic of the end of the tube with the welded in threaded insert . The thread caps are in the other pic


-
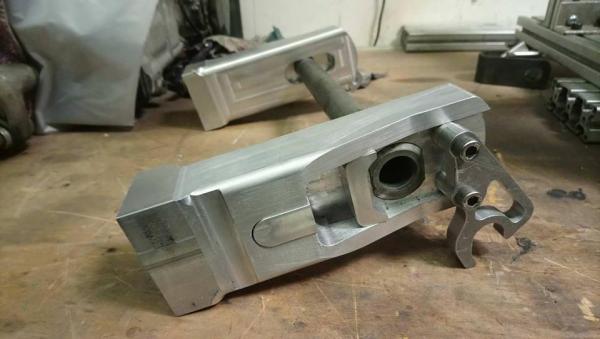
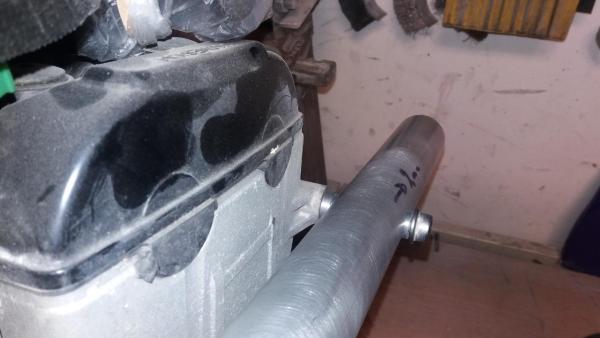
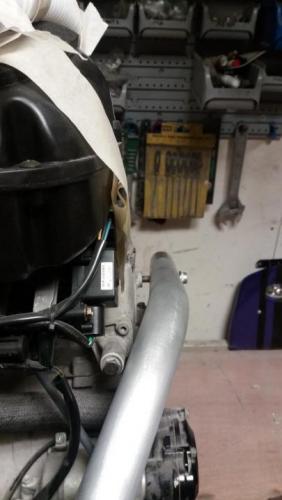
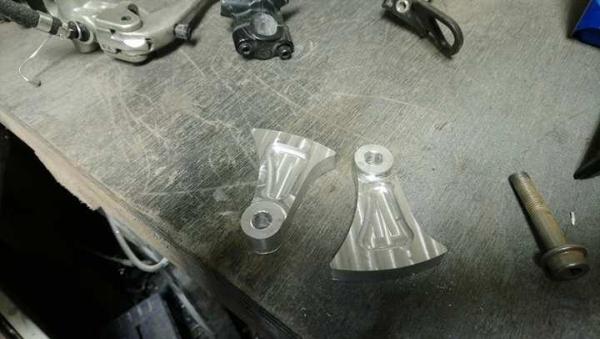
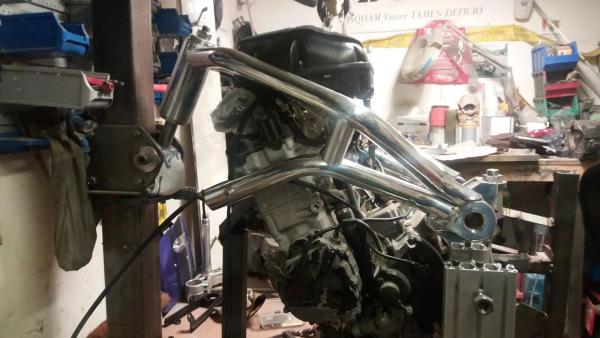
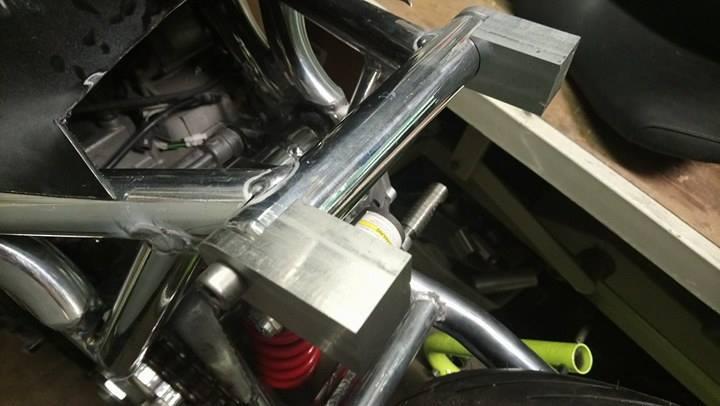
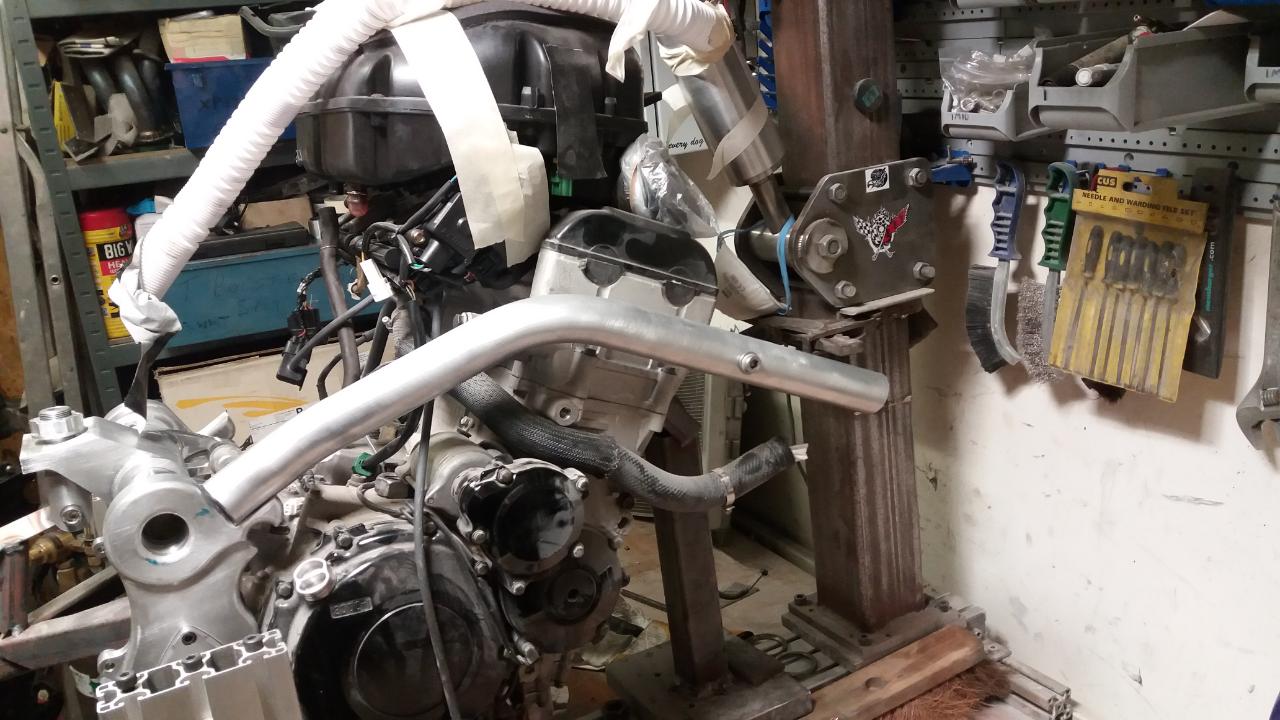
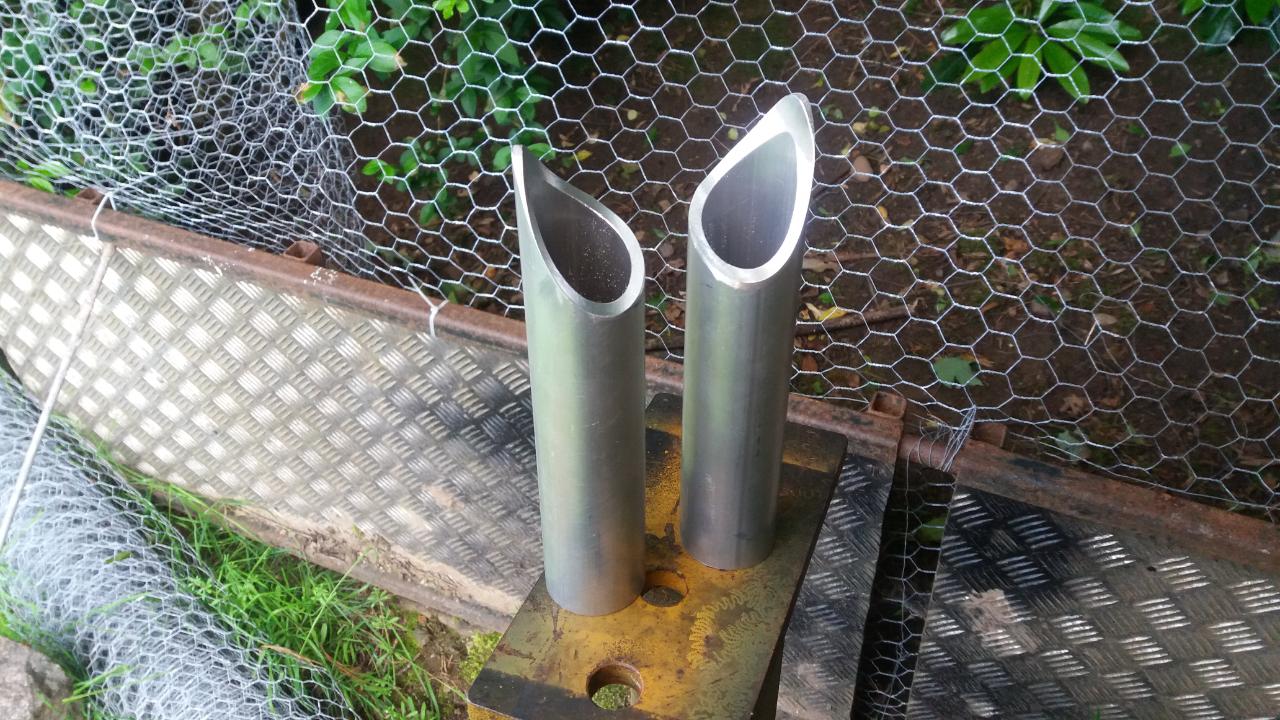
the engine mounts on the side of the block are quite low, running the tubes low enough to catch them would have completely ruined the lines, an alternative had to be found . I made up a pair of weld on brackets, I wasn't overly enamoured with them at the time, they were left unpolished so as to not draw attention to them self ..... after a couple of years they've grown on me
-
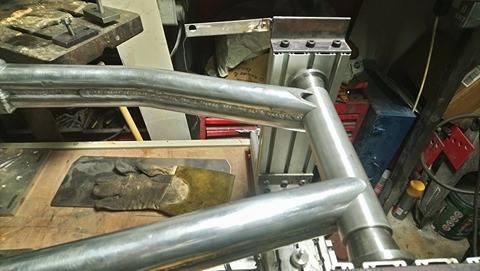
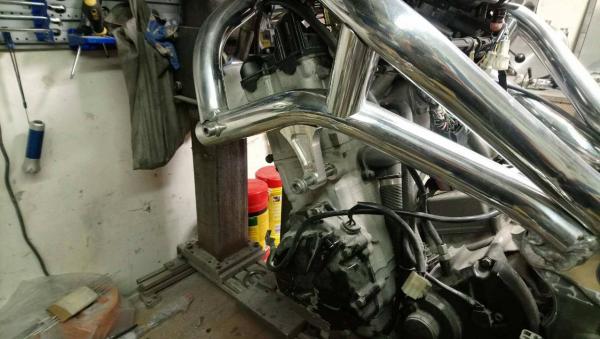
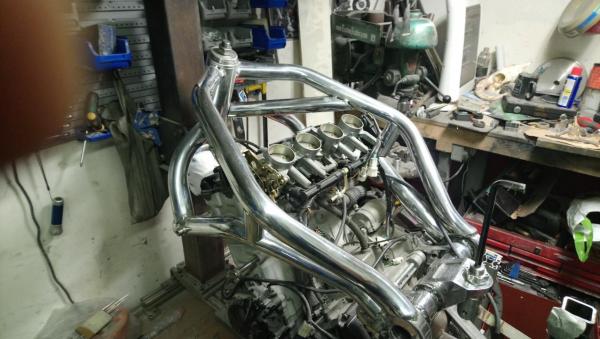
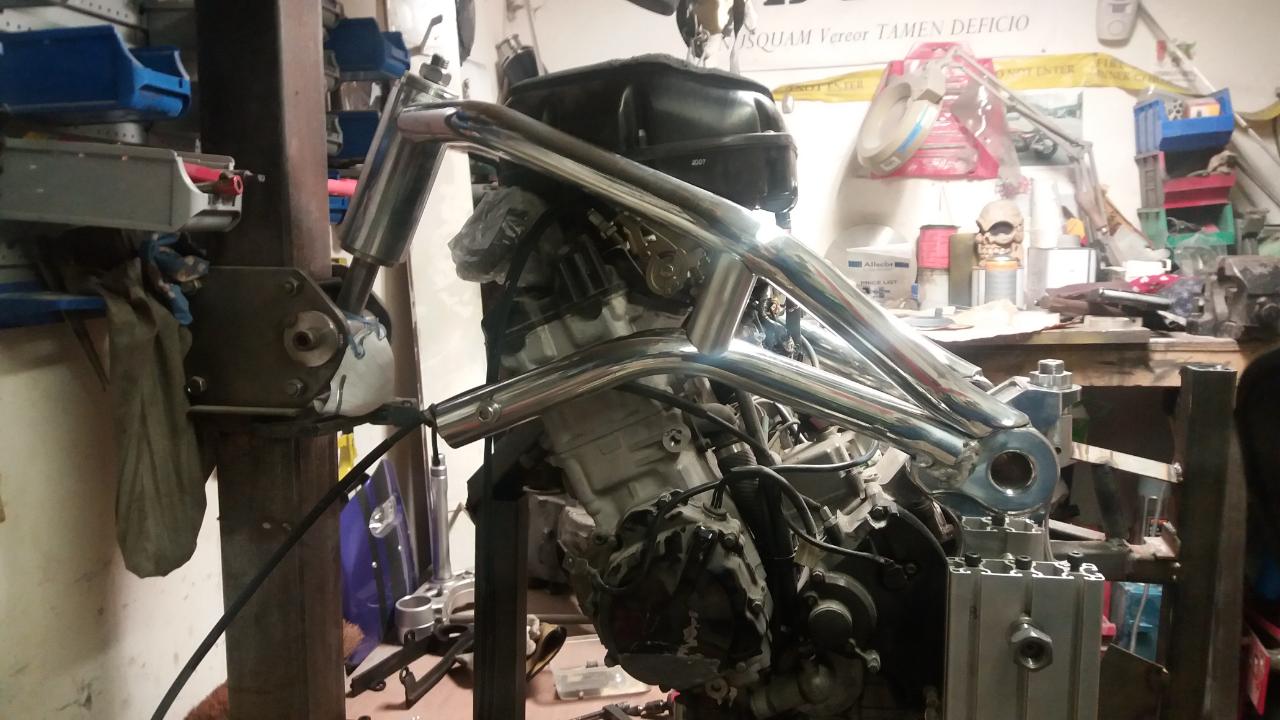
with that lot tacked together I was able to start on the rest of the tubes, the ones from the bottom of the headstock especially took a fair bit of fitting


-
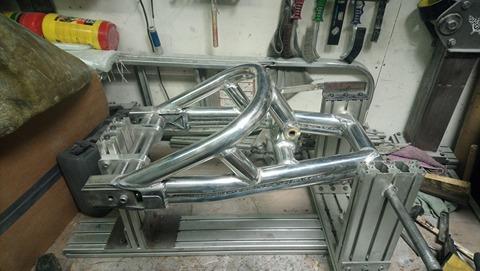
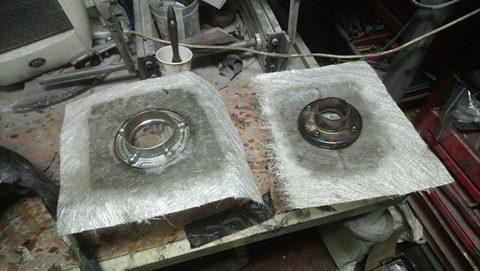
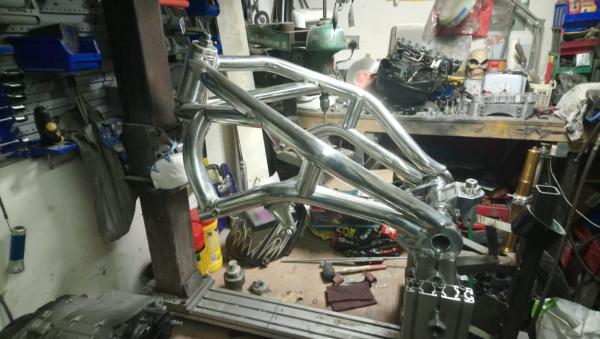
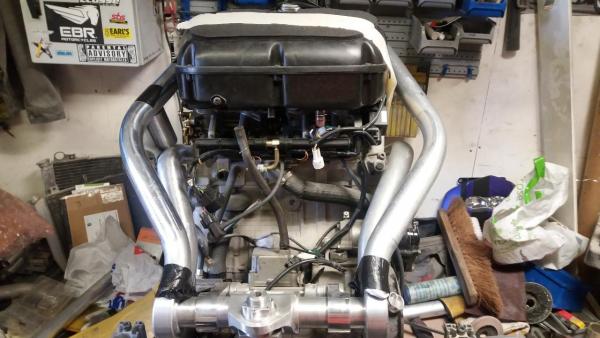
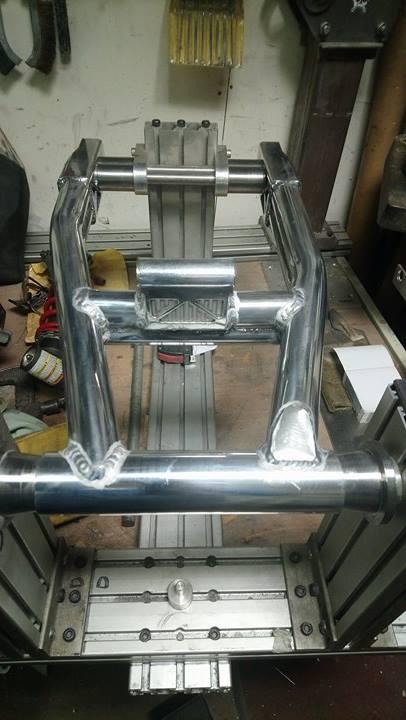
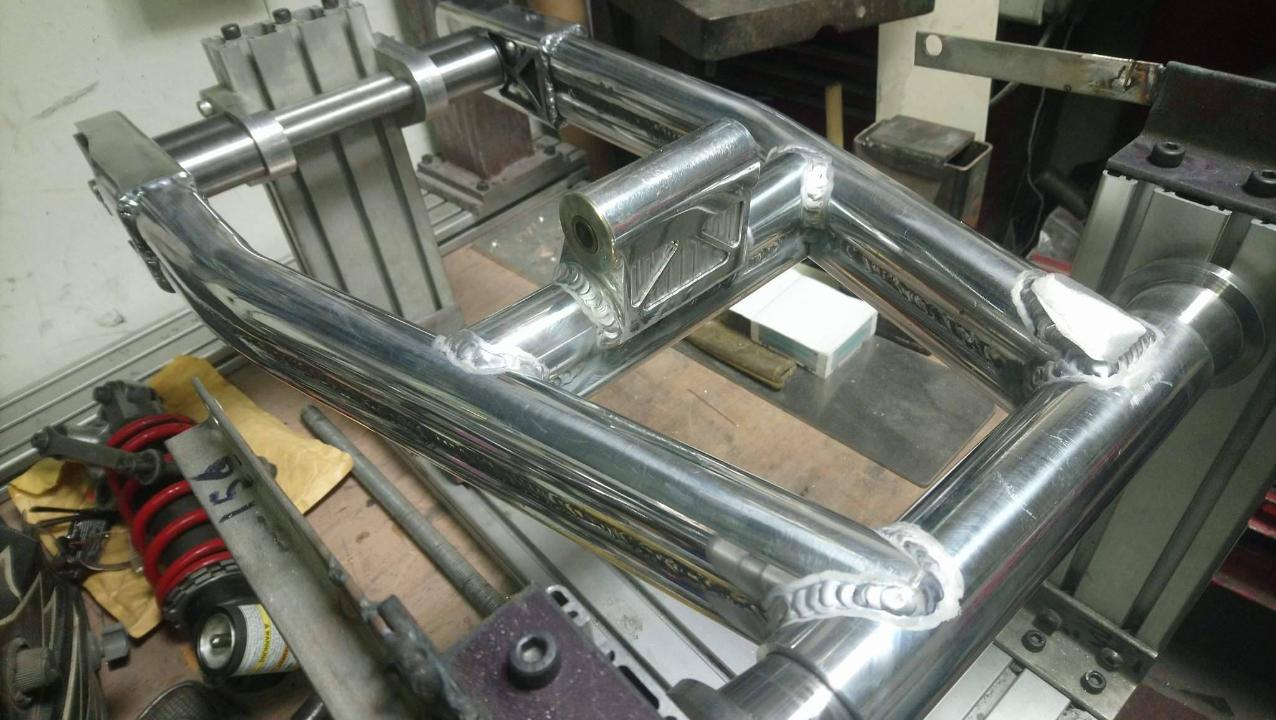
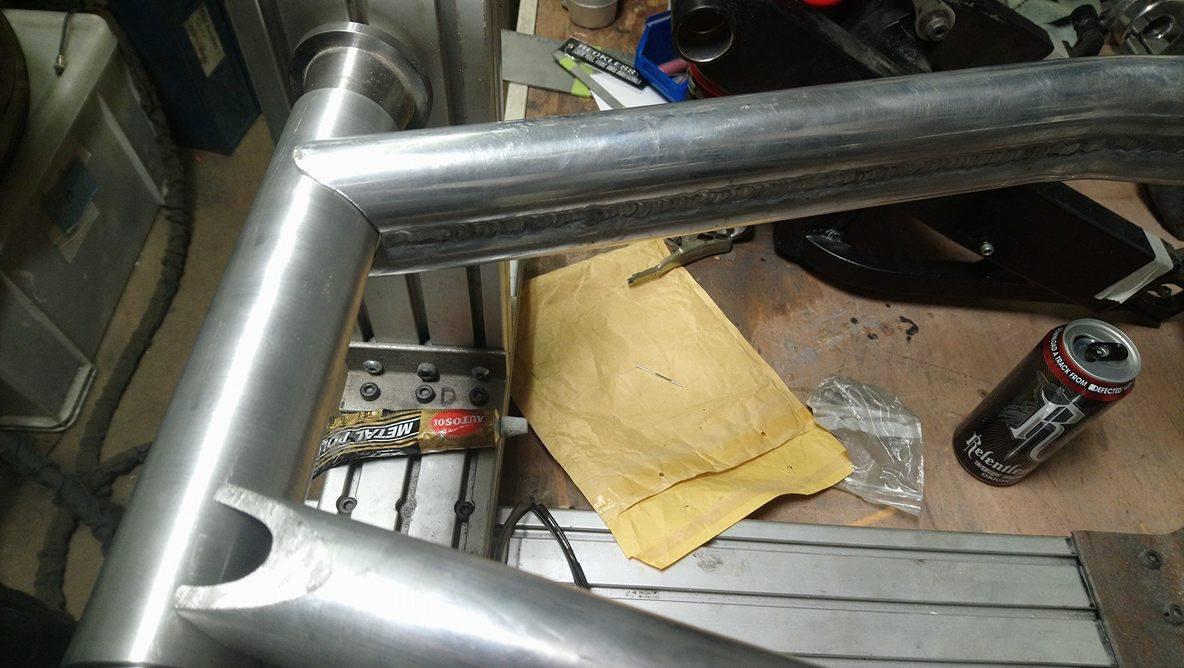
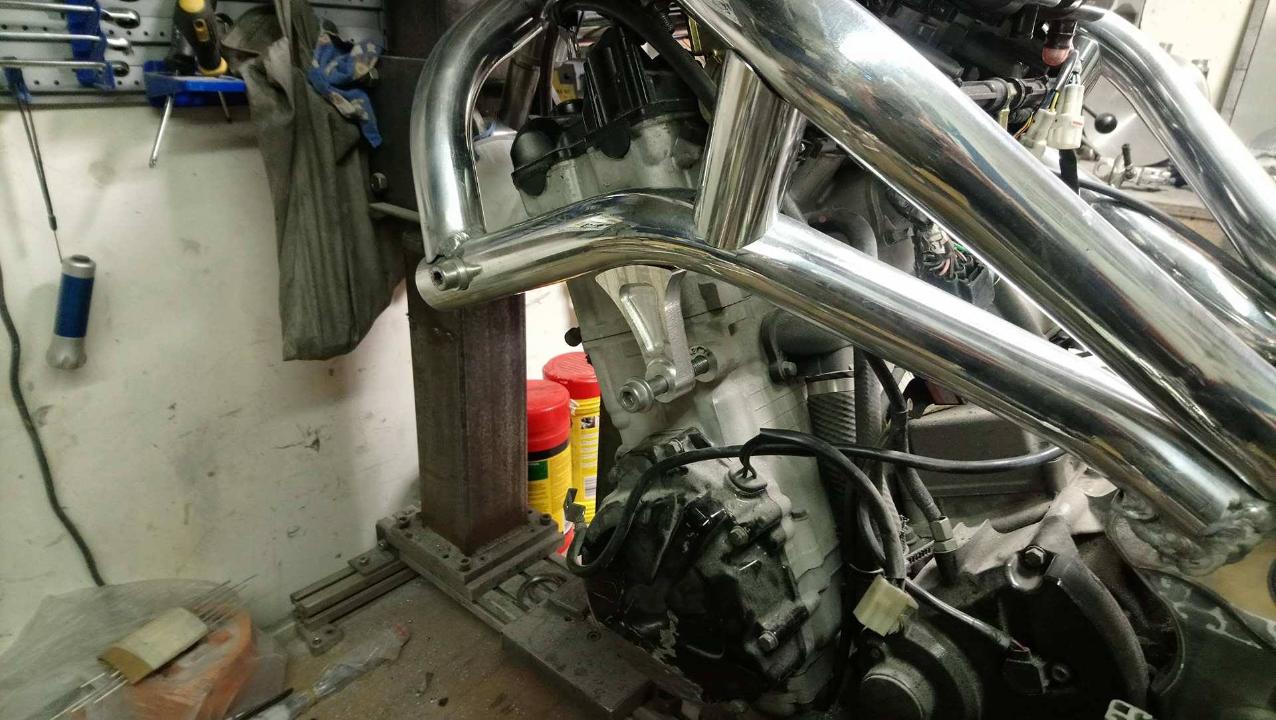
Before going any further I welded up as much of the rear section as possible in the jig and popped it out to finish it off. While I was at it I kinda polished the tubes i'd bent up, I recognise the diff between polished and shiny, this is 100% just shiny, I doff my cap to guys and girls who do proper polishing, it is a hoor of a job

-
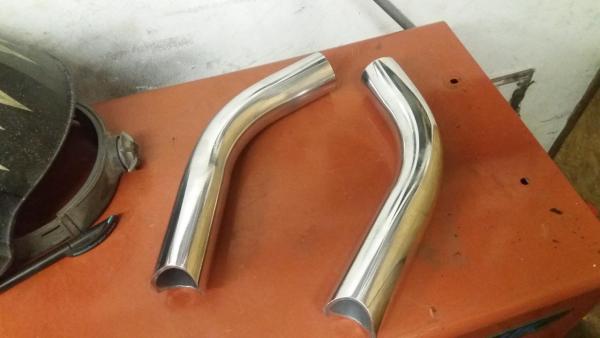
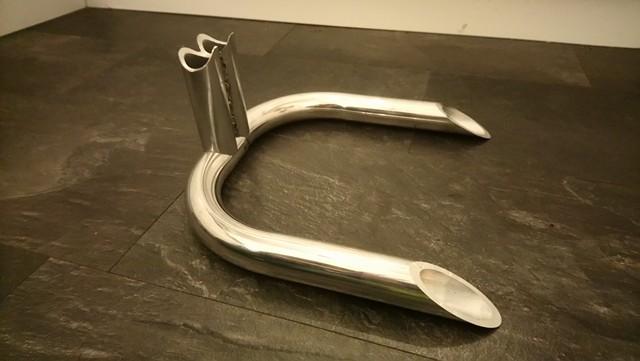
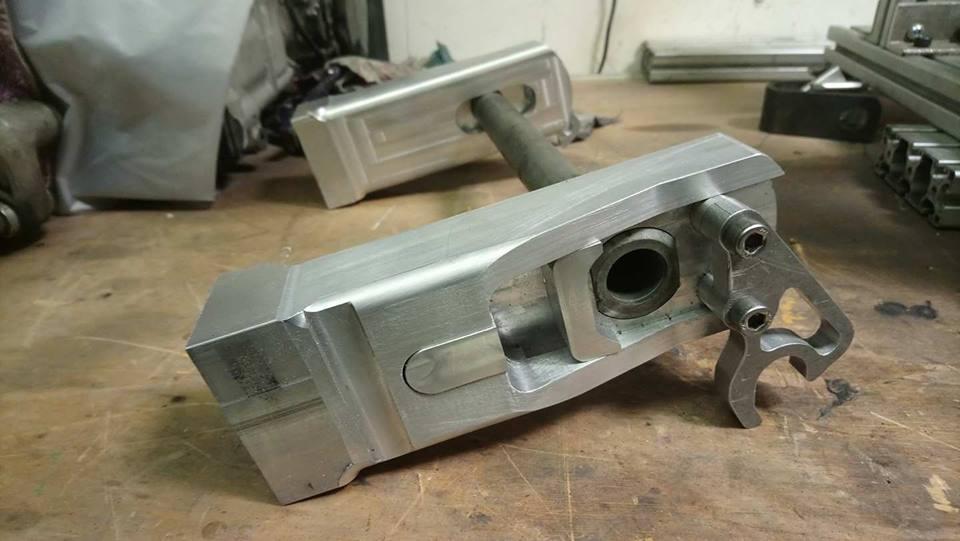
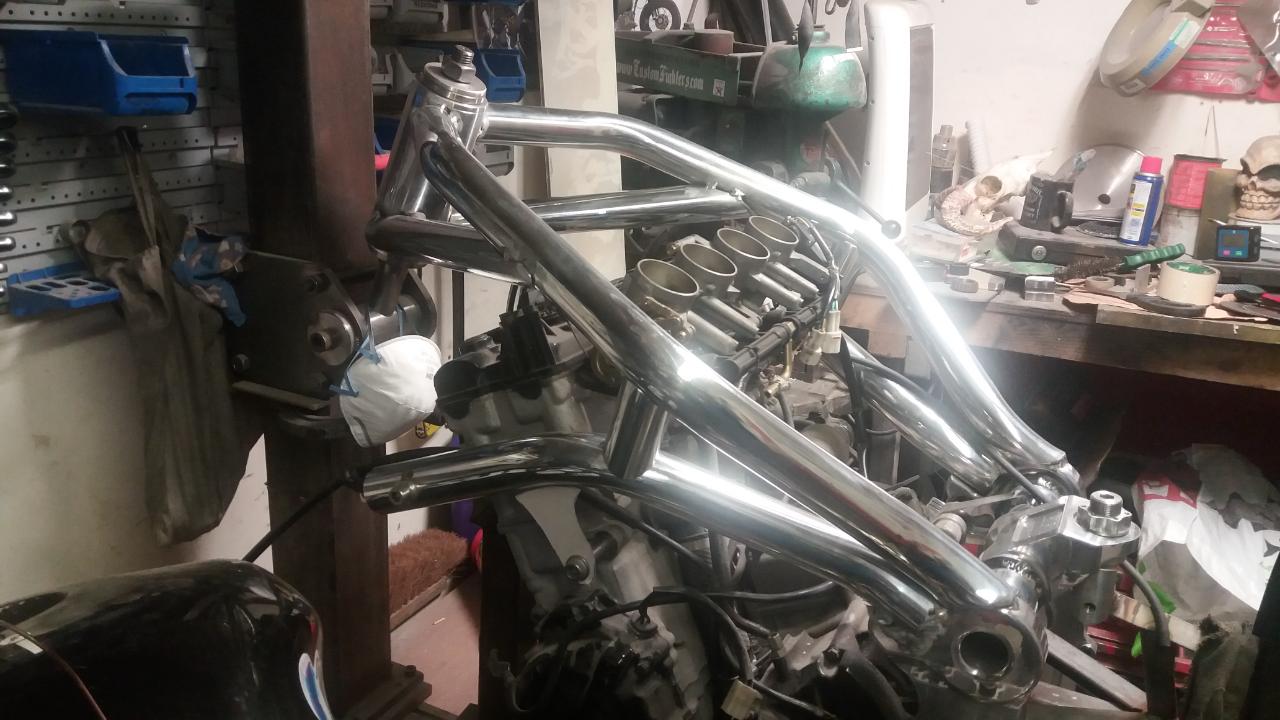
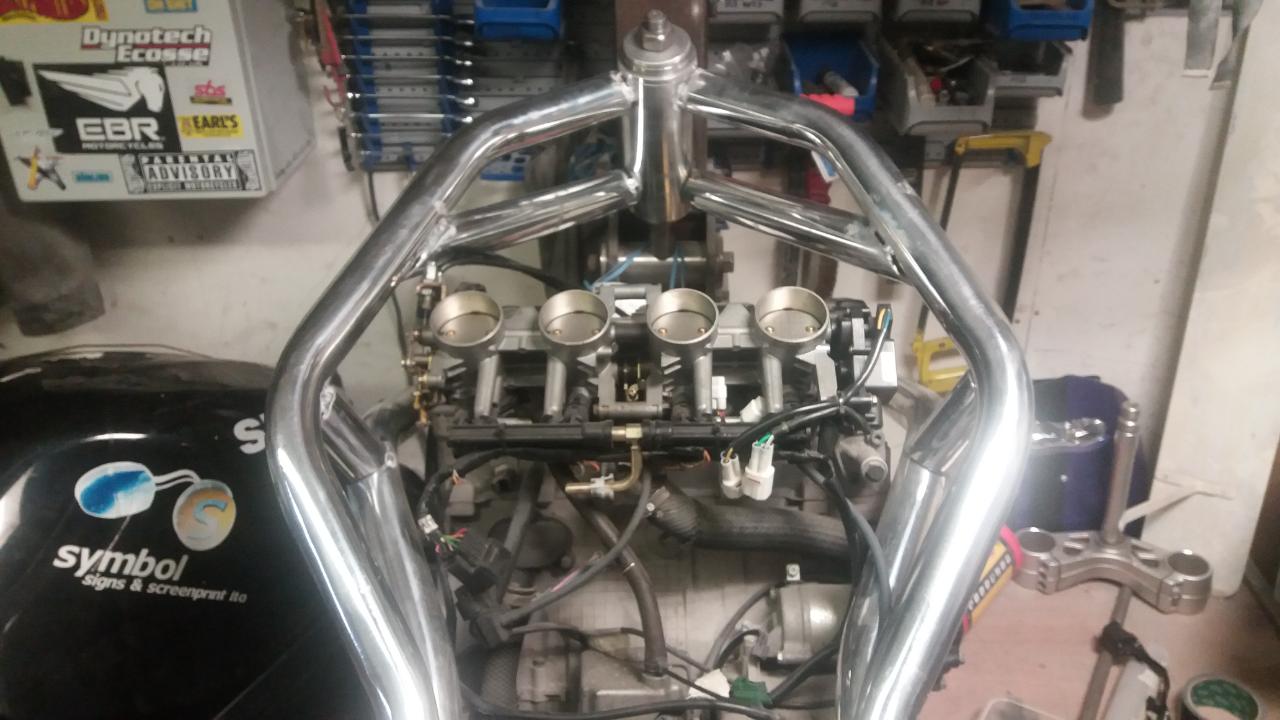
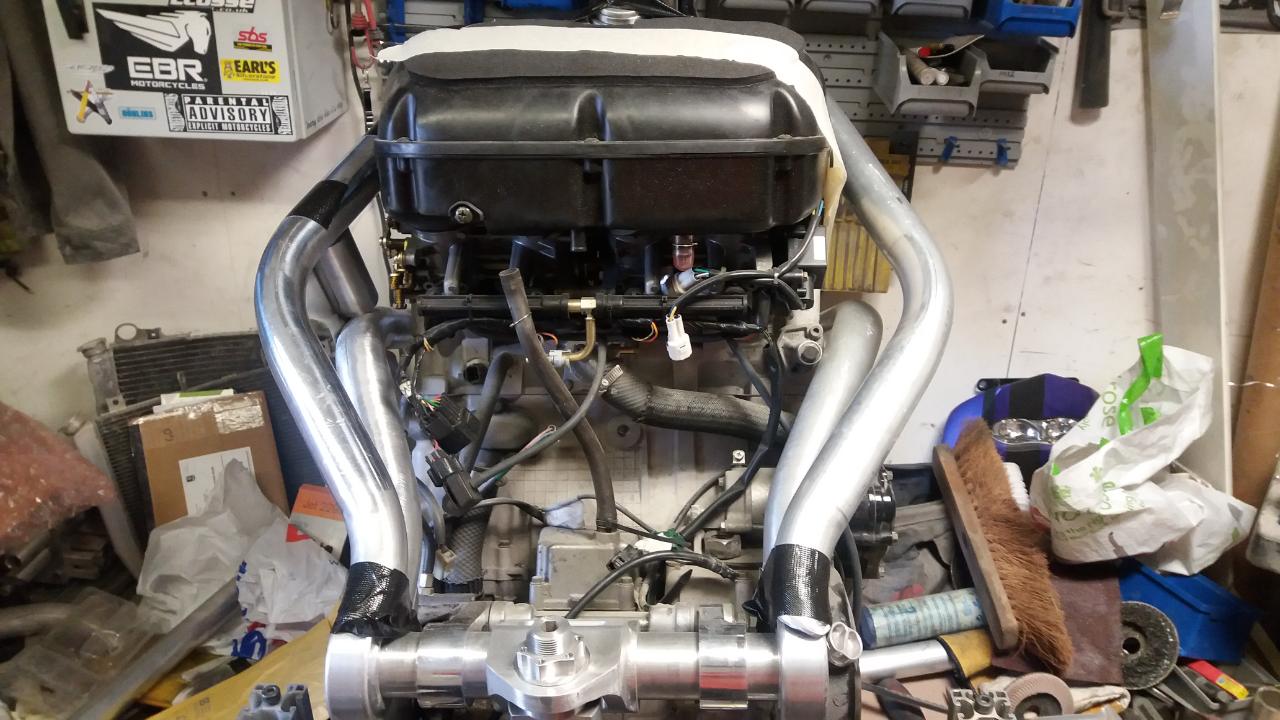
rear bit pretty much machined up, time to step away from CAD, cnc mills etc , time to start bending tubes . This was quite the learning experience, never having made a frame before.I can highly highly recommend the tube mitre program on Tony Foale's website, I've used it plenty on subframes As you can see, I was planning on using the airbox (I didn't) , so the frame is pretty wide to clear it


-
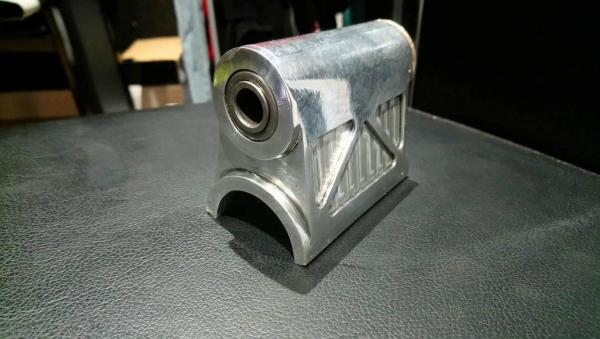
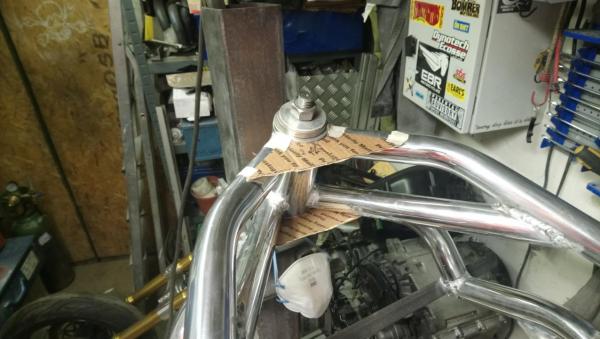
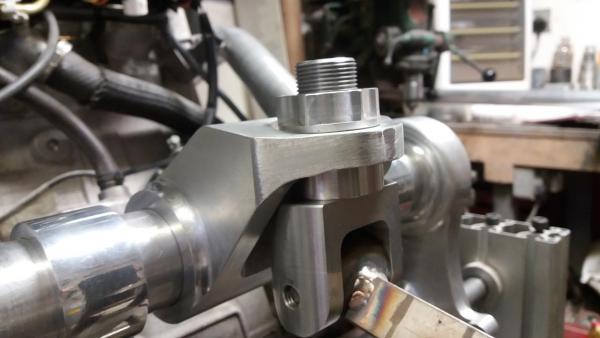
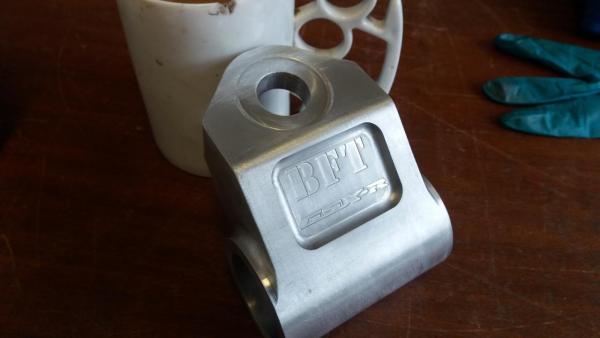
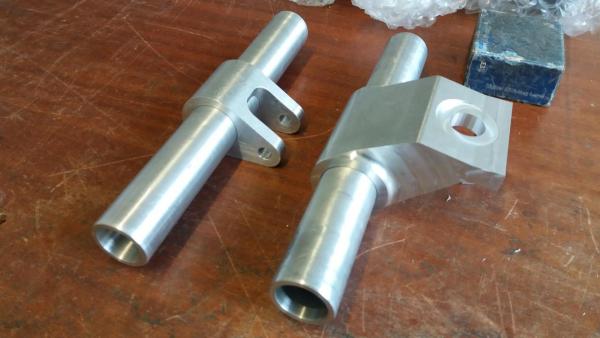
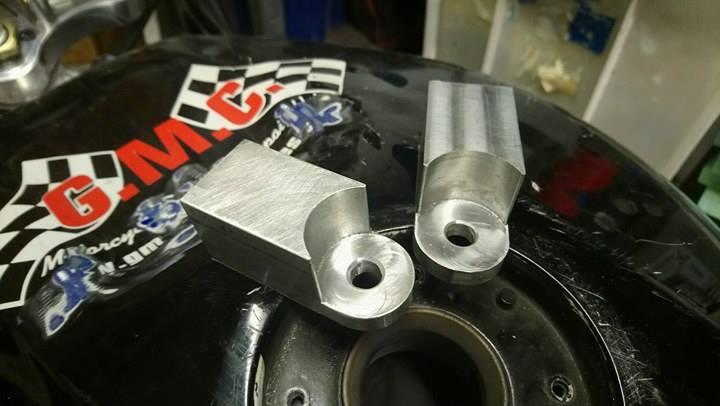
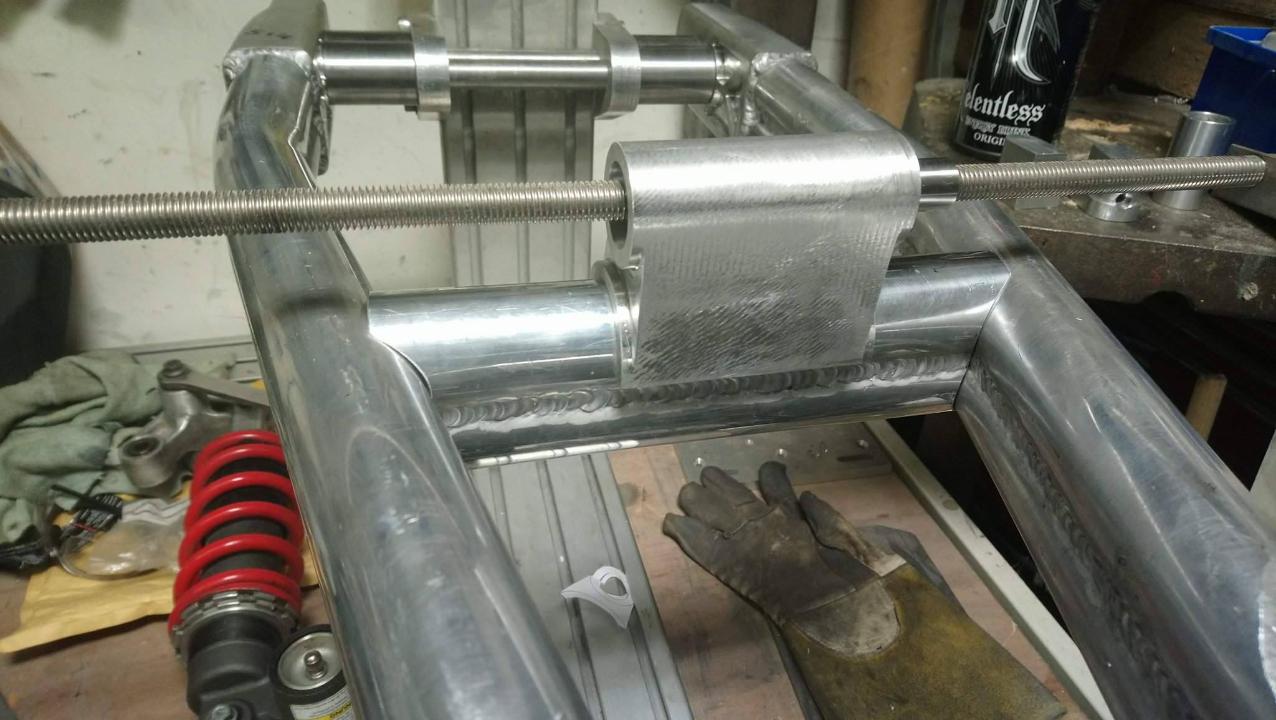
Rest of the top mount next, and a mount for the lower linkage. The donor bike had a 10mm spacer at the shock mount, so I done the same, to be honest it'd prob be better without it as its a bit twitchy (yes I could remove it, but i like how the tail sits) top mount looked a bit bland, big expanse of flat aluminium, so I popped a pocket in it and added a bit of engraving, once built up it's not easily seen, but I know it's there, and that's enough for me

.thumb.jpg.cad174b6576643c5d1566c595d7a9768.jpg)


.jpg.23ec31050be1d94b15f7405131fbc1ba.jpg)

