Macduff
-
Posts
111 -
Joined
-
Last visited
Content Type
Profiles
Forums
Events
Everything posted by Macduff
-
My brain was fuzzy on whisky when I wrote it . Well that’s my excuse and i’m sticking to it.
-
Good to know cheers
-
Are the J/K rwu forks better than the slabby ones? I find my slabby front pretty could for coping with the shit roads I ride on though my speeds these days probably don't test them that hard.
-
I wonder if the coils are the wrong resistance for the slabby CDI . Probably too low on the primary resistance value which could cause the CDI to overheat. Slabby coils are I recall about 5ohms and slingy coils likely to be around 3ohms. I recently converted my slabby to run coil over plug ones and needed a resistor to be bring the coil resistance up .
-
I could be wrong but think the slingy forks are 43mm and slabbie forks are 41mm
-
Probably a stupid question .. Do all those disks have the same bolt center diameter?
-
As I seem to have started to collect spare wheels for my 750 slabby I thought I'd better get an understanding on wheel bearings used so I could swap different model year wheels in or out. Ps I did search for this and didn't find a list. Here's what I've found so far hopefully correct. Note I've not listed the seal specs used or quality spec. 750F/G front 6302 15x42x13mm (internal dia, outer dia, width) 750F,G,H rear 6004 20x42x12 750H front DG1742 17x42x13 I think 1100G front is the same as 750G front and 1100H =750H. 1100G/H rears same as 750F/G/H rears. 1100J 3 spoke fronts 6303 17x47x14 1100J 3 spoke rear 6204 20x47x14 All slabby rear sprocket carriers (two types?) 6305 25x62x17 (need to check) & if you want to fit J 3 Spoke fronts to F/G slabbies' swap bearings to ALB1547-14 for 15mm axle (needs checking) 1100J rears need the correct sprocket carrier which isn't the F,G,H one apparently.
-
Looks like wider rears are like buses, none for ages then two turn up at the same time. It looks like my winter wheels job is now started as I've located a pair of 1988 enkei 1100J 3 spoke 18"s and an earlier 1100G/H rear if I want to stay original looking. Cheers for the offer anyways ET but my wheel collection is now up and running.
-
Ah I thought jap imports had 4” rears, at least mine has.
-
Cheers for checking, I'm after the wider jap import rear, and already have a front sorted.
-
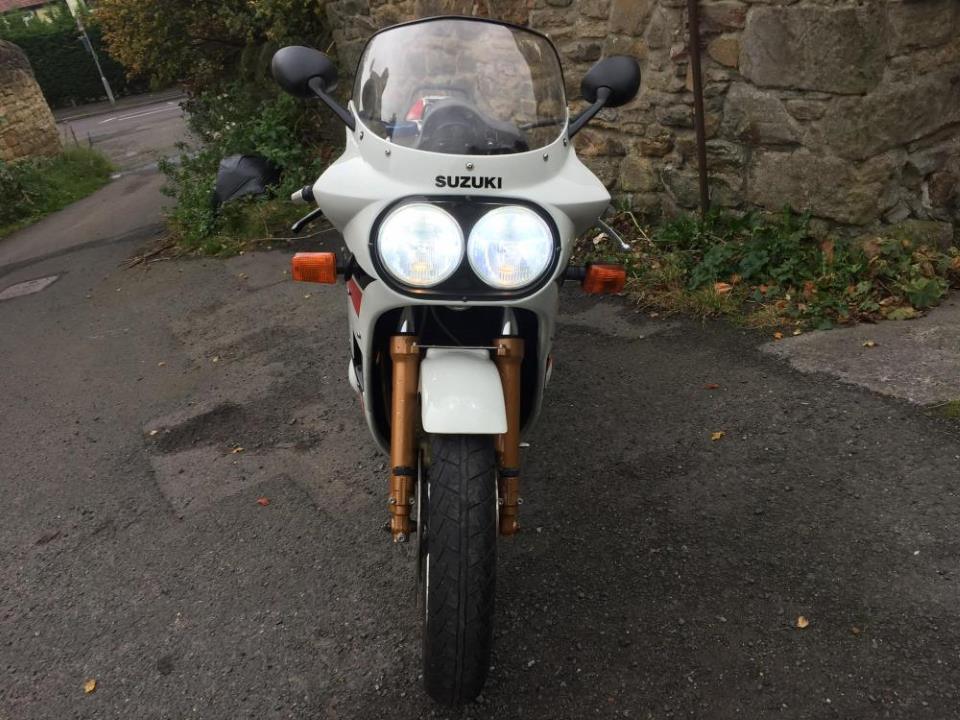
A bit more fiddling has occurred . Upped the idle mixture setting in a fudged best guess manner as I don’t have a 90deg screw thingy to help with cold starts. I ‘m not sure the choke cct is working (at all) as it seems to hinder starting but that’s for another day to worry about. Main reason for posting was I’ve fitted H4 LED headlamp bulbs. Tested against a wall in dull daylight and they appear brighter than the halogen ones fitted (std wattage and old) and have a good cutoff so no random beam scatter on low beam . Haven’t tested in the dark yet as it’s now phishing down and tonite was going to be a short run over some local unlit NSL roads. Fitting was piss easy once I worked out which way up they went. Though the big rubber covers won’t go back without being savaged with a Stanley , they aren’t really needed.
-
Quick update . I’ve done a further 100 or so miles on these and they haven’t give me any grief. Starting is getting better since I richened up the idle mixture, though I think the choke cct isn’t working as intended as it’s seems to prevent starting more than help .
-
Unfortunately not but just in case I could be tempted what width is it?
-
I’m running a new old stock Michelin Hi-Sport 150/70 on the rear of my Slabby. Seems to handle fine though I’ve never ridden a slabby prior to this. I’ve another Nos Hi-Sport to go on the front shortly. I used to love the Hi-sports back when they were current and ran a set on my old FZR1000, they did have the Nickname Hi-sides for their on off grip, though I doubt i’ll trouble the limits of adhesion these days given my lack of talent ran out years ago. Ps I unnerstan the risks of running fekking old tyres, and have plans in hand to source a 2nd pair of wheels for more up to date rubber over the winter.
-
Yup Must read it sometime
-
Just to update I'm probably 3/4 of a turn out on mixture screws as a guess on middle carbs due to struggling with a small screwdriver and clearance. it starts a lot better than it ever has . will check out a suitable tool from the usual suspects though even with those it would seem difficult to tell if its seated in the mixture screw or turning in air?. I recall seeing an extended mixture screw for KTM fitted FCRs and wonder if they were available for the vm Mikuni?
-
Bloomin lovely.
-
My old slabby has always been a pig to start from cold or just warm. Originally the carbs were so far off it was mostly ridiculously rich as PO has raised float level and set mixture screws to 4+turns out (probably to try to adjust to running pod filters). I refitted a stock airbox with a K&N Factory style filter replaced the pilot jets float valves, reset float levels and mixtre screw settings to stock. After that It usually started after tickling the accelerator pumps a few times with choke on and fiddling with the idle screw until it caught . Since fitting the Yoshi starting has got harder, I suspect its got leaner due to the less restricted exhaust. I had a go at fiddling with the idle mixture screws and the two middle carbs are frigging a PITA to get at and then work out what you've set the screws too, outers are pretty easy with the right length screwdriver. So is there a wonder tool for doing the inner carbs ie did Suzuki techs have something to help or is taking the carbs off the only "easy?" way. As an aside I fudged the middle two and set the outer two to about 3/4 out from fully in and it starts a lot better. I suspect the carb choke cct isn't working as well as it should on some of the carbs and at some point a full untrasonic clean or replacement with something else maybe on the cards. SO any tips tricks or tales of woe on getting the carbs idle mixtures fiddled with in situe?
-
It is.
-
Test ride of my coil over plug conversion. Made it to the café and back .
-
Fitted the mini resistor loom and took a moment to tidy up the wiring as I think previous owners have had this bike in bits and stuffed the loom into the gaps when it was rebuilt. It works and seems to have filled in a fluffy/flat sport when running on needle though still tricky to start (which it was on old coils, so need to sort crabs ). I've done about 70miles and seems to be holding up, fingers crossed it stays that way.
-
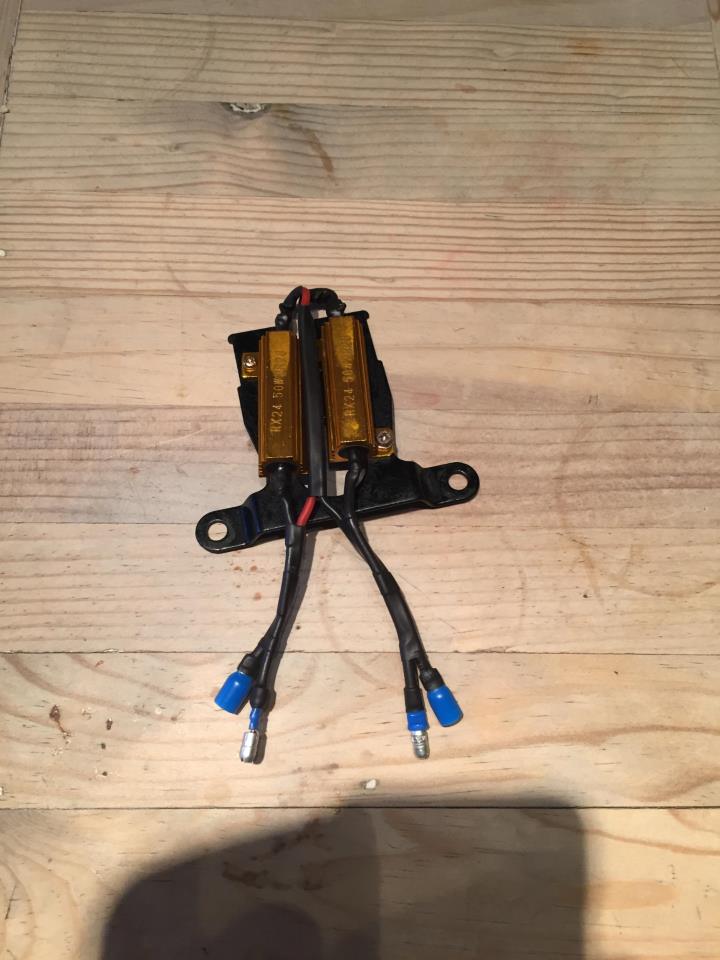
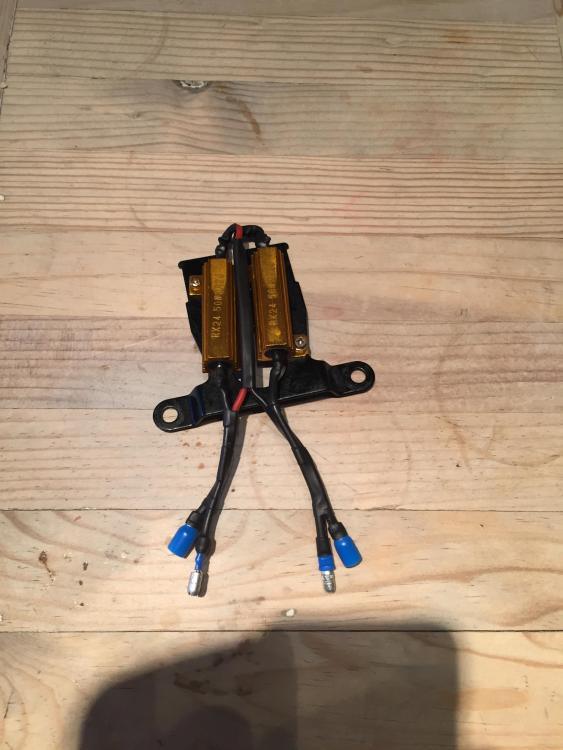
The 2.2ohm 50W resistors arrived this morning so made a little loom and mount to connect them into my existing CoP wiring. I used the bracket from between the original coils to mount the resistors to. this will hopefully act as a little heatsink for the reistors heatsink covers. This will be bolted back on to the frame in its original position. Will try to fit later but probably wont get a chance to try it out until Saturday.
-
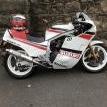
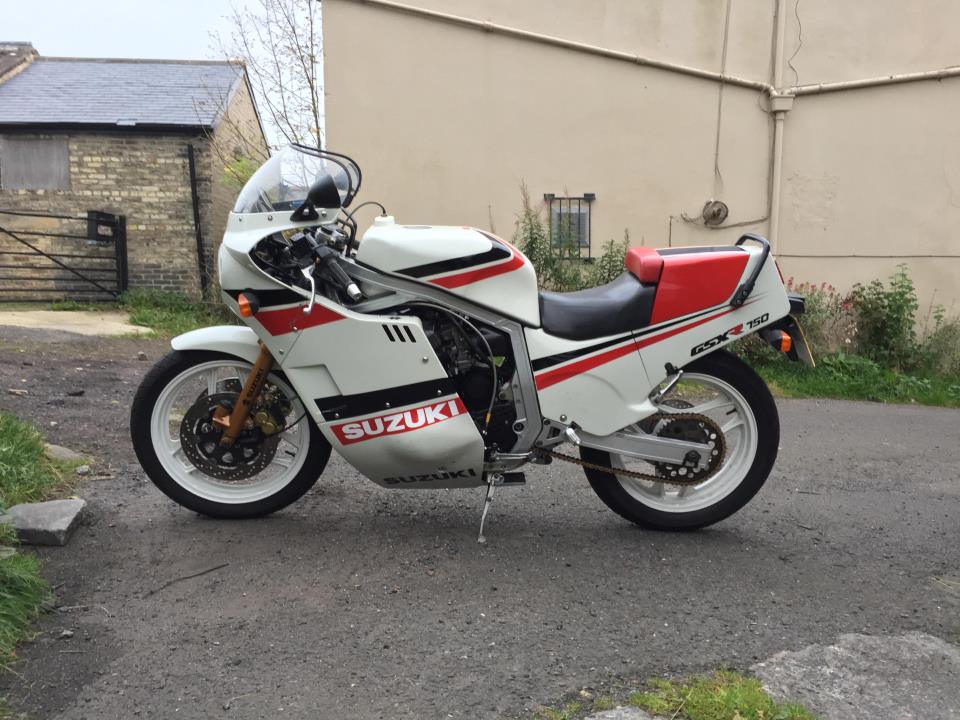
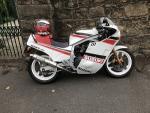
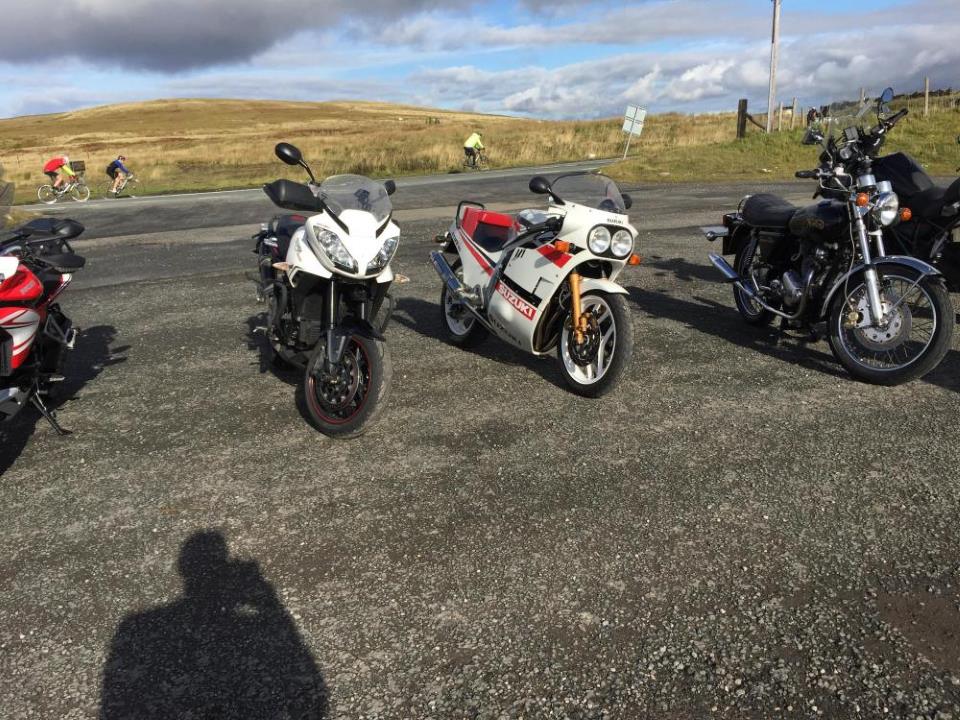
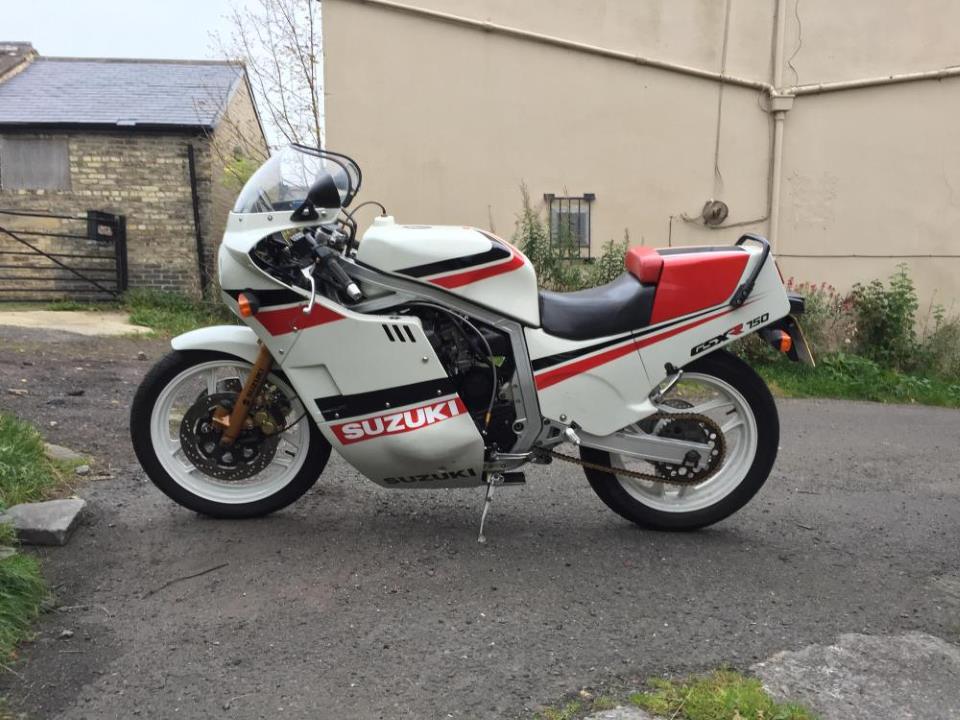
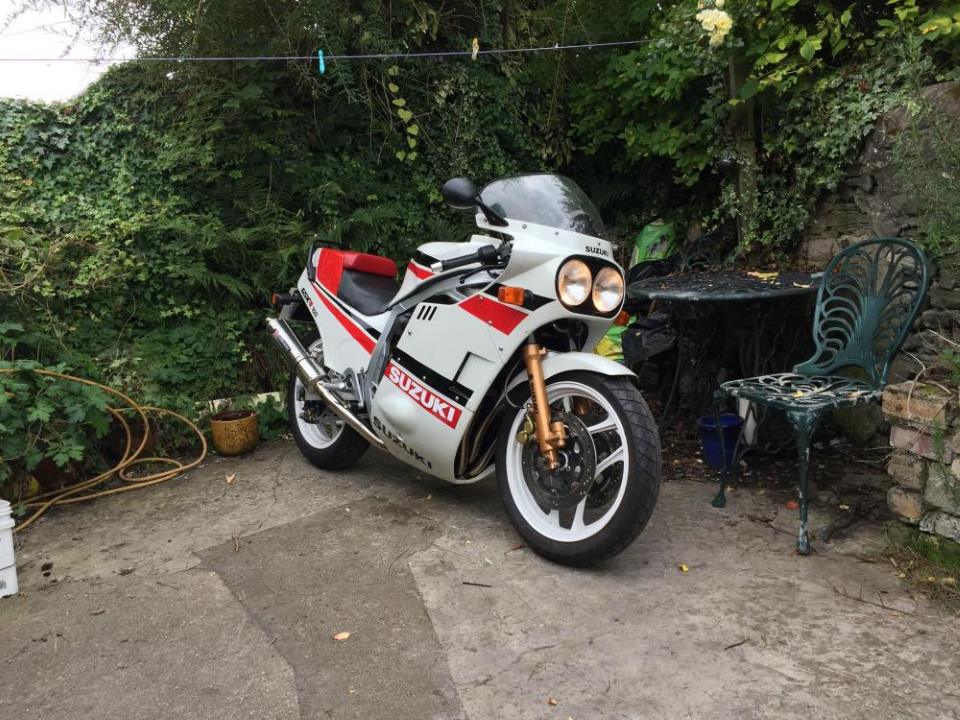
A couple of pics for no real reason other than I fekkin luv this bike. Can't imagine what might have been had I not missed out on one back in the late 80s.
-
Yup agreed on the resistor wattage, it was all I could get at short notice, ordered 100w 2 ohm ones
-
Well I've done the deed and fitted the coil over plug ignition. I wired them in series with a 10w 2.2ohm resistor to get close to 5ohms total. Bike starts pretty much the same as before i.e a bit shit until warmed up , I really must sort out my carbs idle ccts / balance. The resistors get fekking hot so I've taped them to the frame to try and use that as a heat sink for now . Working up the courage to take my handiwork for a short test ride and hoping it doesn't break down melt the cdi.