

Matt-Man
-
Posts
377 -
Joined
-
Last visited
Content Type
Profiles
Forums
Events
Posts posted by Matt-Man
-
-
Finished re-vamping this old shock. Looked pretty scabby when it first arrived, leaking oil and covered in corrosion on the steel body. A service from my local suspension guru sorted the leaky seals and grotty chrome. 20 mins with a scotch pad, some laquer and a new sticker.... Job done. Quality bouncy parts at reasonable price. Happy boy.... Looks good as new too !!!
-
 2
2
-
-
On 02/04/2017 at 1:54 AM, MeanBean49 said:
Yes mate. Still open. I will be there with my van and big marquee. Space for a few bikes in it
Cool, cheers mate. I've got nothing special, just a TL thou that I thought I'd have a go on.... Not seen you since the first Pendine....
Cheers
Matt.
-
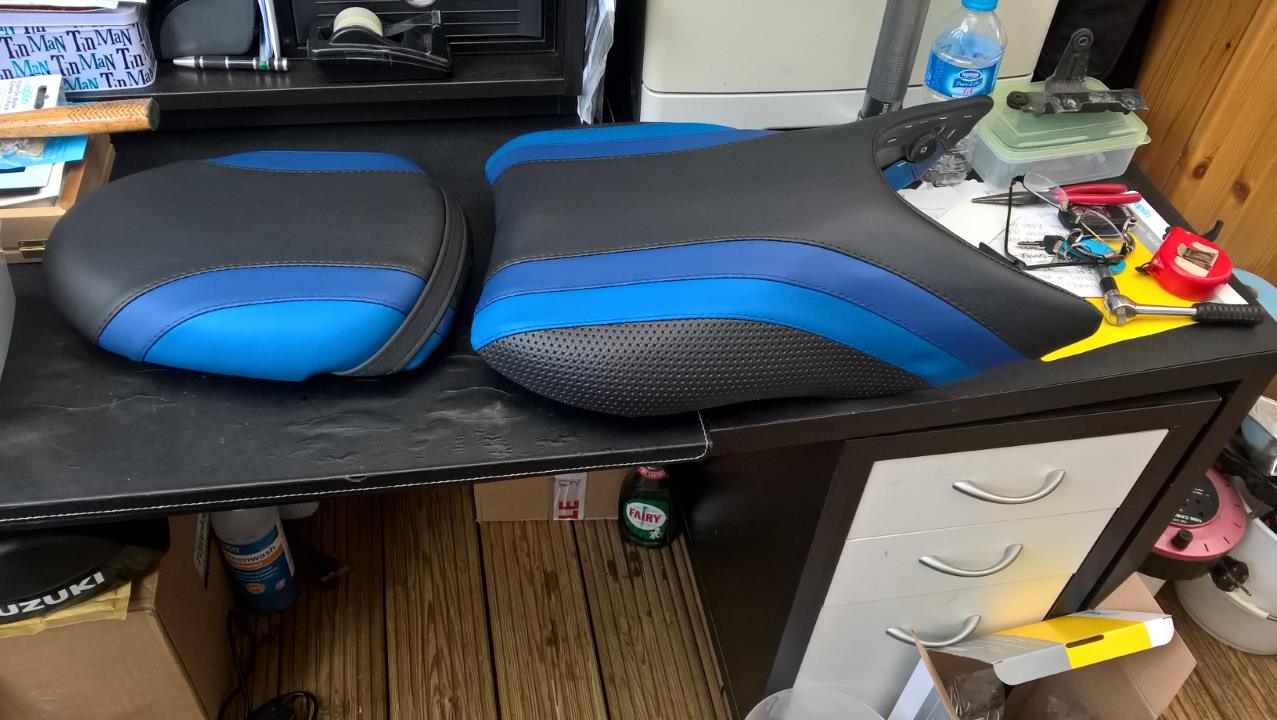
Got my new seat covers today. Ordered them on Thursday, custom made, and they arrived this morning. Quality product and a quality service.... £59.00 Bargain !!!


-
5
-
-
On 14/03/2017 at 2:00 PM, MeanBean49 said:
So, whos doing the track day?
We need to form our own splinter group and all fling poo at the non riding show pony OSS peoples from our side of the fence :-)
On a serious note, would be good if we manage to set up in the same area
Hi mate, your offer of some overnight storage still open? I'm doing the track day too so would appreciate the help.
thanks
matt.
-
On 10/03/2017 at 7:59 AM, FJD said:
are you a painter by trade ?
No mate.... This was just a rattle can job...Done in my shed !!!! :@-)
-
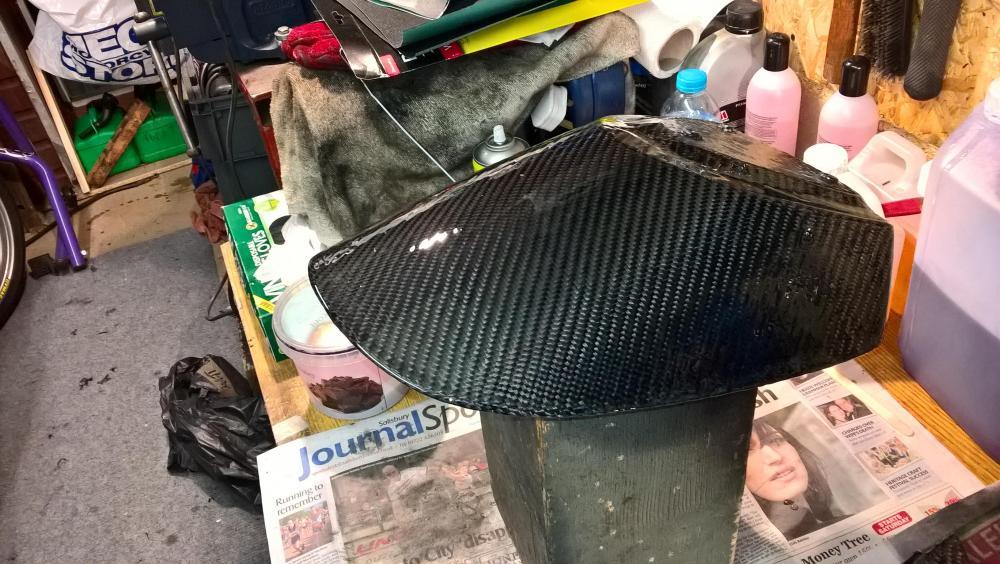
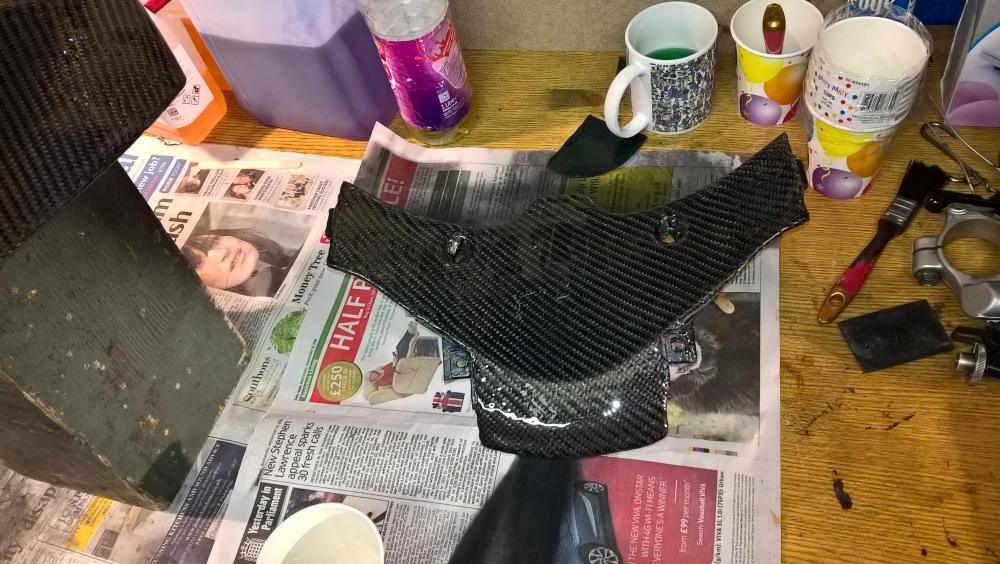
Chipping away at it. Seat cowl and small panel had their 3rd coat of resin tonight one more then a wet flat and top coat and a polish should see them finished.
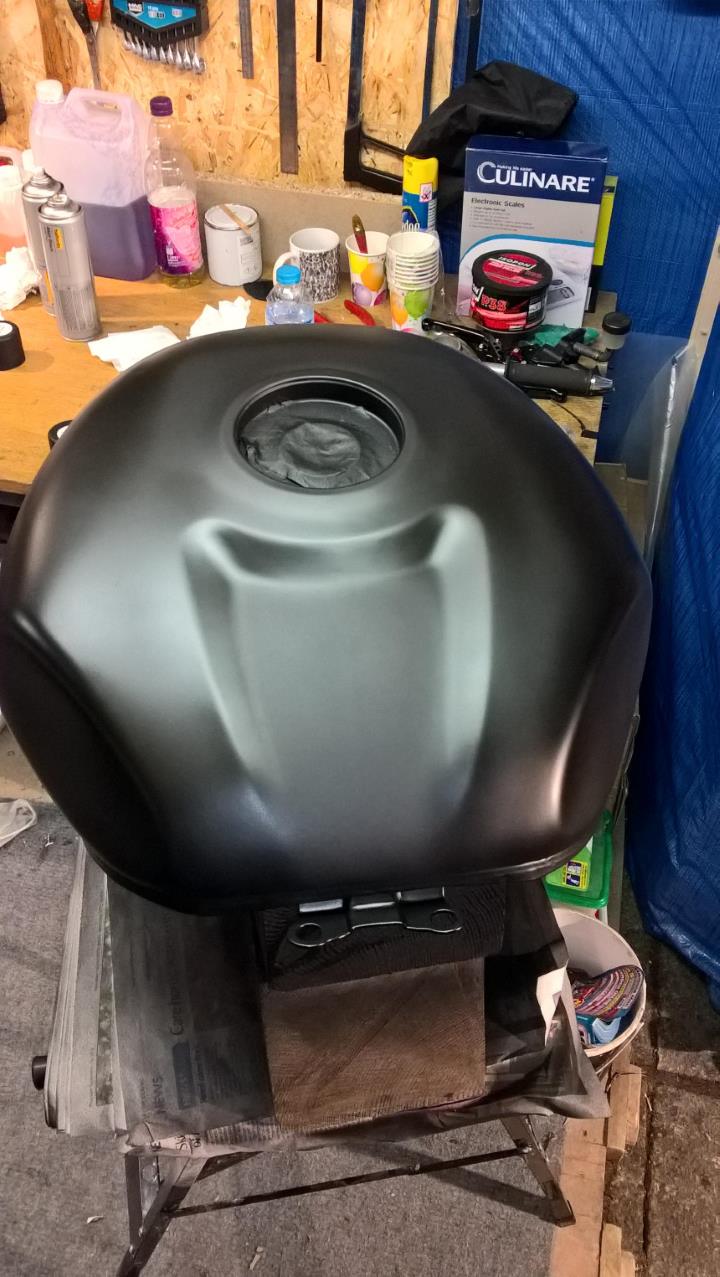
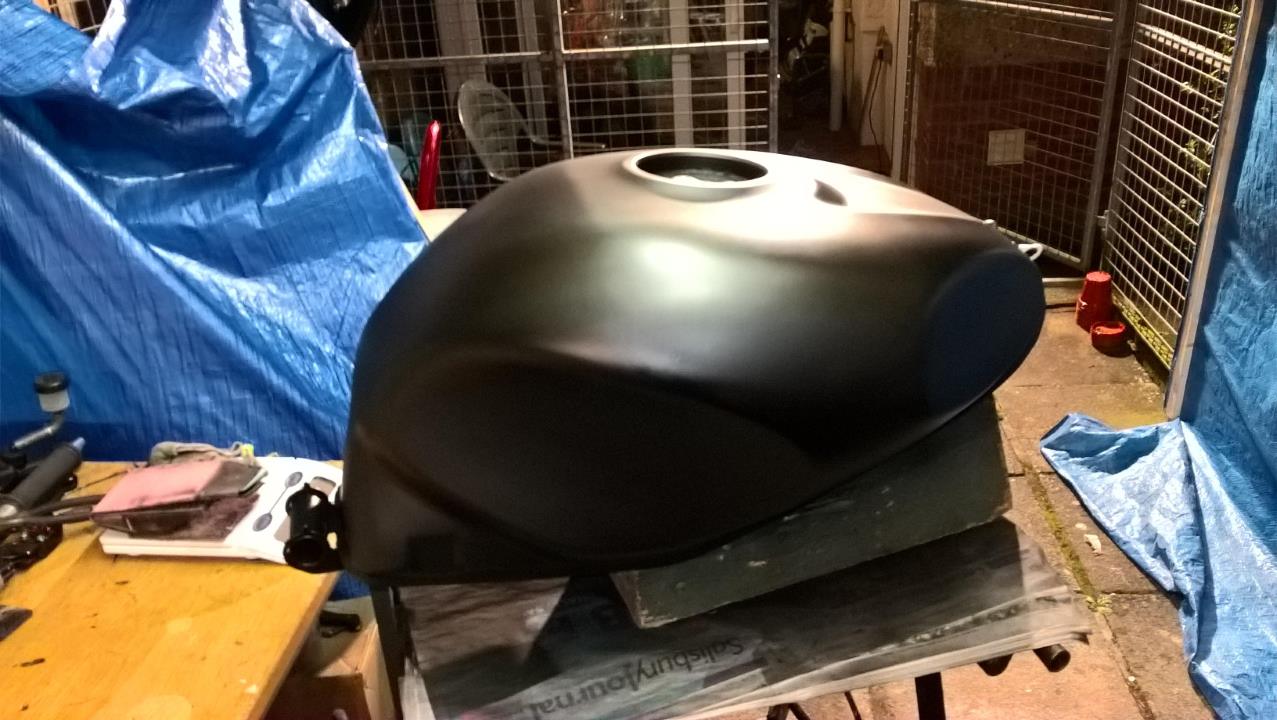
Prepared the tank ready for It's base coat tonight. Will be doing the carbon on Saturday morning all being well...


-
2
-
-
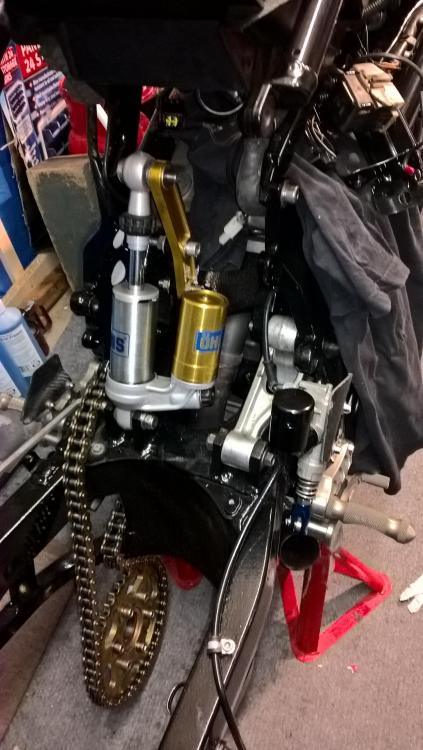
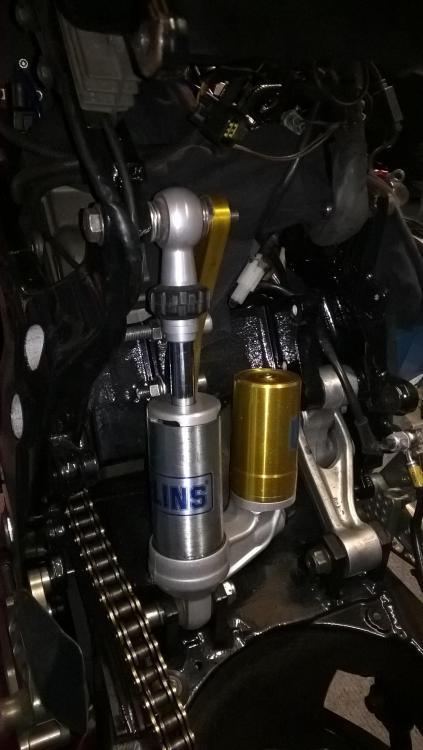
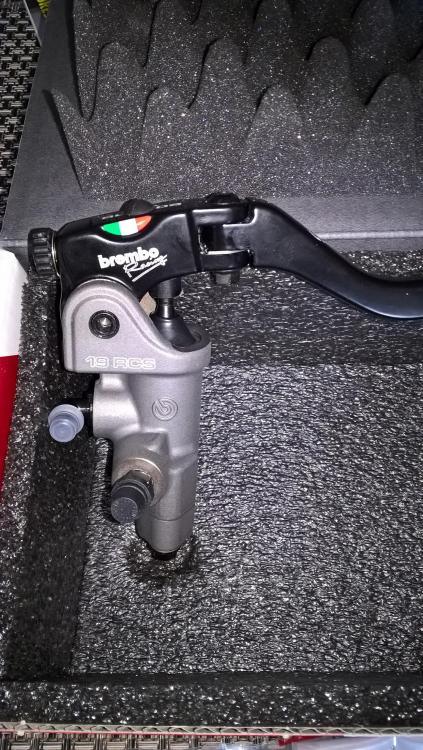
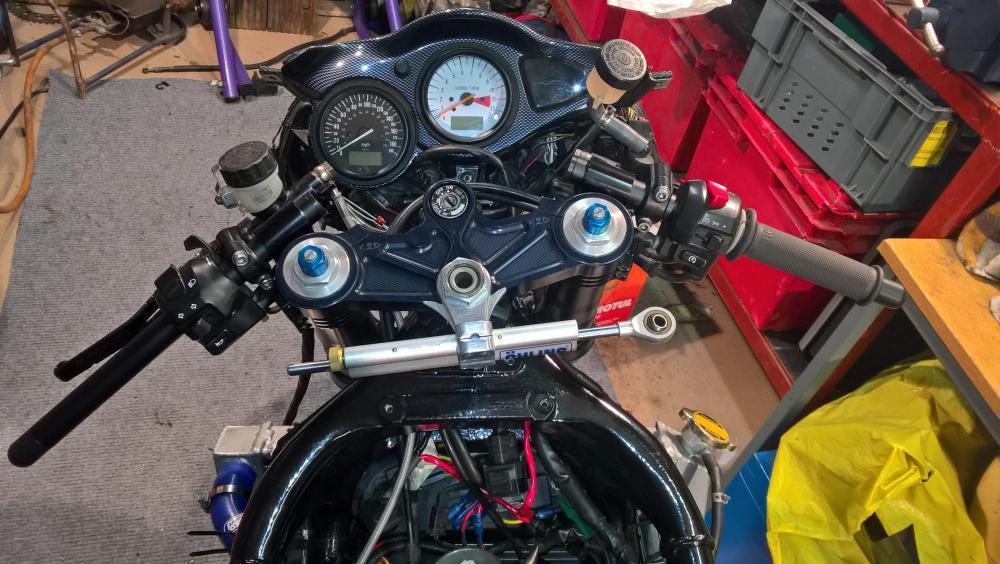
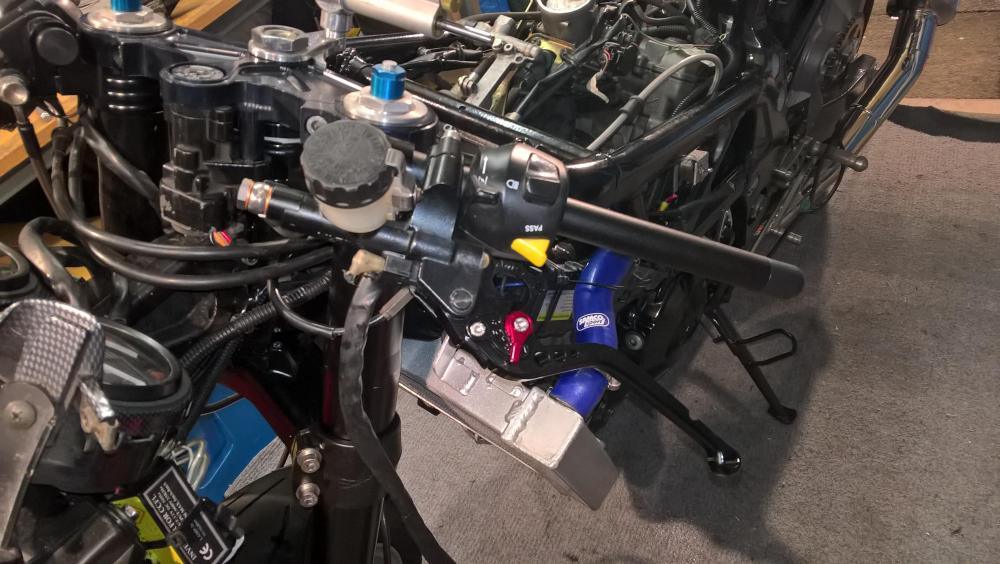
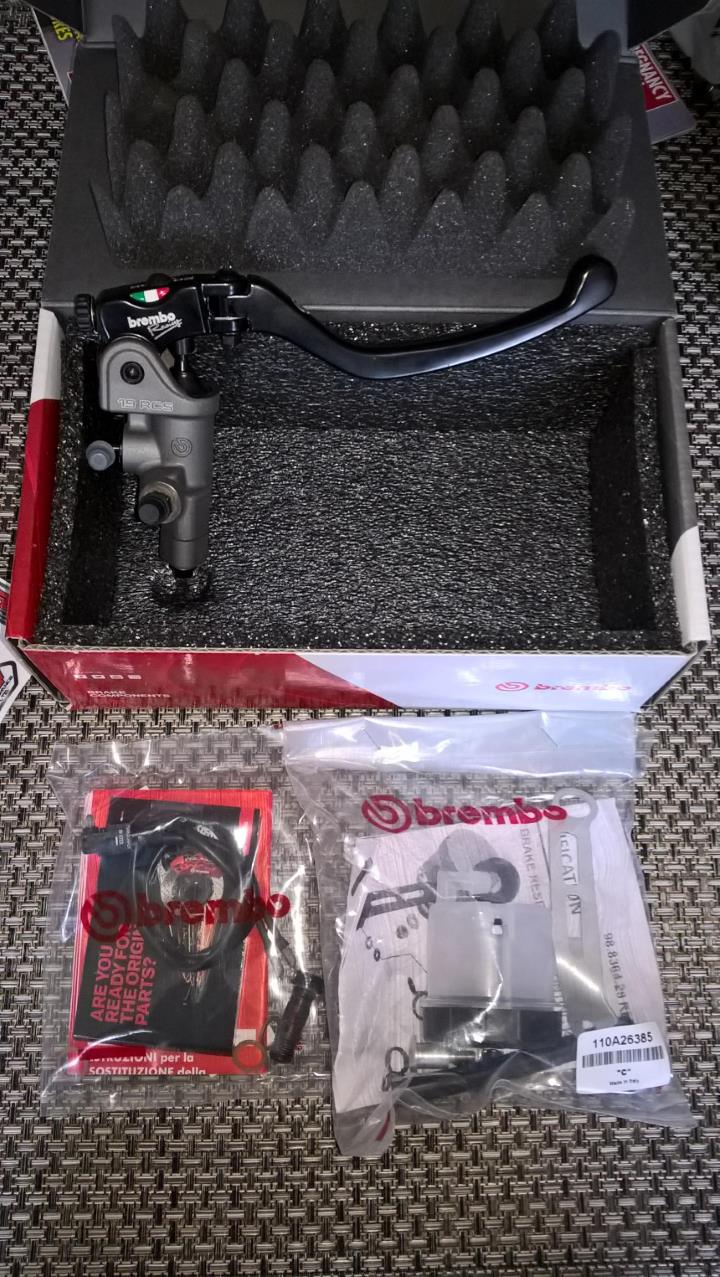
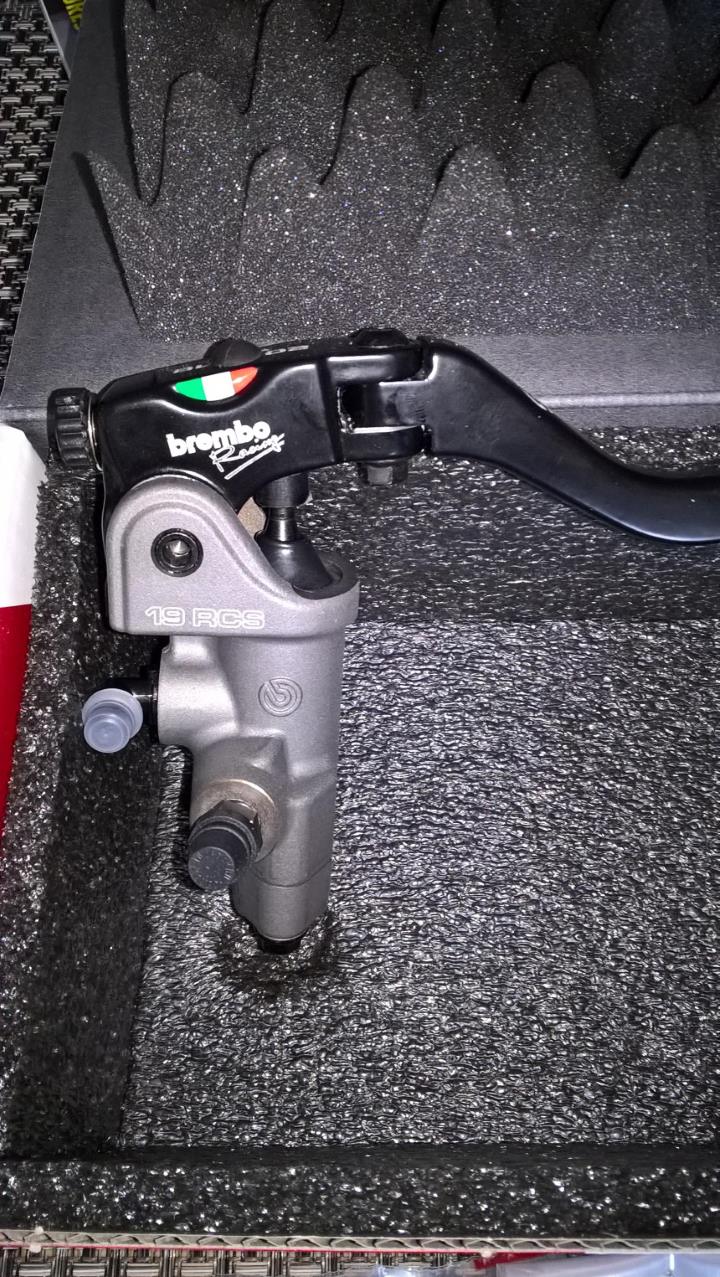
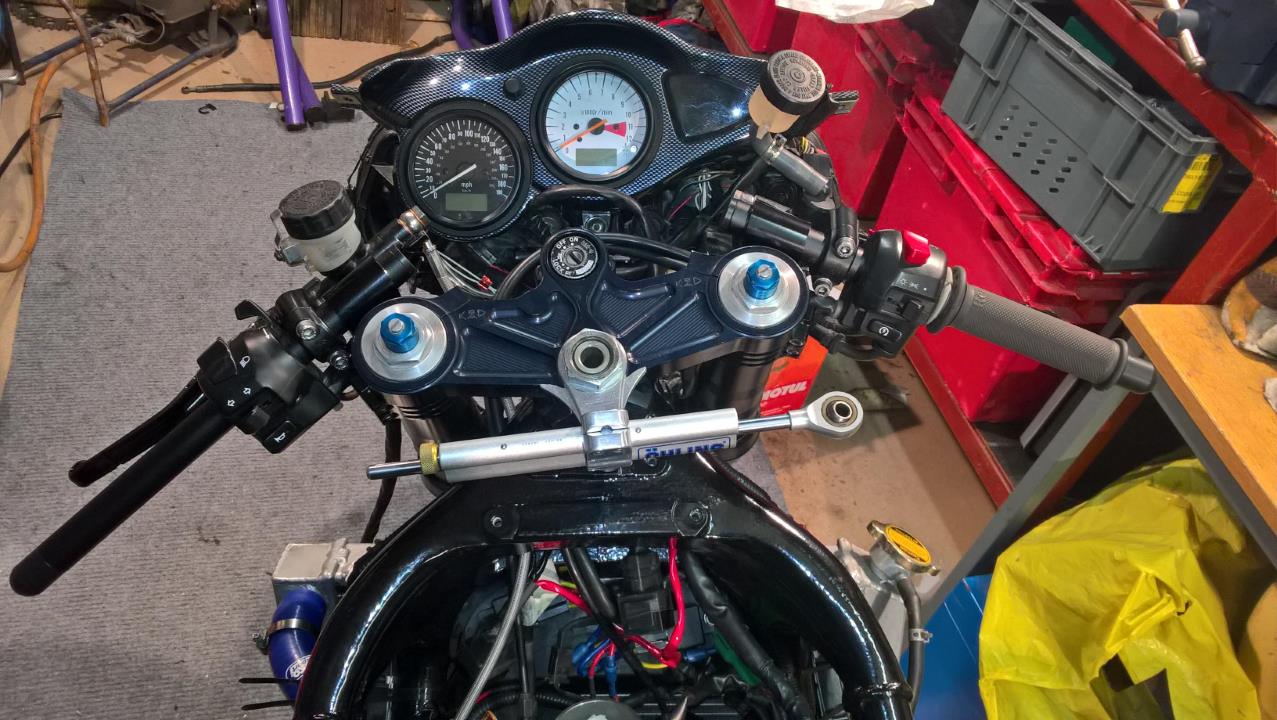
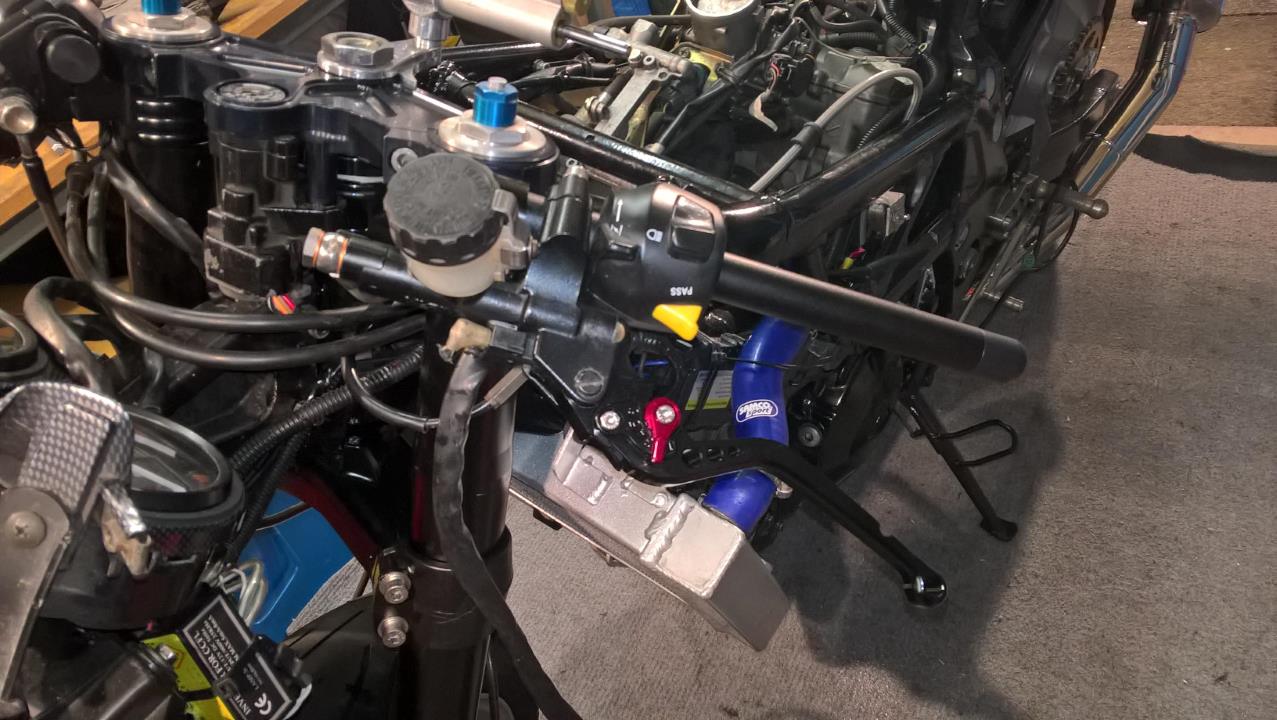
Front braking system now sourced.... Hoping it'll feel good !!! Anyone used this set up before?

-
18 hours ago, Madb said:
looking very good to me.
Not done any carbon anything so why is the gel coat such an arse to do?
It's the base coat thats the difficult one... If it cures too much before you apply the carbon it gets too sticky and makes it a nightmare to apply the weave.
If it's too wet you dont get the proper bond... The top coats are a piece of cake, just brush it on and flatten with wet & dry.... What could be simpler.
I'm adding coats at 2 day intervals to ensure it's cured correctly.-
1
-
-
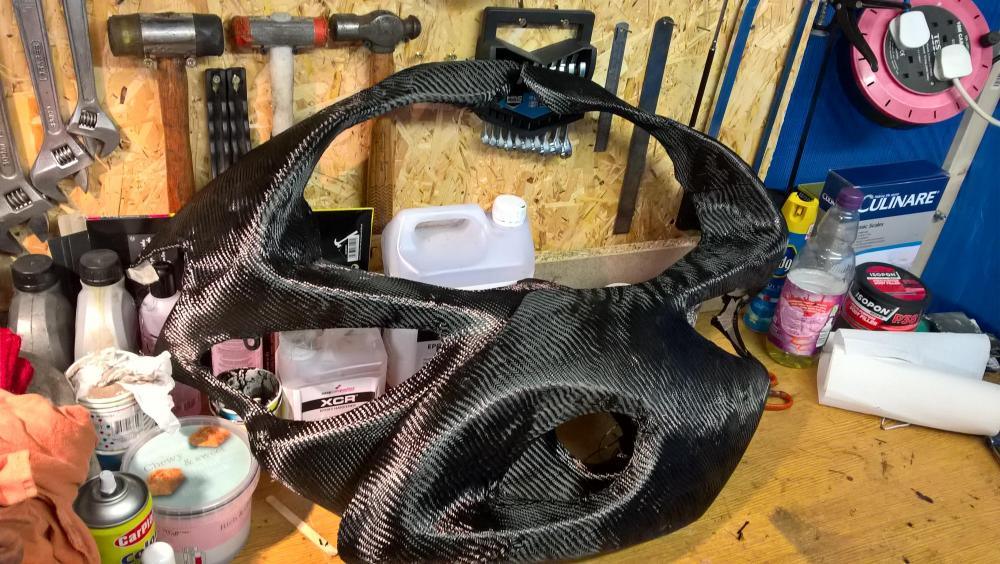
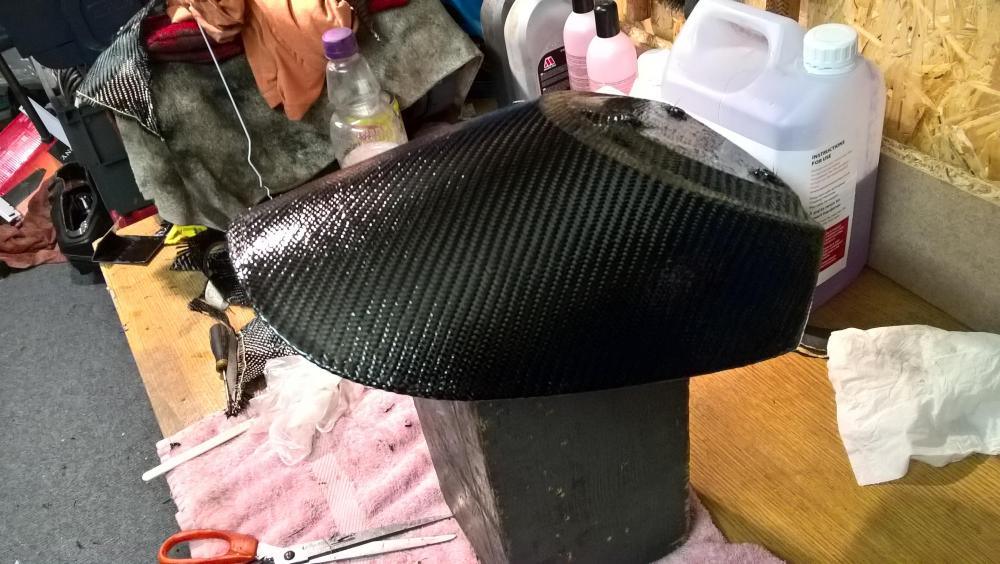
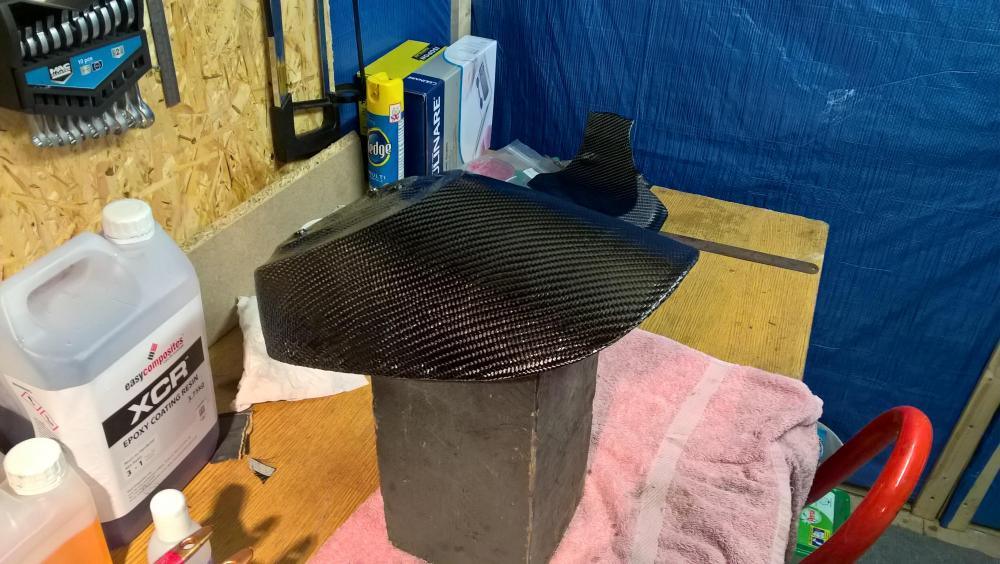
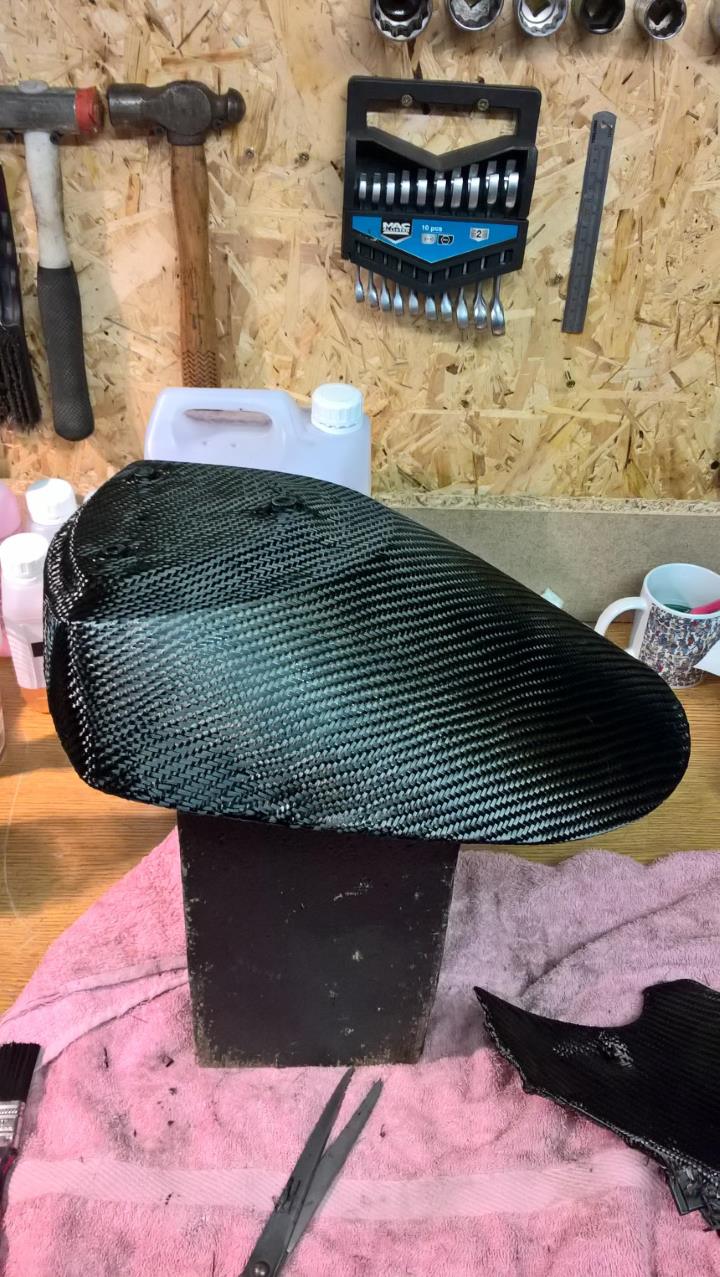
Wrapped.... Just need about 20,000 coats of resin now !!! What a shitter of a job that is... ☹
-
3
-
-
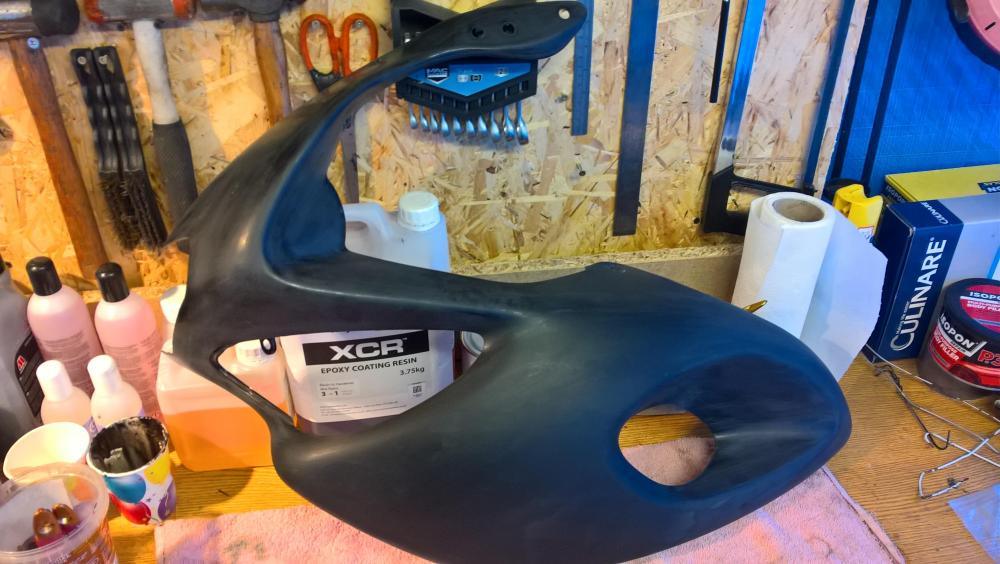
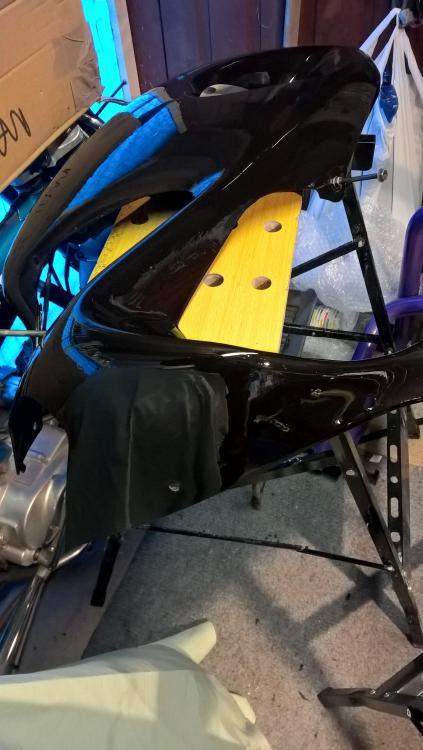
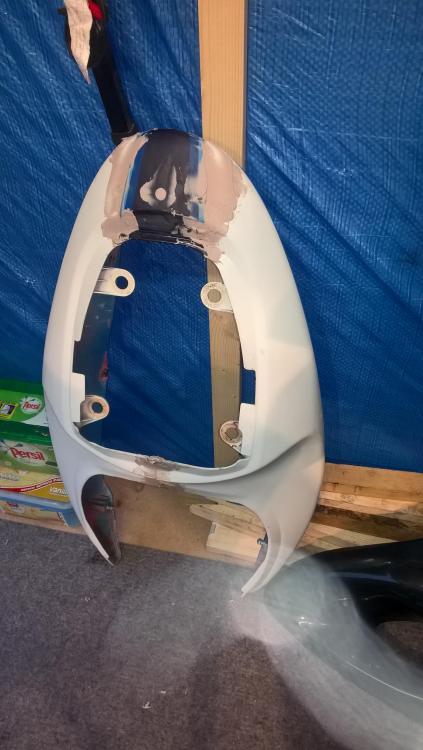
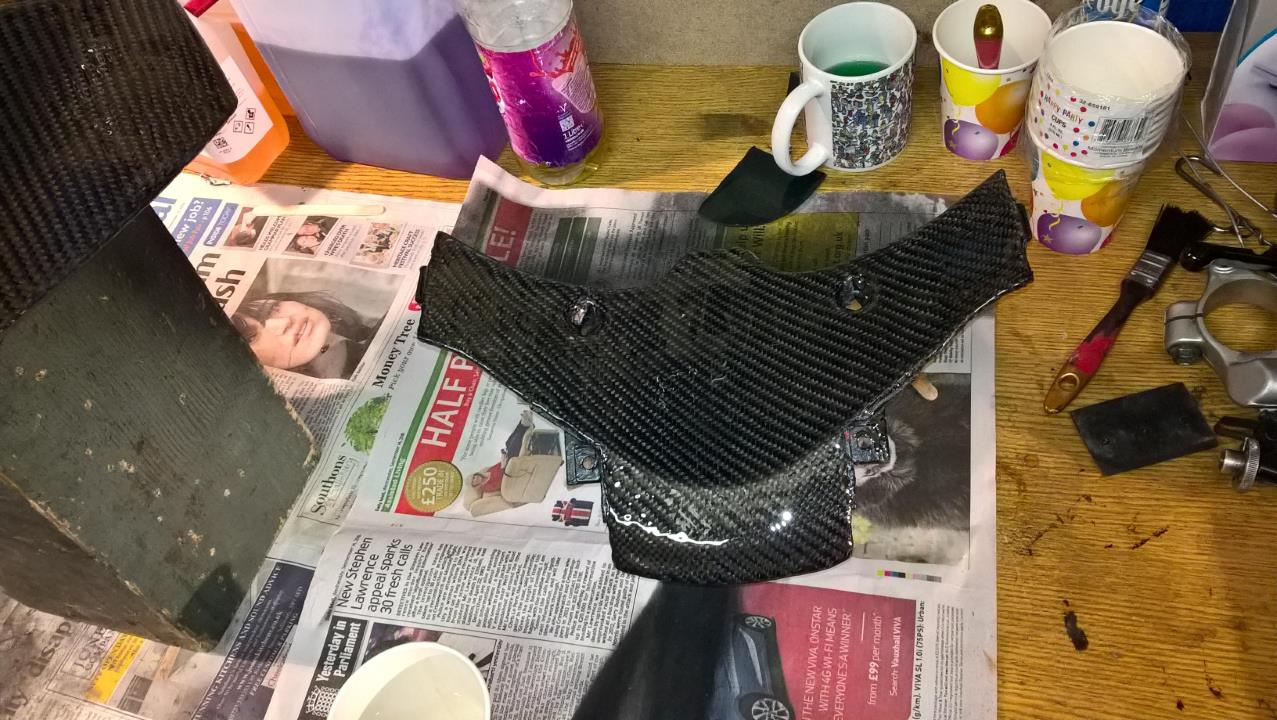
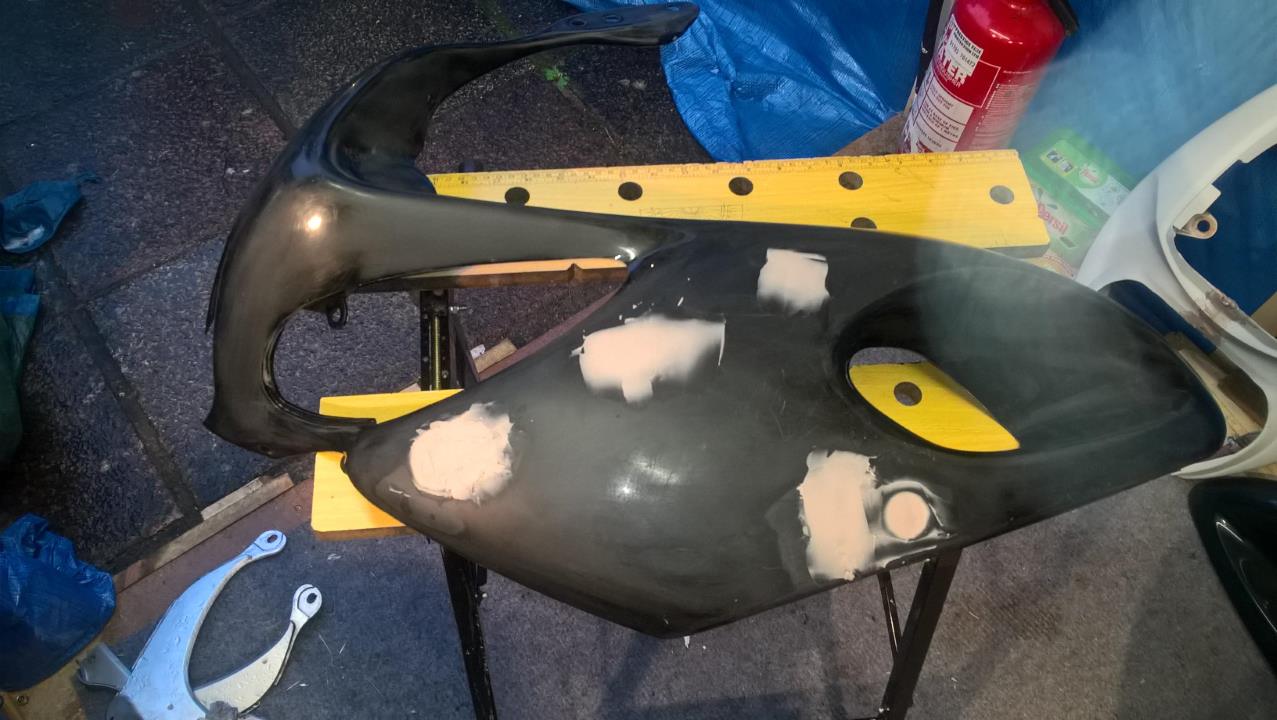
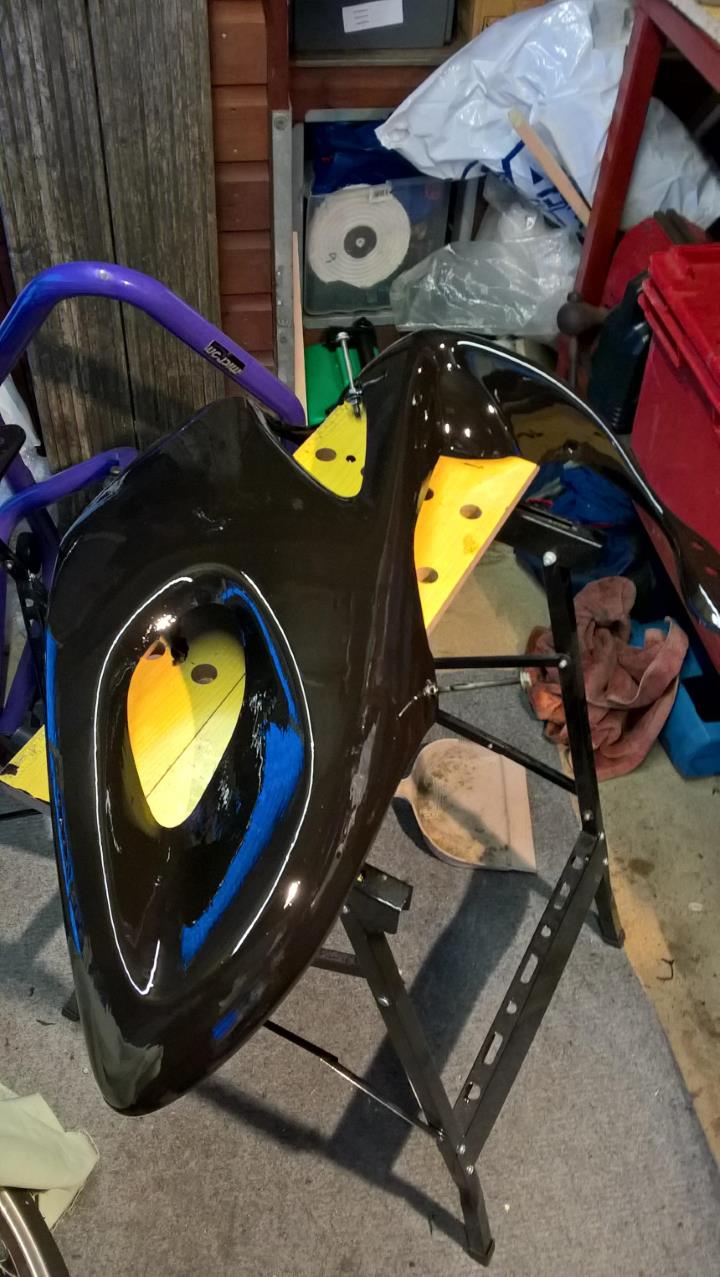
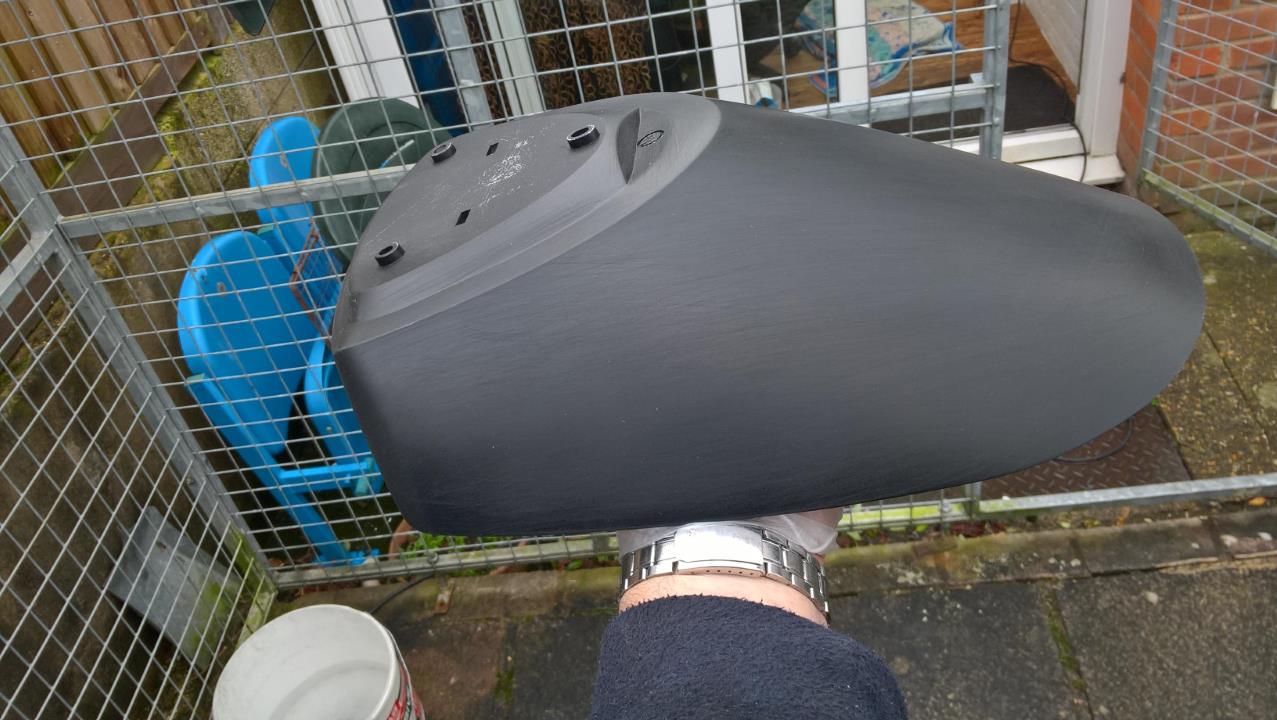
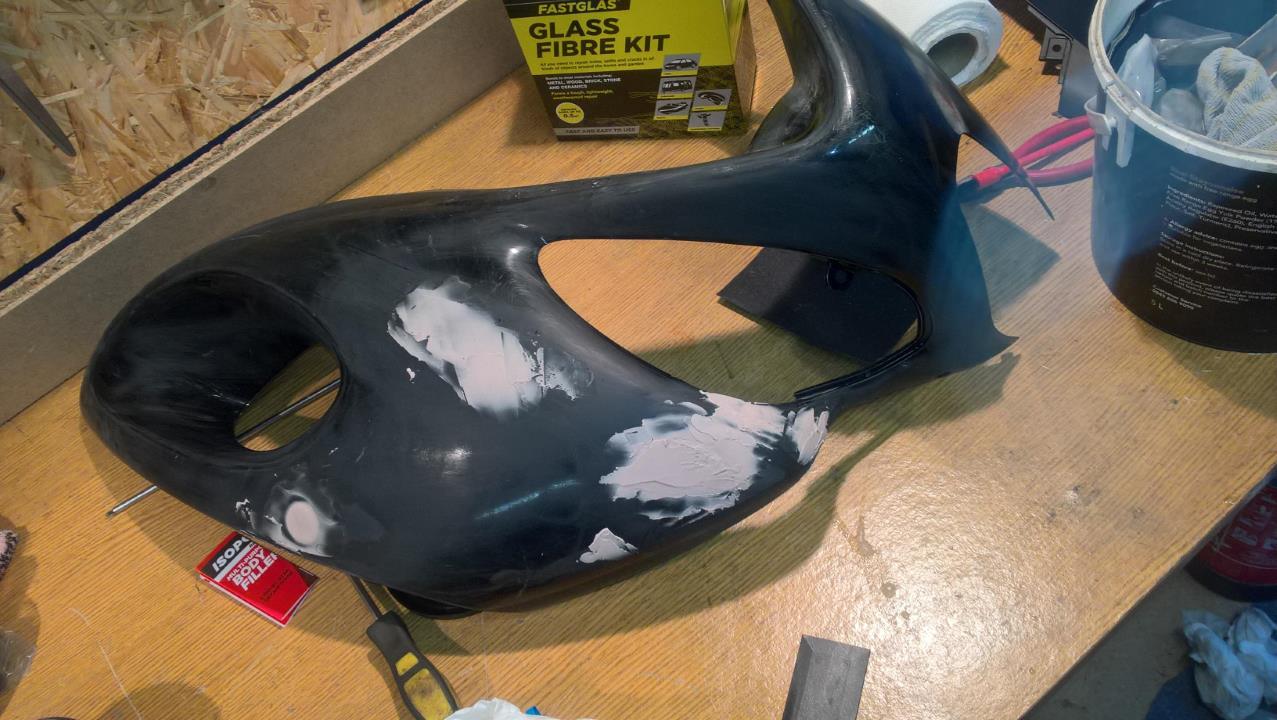
Made a start on the fairing panels. Scabby cracked and been sitting in someone's shed for years... Time to make these look lush... The eagle-eyed among you may of noticed I've blanked off the indicator and Radiator mounts. Want mirrors with in-built indicators' and the aftermarket rad has no mounts fitted...
Panels have been, filled, base coat of black paint, then black dyed epoxy applied ready for the carbon twill...


-
3
-
-
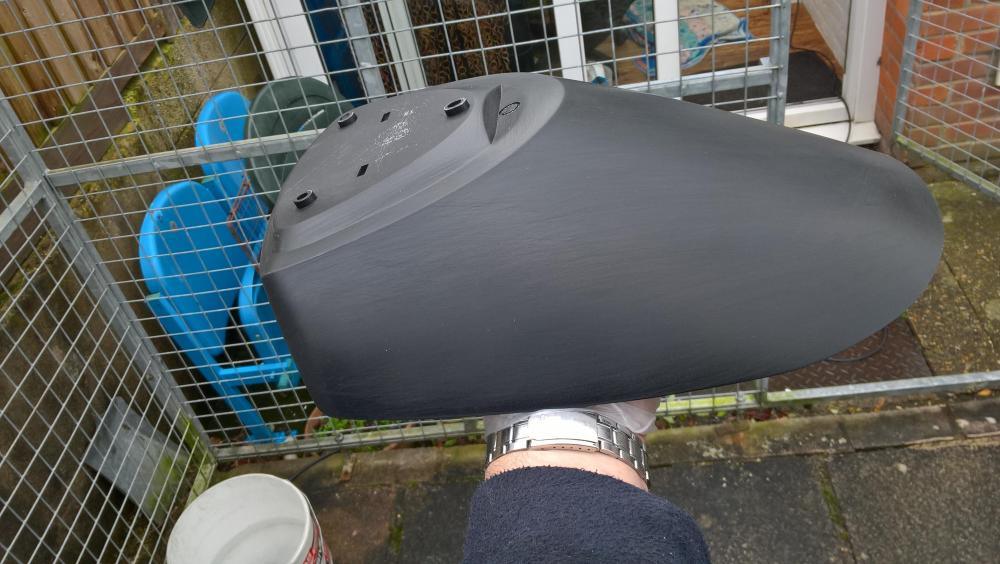
Forgot to add the scuffed panel.
-
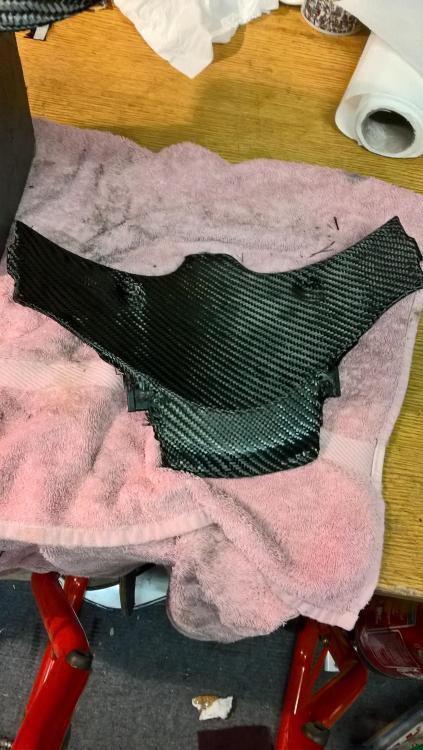
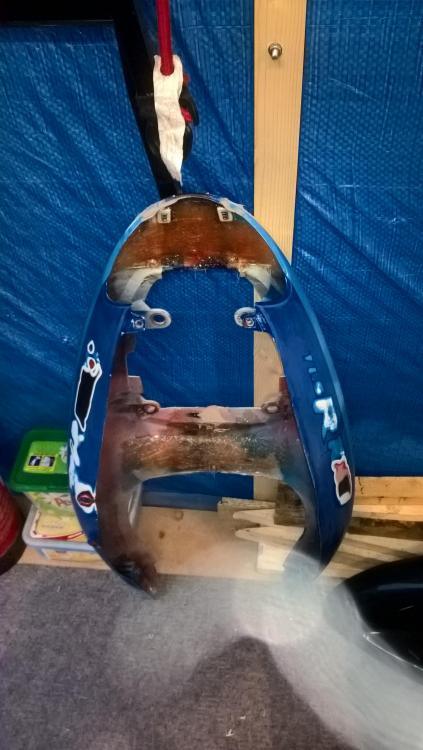
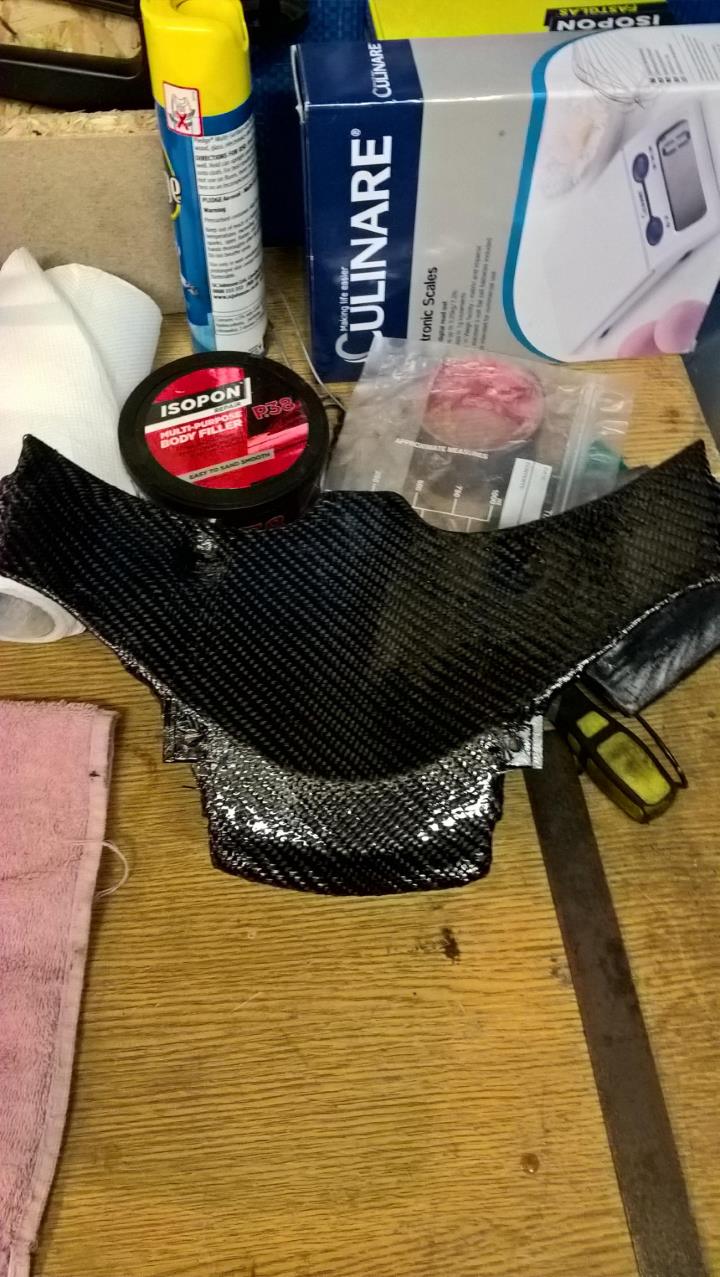
Started skinning the bodywork today. Small items first.
If anyone has ever used Carbon fibre twill with epoxy resin you'll know just how messy it can be. Have added the cloth and one coat of resin. Will be de-nibbing and adding the build coats tomorrow.
Pics show the scuffed panels, then cloth added, then resin applied...


-
2
-
-
On 03/03/2017 at 7:25 AM, vizman said:
Fucking dung-head!!!
-
1
-
-
Sarah, I have a mate that's keen to get his TLR on the track day too..
Is there a chance for one more?
-
During.....


-
1
-
-
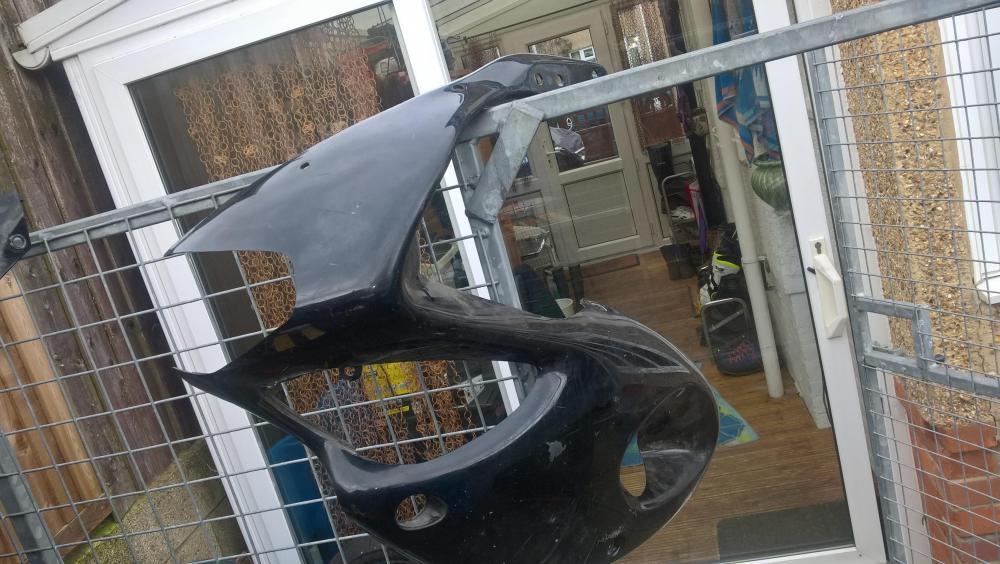
Made a start on the bodywork today...
Before..

-
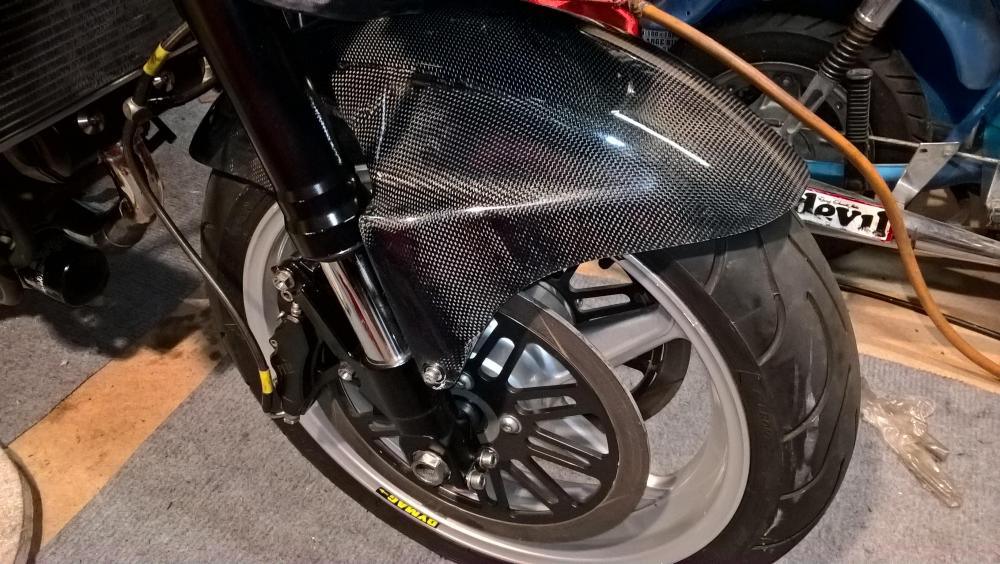
New Carbon loveliness'....


-
3
-
-
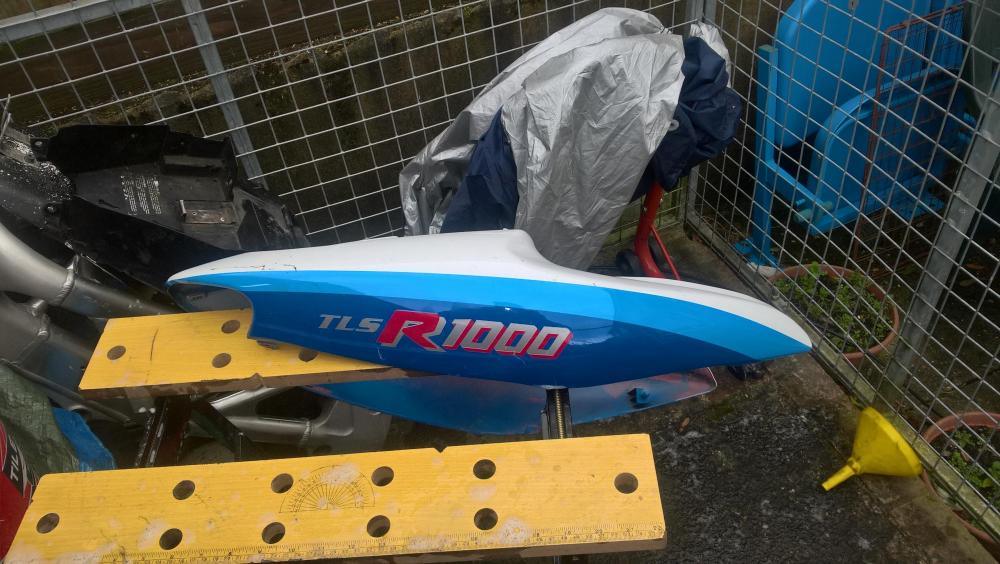
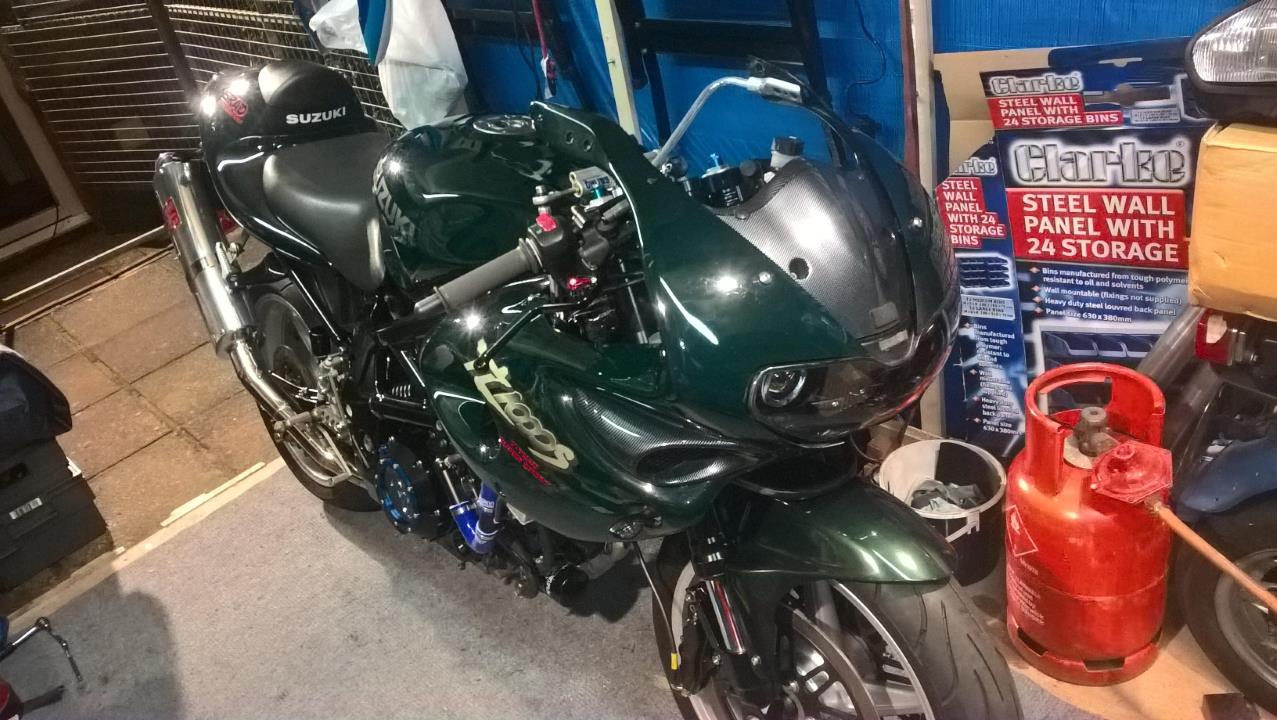
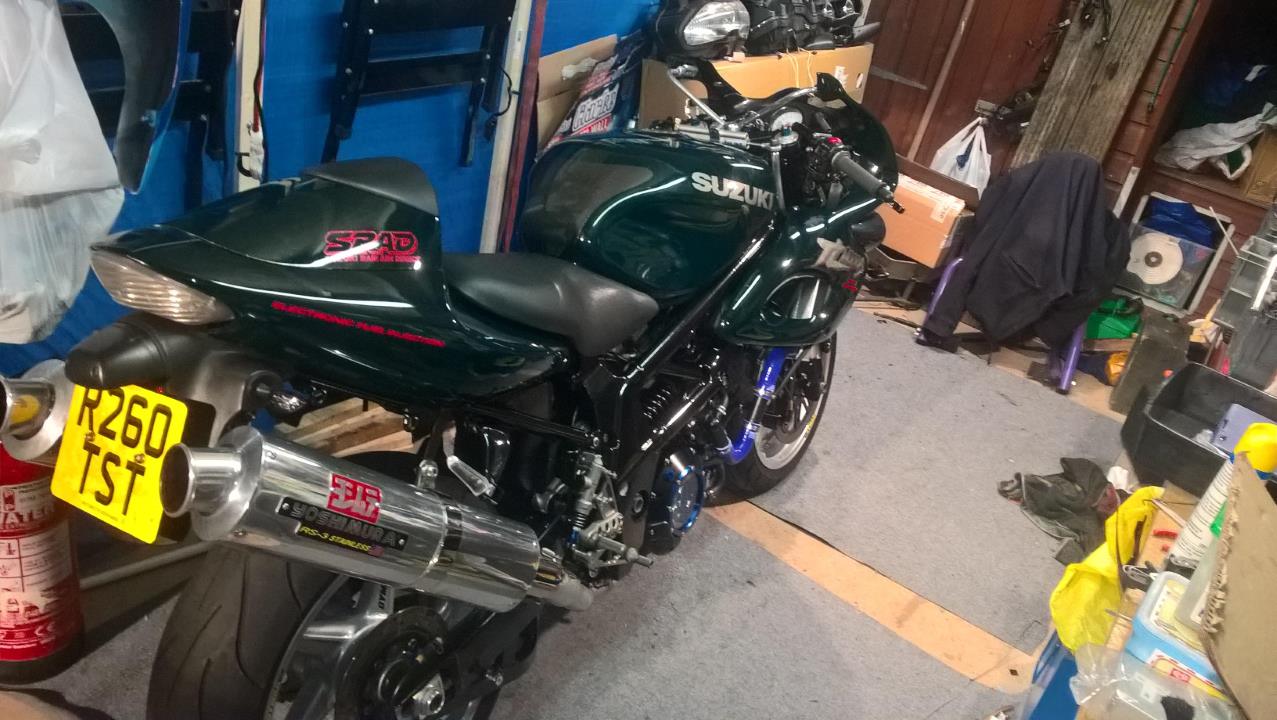
Here's a few other pics of it as she stands. The original green bodywork is being replaced with Carbon.... Watch this space !


-
2
-
-
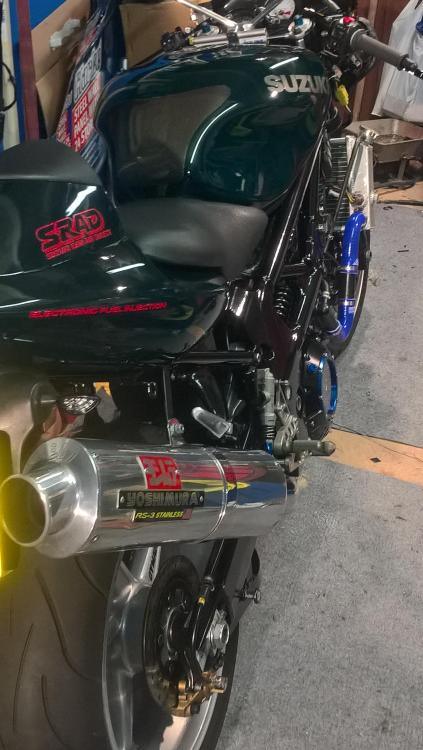
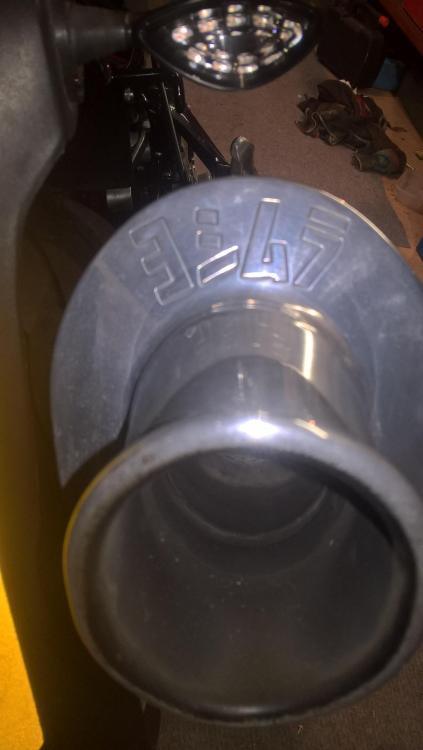
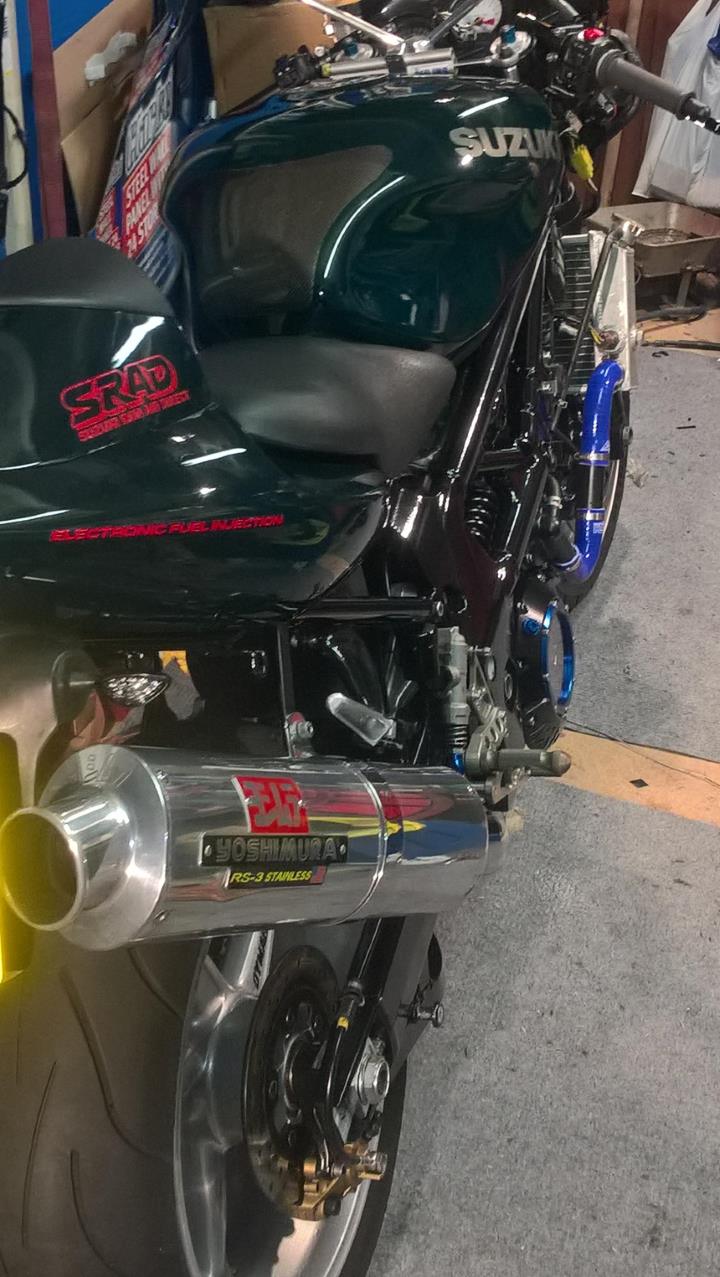
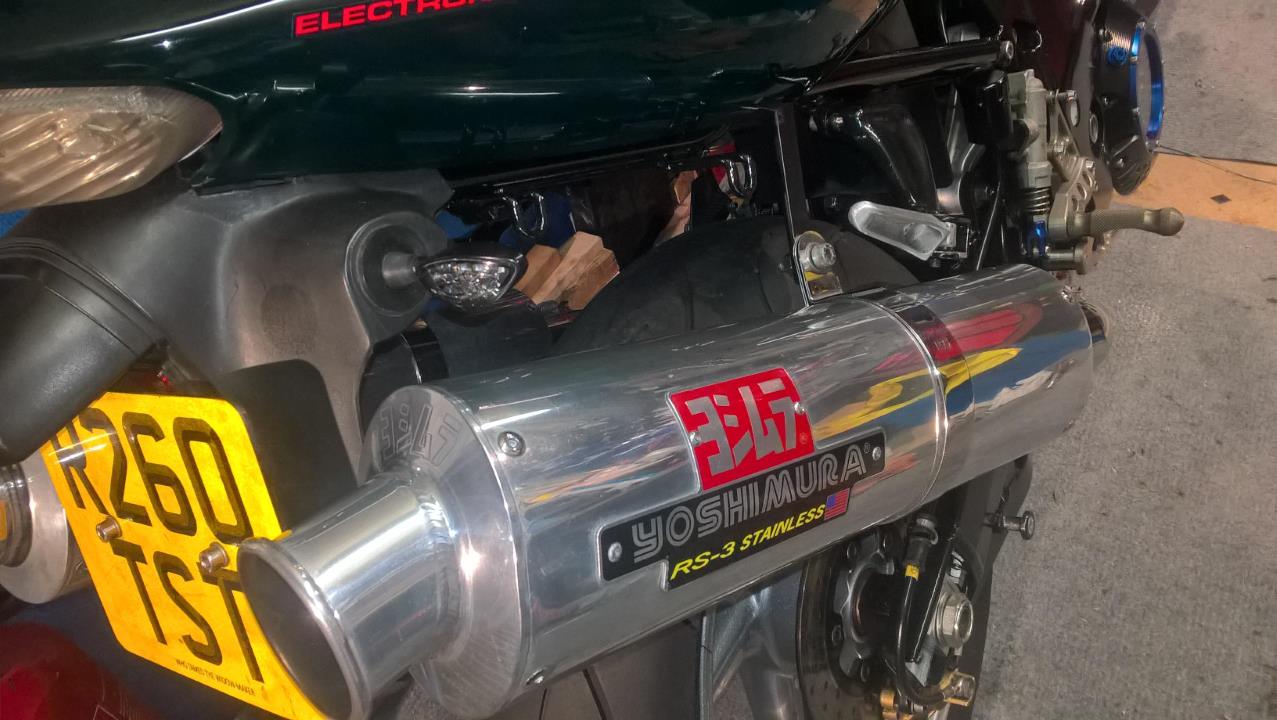
cleaned up the Yoshi system... It's never been so clean...

-
2
-
-
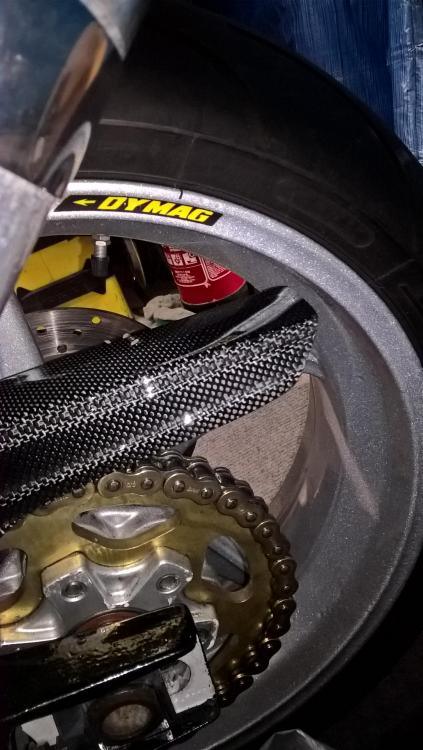
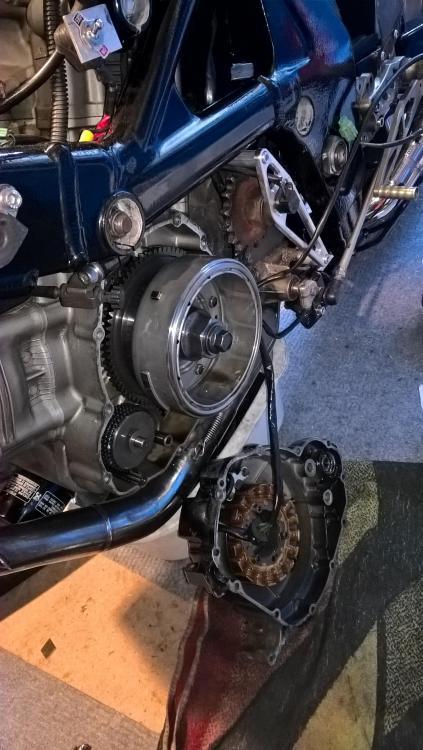
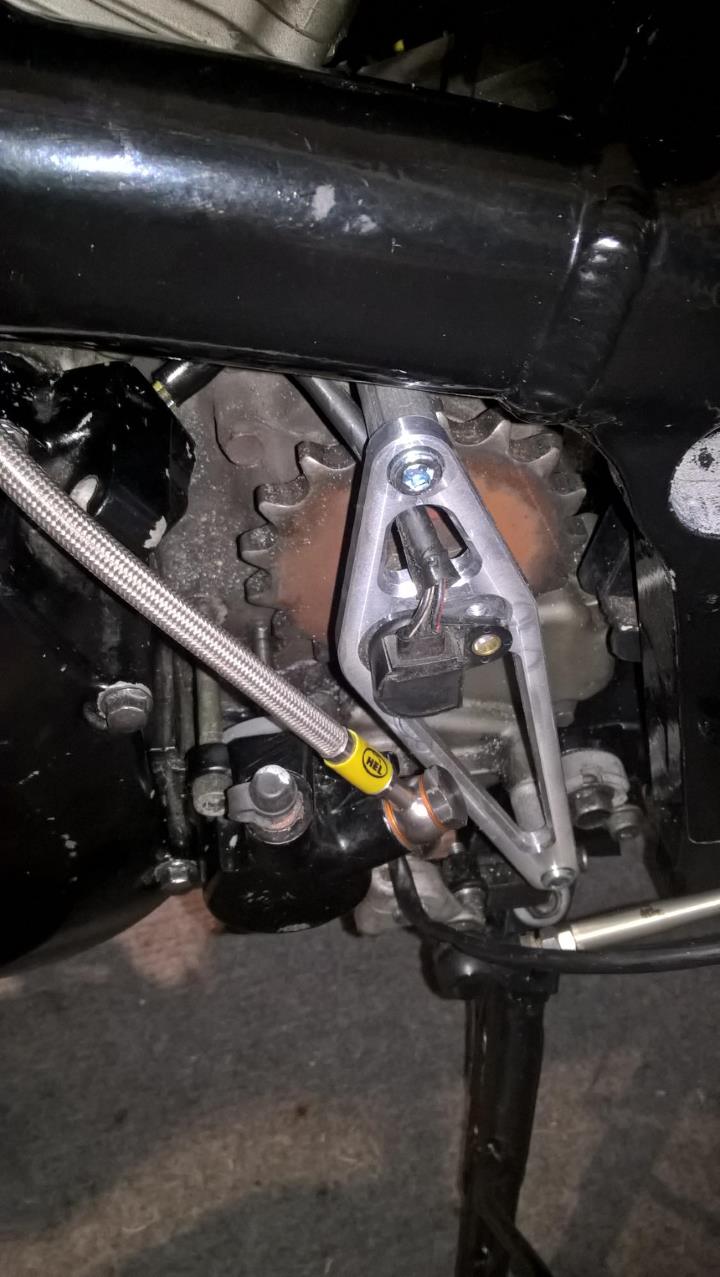
Finished off the clutch conversion today.
Sorted the spacers for the slave cylinder and changed the front sprocket to a 16 tooth item. Rear is a 40 so she'll be a bit lively...

-
Did the Hydro clutch conversion too. For those that are unaware, the TLS clutch was cable operated and the TLR was a Hydraulic system. Basically it's a straight swap. You can use the left engine case from the S but you need to modify it slightly to get the slave cylinder to sit right. Or you can fit a TLR engine case. I just happened to have stored in my pile of bits... Perks of being a hoarder I guess. Tomorrow I'll bleed it up and see how it works.

-
4
-
-
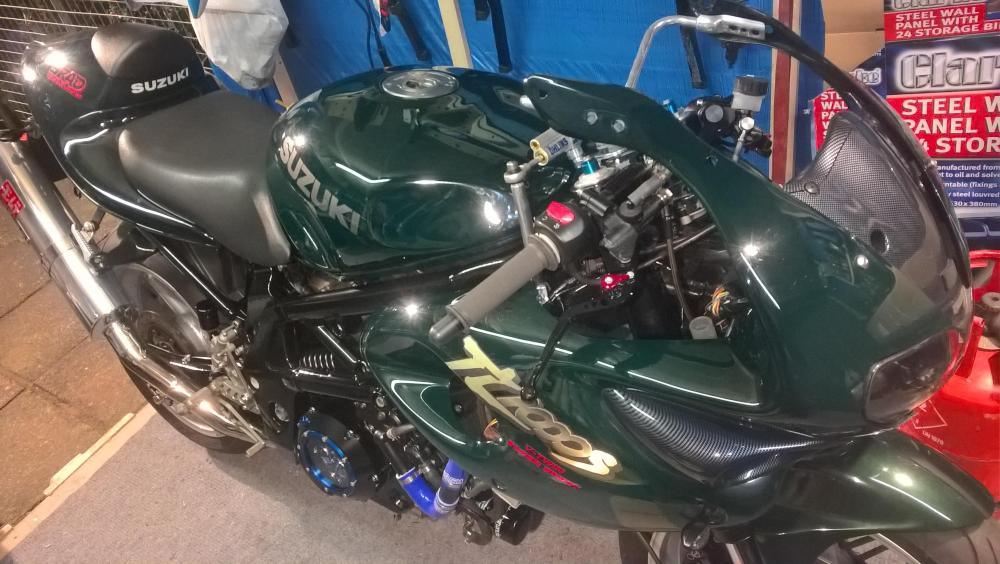
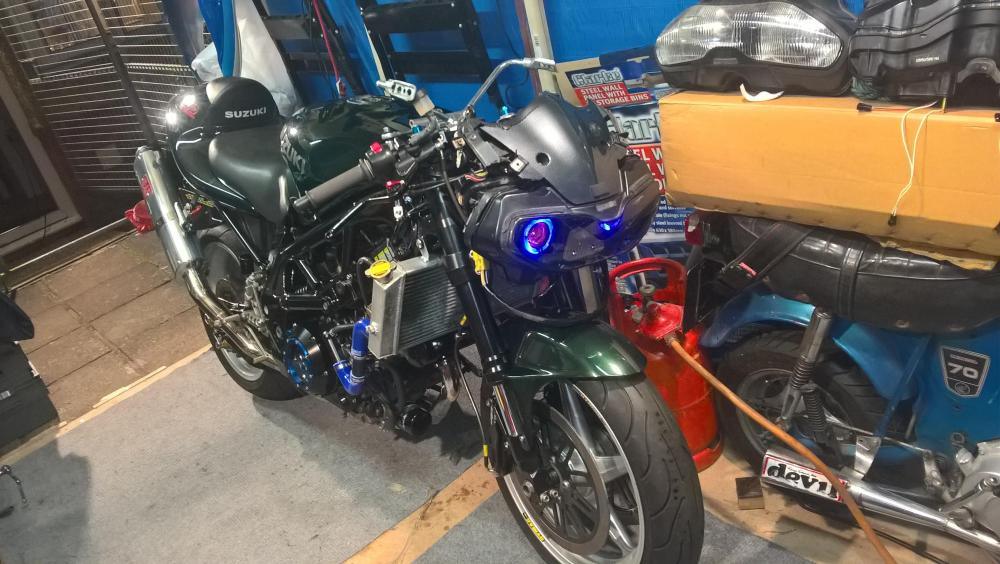
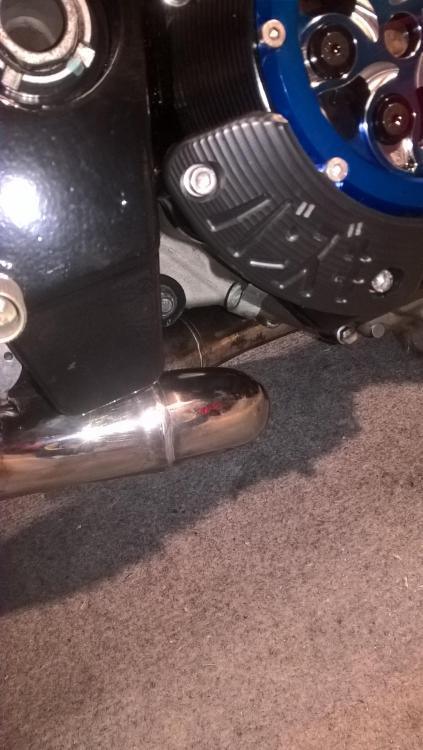
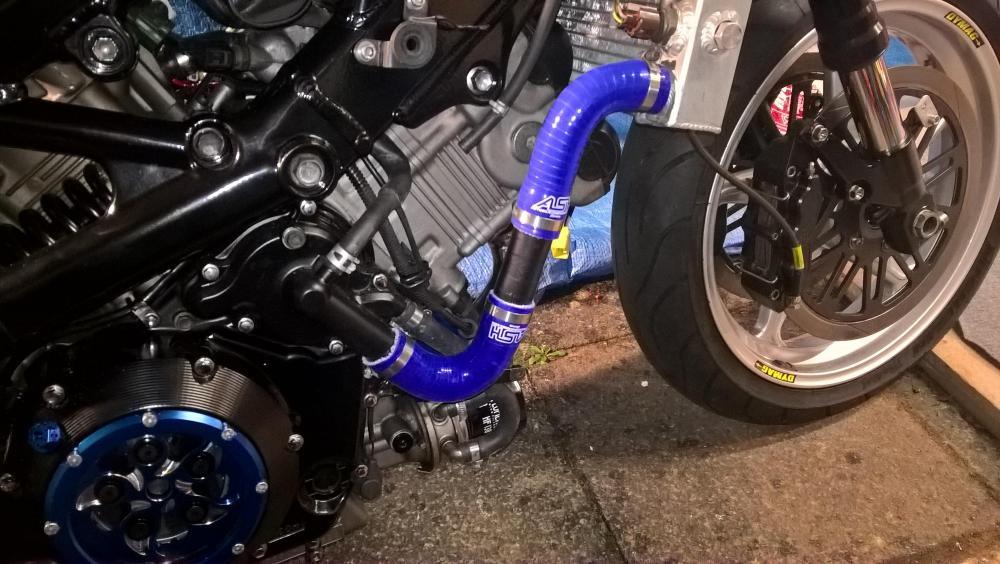
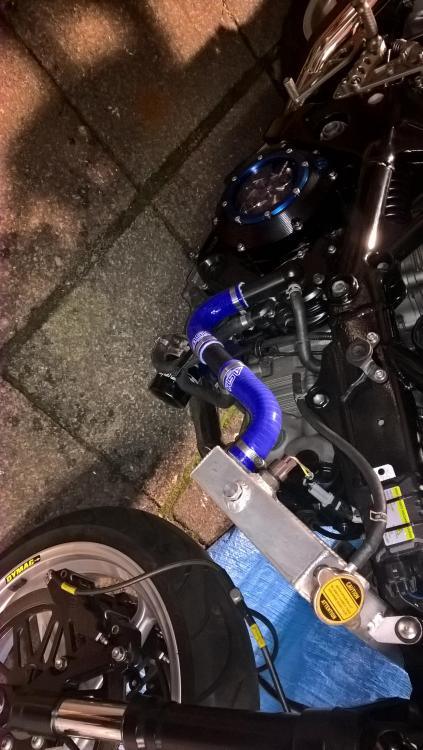
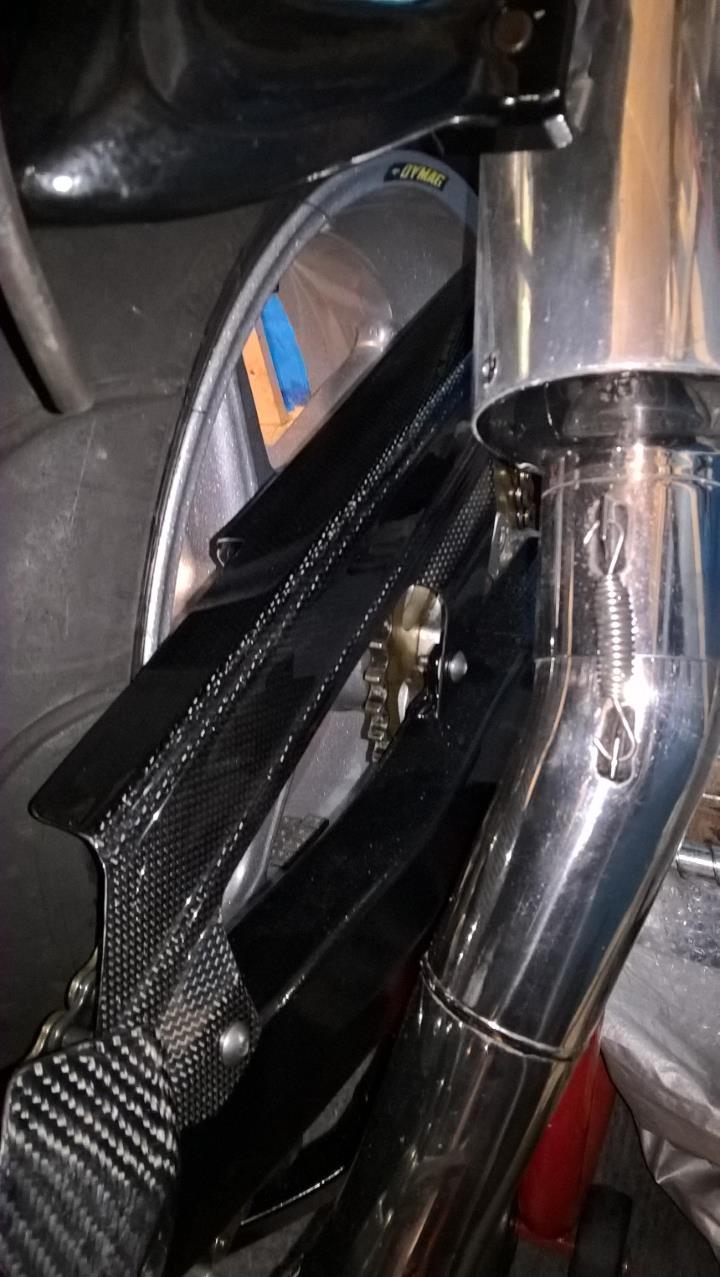
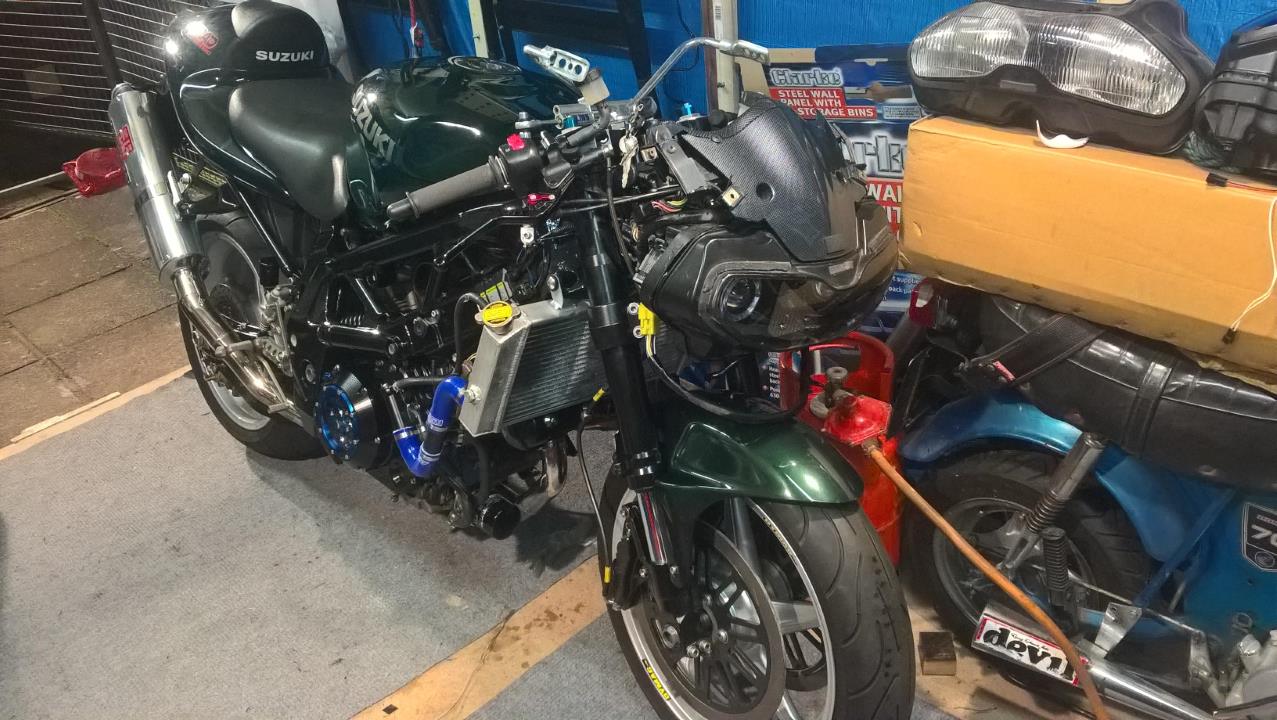
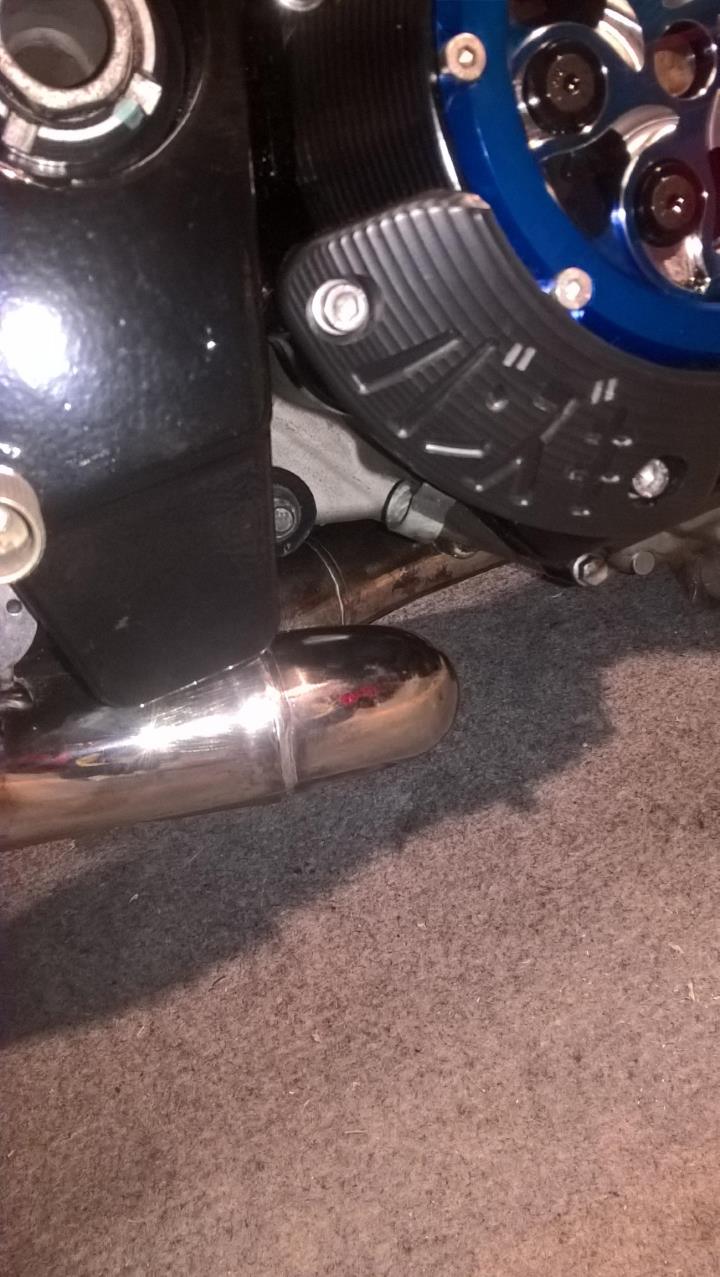
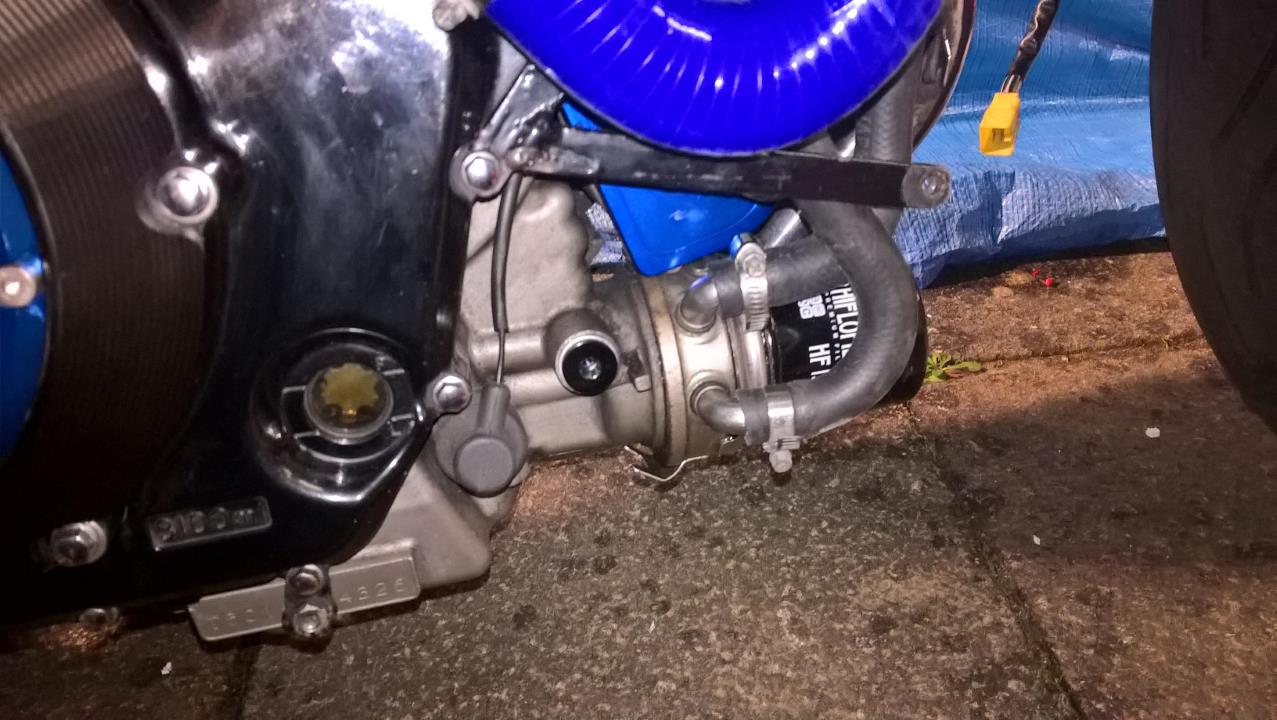
So... Updates.... Been doing a missed headlight for a friend, they take an absolute age to do so progress on the old girl has been show but steady. Did a bit to her today, sorted out side of the plumbing for the cooling system. I've fitted a full Yoshimura system that was originally for a TLR so the oil cooler had to go because the front header pipe fits closer to the head. In it's place is a heat exchanger so the oil is in effect water-cooled... Orders some silicone hoses to pretty this up and in pretty happy with the results.

-
3
-
-
yes... Sorry, I'll sort the payment tonight
-
Think it's the 99 bike... 5XV ???


Time to get the TL ready for Donnington
in Water Cooled, V-Twins, Singles and 2-strokes
Posted
Oh yes !!!!