For a few years now, I’ve thought about fitting a digital speedo to one of my Kats. I’ve looked at what’s available and didn’t like the style of any or thought they weren’t in keeping with the looks of the bike, I really wanted something that retained the shape, as near as possible, of the original unit, there wasn’t anything out there suitable.
Move on a few years to a month or so ago and the speedo on Kat 3 was starting to play up, not sure if it was the unit itself or the cable, so I started looking at alternatives again, this time with the idea of building something that looked kind of original but had a digital readout.
As I know nothing about electronics I was going to have to use off the shelf parts for the internals.
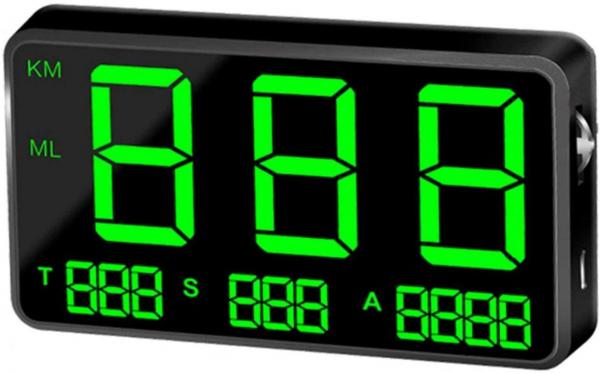
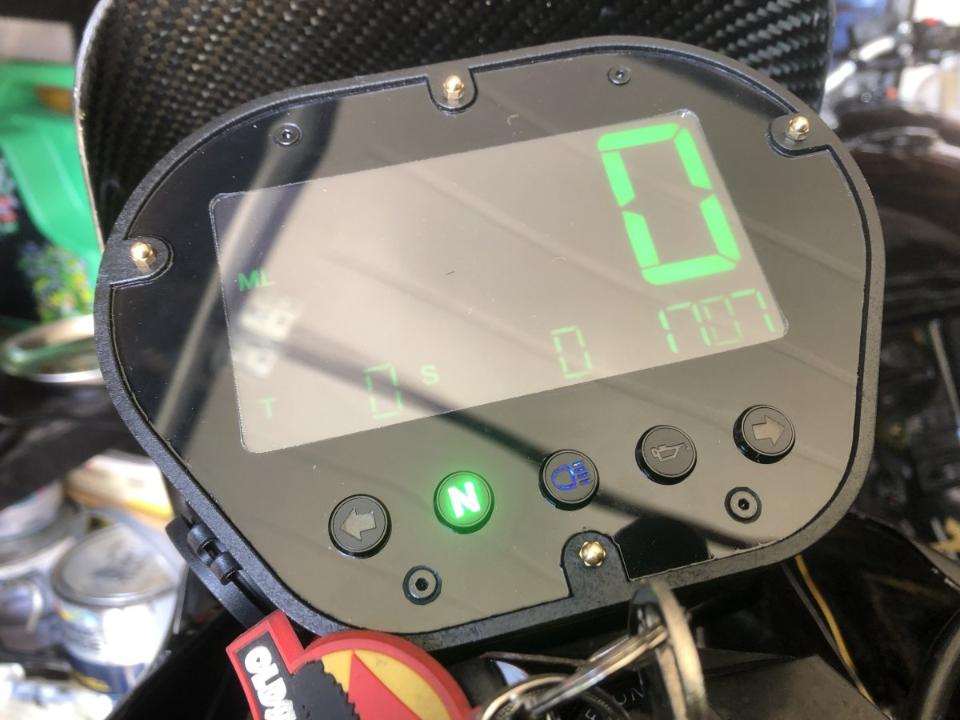
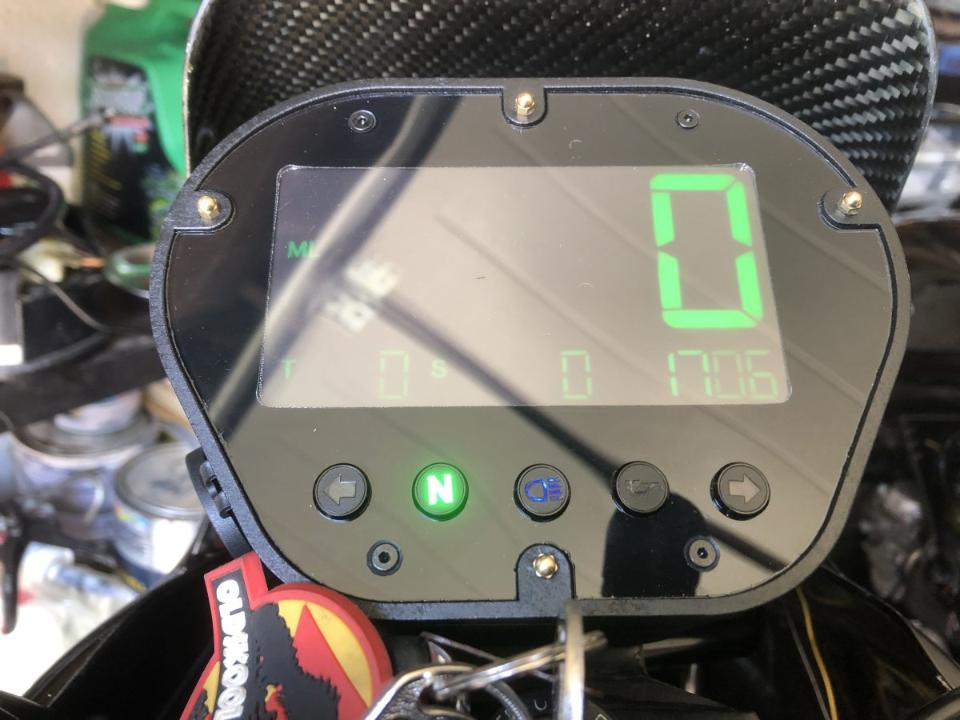
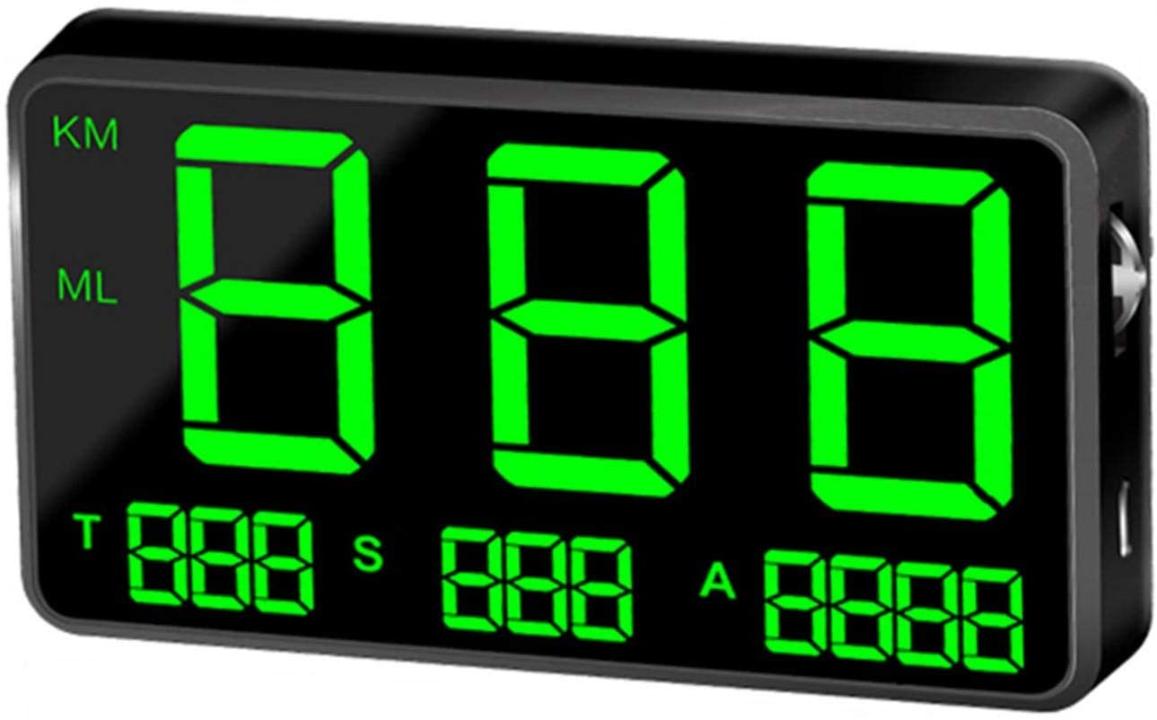
A bit of googling, searching on Eblag and Amazon and I came across a small digital speedo unit with built in GPS, it was small enough to fit inside the standard Katana case and at under £20.00 delivered it was worth taking a punt on.
The above unit requires a 5v usb power supply so I purchased a 12v to 5v convertor, this came with two female USB power sockets, a spare might be handy.
I also ordered some 8mm warning lights. The sender wouldn’t post to the Isle of Man for some reason, so they had to go to my niece and she posted them onto me.
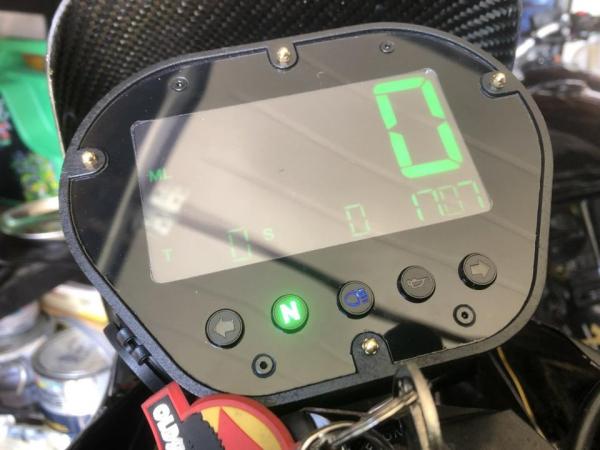
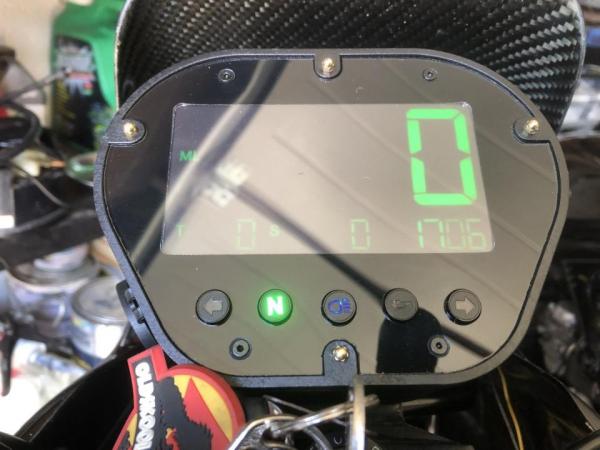
When the GPS speedo arrived I took it for a spin in the car to see how it performed and it was surprisingly good showing almost the same speed as my cars speedo and possibly being that bit more accurate.
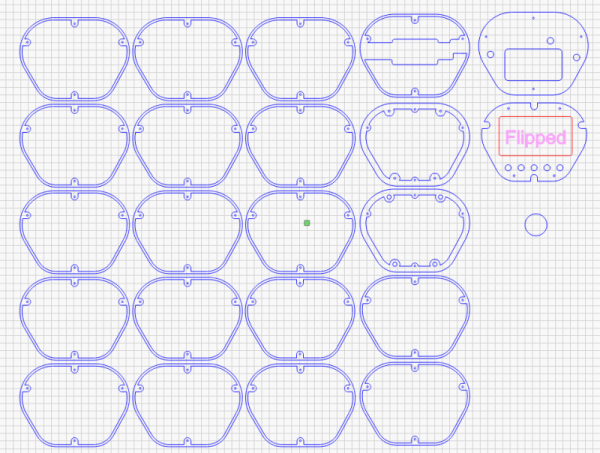
Next job was the case. The idea was to have this 3D printed, now I’m pretty rubbish at 3D design, over the years I’ve tried various CAD programs but never really got the hang of them. What I am fairly good at is 2D design, I have a small side-line business making stuff with lasers and I use a program called Lightburn to design products, so I used this to design each layer of the case. These were then imported into TinkerCad a fairly simple to use but basic online 3D CAD tool, the layers I imported were extruded to various heights and then grouped together to make the finished case design. The result was exported as a .stl which can be read by 3D printer software. I have a small 3D Resin printer, but the case was too big for my machine so I got someone in the UK to print out the case. He struggled getting it to print well and the resulting case he sent wasn’t great. After I had sent him the design I was already thinking of changes it needed.
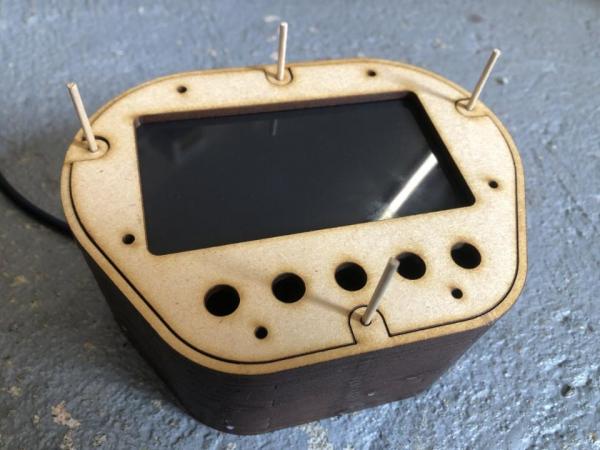
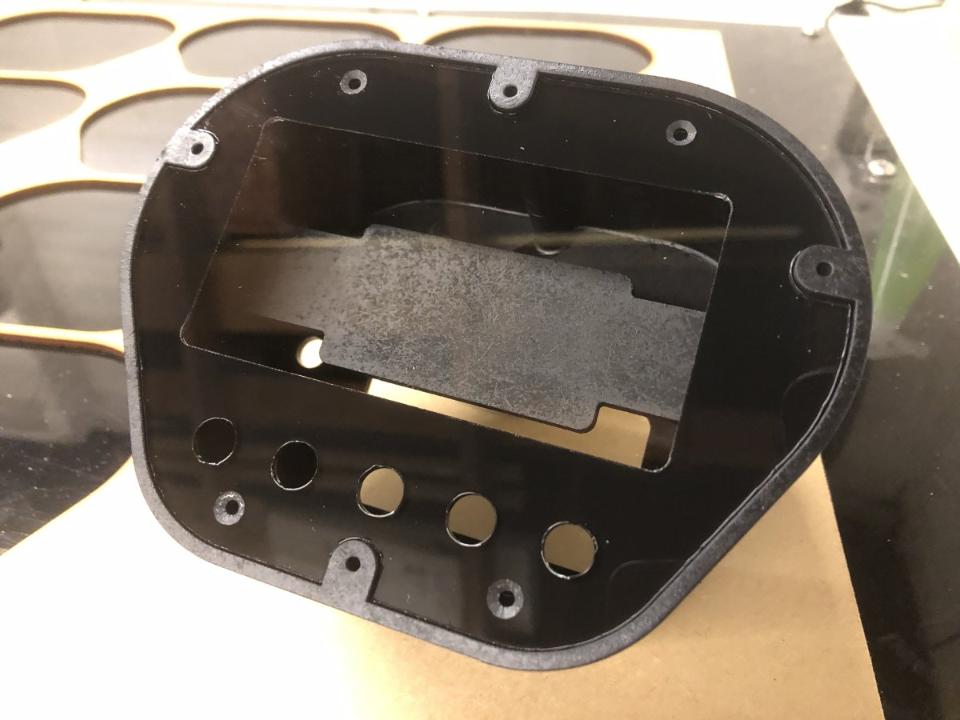
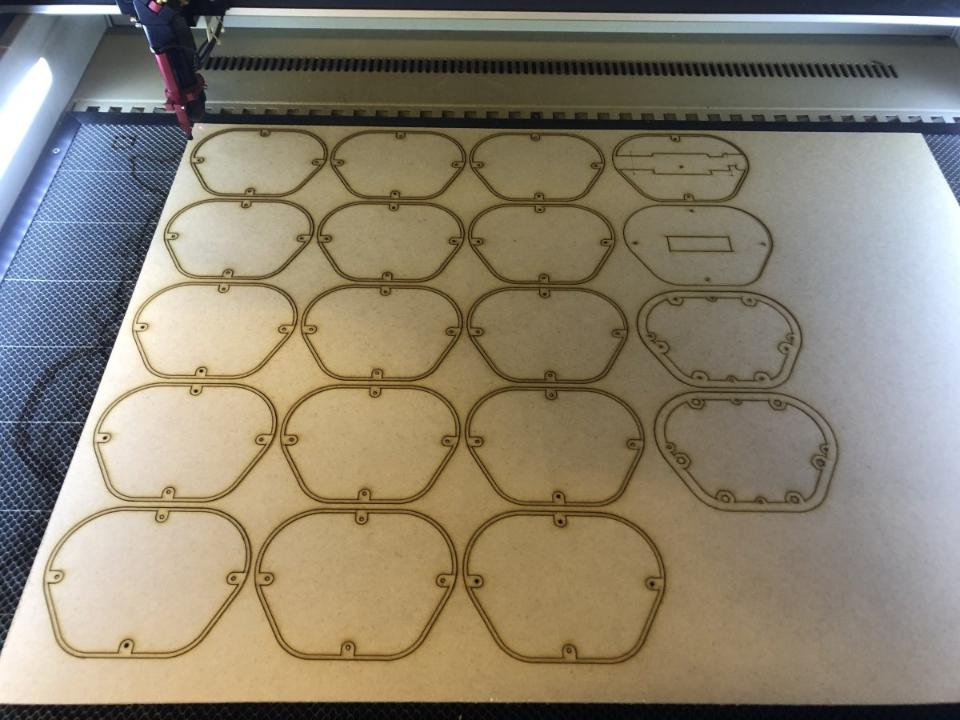
With a 3D printed case on the side-lines for now, I turned back to what I knew which was cutting things out with lasers. A bit of tweaking of the case design and a sheet of 3.6mm MDF, I soon had twenty layers of the case cut out, base, lots of walls, etc. Trying to glue this lot together whilst keeping everything together could have proved very difficult, but I had put in small 2.5mm holes in four places on each layer piece, this allowed wooden cocktail sticks to go through these and keep everything aligned whilst it was all glued together. The cocktail sticks will be replaced with some stainless M2.5 threaded bar, hopefully adding a bit of strength to the unit.
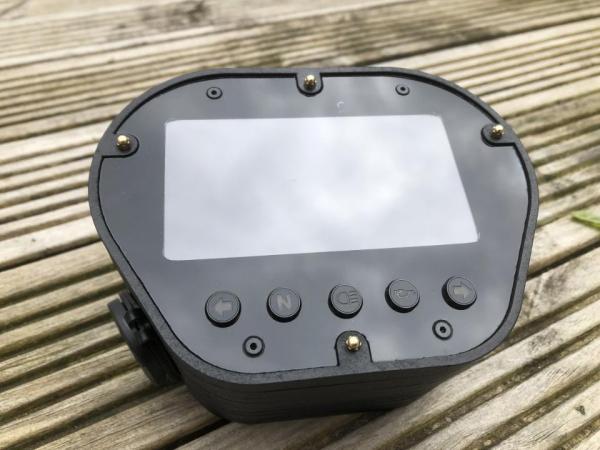
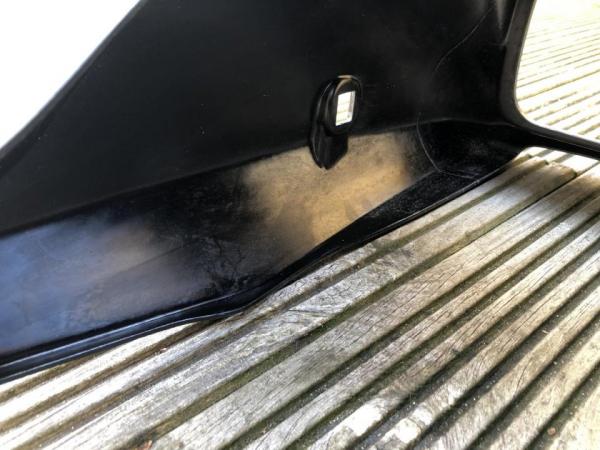
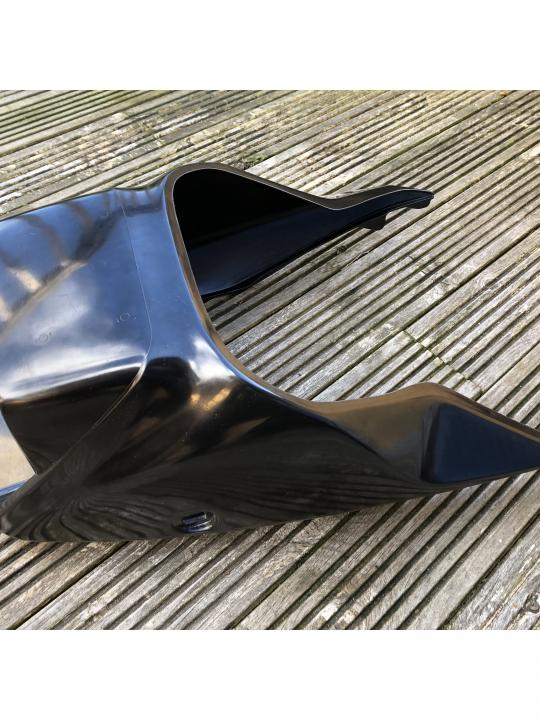
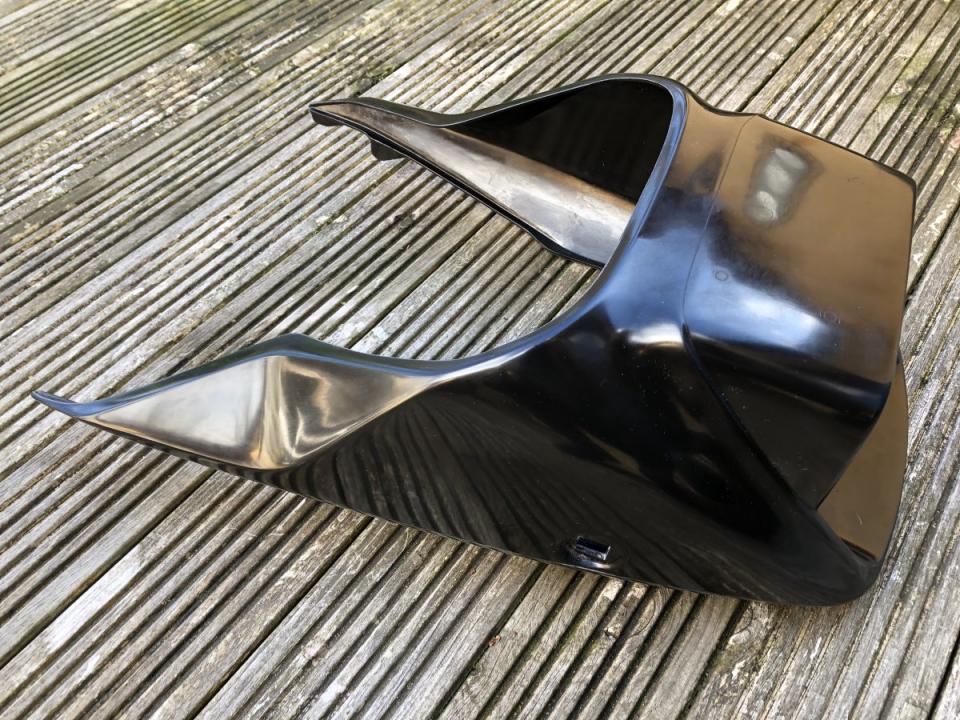
This is very much a prototype unit and MDF isn’t really the material to use, but it will do for now to get the design finalised and then I’ll probably have another go at getting the case 3D printed. Making the case out of MDF was both very cheap and fairly quick, cutting out the twenty layers only took around eleven minutes. A quick spray of Poundland black paint gave it a suitable finish.
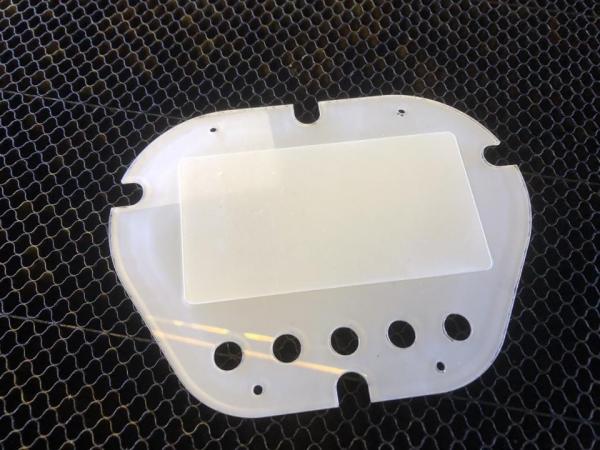
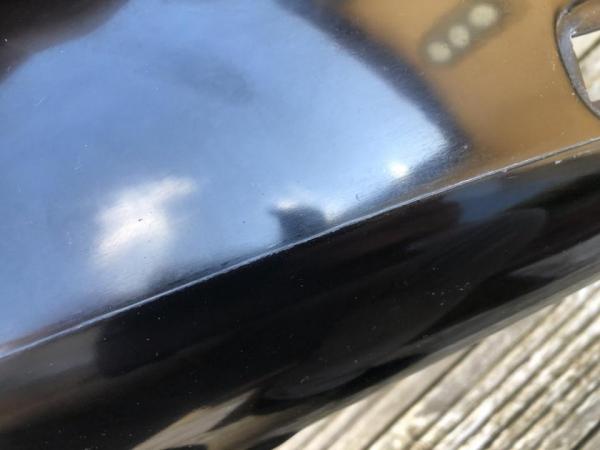
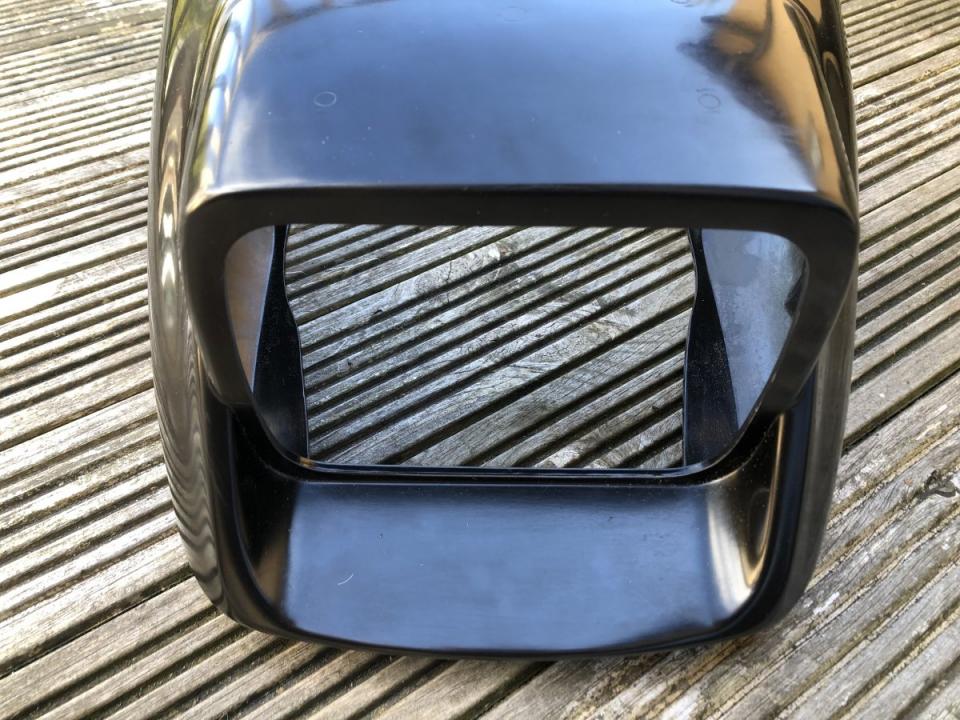
The face plate was made from a piece of 3mm clear Perspex again cut out with the laser, I also laser cut through part of the backing film where the speedo would be seen, this area was left in place while the rest was peeled off and made a good mask as the back of the Perspex was sprayed black.
I was thinking of making a new bracket to hold the new case in place, but the original bracket worked fine with the new case.
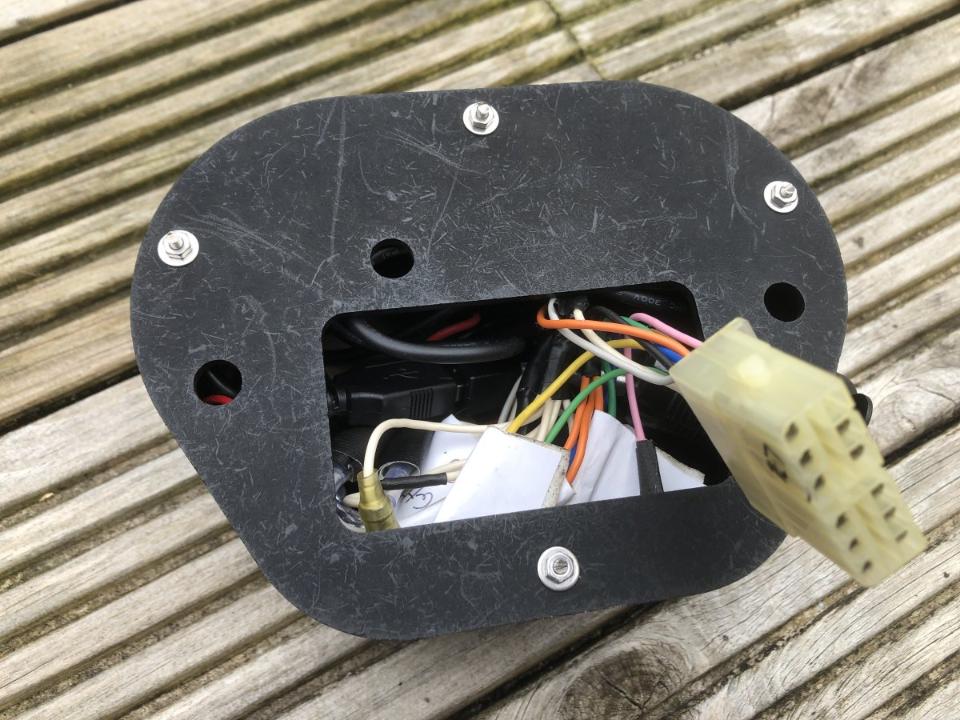
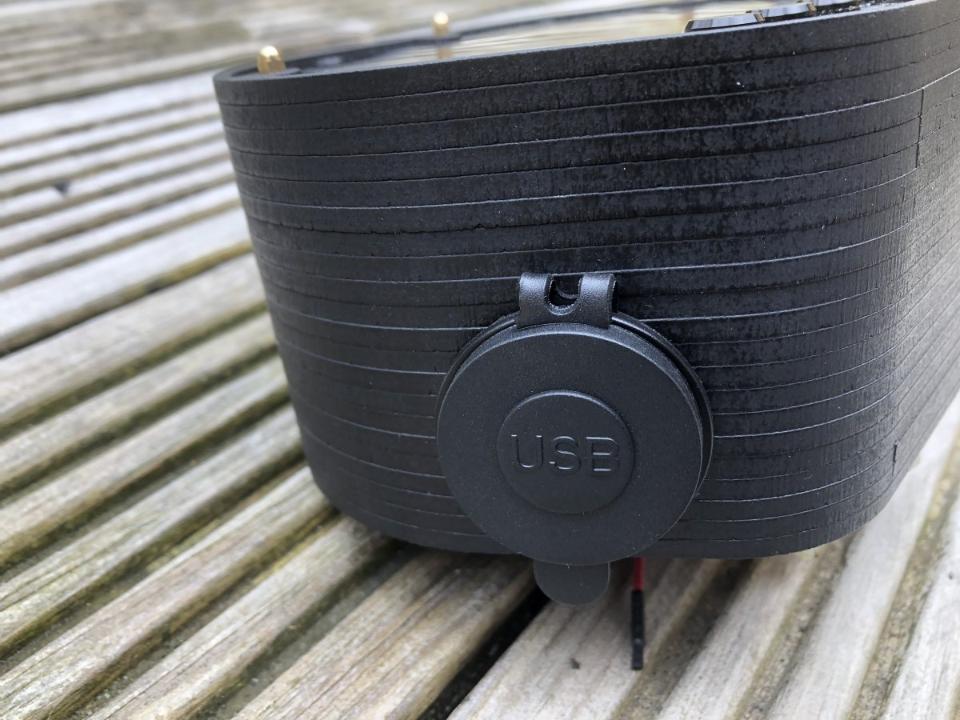
I had in my stock of Kat bits and bobs an original unused Katana speedo wiring loom, so I used this to wire in the new warning lights and took a supply off it to connect to the 12v to 5v convertor. I also bought a USB socket to stick out of the side of the case, so things like cameras, phones or sat nav units could be easily plugged in (which I have no intention of doing so by the way).
This being a prototype, there are things I would like to change. Not too much of a fan of the domed nuts sticking out of the top, but these wouldn’t be needed if the case was 3D printed. It also needs an O ring between the Perspex and the case to stop any water ingress.
On fitting just a few issues, I need to fix the bolts in place which attach the speedo to the bracket better. Also the GPS Speedo unit has a light sensor on the back which makes the display dimmer or brighter depending on light conditions. As the sensor is against the bracket holding the unit in place it thinks it’s dark all the time and so dims the display which means in bright sunlight the display is hard to read. I’ll need to come up with a solution for this.
It was a fairly cheap project. I did spend a fair bit of time playing around with the design on the computer and it’s handy having a decent sized and powerful laser cutter in the workshop. Below is an idea of what it cost to put together. 3D printing the case can cost anywhere between £20.00 and £150.00 depending on the type of material used.
Costs:
GPS Speedo: £19.69
12v to 5v Convertor: £5.50
Dual USB Socket £9.99
Warning Lights (5) £14.15
MDF £3.00
Perspex £1.50
Various Fixings £10.00
Paint & Glue £1.00
Total £64.83