


Gammaboy
-
Posts
1,448 -
Joined
-
Last visited
Content Type
Profiles
Forums
Events
Posts posted by Gammaboy
-
-
Gsxrsam has the matercam file now, he might be able to do something with it.
-
 2
2
-
-
Yeah, pretty much. I need to sort the fiberglass repairs and the new reinforcement of the seat unit, but apart from that, it's a case of slap on some fresh tires, fresh brake pads and the bits that are enroute, then slot it in for compliancing.
Unfortunately, I've been flat out with jobs around the house - looks like I might have a job that will be shipping me off to Germany for 12-18 months, so need to sort out some immediate issues around the house.
-
Get the litetek viton seal kits, and Mikuni for Jets.
-
1
-
-
On 8/4/2019 at 5:43 PM, baldrick said:
why not just post up the dimensions?
from the bottom bolt centres
Because I gave away my spare set the day before the thread started, and I don't have the Kat anymore...
-
Unfortunately, i've discovered that I've got it as a mastercam file, which i can't open. sorry.
-
On 7/30/2019 at 9:57 AM, Burholm said:
Have you build any 1360cc this way or someone else here built one? How does they performe?
I got part way through the process and sold mine off due to unemployment. I know of a couple locally that have been built. They cool better than a Gorilla block because they've actually got fins... they go rather well too.
-
God they're ugly aren't they? Is there at least a half competent bike hiding under there?
-
Sorry, while I was off work sick yesterday I went to look for the cad, but the wife had used the bluetooth dongle for the mouse and keyboard in her laptop, and taken it to work with her. Will try to get it sorted over the weekend for you.
-
1
-
-
Cheers!
-
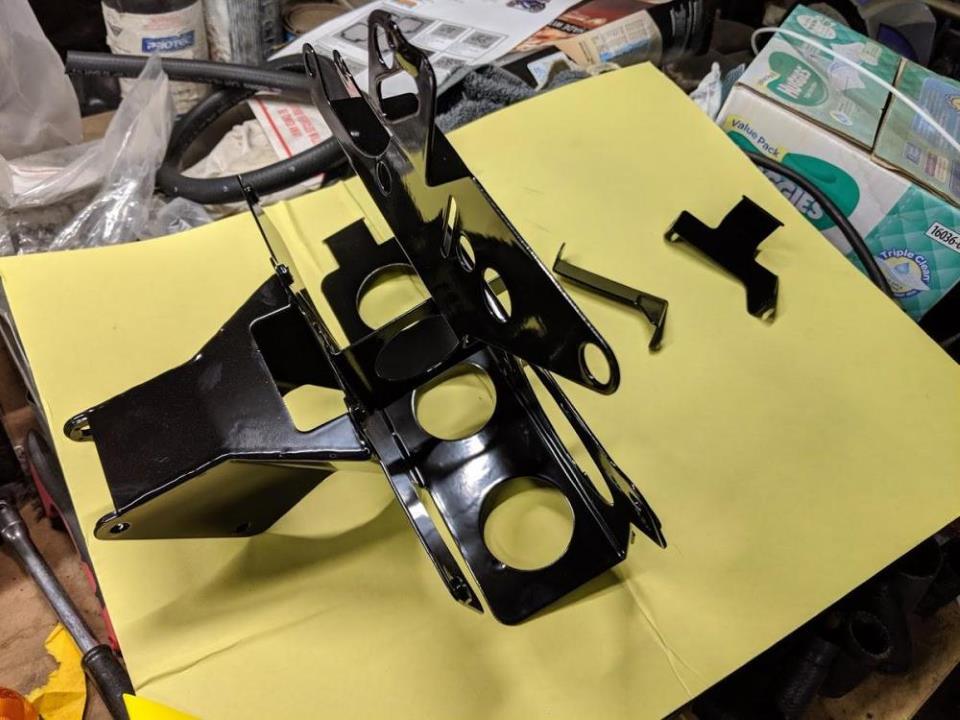
So... progress. Because of possible upcoming changes in a) my personal circumstances, and b) the legislation around imports here, I need to get a bit of a wriggle on with this thing - so at the behest of my other half, I've started cutting back on what I do that will take vast amounts of time - i'd already done this with the seat, and so instead of stripping the battery box and painting it myself, I subbed it out for powder... got it back the next day, which was a surprise! (need to clean the workbench up, i know!) It's now reinstalled - pretty happy to have not done this one myself!
I've also subbed out the milling on the fuel tap to a mate, rather than me making time to go and do it on a mates mill.
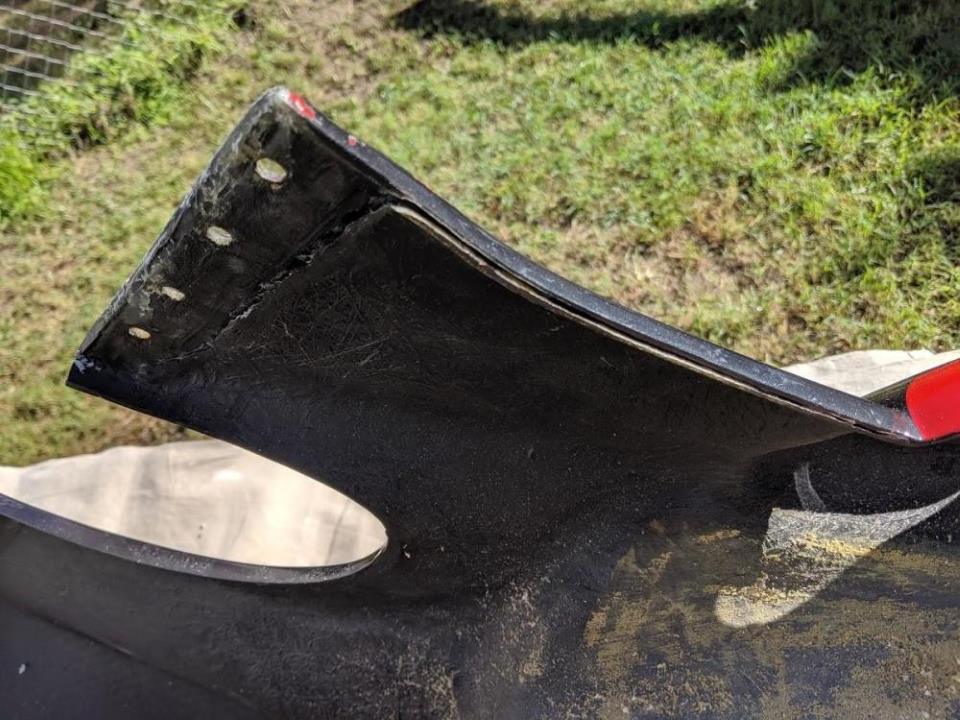
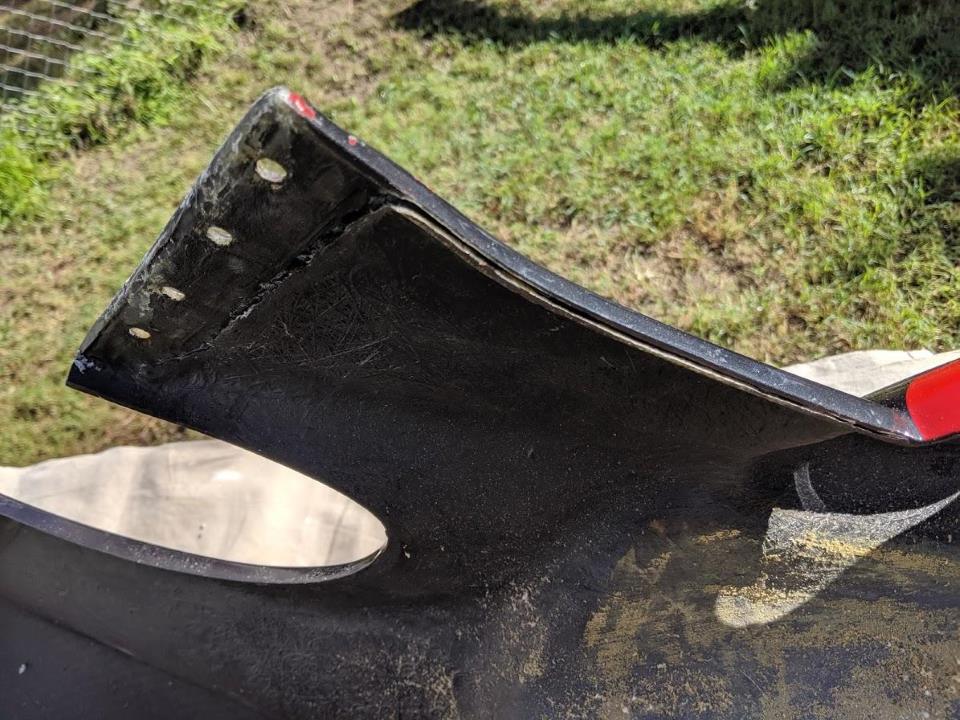
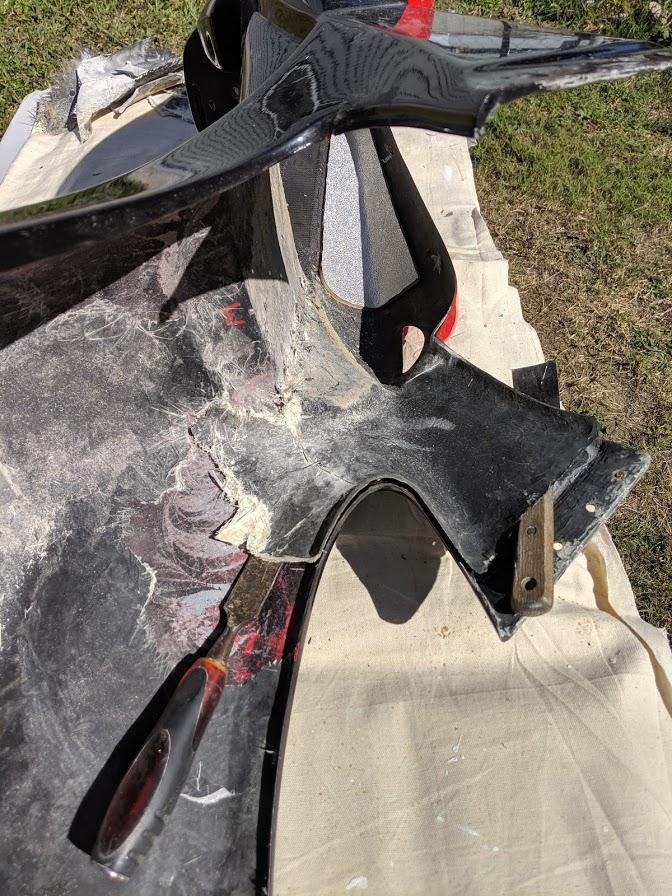
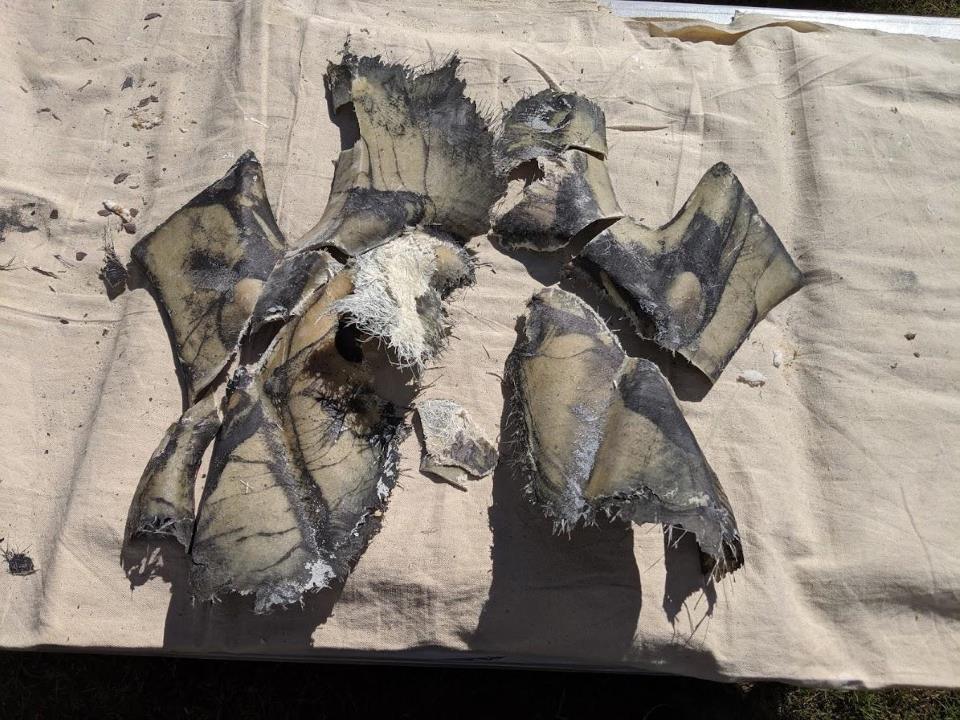
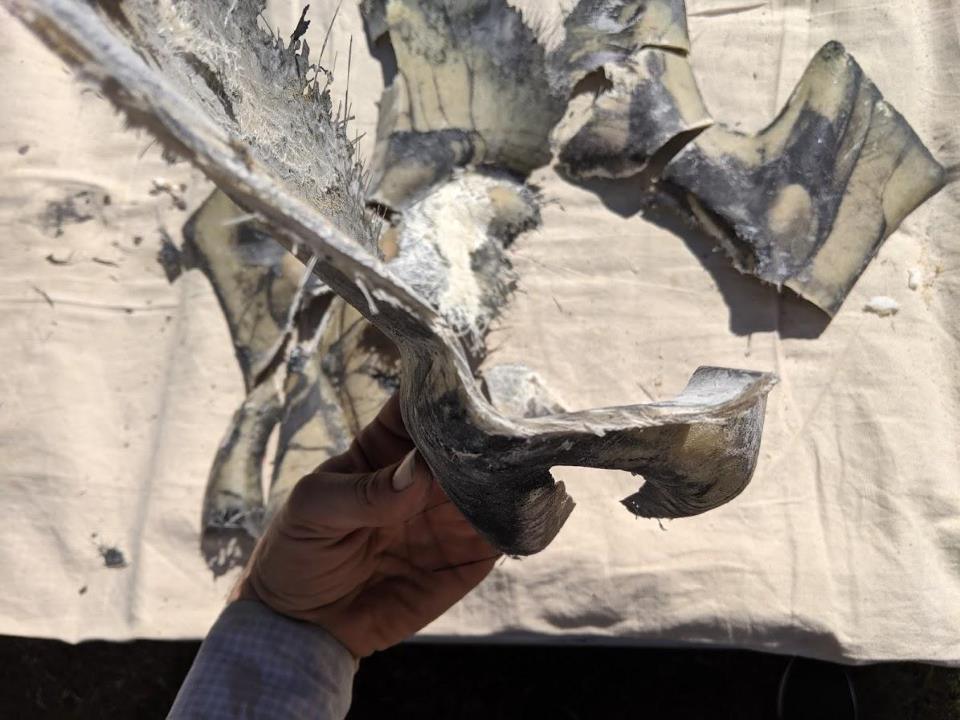
Biggest bit of time has been spent getting the shitty delaminating chopped strand reinforcing out of the seat unit. I really don't understand why they used crappy polyester resin and chopped strand to reinforce the very nicely laid, vac bagged epoxy and cloth main seat unit/tank cover. Was a bit of a prick of a job, but it's out now. Next step is re-reinforcing it with carbon. I also ground back the repairs that need doing in the main fairing, but of course forgot pics.
Delamination before I got stuck into it:
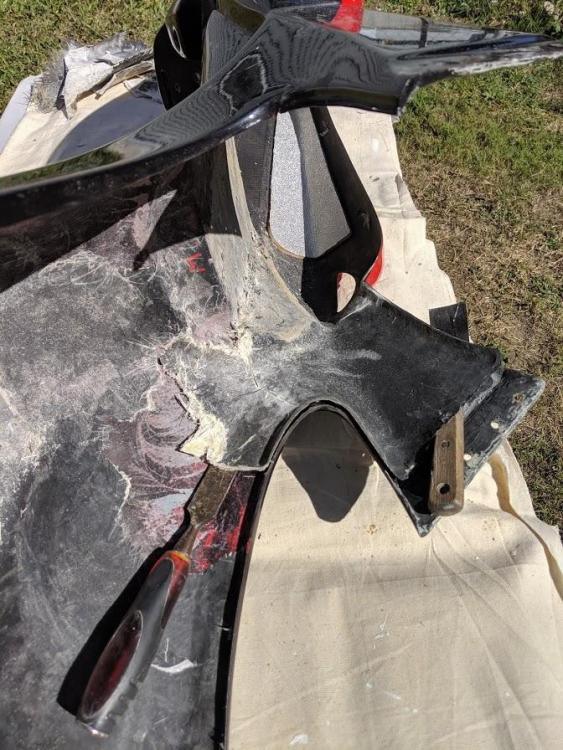
One side done, just working on the second...
And it's all out.
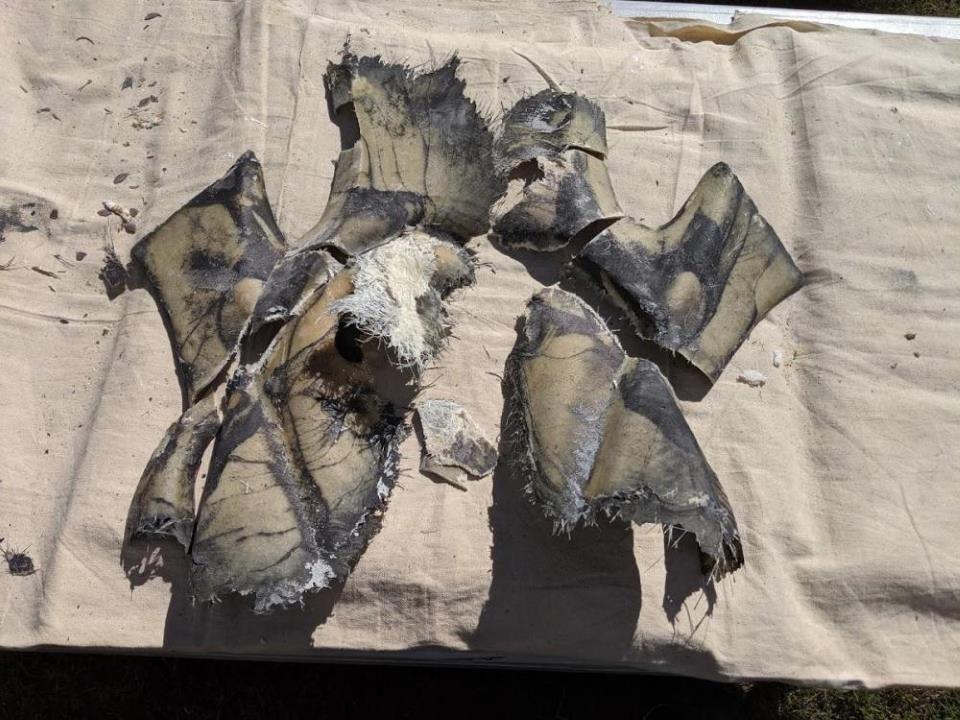
Had a fair bit of thickness to it, should be able to get the same level of strength with some unidirectional carbon I have and a couple of layers of cloth over the top.

-
2
-
-
Anyone know what an R736 engine is from?
-
I've just traded away my box of spares, otherwise i'd measure up a GSX pump and see if they're 14mm...
-
1
-
-
1 hour ago, Burholm said:
Any specific year of bandit liners?
Hayabusa piston gen2 2008 and newer?
Any year Bandit 1200, if you've got a EFE crank with 20mm piston pins, use first Gen Busa pistons. If GSX crank with 18mm pins, 2nd Gen Busa. Skim barrel before installing Liners (Or rebuild crank using Kawa spec rods that are ~3mm longer).
-
I just realised I have the cad for that bracket at home somewhere - will dig it out.
-
1
-
-
looks like this:

-
1
-
-
92-95 Fireblade
-
So, haven't had much time to work on the bike lately - spent a week on holiday in Adelaide - couple of days out in the Barossa drinking wine in lovely weather and just generally not doing much.
Have had some deliveries though - a GSXR level sensor thanks to @sev, and an original Bimota SB6 sales brochure (first time i've ever done the original brochure thing - what have I become?).
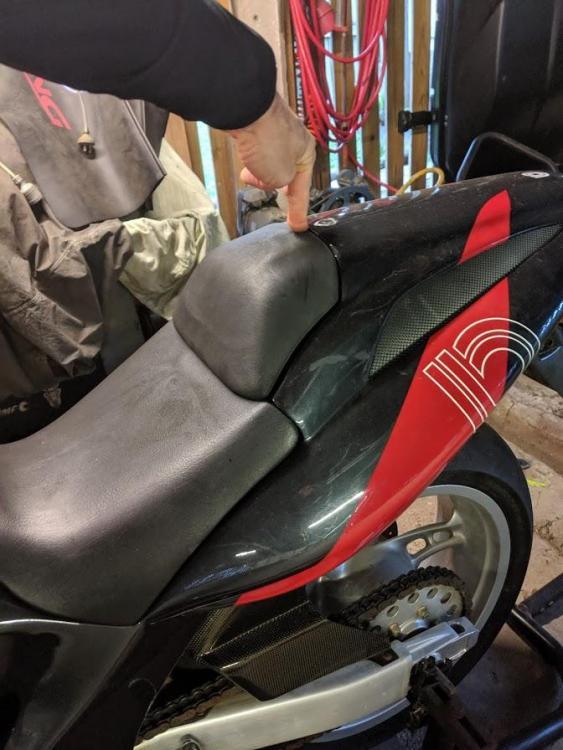
Biggest score though, thanks to another Bimota owner from another forum I've nabbed the seat bumstop part from Eblag - it's not perfect, but it's not bad, and it was cheap enough, especially with a 10% off code. It was also local, so 6 hours after seeing the message on my phone, it was sitting on the passenger seat of the daily driver. I had intended to carve a buck from foam and make it a hollow carbon shell for additional storage volume, but the time saving of slapping a standard one on outweighs the advantage at the moment.
Anyway, really need to get some time on the lathe to knock up a new upper half for the SRAD tap to make it more like an original and fix my routing issues, knock up an adaptor to fit the GSXR level switch to the Bim tank, and knock up a couple of fairing spacers and the pipes for the block between the carb stubs... then the tank and fuel system will be done, and ready to start the bike...
Oh, and I managed to score a Muzzy Aluminium rad fan - the SB6s are even more prone to melting the stocker than the GSXRs... it's currently in transit from the US.
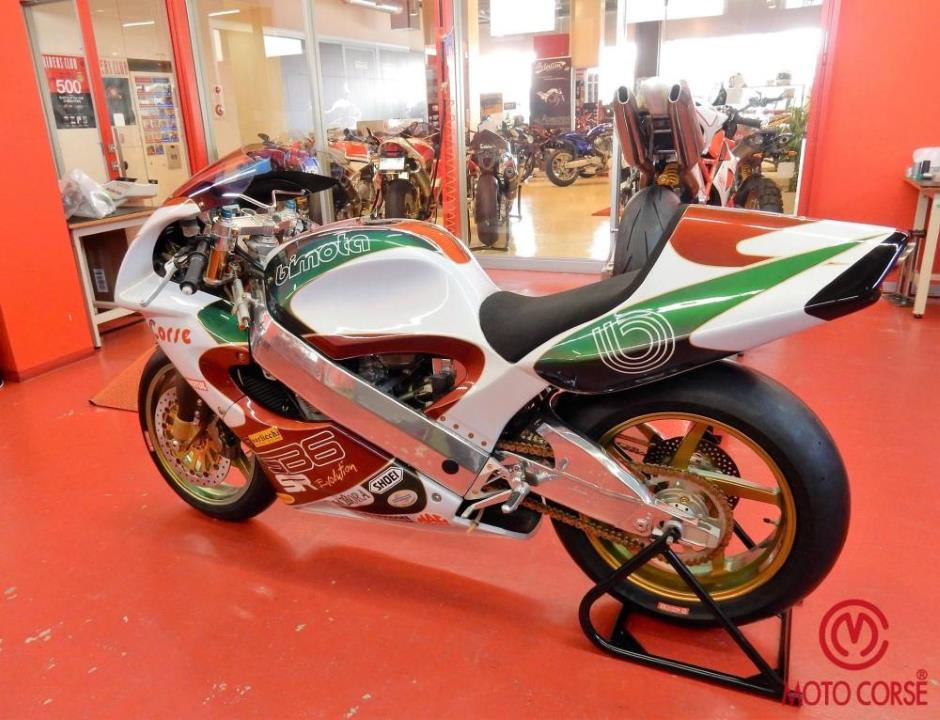
And some random SB6 porn, just because.
-
2
-
-
5 hours ago, Paulm said:
Put a jubilee clip around it and go round it with a sharp knife.
Or Masking tape to avoid the bump in the clip.
-
1 hour ago, BigT said:
Why do you need a new pump?
I've never heard of one wearing out.
With the 8V oil pressure being so low, it's like the bike with run with minimal flow
they can wind up looking pretty untidy if they've eaten something - i've got two GSX pumps that weren't worth putting back in a bike - one ate bits of case and piston skirt, the other ate bits of cam and rocker plating.
-
1
-
-
Accossato do a range of cable clutch levers/perches with different pivot lengths - ranges from 24mm to 34mm from the pivot to the cable point. 24mm would give the lightest clutch action.
-
9 hours ago, manden said:
I was thinking of the 1100 head on an 1250 motor in an rf900 frame
Use the RF900 head - the downdraft ports are better. Chuck it on EFi or respace SRAD carbs I guess.
-
1
-
-
The wrong lever and perch up on the bars can make for a very heavy clutch lever too - my Kat had a lever from a GSXR600, which due to the pivot ratios made for *very* heavy clutch actuation (The distance from the pivot to the cable end was about 5mm longer vs the original Kat lever)
-
I wonder if you can fit a slim battery between the back of the motor and the swinger?
-
Aaaaand the "OEM" tap is not an option - turns out it's a substitute unit that some guys use, doesn't look nearly man enough for the 1100 (Hell, I think they use two of these particular substitute taps to feed an aircooled ducati motor in the DB1).
Guess i'm sticking with the SRAD tap.
-
1
-


Xf650x freewind
in Water Cooled, V-Twins, Singles and 2-strokes
Posted
Would something like this be interesting enough?
http://www.bikebound.com/2018/03/18/suzuki-xf650-freewind-scrambler/