Hollomanje
-
Posts
20 -
Joined
-
Last visited
-
Loooooooong Term Project............and it hurts
Hollomanje replied to Hollomanje's topic in Air Cooled
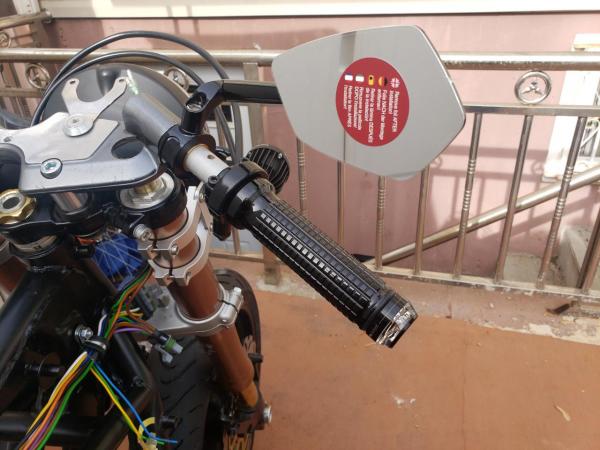
the switches are a son of a gun, having issues trying to set up and run the various switch wires. ANY suggestions. -
Loooooooong Term Project............and it hurts
Hollomanje replied to Hollomanje's topic in Air Cooled


-
Loooooooong Term Project............and it hurts
Hollomanje replied to Hollomanje's topic in Air Cooled
-
Loooooooong Term Project............and it hurts
Hollomanje replied to Hollomanje's topic in Air Cooled
New Progress


-
Loooooooong Term Project............and it hurts
Hollomanje replied to Hollomanje's topic in Air Cooled
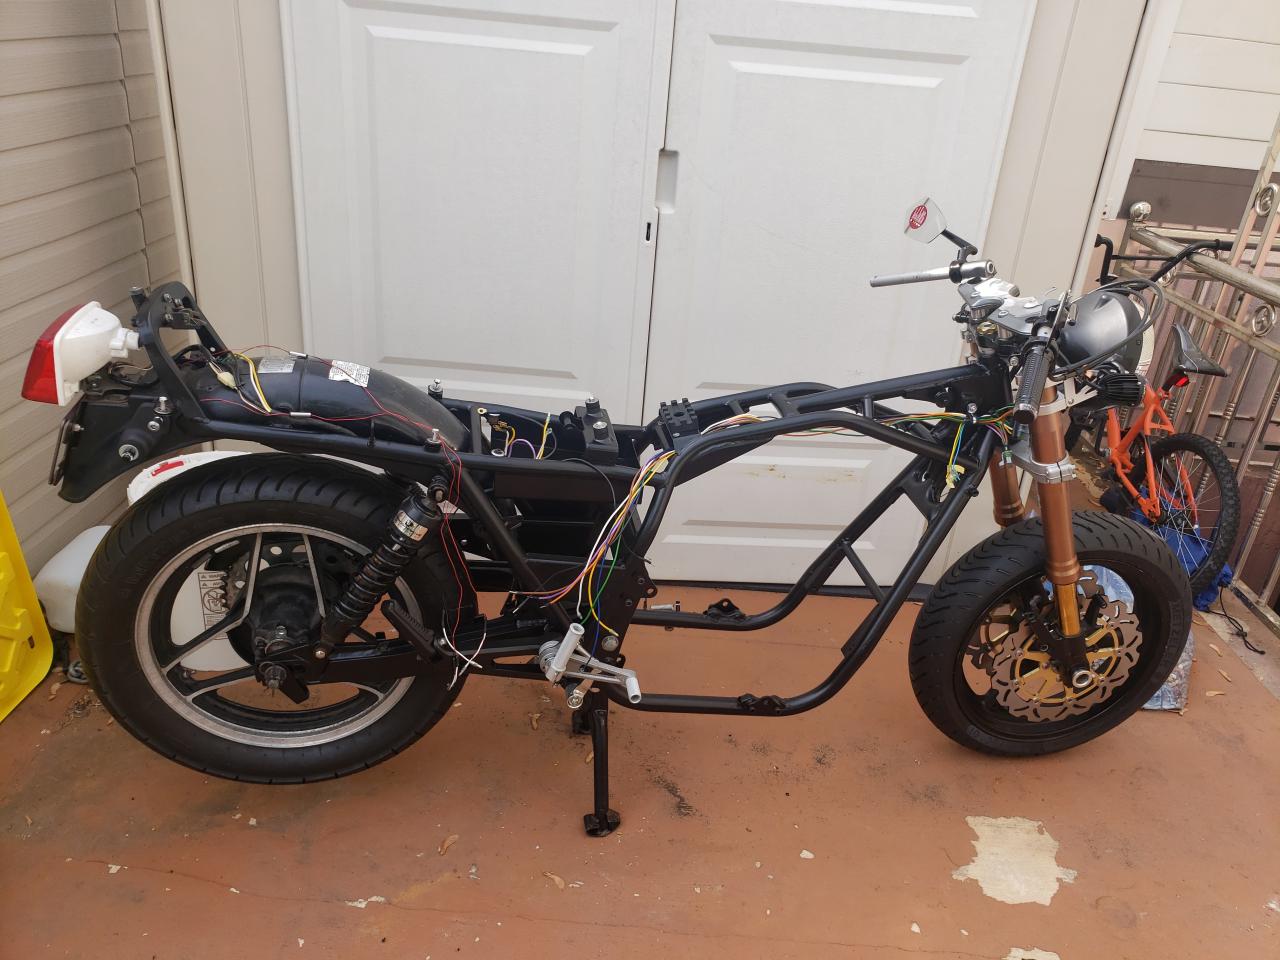
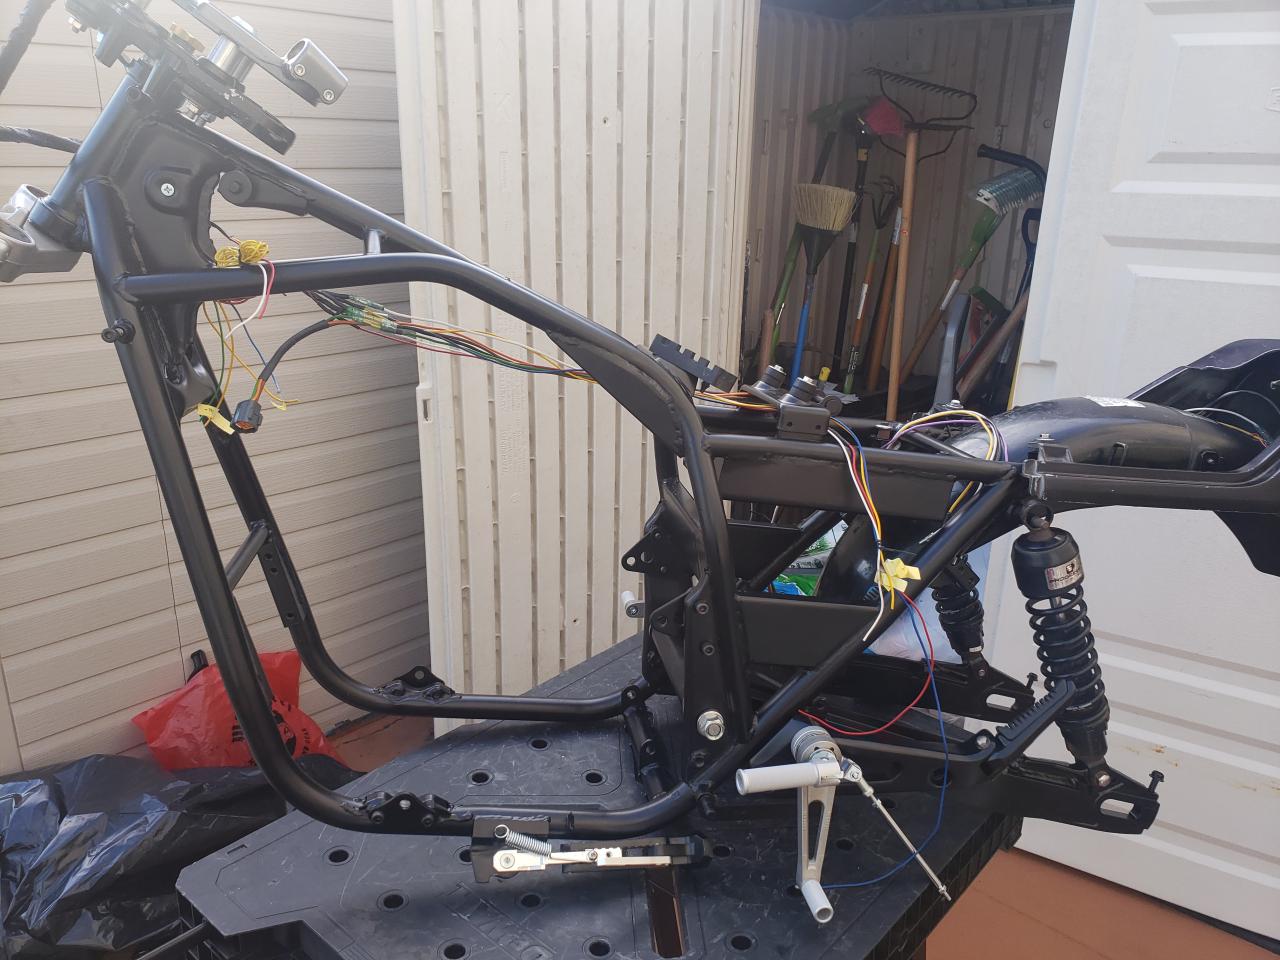
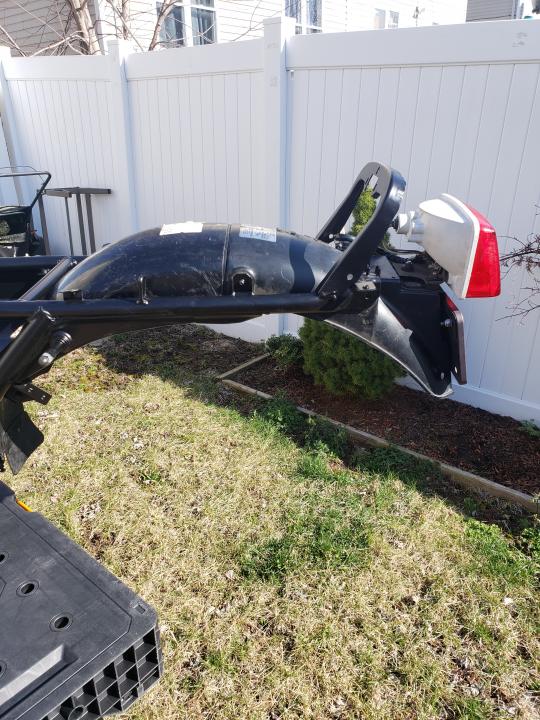
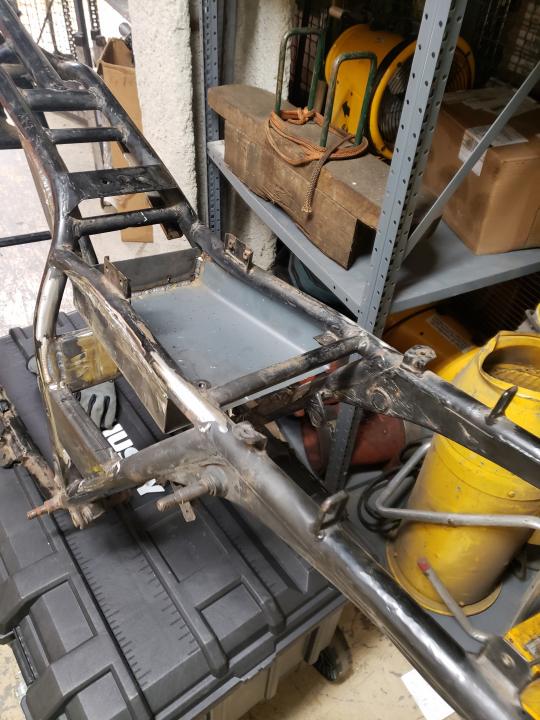
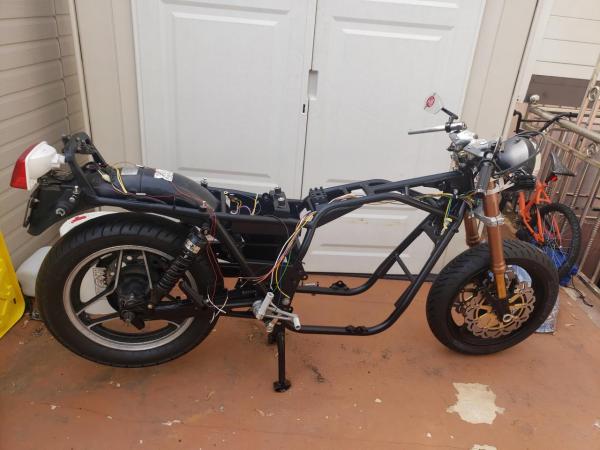
Now that I'm finally done with the frame, I get to the job of the rear swing arm and electrical components into the frame. Should have video logged it -
Loooooooong Term Project............and it hurts
Hollomanje replied to Hollomanje's topic in Air Cooled
New Pics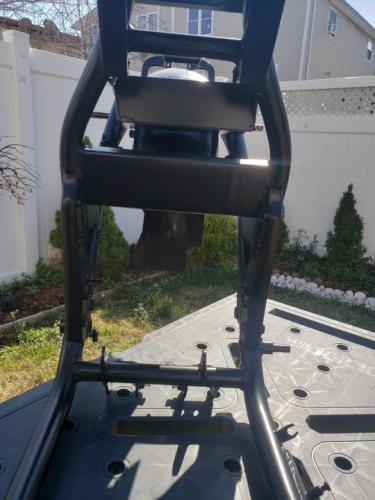


-
Loooooooong Term Project............and it hurts
Hollomanje replied to Hollomanje's topic in Air Cooled
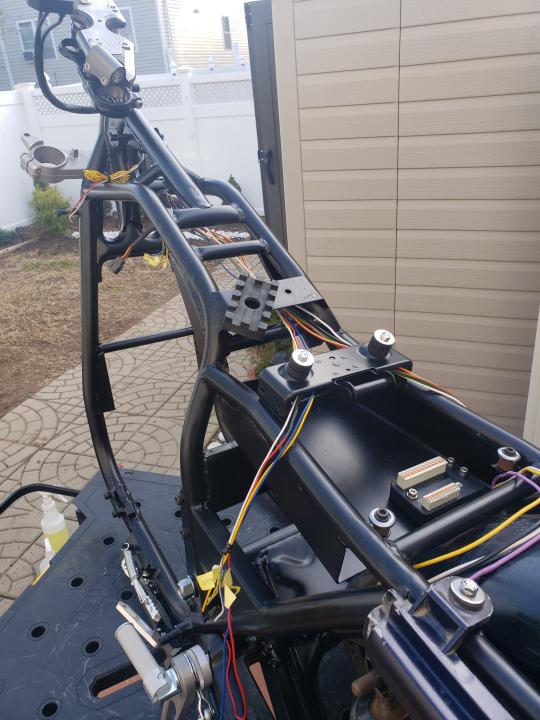
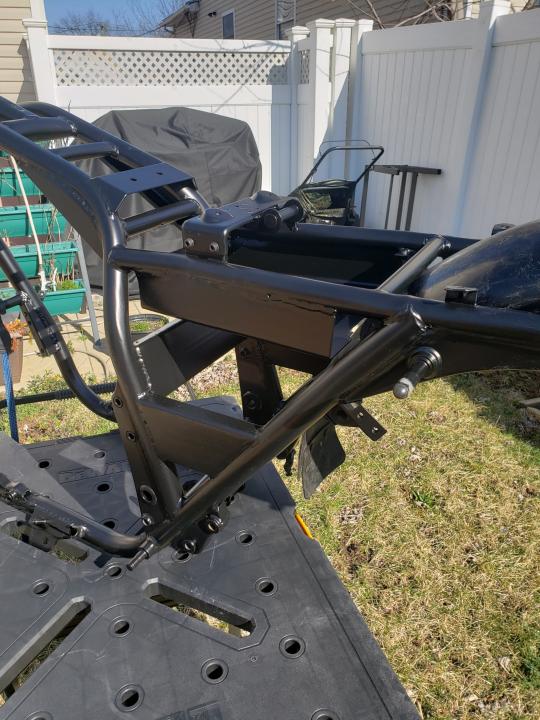
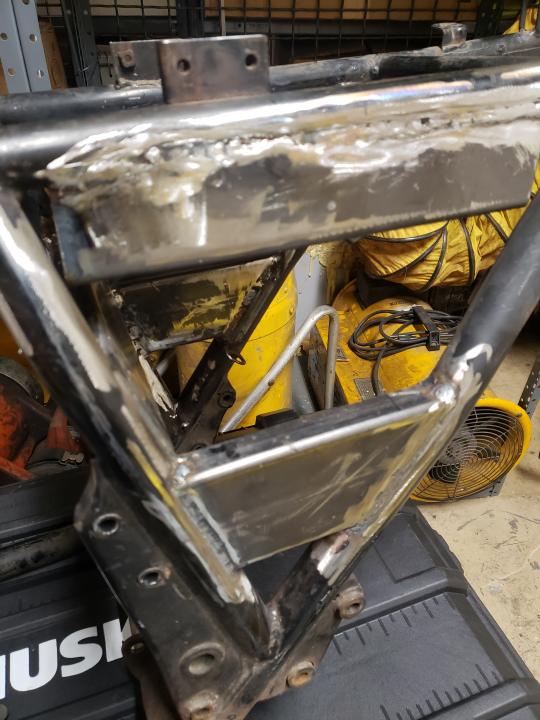
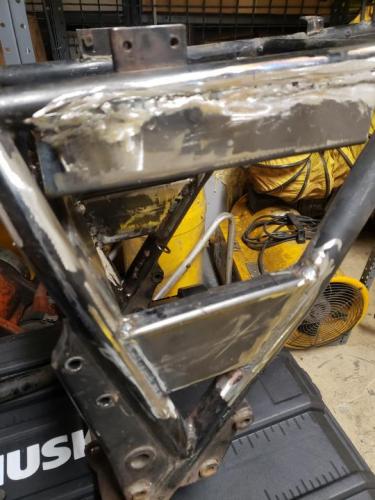
Update: After struggling to get the lil bits cut and finaly got out to Pennsylvania get the final steps professionally assisted. My friend Kenny Rex owner of Rex Construction and Equipment was nice enough to be the professional one everything went in squared and fabricated the electric box to add to the clean look. Next thing is the minor cleaning of the little nips from wielding and removal of all unnecessary hangers, before getting power coated.

-
Loooooooong Term Project............and it hurts
Hollomanje replied to Hollomanje's topic in Air Cooled
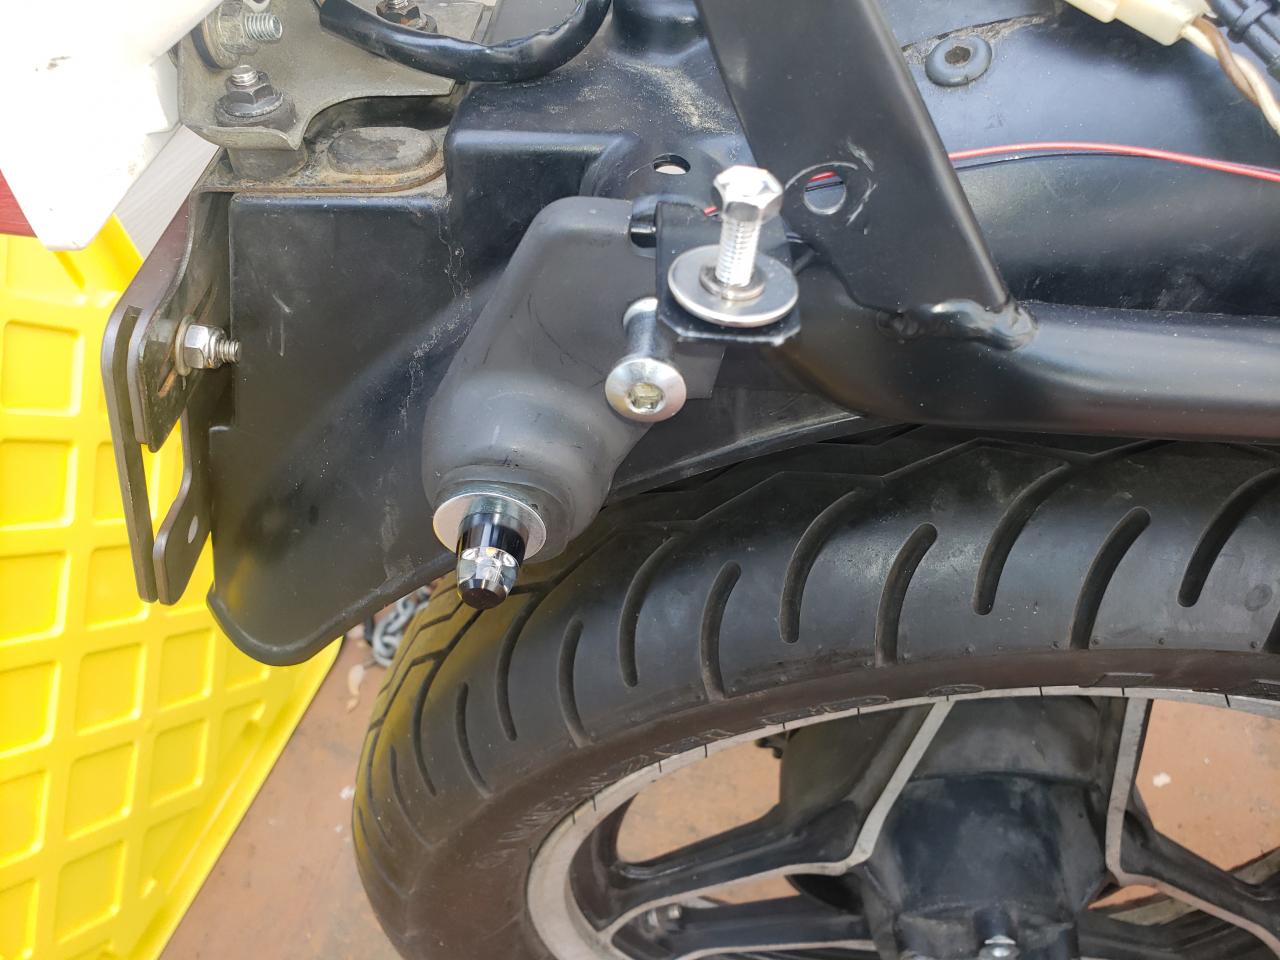
Thats something that I didn't see will double check before its wielded in, Thanks for the observation if anyone notices anything please bring it to my attention. was looking at the clearance looks like it clears but to be safe will raise an inch to be sure. -
Loooooooong Term Project............and it hurts
Hollomanje replied to Hollomanje's topic in Air Cooled
Nah not thrashed yet planning on beefing up the engine and not going to redo all the build out because the frame flex while I twist. So before the "new" bigger engine the power coating lets just stiffen things up a little bit. Besides its FUN. -
Loooooooong Term Project............and it hurts
Hollomanje replied to Hollomanje's topic in Air Cooled
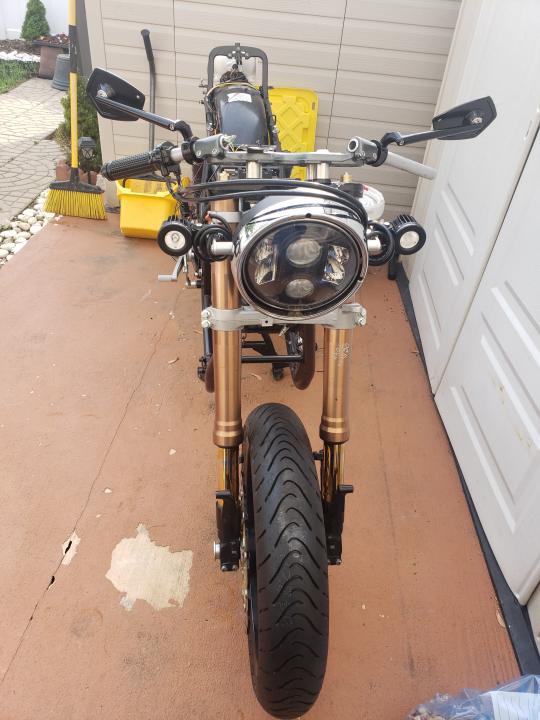
Yeah it does but it goes through the horn, while the Gorilla is self contained. And haveing two is better than one. On this subject. -
Loooooooong Term Project............and it hurts
Hollomanje replied to Hollomanje's topic in Air Cooled
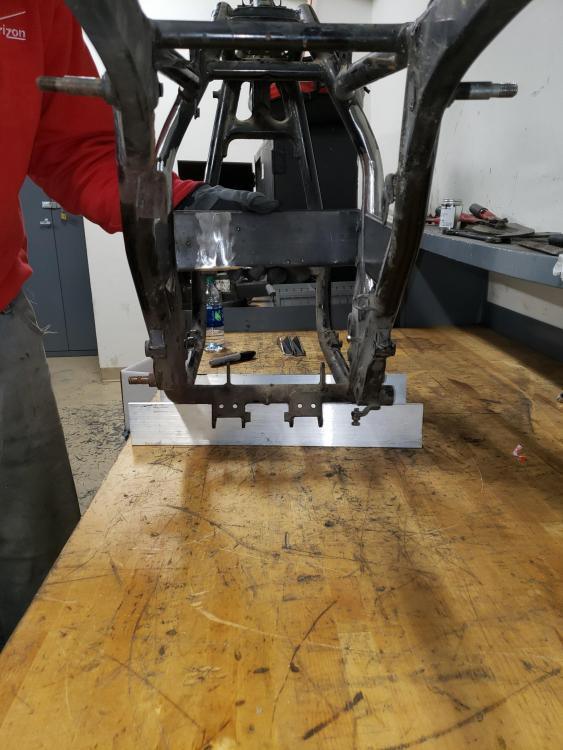
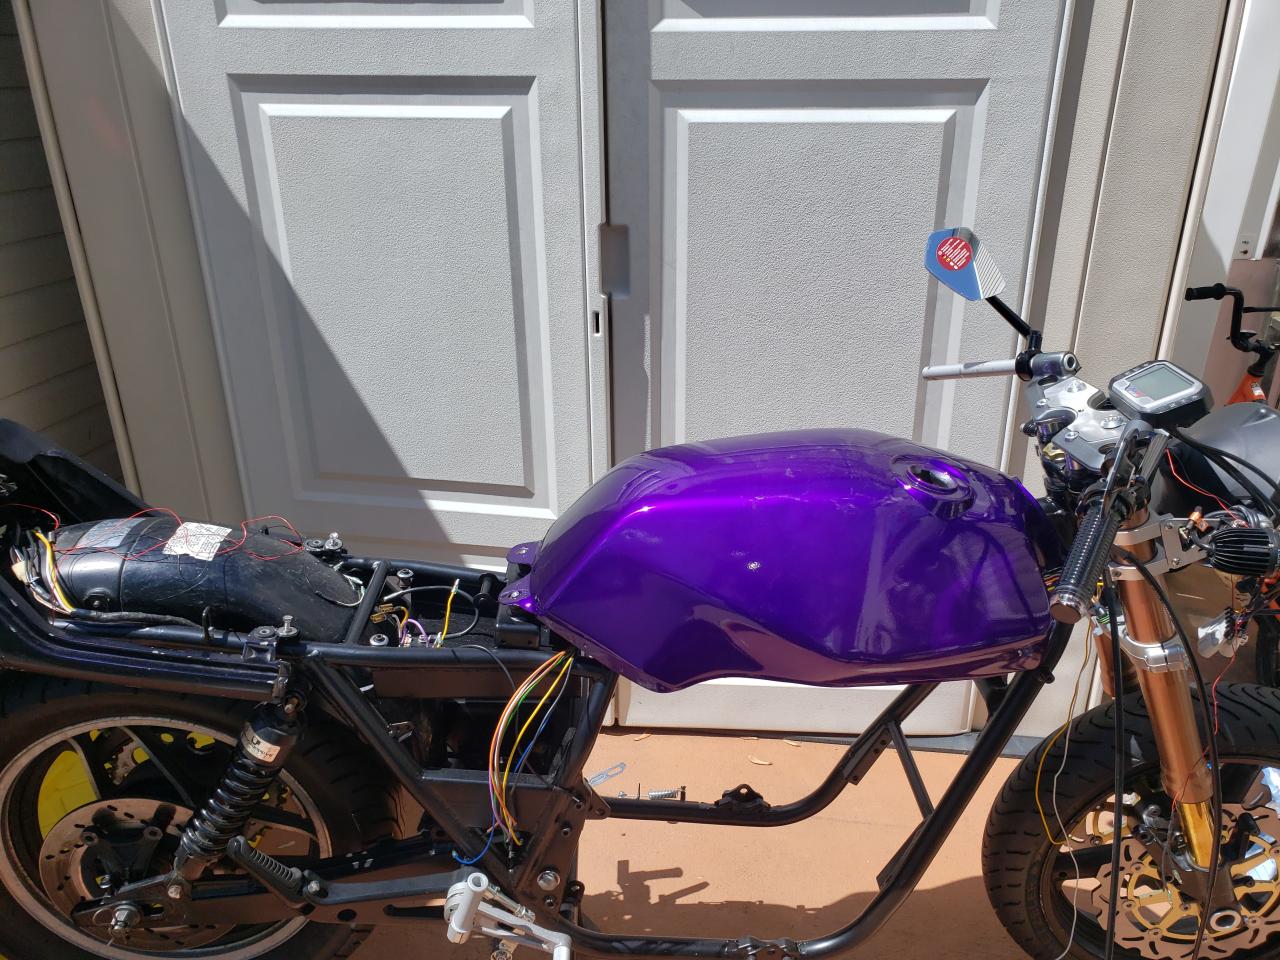
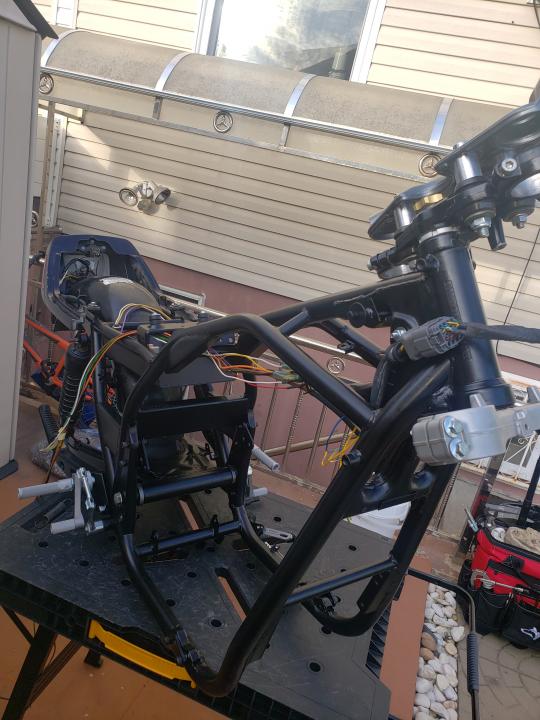
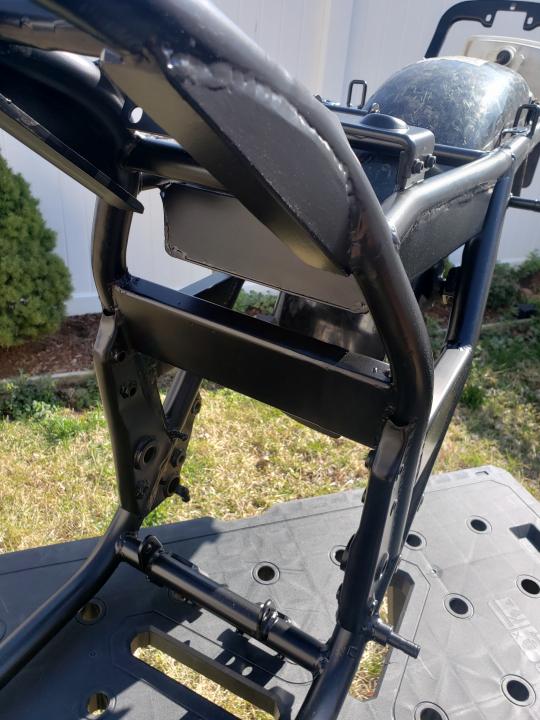
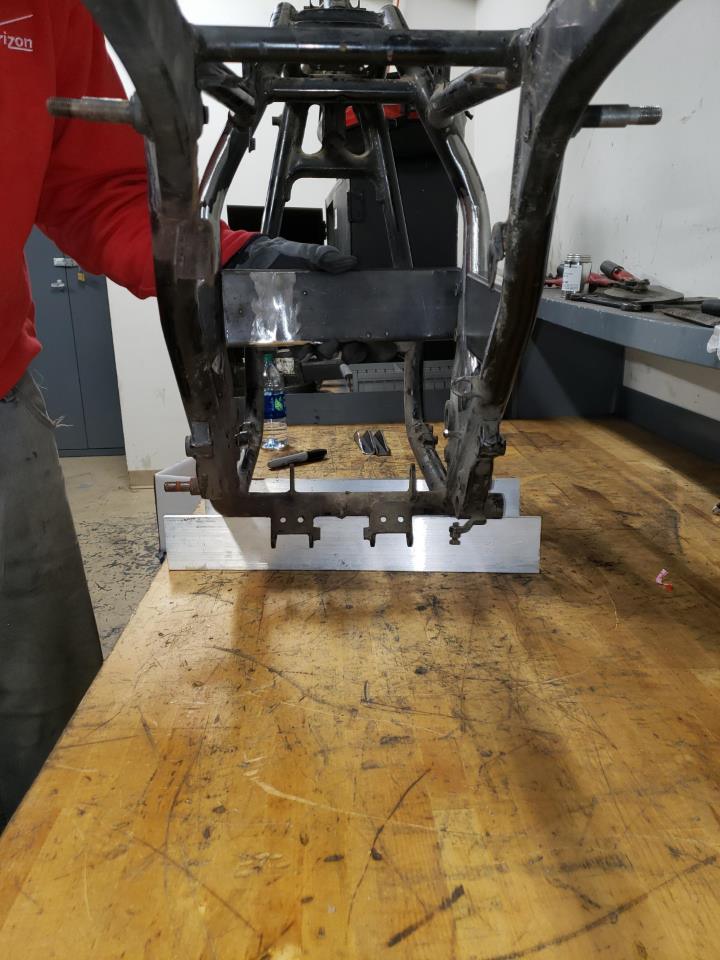
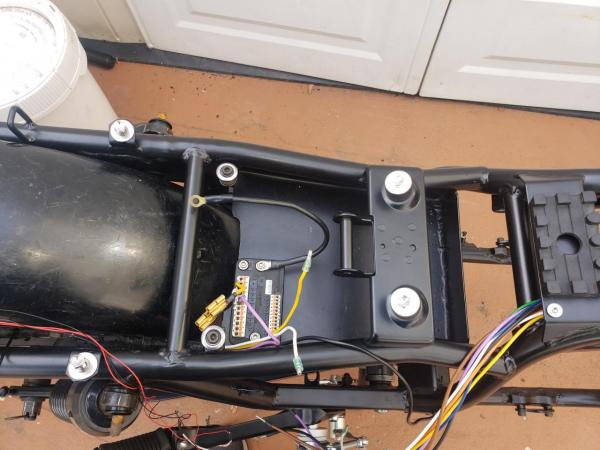
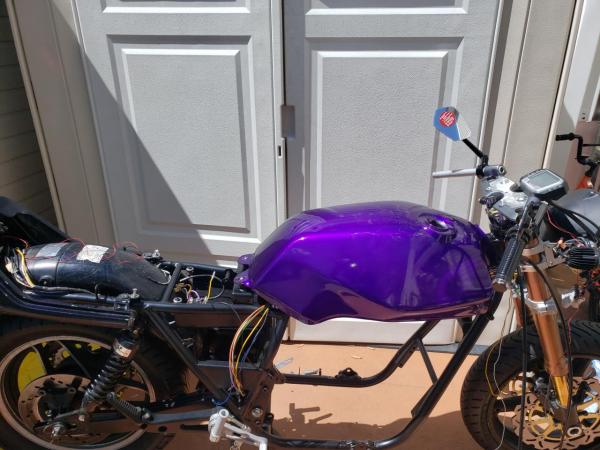
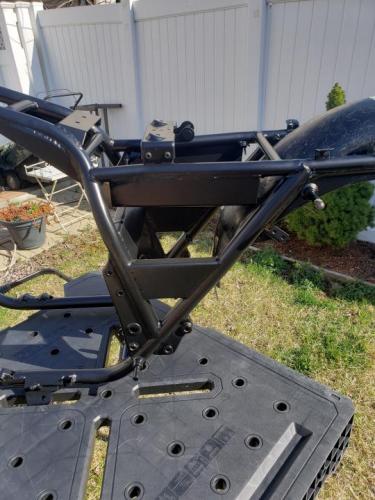
Here where I'm at so far, made an electrical plate to set between the two top rails under the seat, Making the electrical box to hold the battery, alarm, and M. Unit Blue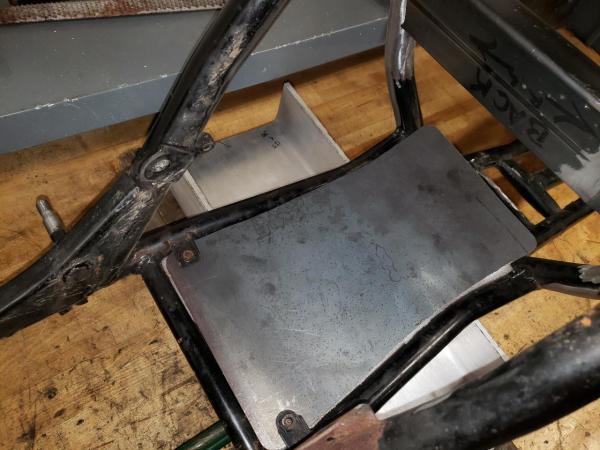
-
Loooooooong Term Project............and it hurts
Hollomanje replied to Hollomanje's topic in Air Cooled
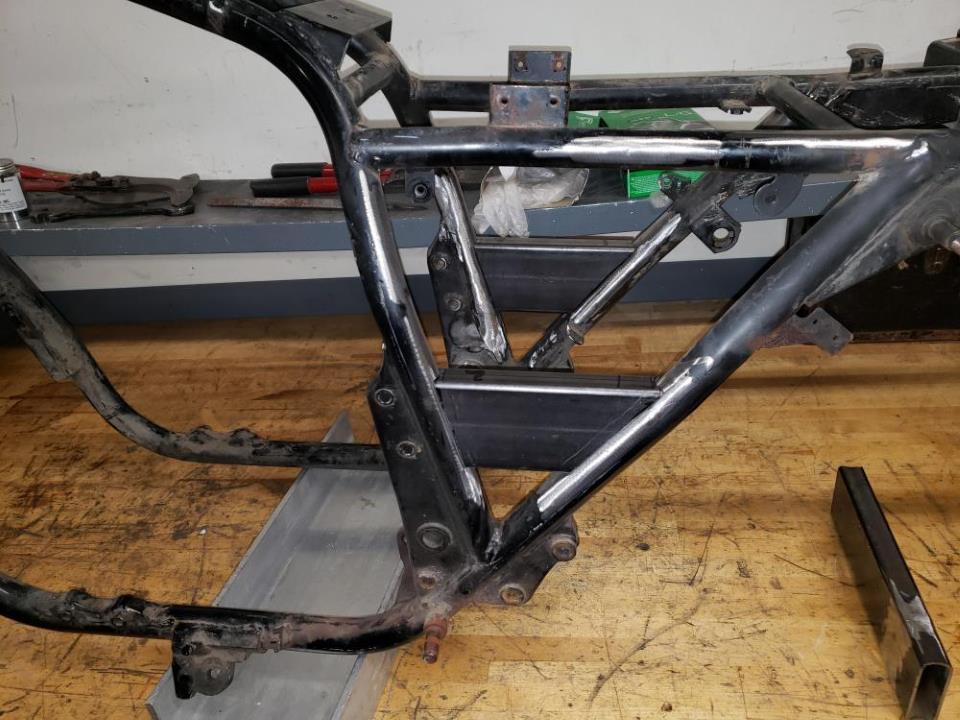
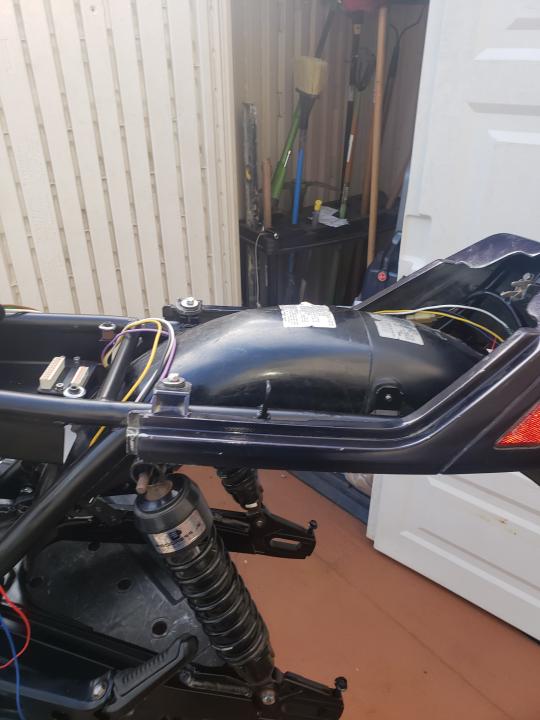
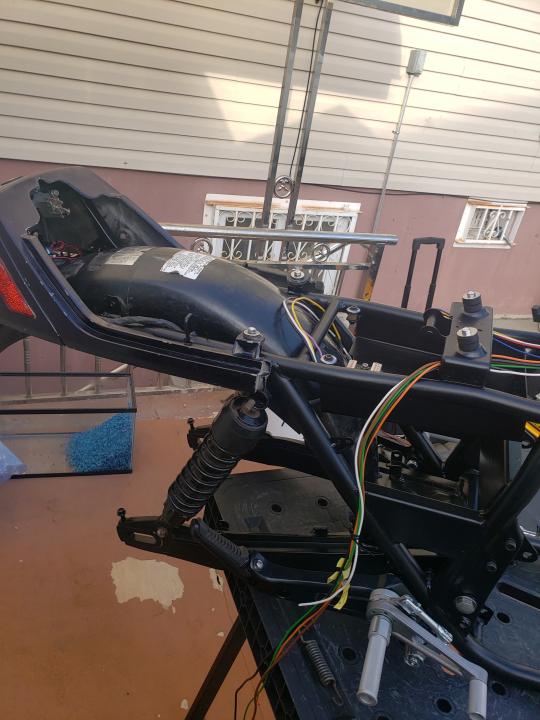
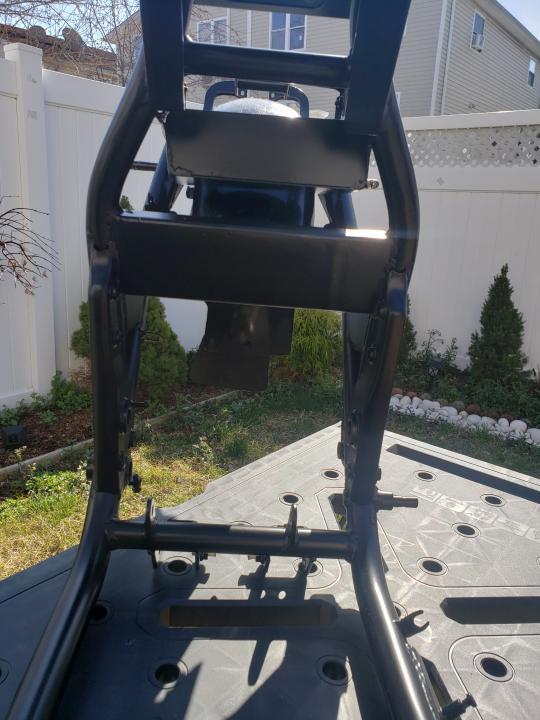
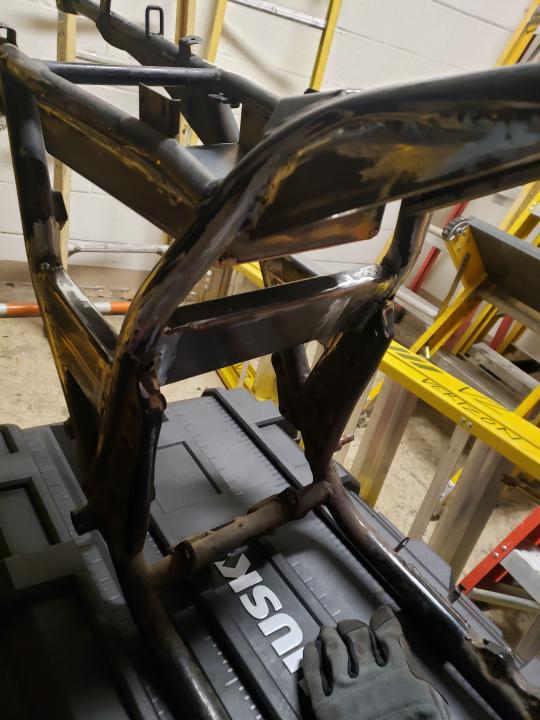
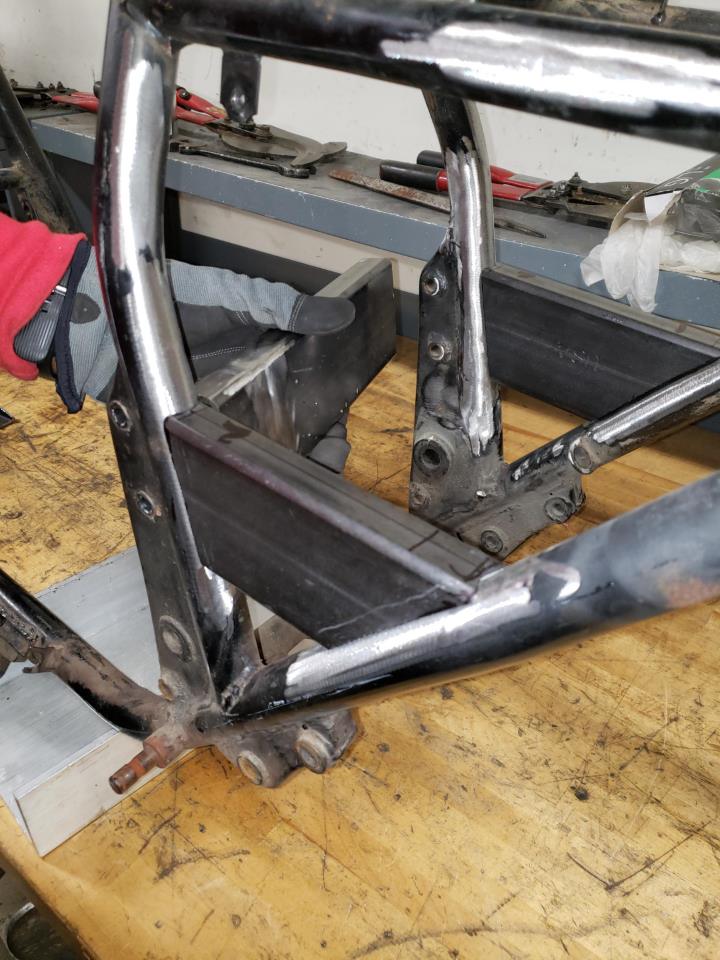
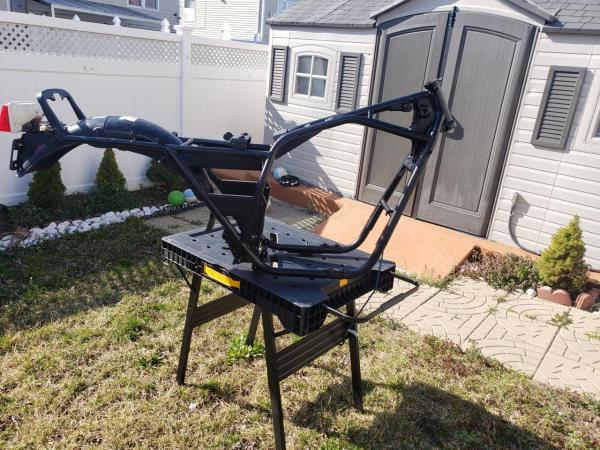
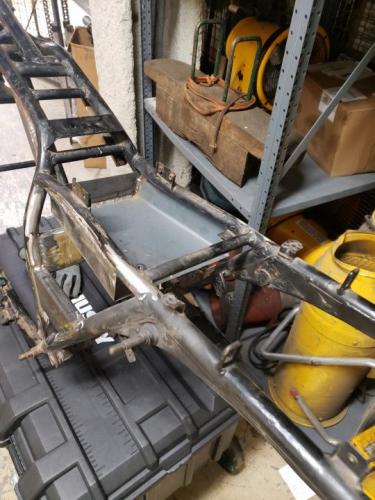
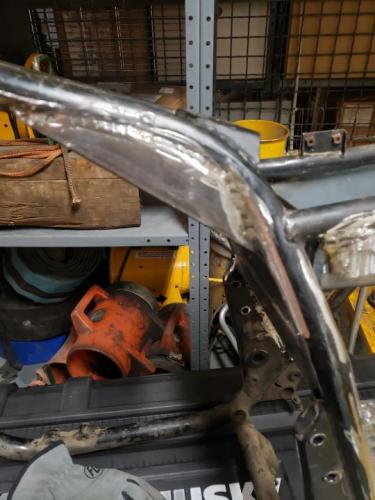
Week Oct. 20, 2019 Update: So far so good was able to create bracing for rear of support. Have a little difficulty with forming a good template for curve around the top portiin of the engine cage. Tried forming a template which worked and now forming the matching opposite side. But had to lose the original material due to not measuring it correctly. Will post picture progression tomorrow -
Loooooooong Term Project............and it hurts
Hollomanje replied to Hollomanje's topic in Air Cooled
Okay, It wouldn't be that simple -
Loooooooong Term Project............and it hurts
Hollomanje replied to Hollomanje's topic in Air Cooled
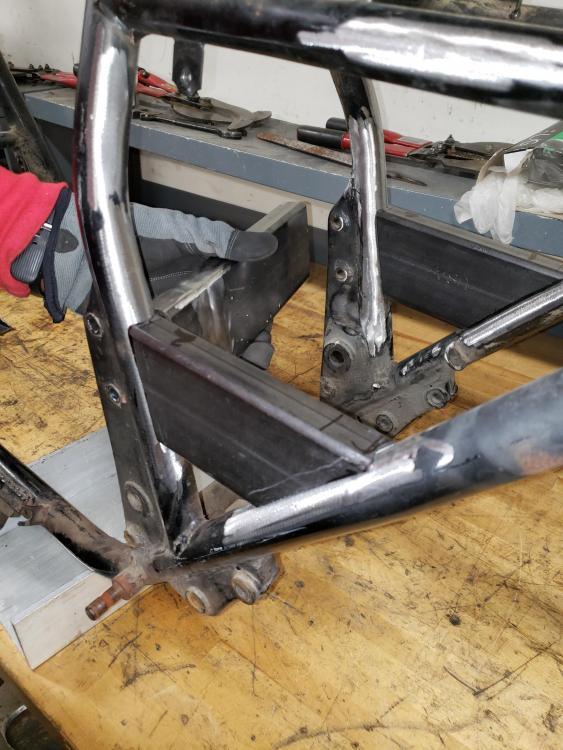
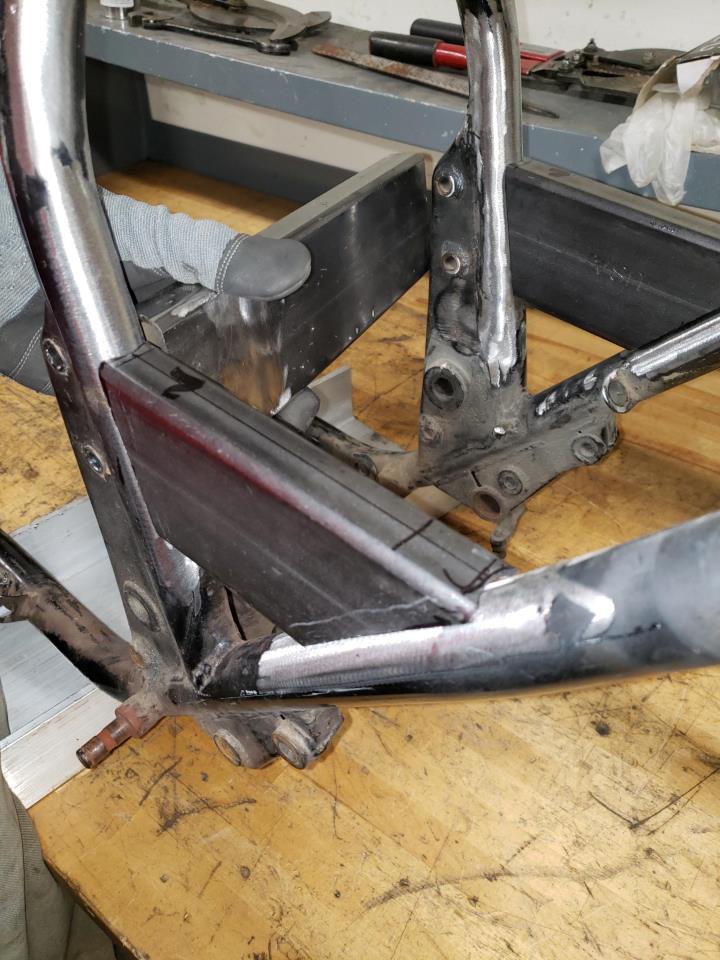
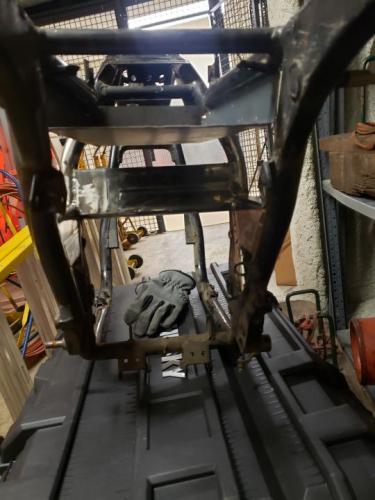
As you cann see the prolem that I am having now is placing the middle bracing does not fit easily into the propose pposition ....... as ideas as to the best way to set it should I trim down one corner / side and lever it into place...... anyoyher ideas -
Loooooooong Term Project............and it hurts
Hollomanje replied to Hollomanje's topic in Air Cooled
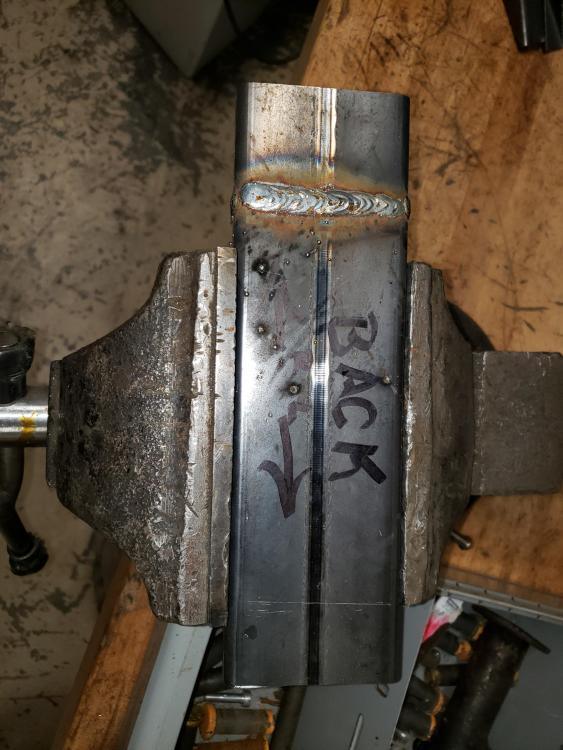
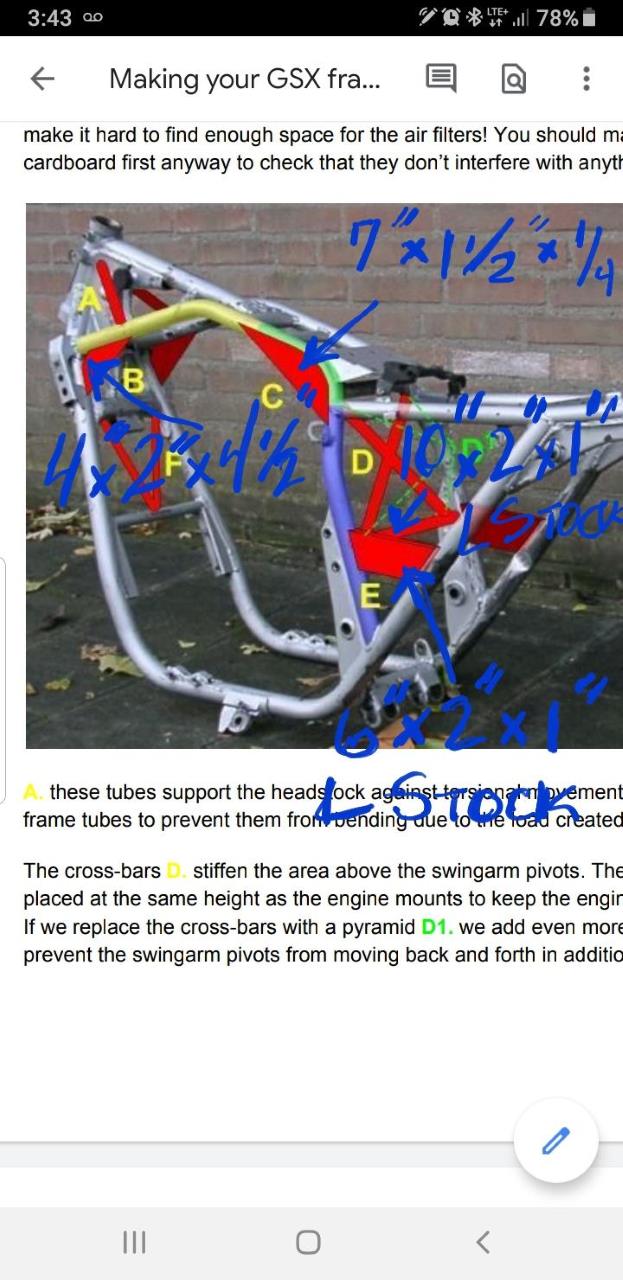
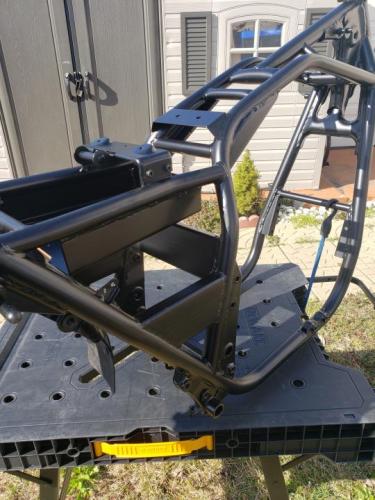
Ok we have First Set of pictures. There where only a few minor changes. If you look their are some notations on the stiffening of the Frame. The diemension of the brace material was altered to 3" x 1" x .120" rectangular stock , I felt the added size would not only strengthen frame but give me a large enough platform to mount a few of the necessary electrics. like maybe new Reg/rec from Rick's Motorsports Electrics and a Revival Cycle starter solenoid LIFEPO4 OPTIMIZED MOSFET PERMANENT MAGNET REGULATOR/RECTIFIER RICK'S MOTORSPORTS ELECTRICS UNIVERSAL STARTER SOLENOID WITH MAIN FUSE REVIVAL SIGNATURE PARTS & KITS