Dukeman
-
Posts
151 -
Joined
-
Last visited
Content Type
Profiles
Forums
Events
Everything posted by Dukeman
-
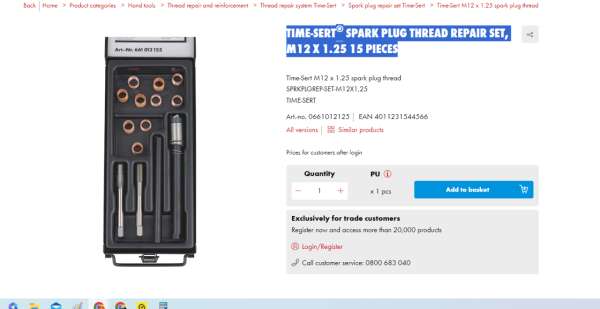
Engine is out of my Kat... plan is to remove the head and use Time-sert on all 4 cylinders, as 1 plug thread is stripped. Is this the right kit? Any advice before I purchase? Then check the valves and do oil seals... Maybe new rings and a light hone on the 1230 kit, as it uses oil and blows smoke on accelerations. Clutch slips to when the engine hits higher revs... always has since I have owned it. This is an engine I purchased, so I do not know a lot about it.
-
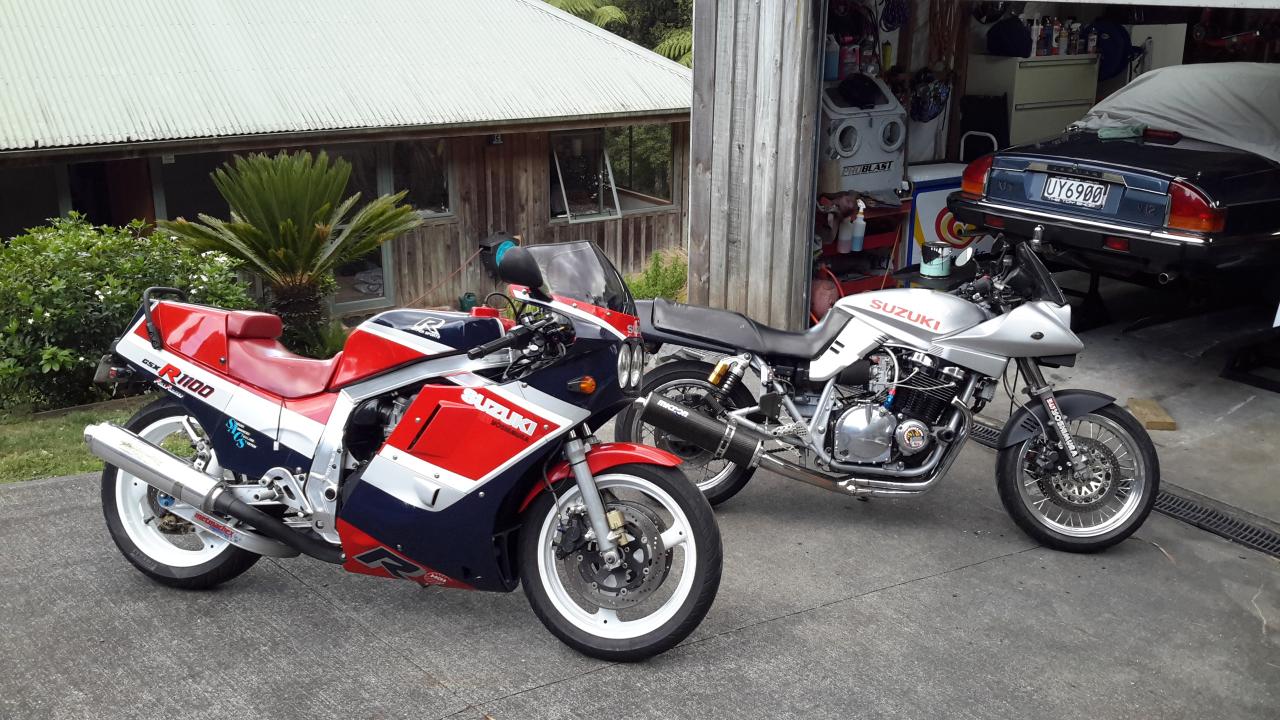
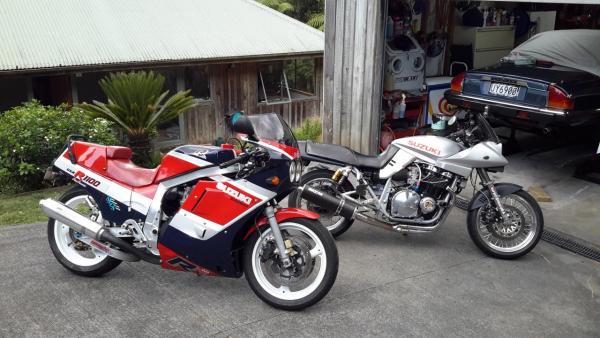
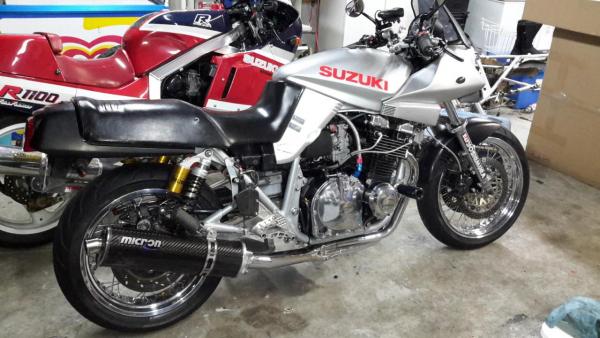
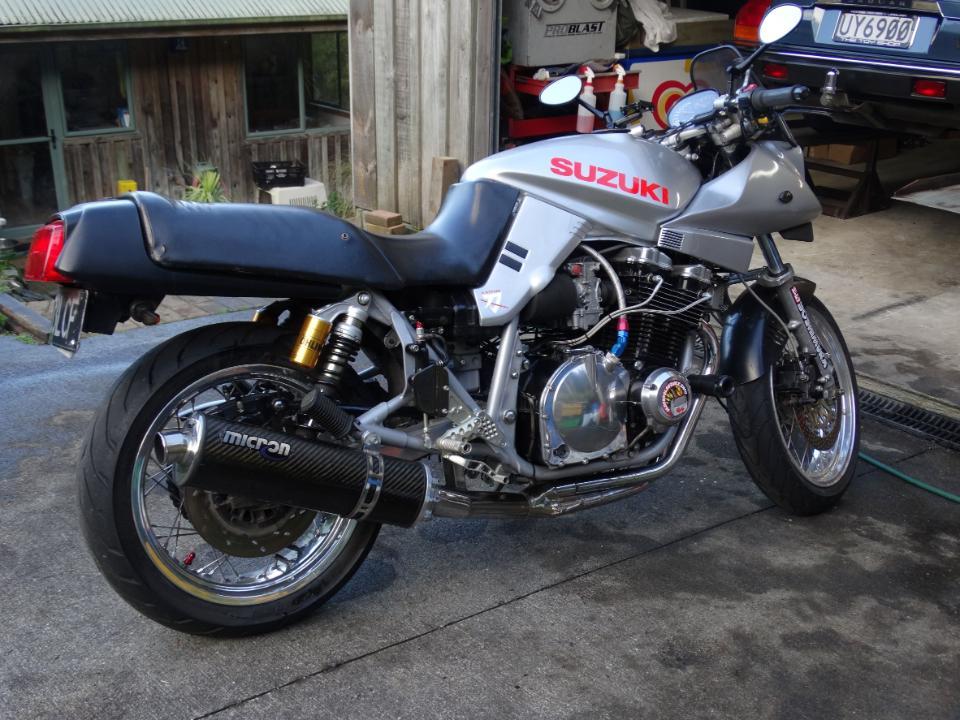
Here is my kay with wire rims. GS Hubs I will need to double check the size. But from memory and this old info.... 17inch x 5inch rear 18inch x 3.5 from
.thumb.jpg.f86fd028ed97a5fbd1dcb43cfca5b2c1.jpg)
-
Thanks - I have found a shop with the Time Sert tool kit - just need to get the inserts. Planning on doing all 4! - Clutch is slipping at high revs - Starter motor kicks back when starting if i am not careful.. hit the starter button and slowly open the choke and it kicks in to life RS36.. carbs, otherwsie it can kick back. So yes these things need to be addressed. Timing chain.. does it need to be split? Can not remember? - Has an APE manual chain adjuster.
-
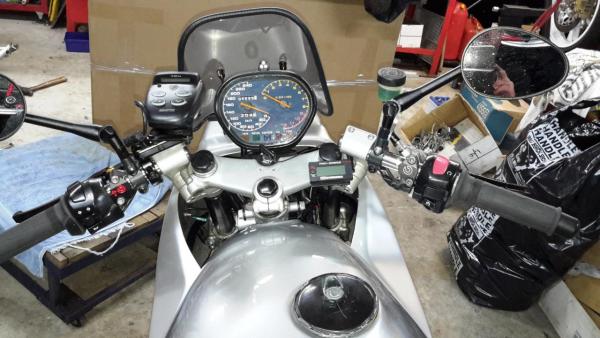
OK - so the motor is coming out.... well that just means LOTS of extra work. The frame need painting... lots to do! What size is the spark plug thread.. I can guess at M14 x 1.25mm but I not sure without measuring a plug. Thanks guys for the input... I really wanted to pull the head and fix it in a couple of hours... Motor out will be done with my son (and he will whinge and moan... hes 18), gone are the days I could do it on my own!
-
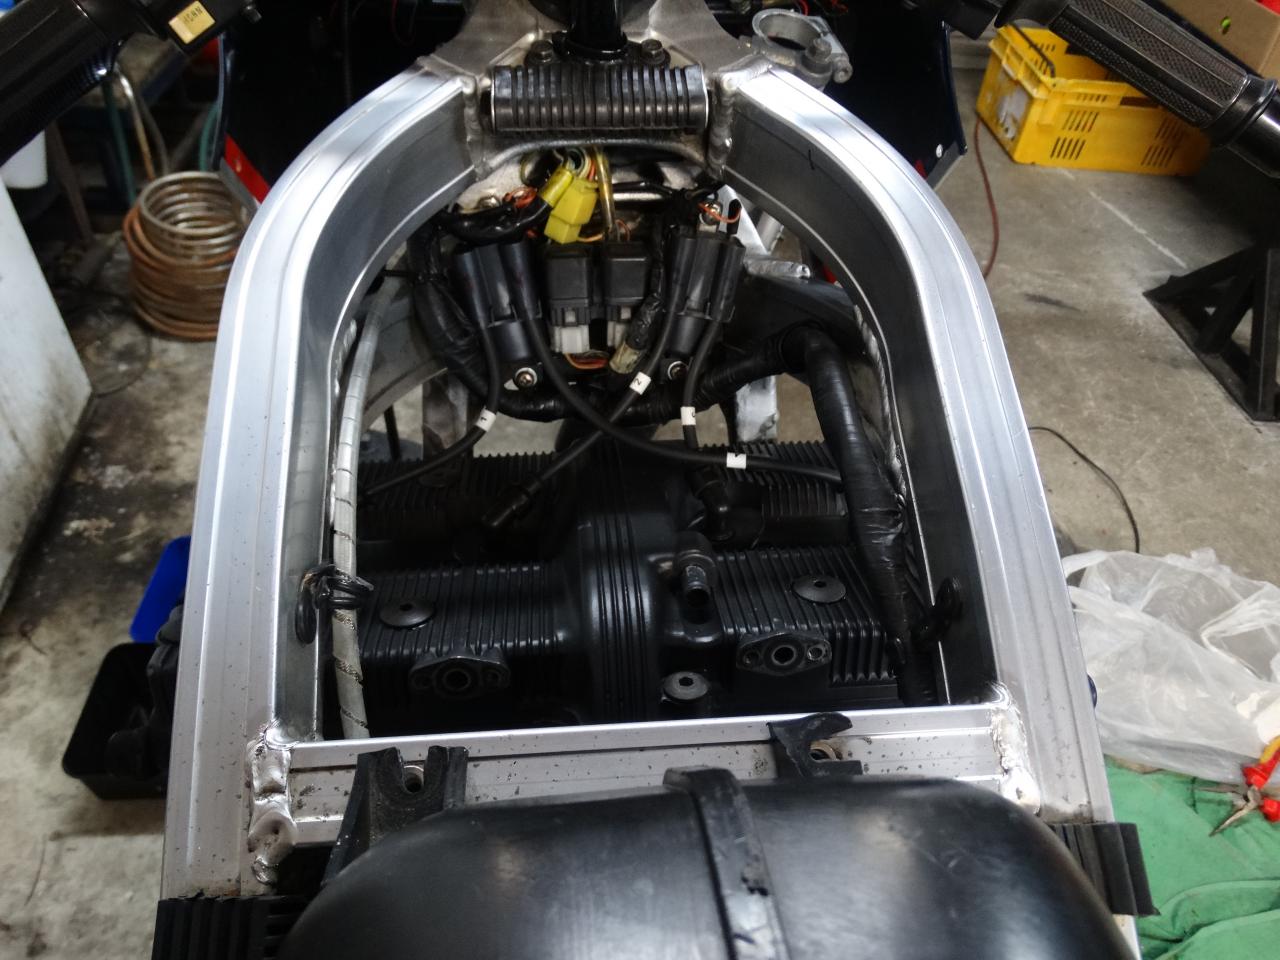
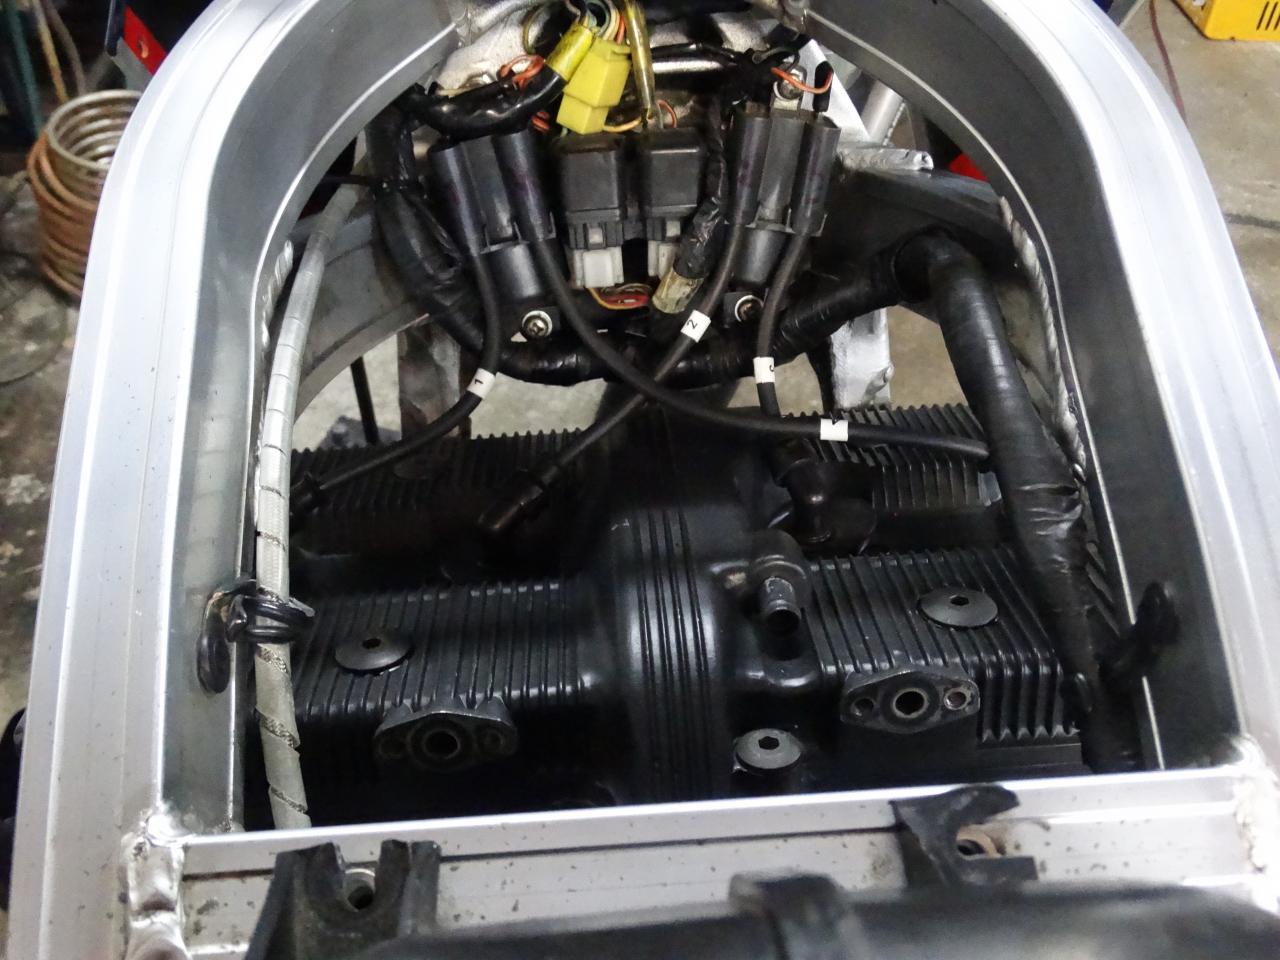
Just to say - the motor is 1150 EFE - there is not much room between the frame and the top of the motor. I have had the cam cover off - no problem there but it is a tight fit.
-
Timesert looks like the go? They appear better than helicoil - anyone know the thread size?
-
Yep - I was riding along and bang... a huge noise gave me the shits. I though the exhaust must have fallen off... piston in bits or crank .... turned out No. 2 spark plug broke free and wanted to make a run for it. The thread is gone.. so I will helicoil all 4. Questions. Can i remove the head while the engine is still in the Katana? Will there be room to clear the studs? What are the best helicoils? I hear there are some real good ones? Any advice?
-
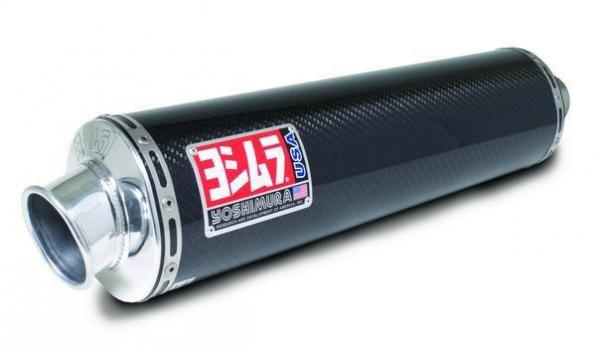
YOSHIMURA EXHAUST RS3 BOLT-ON CARBON FIBER FOR SUZUKI GSXR-1000 01-04 Thanks but as it is an insurance job... upgrade! What about this?
-
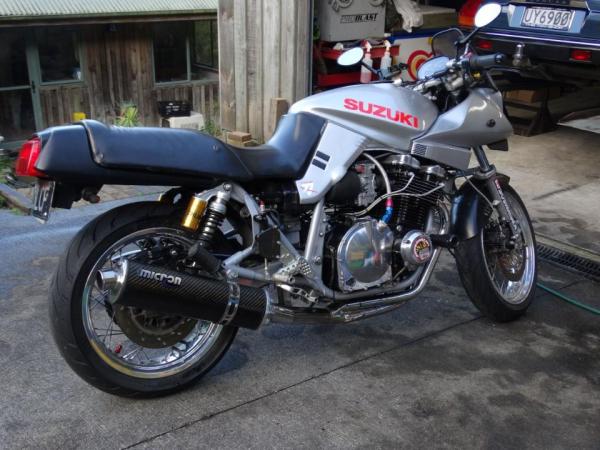
Bike fell over in my shed, actually the GSXR fell on to my Kat, both hit the ground....crushing the micron. Insurance job for both! What an F off....
-
What Yoshimura carbon fibre exhaust for a katana ? I am after a silencer to replace a Micron one that is cracked, all I see now are modern looking ones. What suits ? I might need a new system to go with it! Thanks
-
Lachie - yep that is what i did but i also use a very fine piece of wire to slide under the butterfly looking for the same resistance on all 4. I have a vacuum sync tool but how the hell are you meant to access carbs 2 & 3?
-
I want to paint the calipers... they are in bots. I was thinking of blasting them with my sand blaster - its not overly aggressive, I was looking to use grease in all the holes and rags. Given them a quick blast, wash in parts washer. Mask up and spray.... Do you think this would be OK....
-
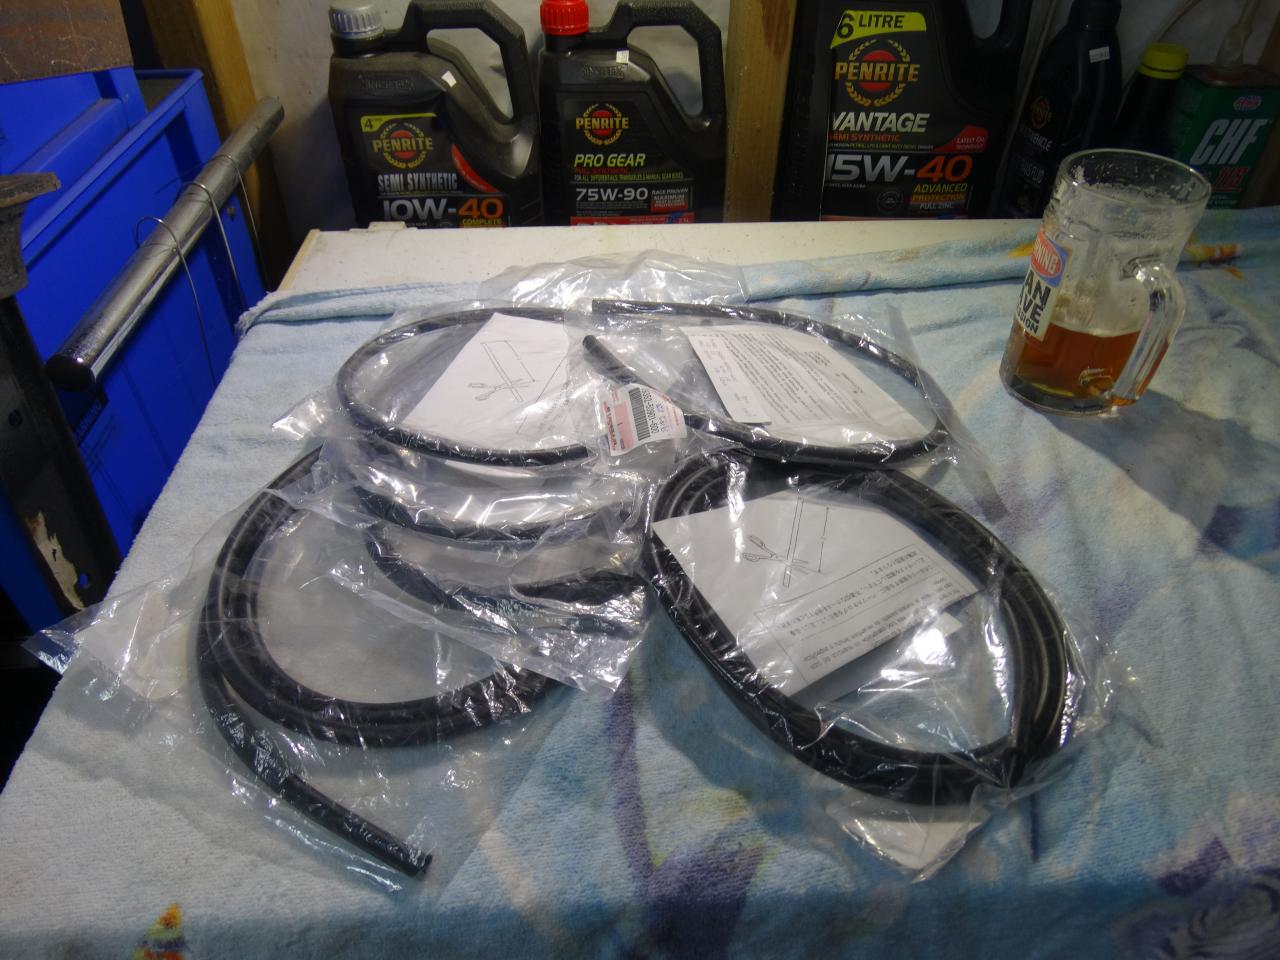
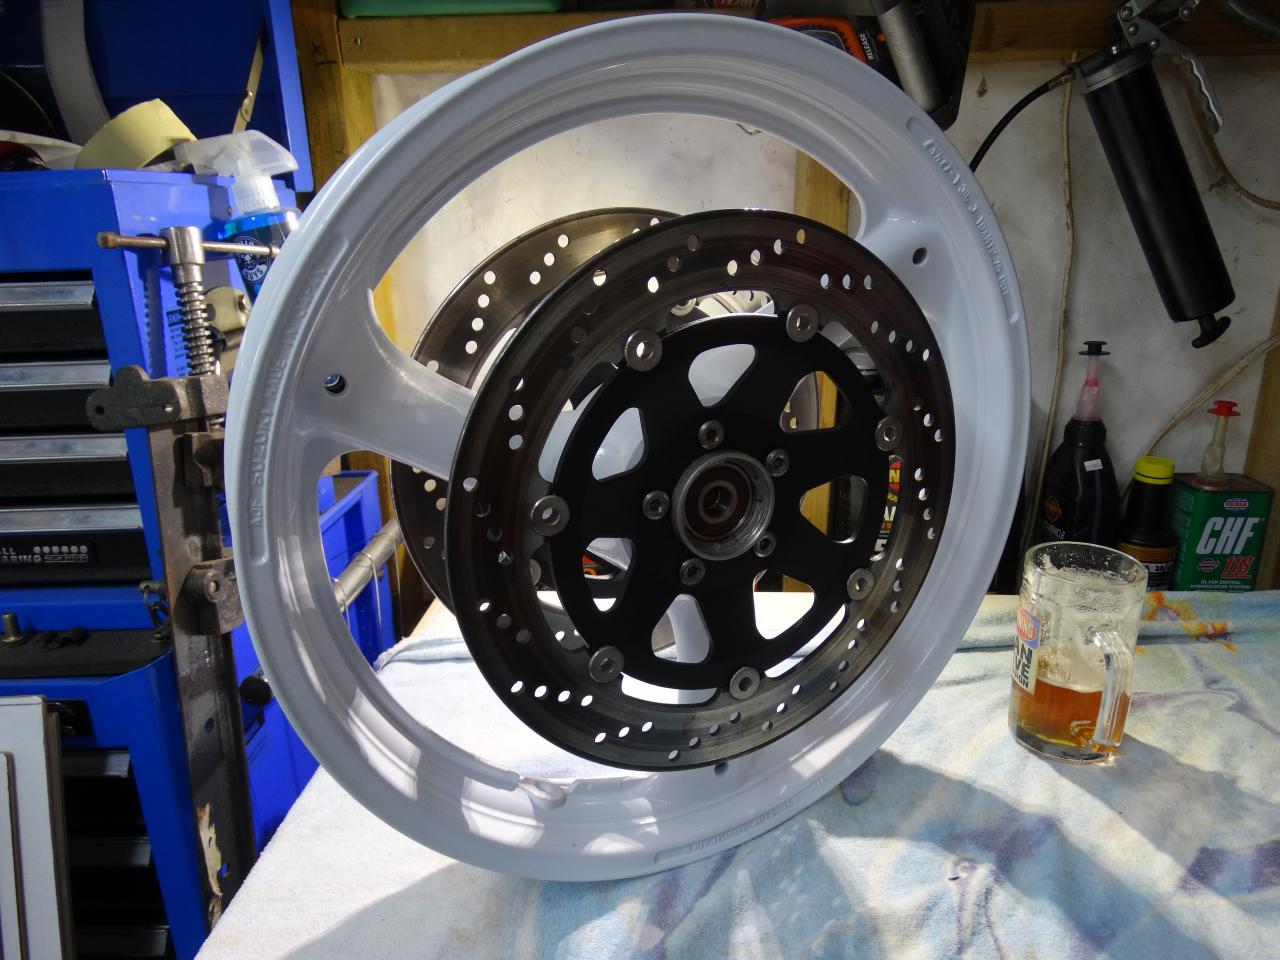
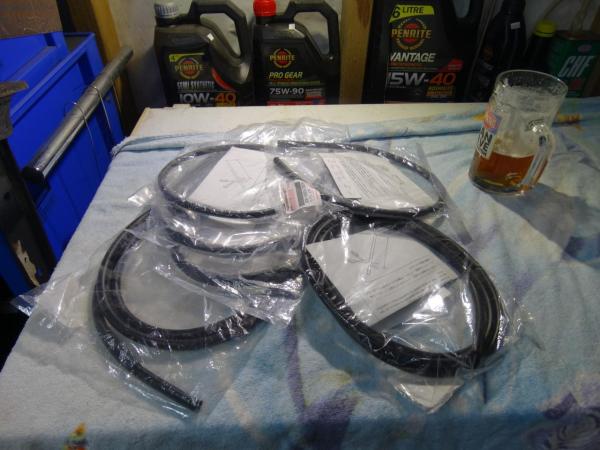
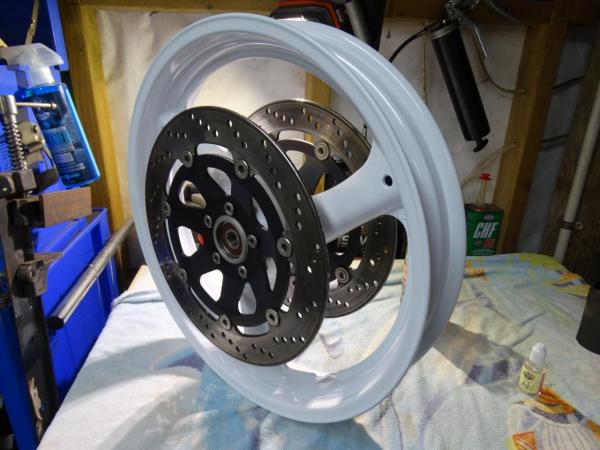
Nicely stripped and OH new hoses, got to love new hoses. Also bench balanced the carbs with a small piece of wire that just slips under the 4 slide with the same resistance. The float height was a little low on all carbs, made me think this was done on purpose..... The carbs are back on the bike and it fired up beautifully and after a few minutes settled in to a nice idle. Very please i will add - pleased my coil rebuild worked! That was a cheap fix! Also done was the front rim, powder coat, spacers plated and new bearings, cant do the rear until the front in done as the bike will fall over. Did I mention - all fittings have been plated!!! They look like new and good for another 30years. Rims - Dulux Arctic white - urethane for chemical resistance, very pleased. I did check that when they do the rear rim it will not be a different shade.. NOPE they said. Discs also got some treatment, with a coat of paint, tyre to go back on.

-
And Captain can I add the vacuum hose. Forgot both and it is a bitch to fit them with an airbox.....
-
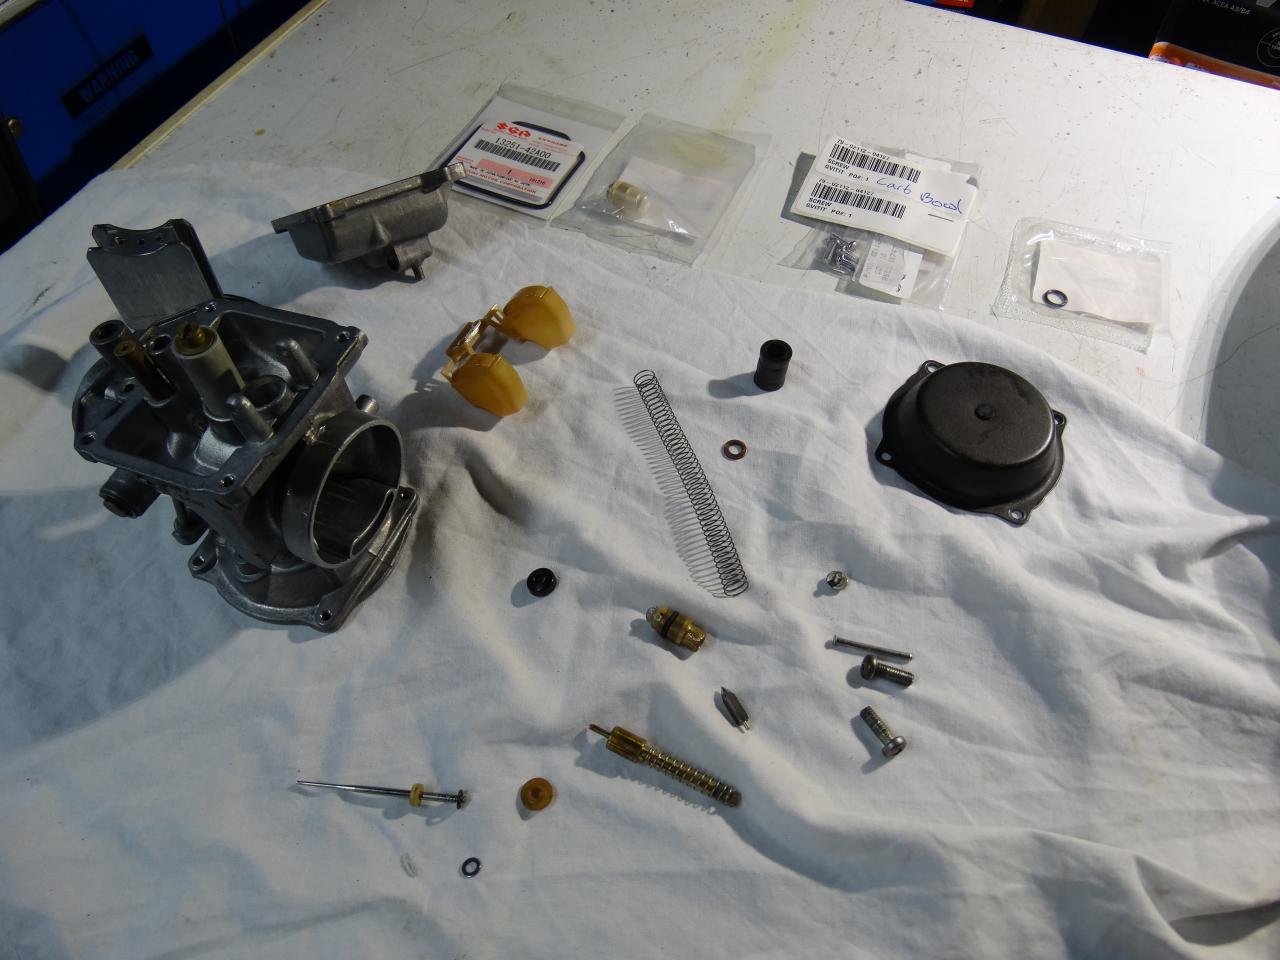
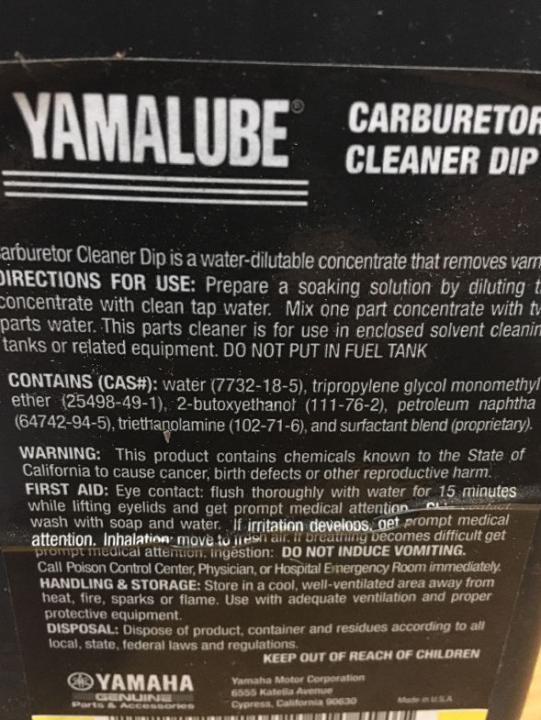
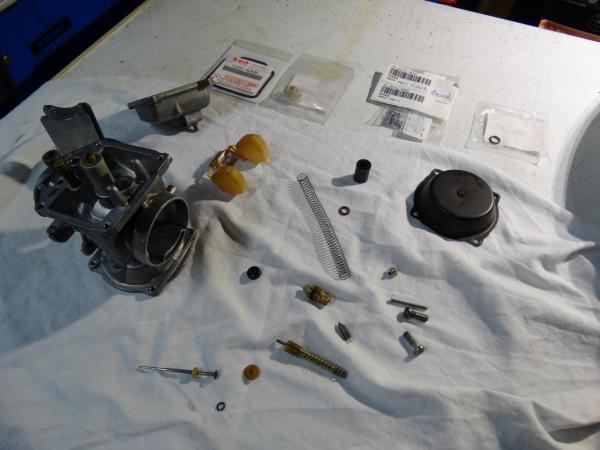
I have not grown an extra finger, and am still alive for now! But this stuff does an excellent job. Read under warnings..LOL carbs fully stripped, new float vales and gaskets, inlet rubber and lovely new clamps all round, and dam after having to feed my children cheap sausages for a few weeks the money is well spent. Nothing like new stuff that is a pleasure to fit, not bending old clamps and old split, hard rubbers. Hell when you where 17 old cracked rubbers was a no go LOL. I will confess that when fitting I bent one new clamp.. fu#k me was said many times. I still have the airbox... I never want to fit carbs again. What an a-hole job. Unless i am missing a trick!


-
Hell I have not updated since July... I have been busy. Where to start. Carbs... yep I bit the bullet and did it right First off strip them and in to an ultrasonic bath with the stuff that causes cancer, well it says it does... Ii I can say it smells BAD, I had to move the bath outside the garage. 2l has lasted years as it is not often used. - I have spare bottles... they will have to stop selling it eventually. All good stuff gets band! Yamalube carb clearer... my vote 100% As you can see from the bottle its a few years old, you need to mix 2:1 with water. After use I put in in 2l bottles x 2, the crap settles at the bottom of the bottle. Great for next use. I add more water each time but this stuff rocks.

-
1230 EFE - Cylinder 2 not running - firing on 3 only.
Dukeman replied to Dukeman's topic in Air Cooled
I went straight to a new plug and bingo - that was easy, very pleased I did not have to pull the carbs. Thanks for the advise. -
1230 EFE - Cylinder 2 not running - firing on 3 only.
Dukeman replied to Dukeman's topic in Air Cooled
Thanks guys first step will be swap the leads with 3 and then a new plug.... if this does not fix it we all know what comes next! -
1230 EFE - Cylinder 2 not running - firing on 3 only. Before I start stripping everything down to see what could be the issue I thought I would run this passed you lot for your thoughts. Cylinder 2 header pipe is cold compared to the others. Pulled the spark plug, it was black and appeared dry and did not smell of fuel. Cleaned the plug and checked for spark and there was, running miniature Dyna coils, coil must be ok as cylinder 4 is ok running on the same coil. Carbs are RS36 flat slides - opened the carb drain and fuel poured out from the bottom of the carb. So it is leading to no fuel is getting to the cylinder.... where is the best place to start with these carbs? I have not worked on these before......and I REALLY do not what to pull the carbs but may have to. Any ideas?
-
Actually this is what I have. http://shop.yoshimura-jp.com/en/product/syousai.php?id=16001
-
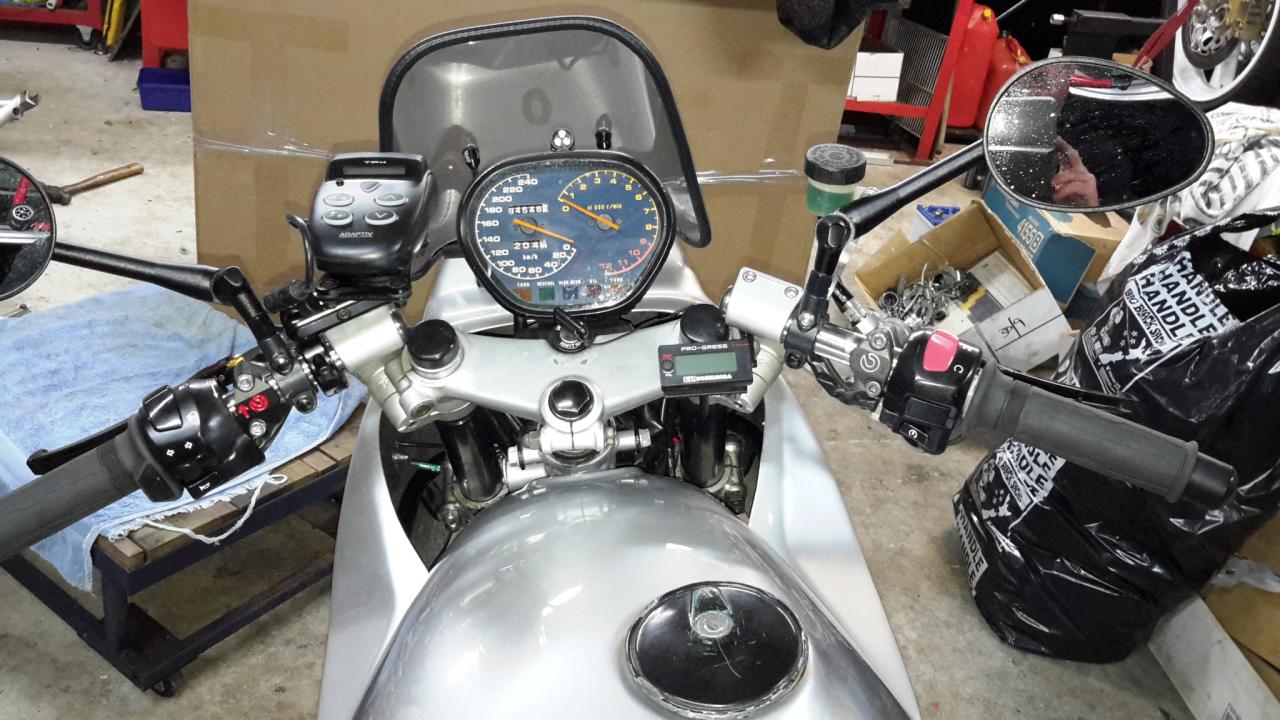
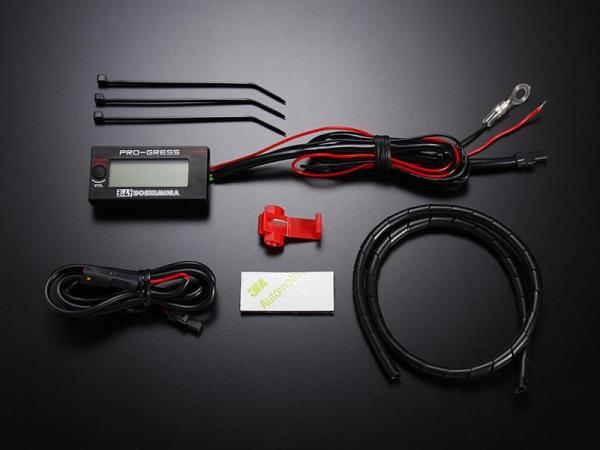
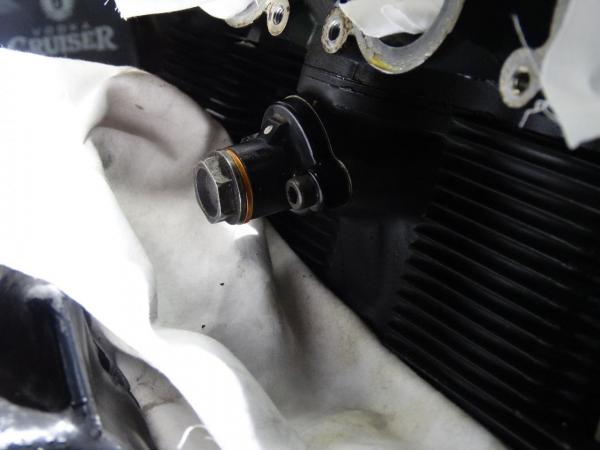
https://www.yoshimura-jp.com/en/products/electrical/progress-suzuki.php http://shop.yoshimura-jp.com/en/product/syousai.php?id=18072 Here is what I have on my Katana - 1230 EFE Sump plug is the temp sensor, I made a bracket for the display, also does voltage. I have had this a couple of years and it works great.
-
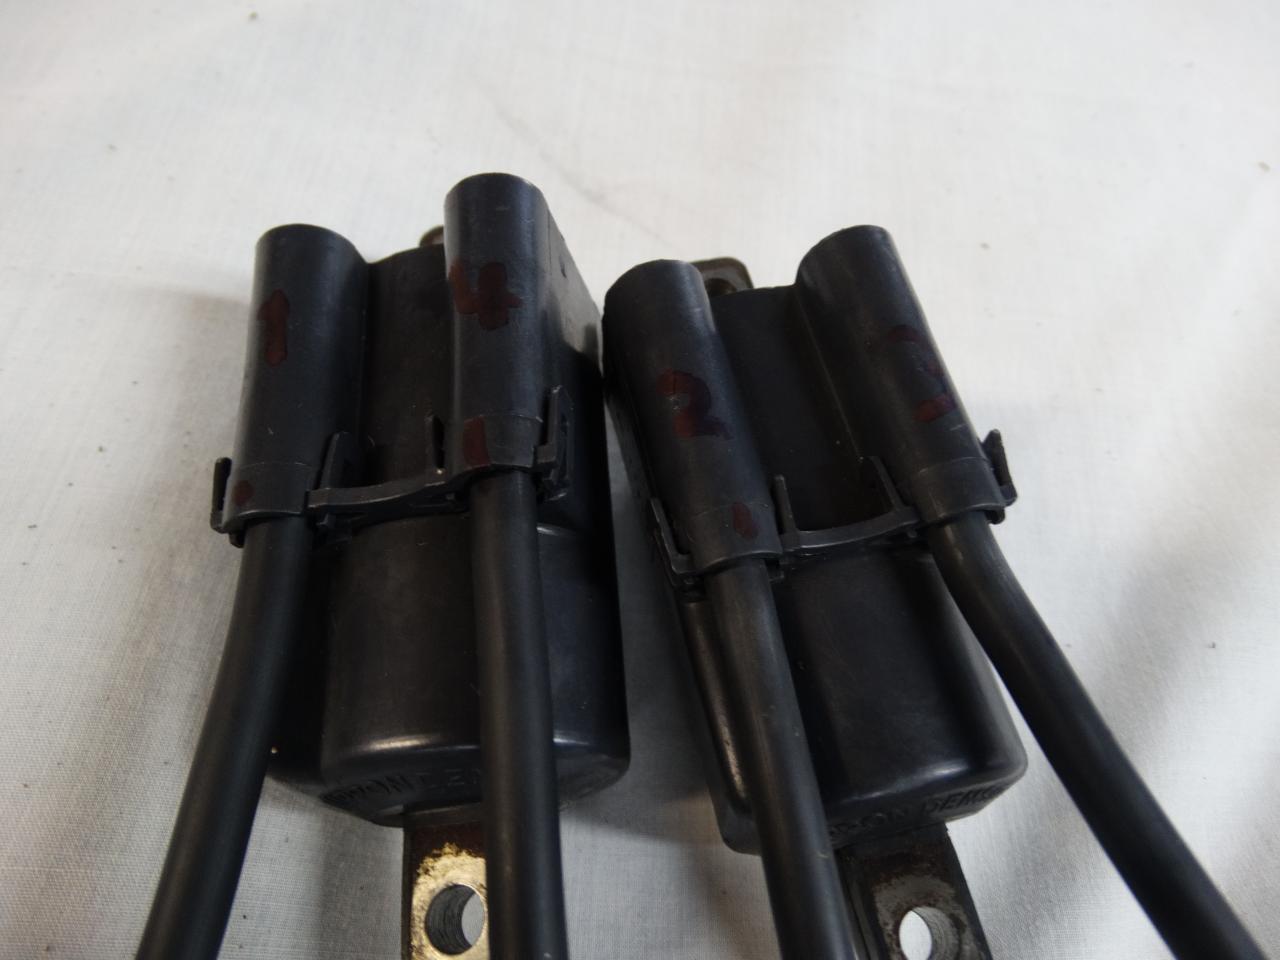
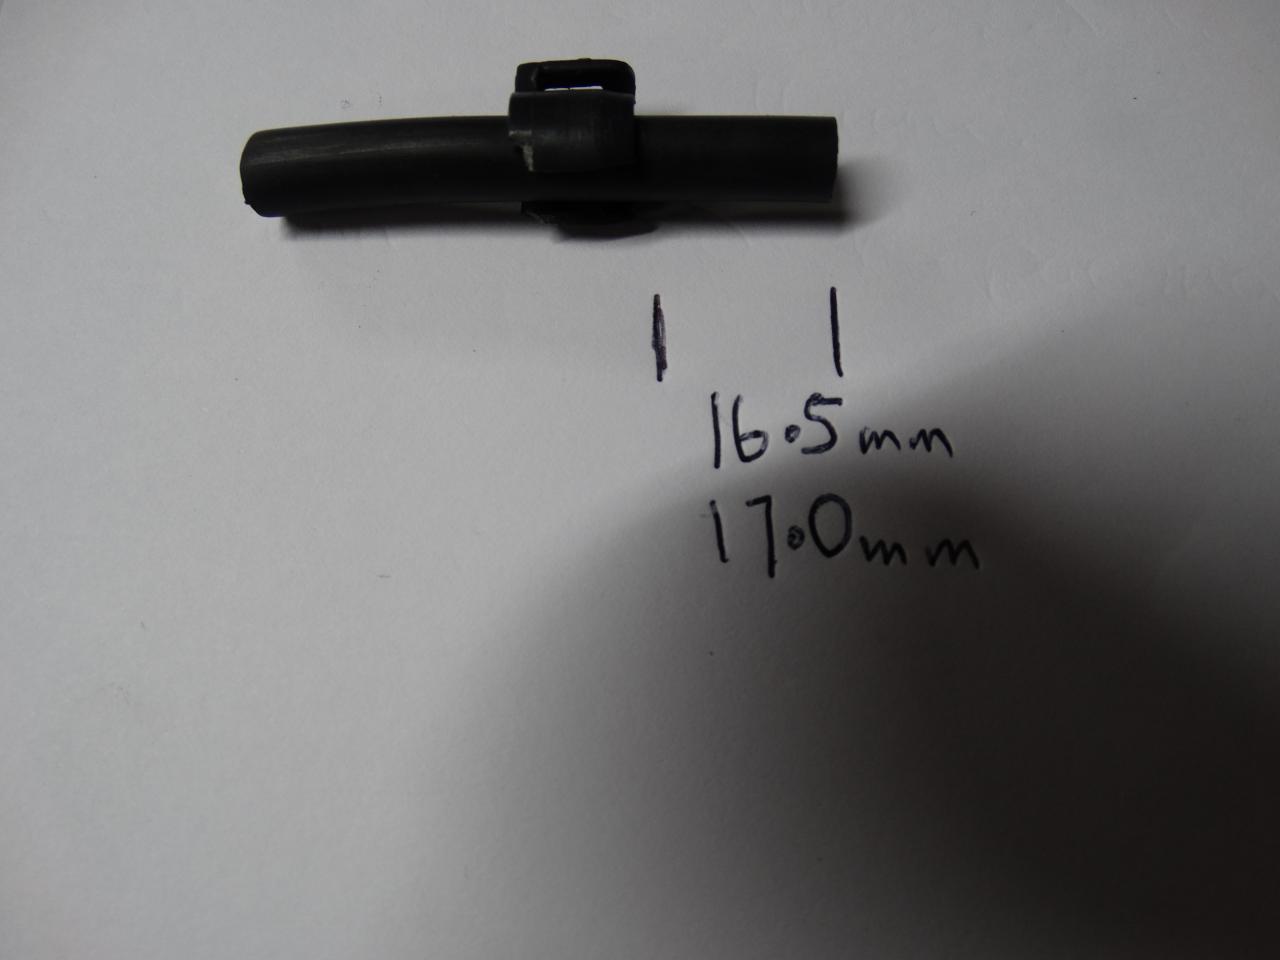
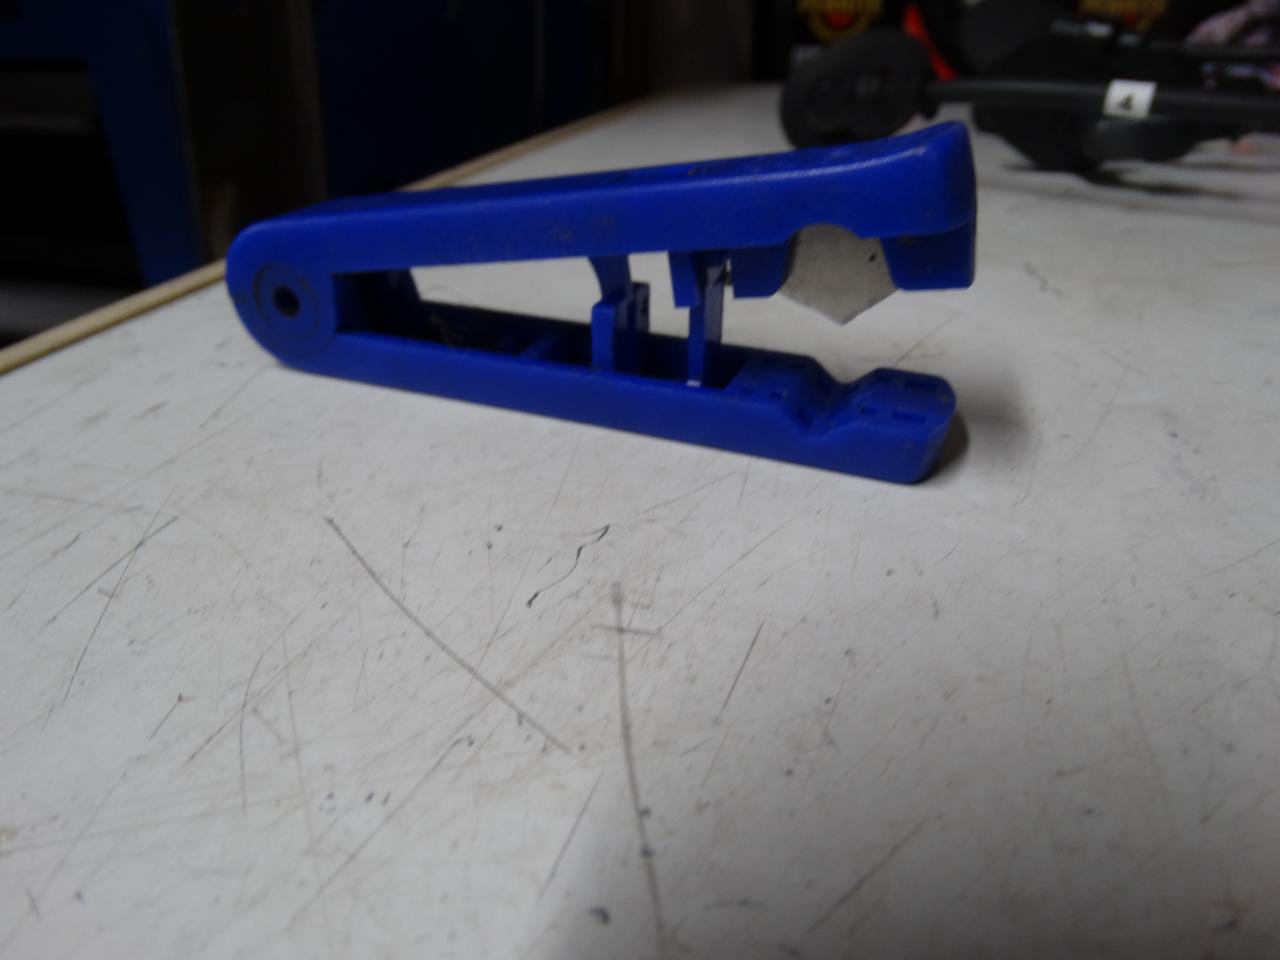
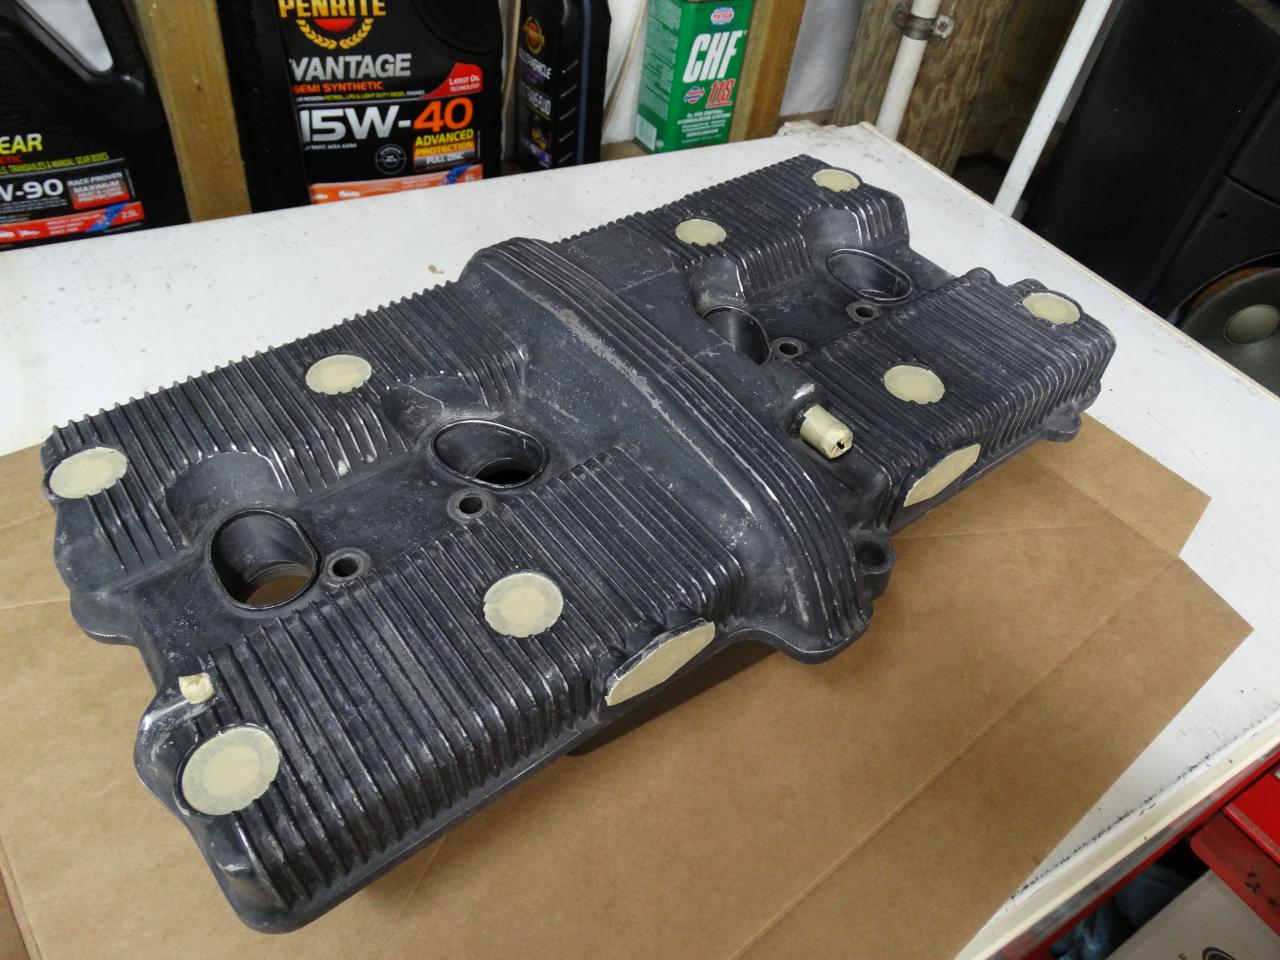
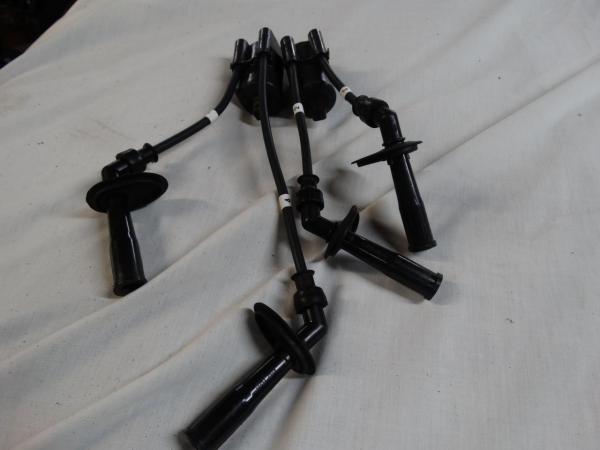
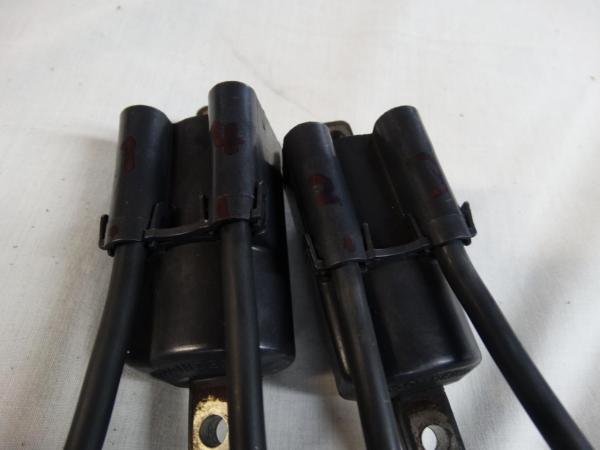
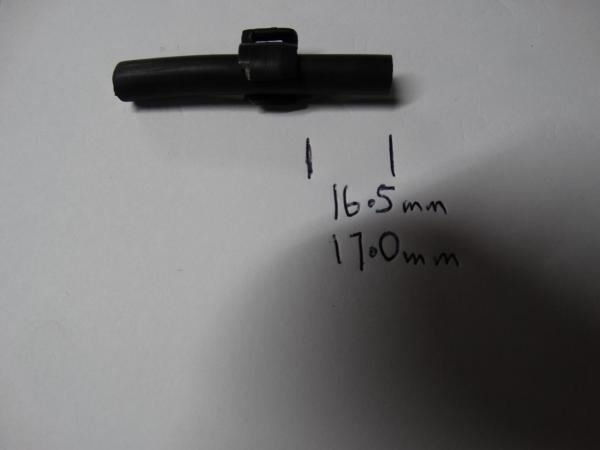
Installed the new 7mm spark plug cable. make sure the clip is 16.5-17mm from the front edge, I used a pneumatic tube cutter to cut the square. Squeeze the clips to push in the barbs in to the cable and then push them in to the coil. Job done. Picture is a broken clip of an old coil. - heat gun, screw driver and pull on the cable and they come out easy as. Tested the plug to plug 35k Ohms and 37k Ohms - just what it was meant to be according to info i found. Cam cover painted and installed.


-
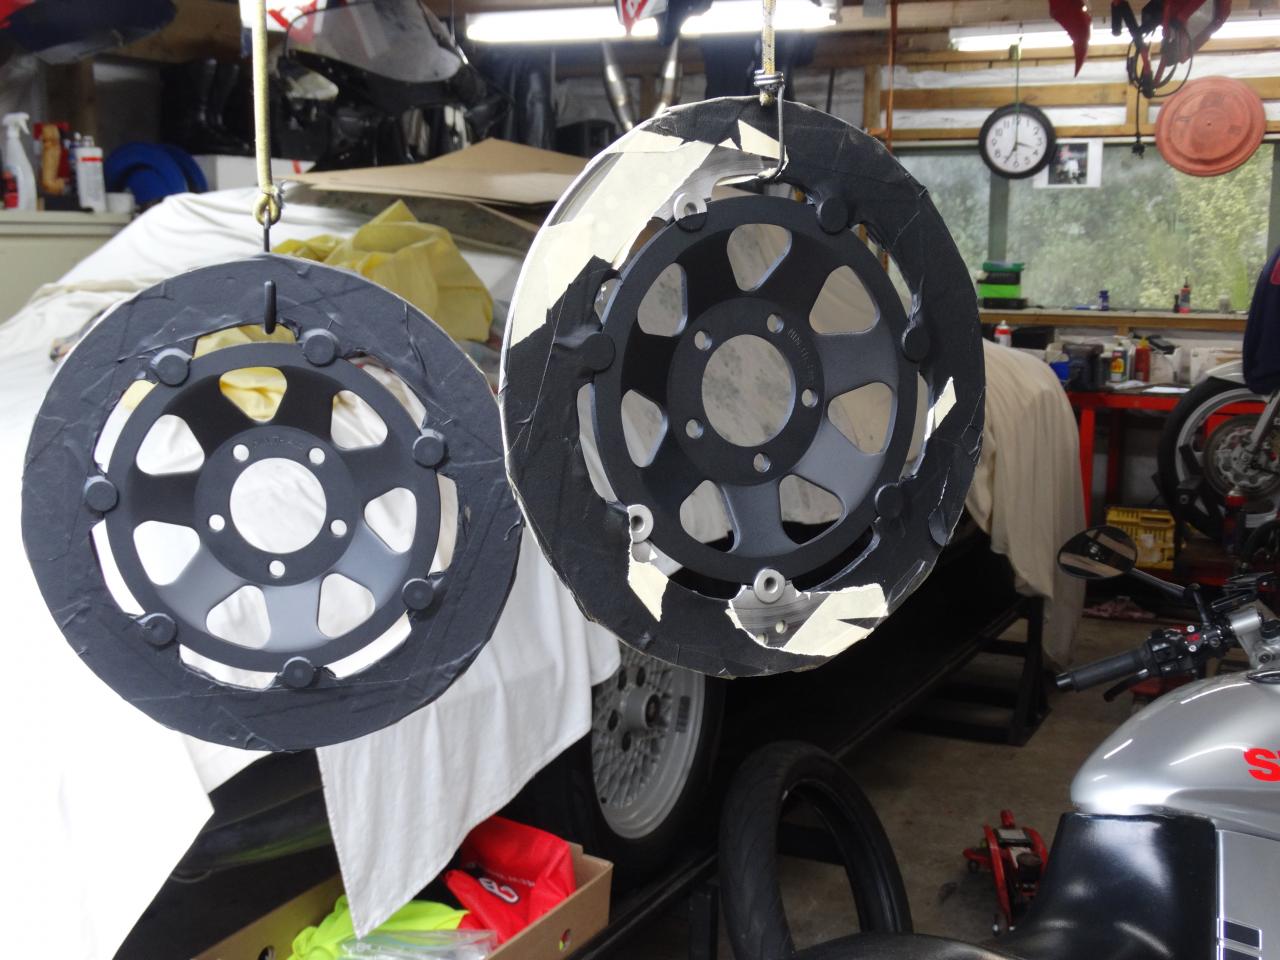
Pull the cam cover again and gave it a coat of pain and blasted and painted the front discs. Discs are matt black - bad light.


-
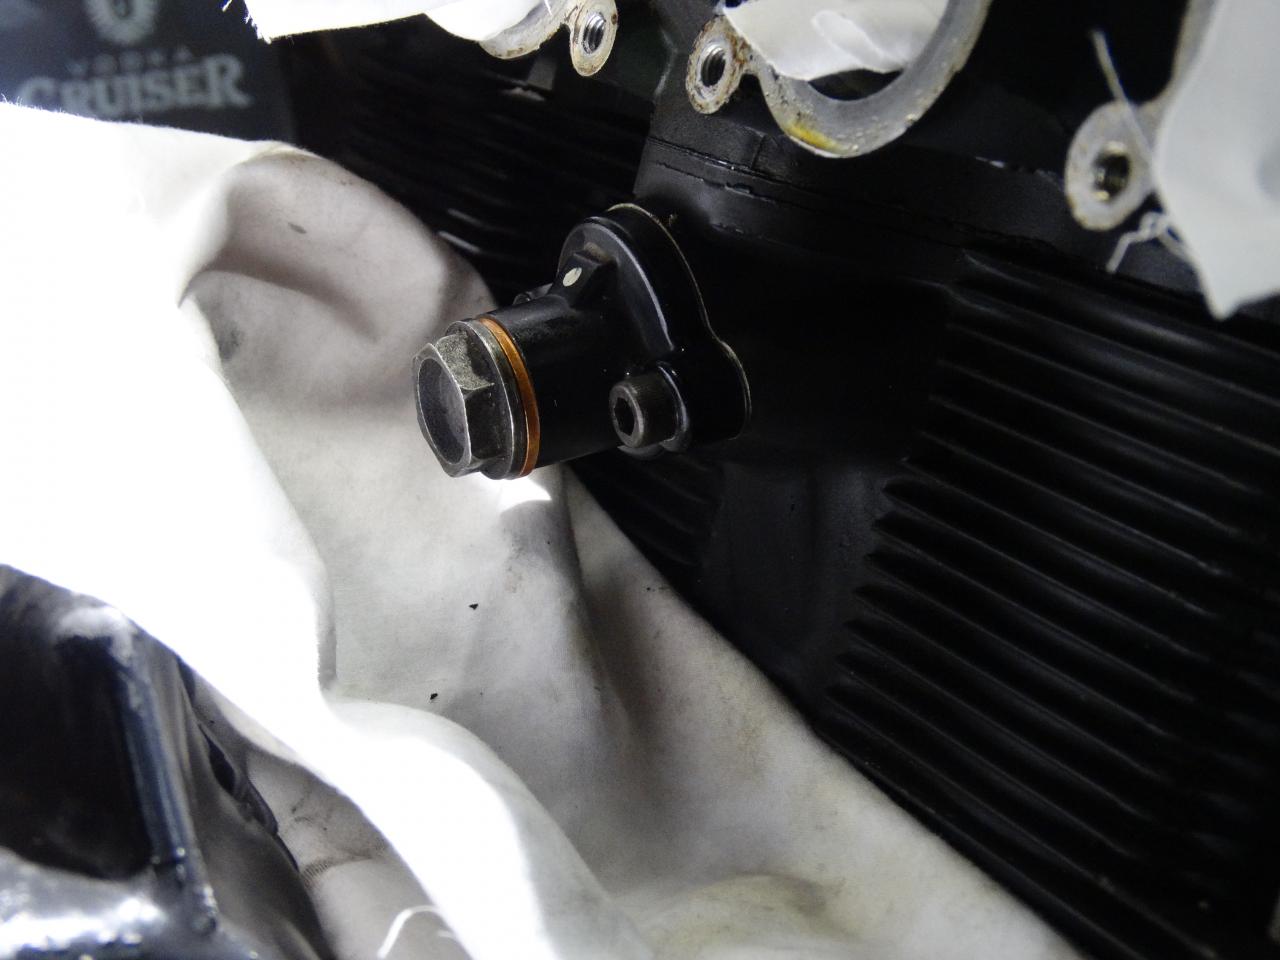
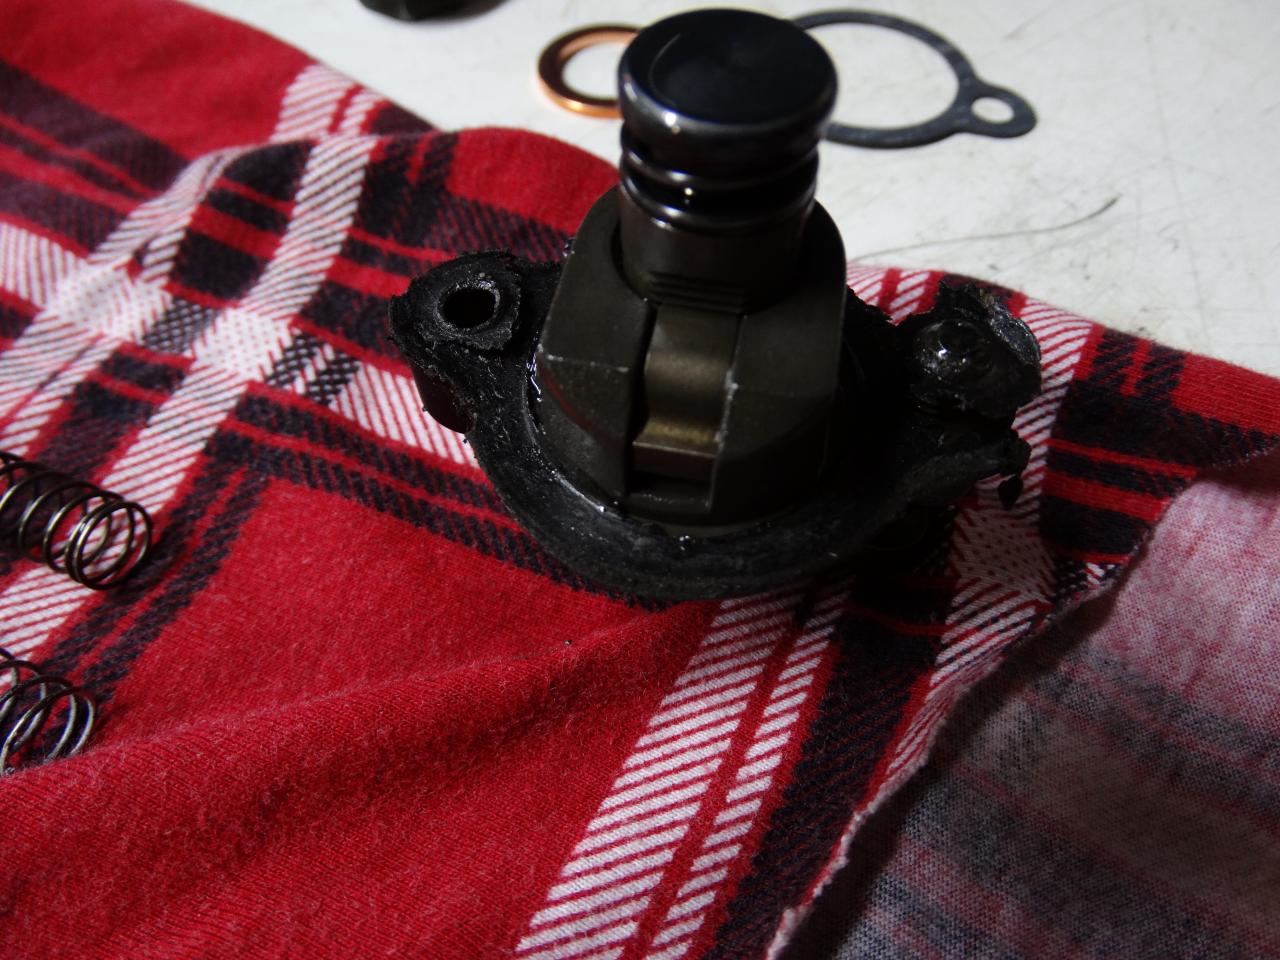
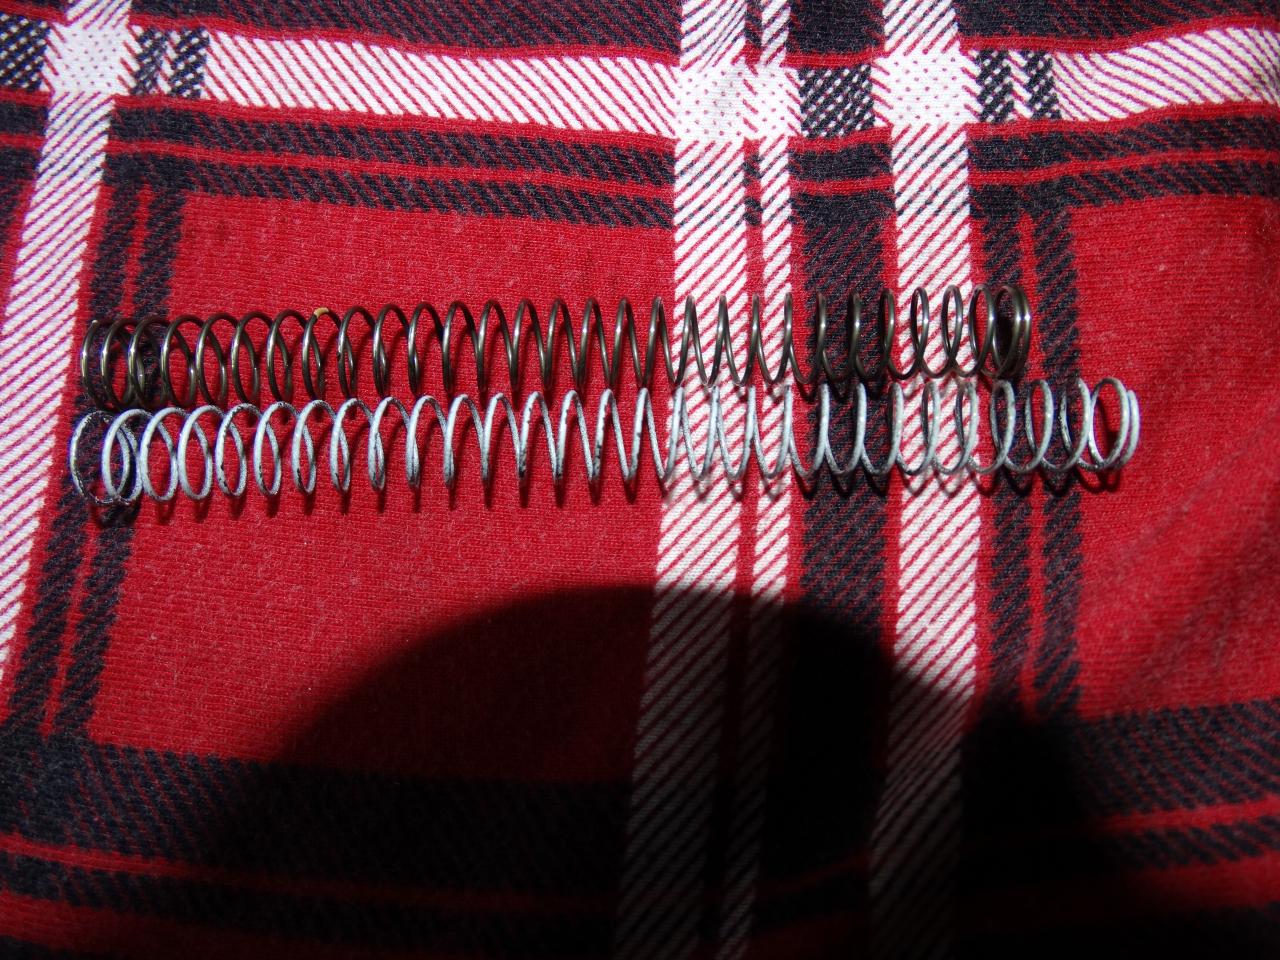
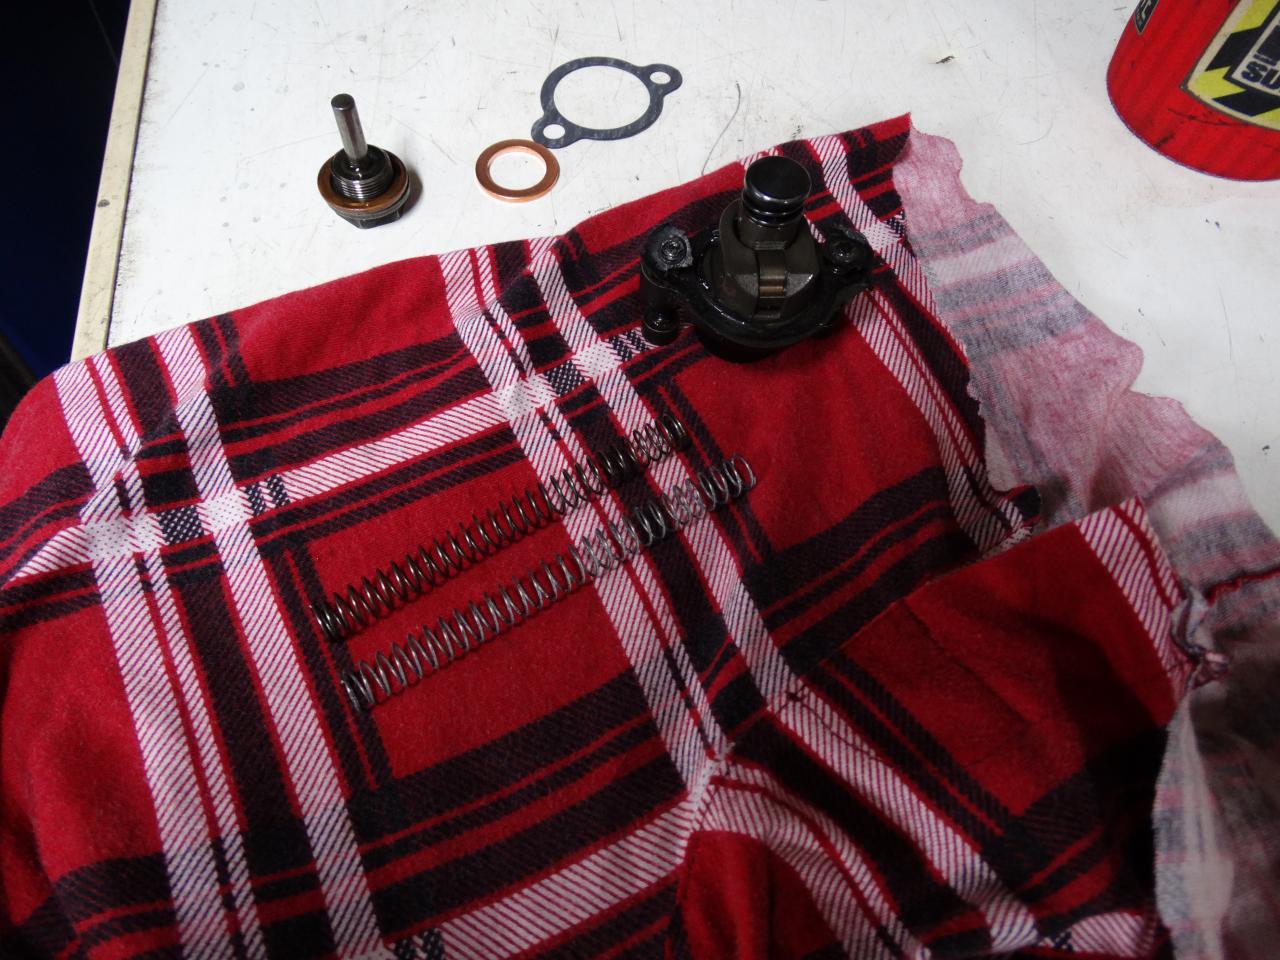
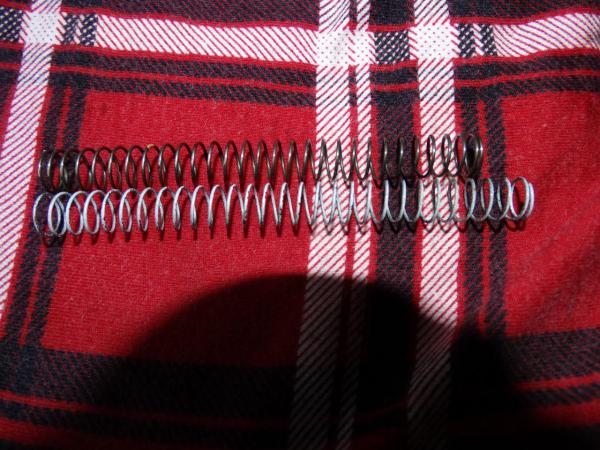
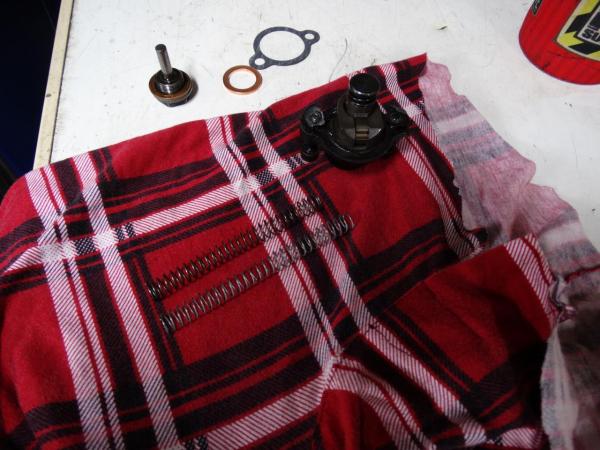
Pulled the bolt and spring out, followed by the tensioner housing. The spring is quite a bit shorter, and the manual does not give the correct length, the manual say no spec is supplied by Suzuki. Reset the push-rod and checked the ratchet which was fine, push rod needed to be pushed back when installing. New gasket, the old gasket had fallen apart and the cap screws were just nipped up, to loose. All back together now.


-
86 - GSXR1100 Cam chain tensioner spring replacement ... Just pull it out?
Dukeman replied to Dukeman's topic in Oil Cooled
Pulled the bolt and spring out, followed by the tensioner housing. The spring is quite a bit shorter, and the manual does not give the correct length, the manual say no spec is supplied by Suzuki. Reset the push-rod and checked the ratchet which was fine, push rod needed to be pushed back when installing. New gasket, the old gasket had fallen apart and the cap screws were just nipped up, to loose. All back together now.


.jpg.c2c92dba99f38f83b4ff521ce34cfd52.jpg)