SheepDog
-
Posts
18 -
Joined
-
Last visited
Recent Profile Visitors
198 profile views

-
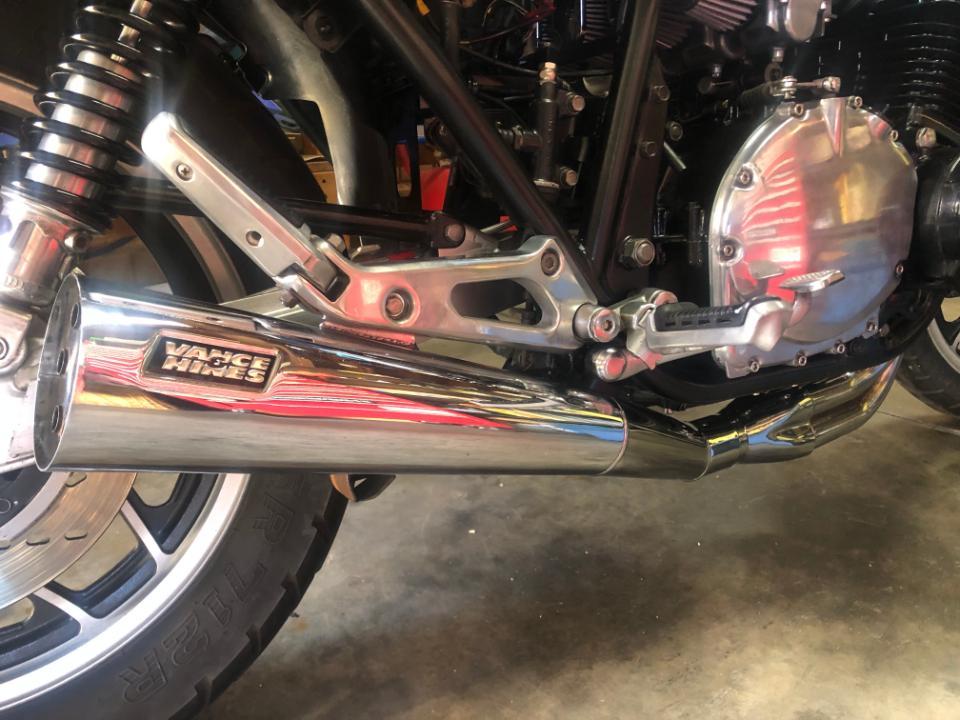
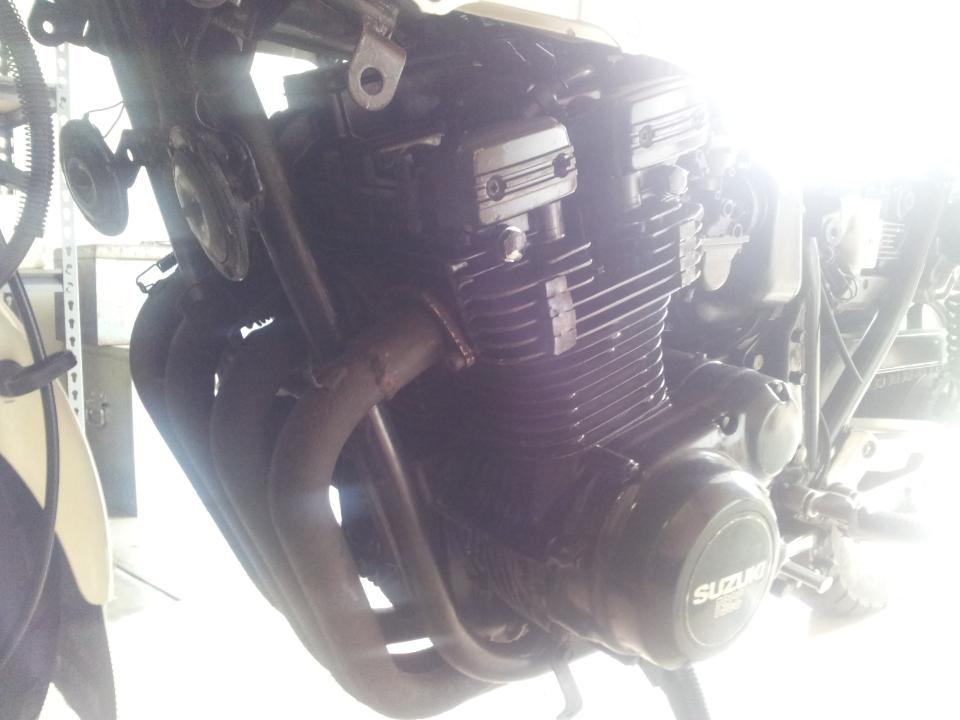
I recently managed to pick up a relatively good second hand one for my restoration. I previously had a black 4-1 system which I wanted to replace. It looks decent enough. I'm getting closer to the point of turning the engine over so will be interesting to hear the sound etc.

-
Ok, I know this topic may be a little long winded but I decided on painting it black for pure aesthetics. It just looks the part black.
-
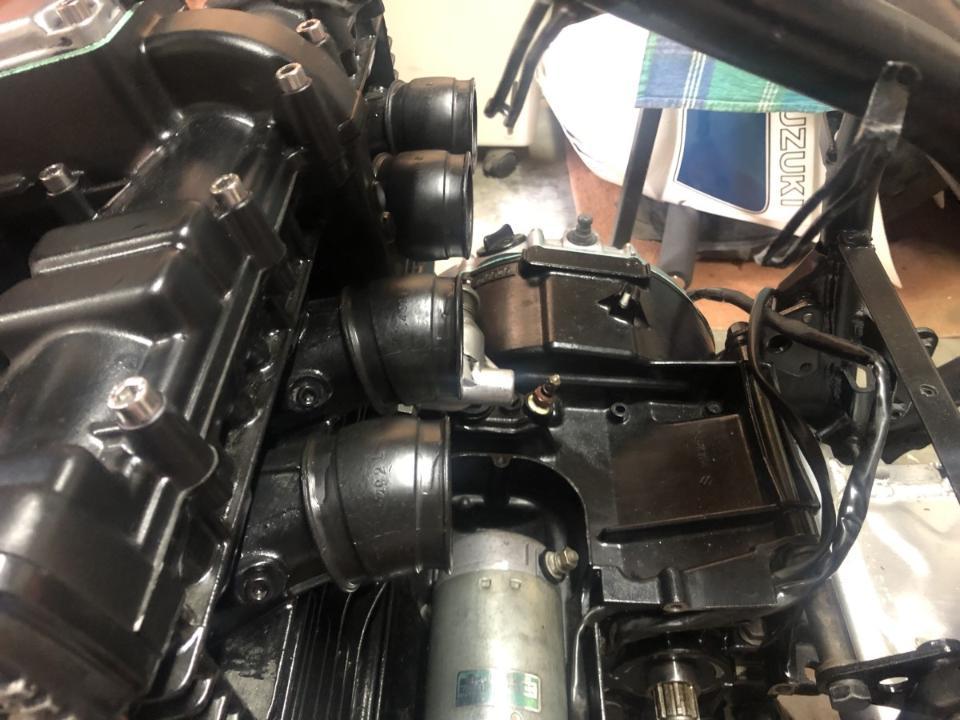
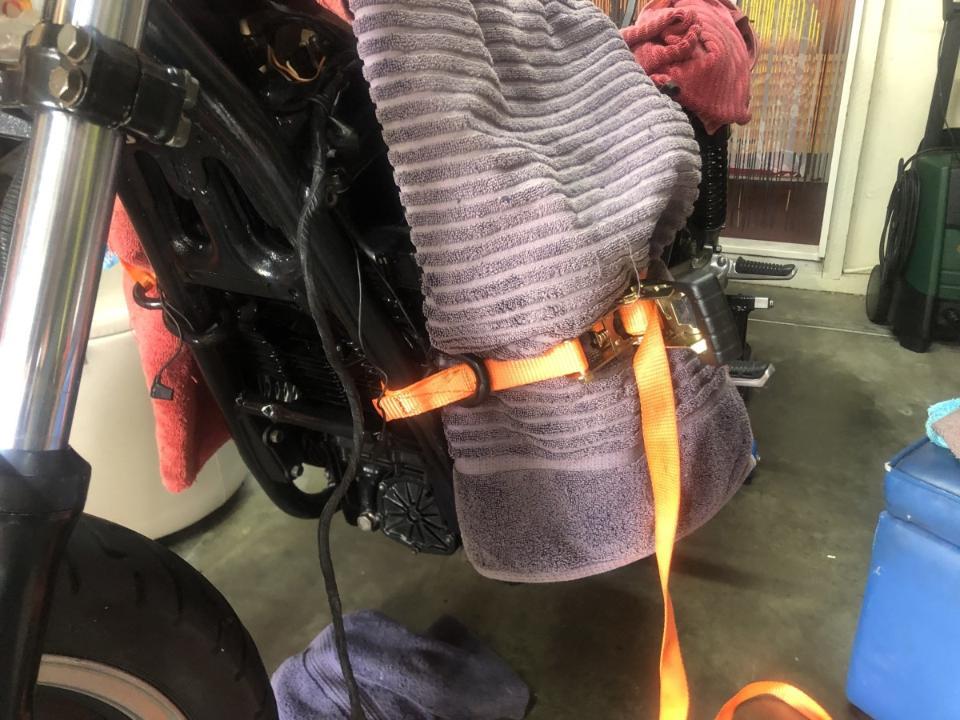
I had the same problem mate. Ended up using a WD silicone lubrication and a ratchet from the bedroom ... sorry from the back of the shed. Like a lot of things I've come across in life, sometime it just needs a little bit of gentle persuasion. The intakes were approximately aligned and free from clapping as the photo above shows. Use plenty of padding around the bike/fins for protection and they should just slide/pop in (ie with the ratchet system) Anyway ... worked for me and my intakes were pretty hard.


-
I'm thinking wet and dry at a fine cut, Autosol, buff, then a clear coat or two. If I change my mind it'll be easy to just ruff it up, prime and paint black again. Cheers guys.
-
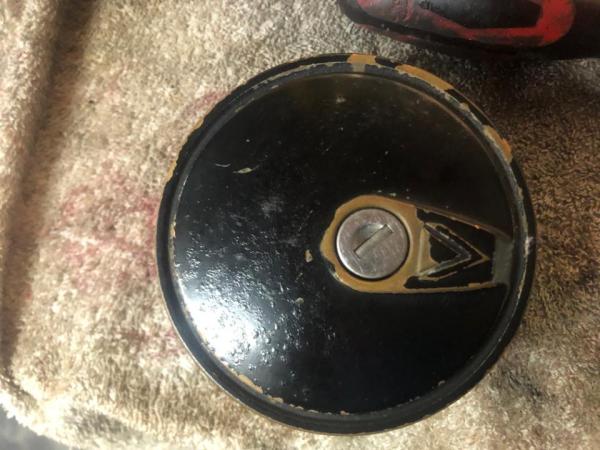
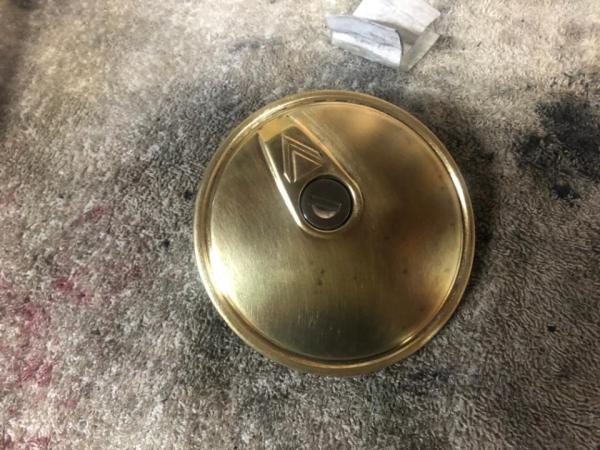
Hi guys, Getting to the pointy end of my GSX1100ESD rebuild. I had the petrol cap off with picture showing condition. After attacking it with some emery paper to prep it for a fresh coat of paint I was pleasantly surprised as to the alloy below the paint. I assume this is standard alloy on petrol caps. Your thoughts on what I should do. Just buff and polish and clear coat it OR prime and repaint with black paint again. I'm just a little amazed as to how it looks right now and possibly will I get sick of looking at it on top of the white petrol tank.
-

Switch assemblies (both) gsx1100esd faulty, worn, just f*#@!d ........
SheepDog replied to SheepDog's topic in Air Cooled
Looks like the bandit switch assembly's are the go to. It'll come down to cost in comparison to aftermarket one's. Thanks for the help guys. I'll keep plugging along with my project. -
Switch assemblies (both) gsx1100esd faulty, worn, just f*#@!d ........
SheepDog replied to SheepDog's topic in Air Cooled
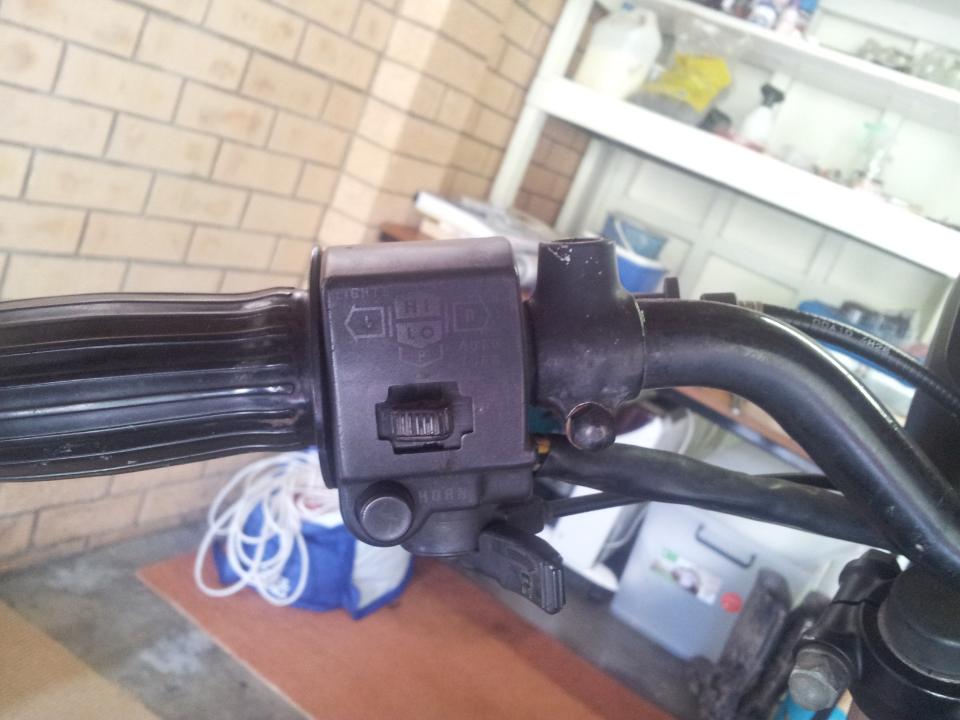
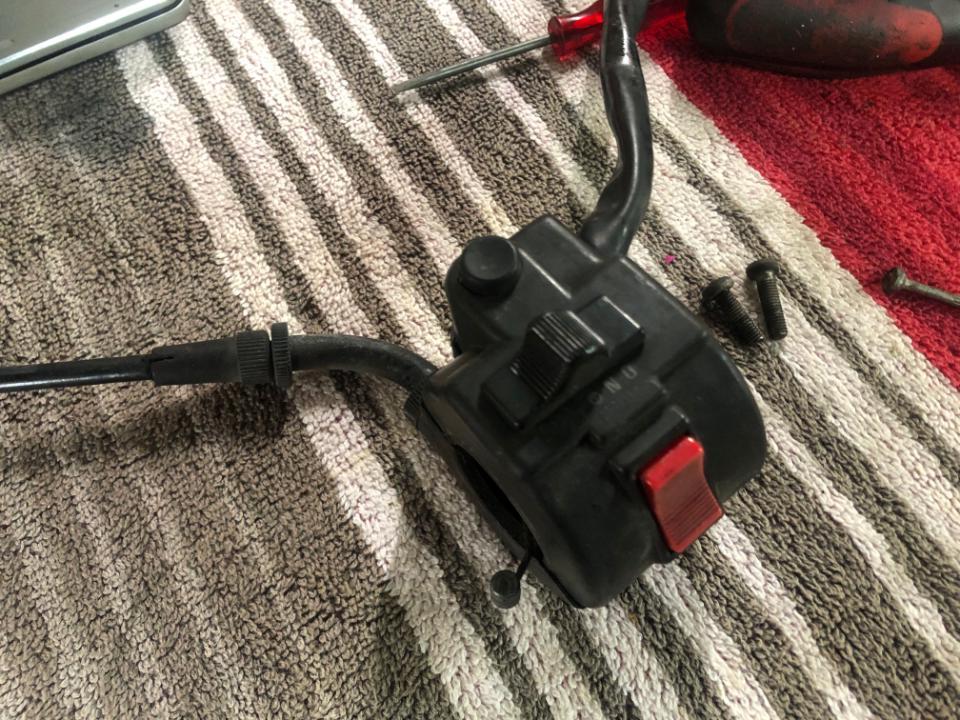
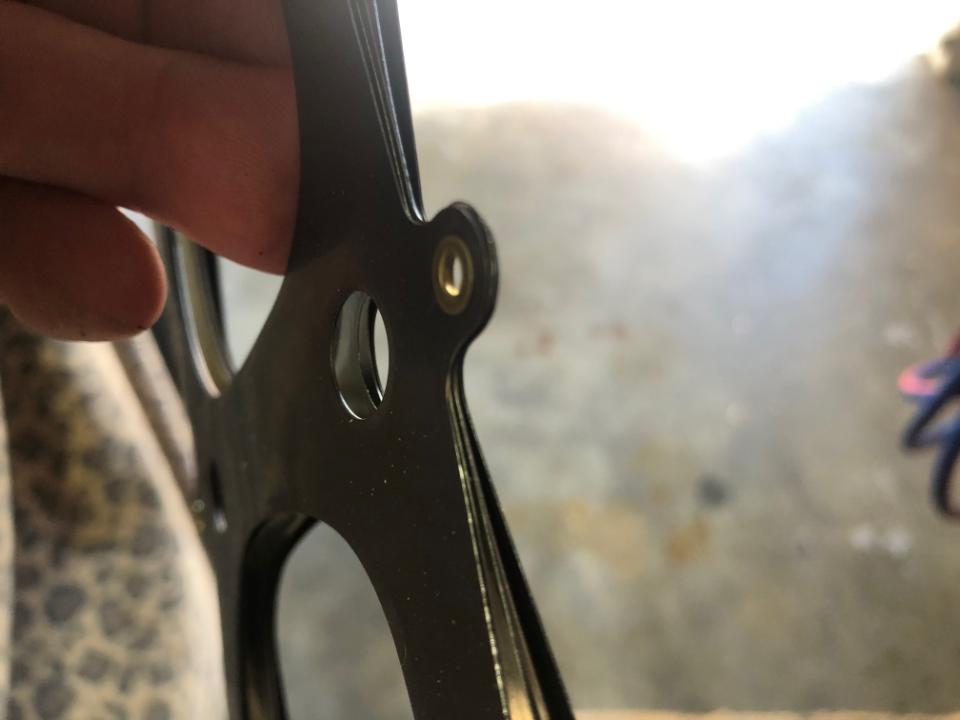
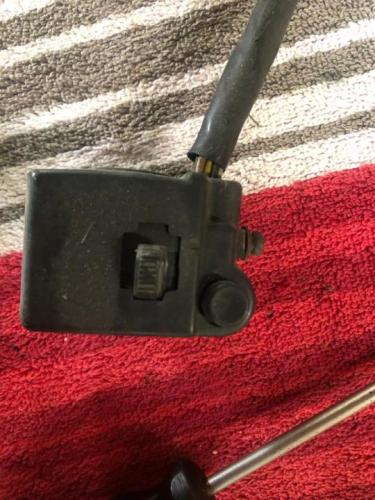
Thanks guys for the replies. I like your thinking Duckndive. I had the same thoughts of attaching a 'choke knob' or some manufactured 'thumb bracket' to the end of the shaft on the carburetors. And then reach under and just give a tug and hold to operate the chokes and thumb the start button. I'll look into a key ring idea as attaching this may be easier. I'll look into the GSXR / Bandit switch gear and compare for aftermarket one's. I haven't changed out any switch assemblies and to be honest it is the throttle housing on the right handle bar that has me concerned. I know, stick with suzuki parts and I probably will be safe. Dezza, the OEM choke mechanism attaches to the bottom of the left side switch assembly as per attached photo. I'm open for anything as a drop in replace. Be it under the switch assembly or beside the assembly (inside diameter 7/8) or attached to the handle bar by a custom bracket. Any photo or thoughts would help. It may come down to the key ring idea. A shame as the choke cable is good and the bracket attached to the carburetors supporting the choke cable and throttle cable is all good and sitting there installed.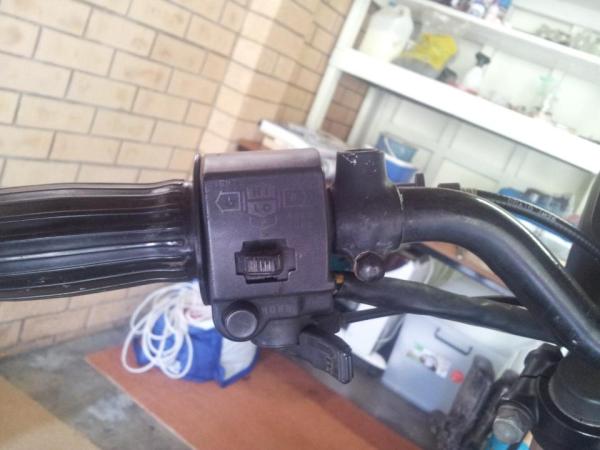
-
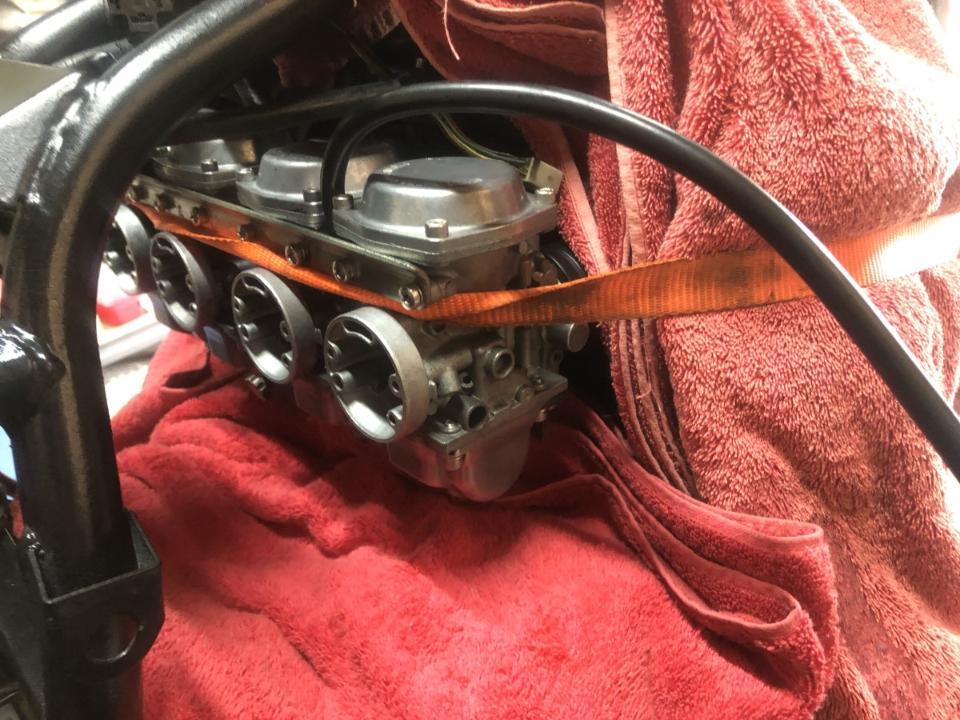
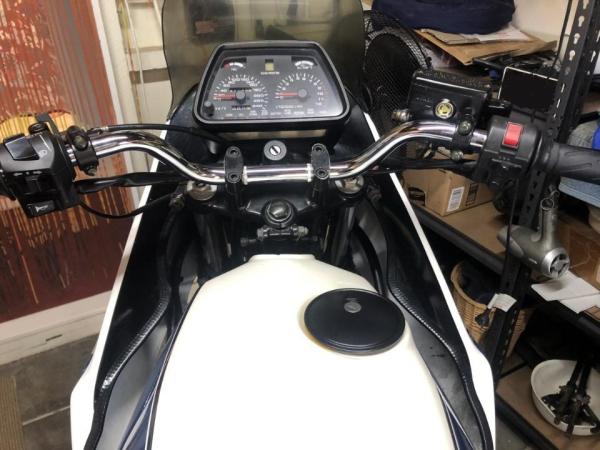
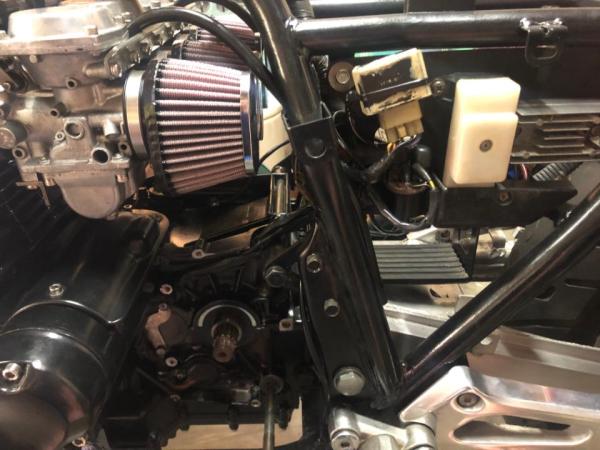
Hi guys, I'm getting to the pointy end of my restoration. Hit a couple of snags. My left switch assembly is cactus. I've disassembled and cleaned out with contact cleaner, a bit of contact grease, etc but no cigar. Mechanism just worn and bits of plastic broken holding the main spring, as well as the choke mechanism worn and unable to grasp/hold the choke cable end thus not operating the choke. The right switch assembly works OK with a thorough clean as above (mechanically and electronically) and throttle housing and operation good but I am worried about durability. My question is are there aftermarket replacements with a choke adapter and the same throttle cable housing (are they standard). Are aftermarket 7/8 inch assemblies an easy swap involving the choke and throttle or do I need to also buy a new throttle assembly to fit into the aftermarket switch assemblies? The electrical doesn't worry as I can sort out/adapt to make operational. It's the choke and throttle housing that has me concerned. I would like to swap for a clean matching pair if this makes sense. Also attached is a photo of the carbs, the new K&N pods, and the fuses and cabling cleaned up. I just completed this. Anyway cheers guys.

-
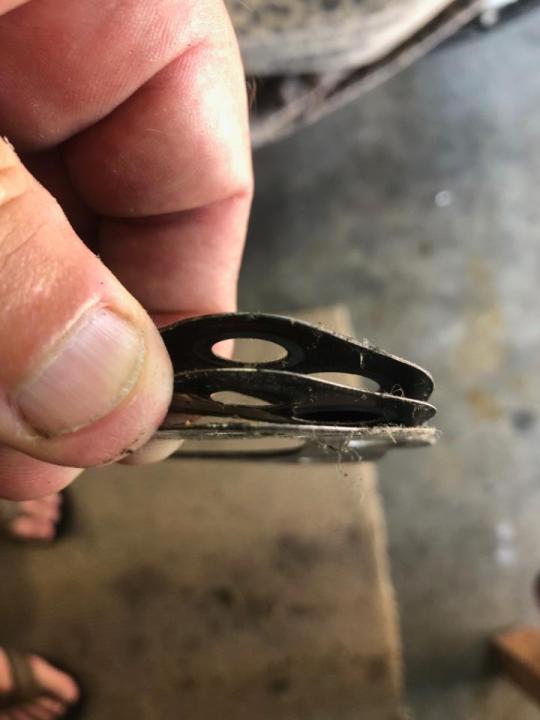
Cheers for this. I'm aware they are called MLS gaskets. It was all about the 3 layer to 5 layer. Thanks guys for the input.
-
Good point Fab. Sorry I missed doing this. I've used my digital calipers and yes they are closely the same. The old one is 1.20-1.21 mm give or take and the new one is 1.23-125 mm give or take. I'm thinking the difference is OK.
-
Hi Wraith My bike doesn't have an oil cooler at the front. Attached picture shows initial strip down with just the front faring removed. My Aussie VIN number / compliance plate states '83 with the prefix GS 110X - xxxxxxx. The bike is blue and white - tank, fairing etc the exact same as a GSX 1100 esd (the sam as the black and red ones). Can someone share, identify something that may amiss?
-
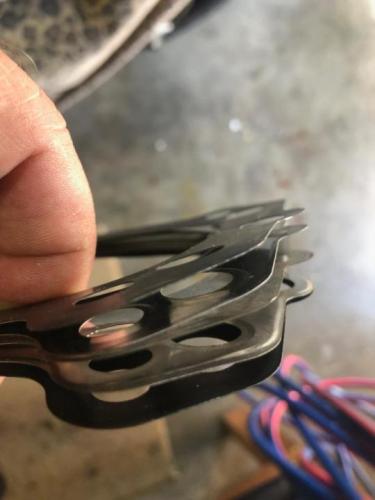
Hi guys. Just about to put my cylinder head back on with a new gasket and am not sure about the gasket. The old gasket was a combination of three layers (chk picture). The new gasket I have is five layers and part of my Athena Gasket Kit. It also is grouped together with holding lugs. Is it good to go as a five layer or do I trim the holding lugs and remove the top and bottom parts and use it as a three layer? Your thoughts and any feedback would be good. The Athena Kit is proving great so far for replacement gaskets etc.